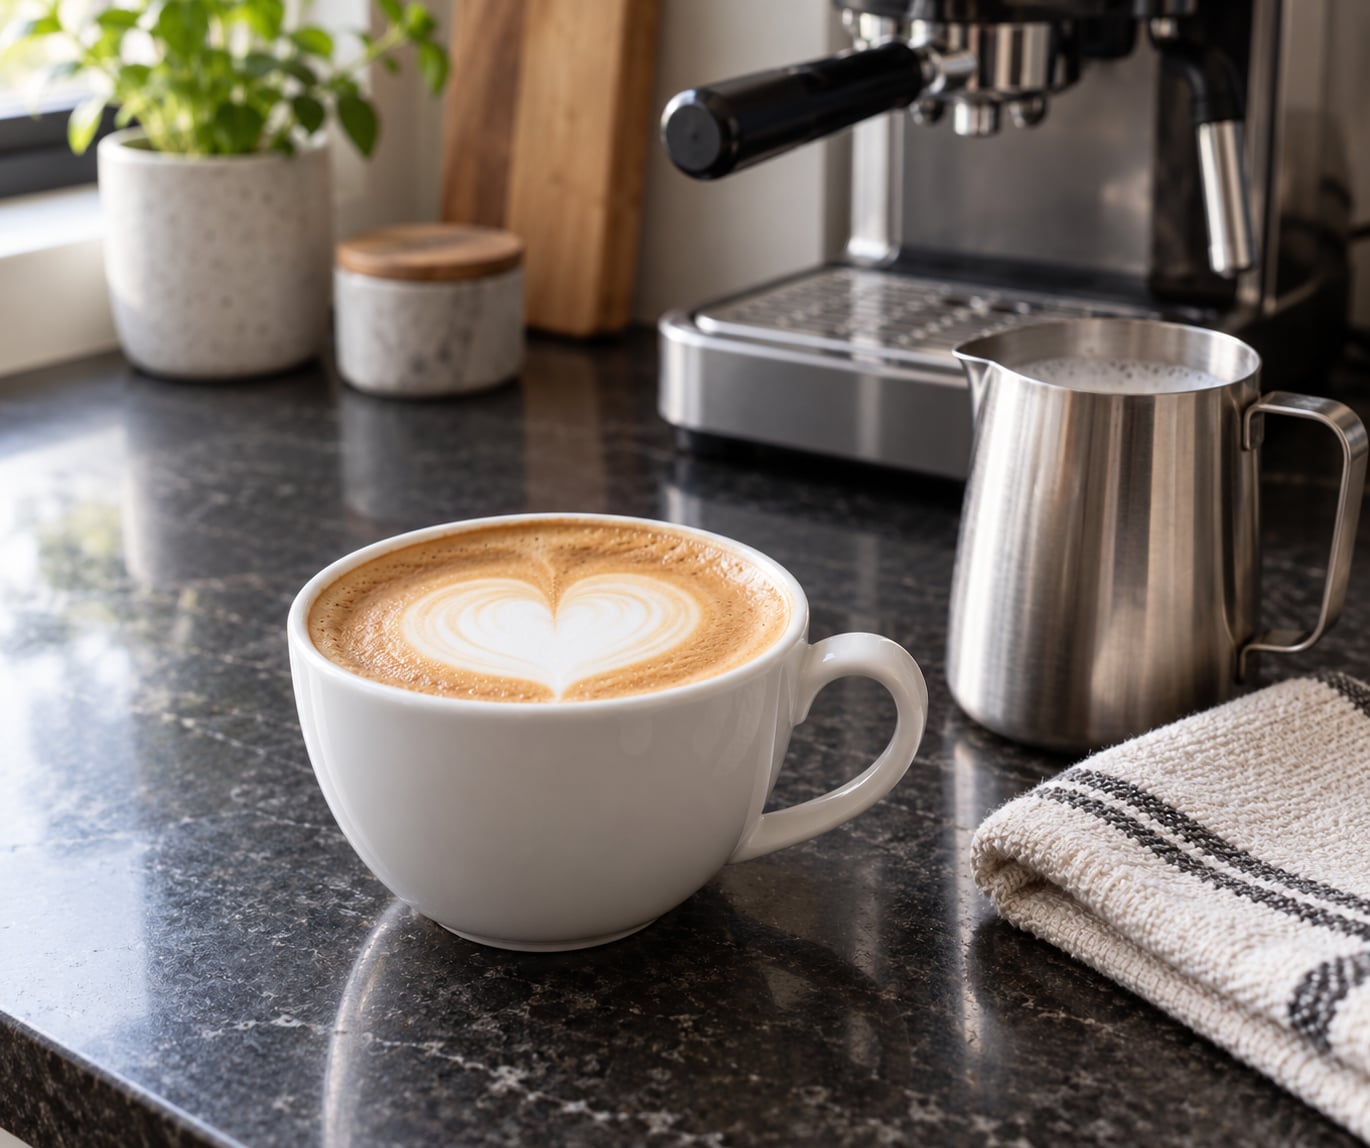
Latte art is the pattern you make by pouring steamed, textured milk into espresso, using the contrast between white microfoam and the dark crema to draw a shape on the surface. The heart is the one to learn first, and the whole process takes about three minutes once you have the gear. If you can steam milk properly, you can learn how to make latte art at home for beginners in a week or two of short daily practice.
Most beginners do not fail at the pour. They fail at the milk, because a pitcher that went too hot tastes boiled and the foam sits flat on the cup. Get the texture right and the pour becomes a short, repeatable movement you can do without thinking.
Table of Contents
- What You Need
- Step-by-Step: How to Make Latte Art at Home
- Choose and Prepare the Coffee
- Steam the Milk to the Right Texture
- How to Make Latte Art at Home for Beginners: Pour the Base
- Create the Heart
- Common Mistakes
- Fix a Pattern That Is Too Small
- Fix a Pattern That Is Too Large
- Practice More Consistently
- Frequently Asked Questions
- What is the easiest latte art to make?
- What is needed to make latte art?
- Can I make latte art with regular coffee?
- What is the best temperature for steaming milk for latte art?
- How can I practice latte art at home?
- Is it hard to make latte art?
- Start With a Simple Heart
What You Need
Four things carry the whole job: a coffee base, whole milk, a stainless steel pitcher, and a cup with a flat bottom. Everything else is helpful but optional. A thermometer is the single best upgrade, since guessing at milk temperature is the most common reason a design never appears.
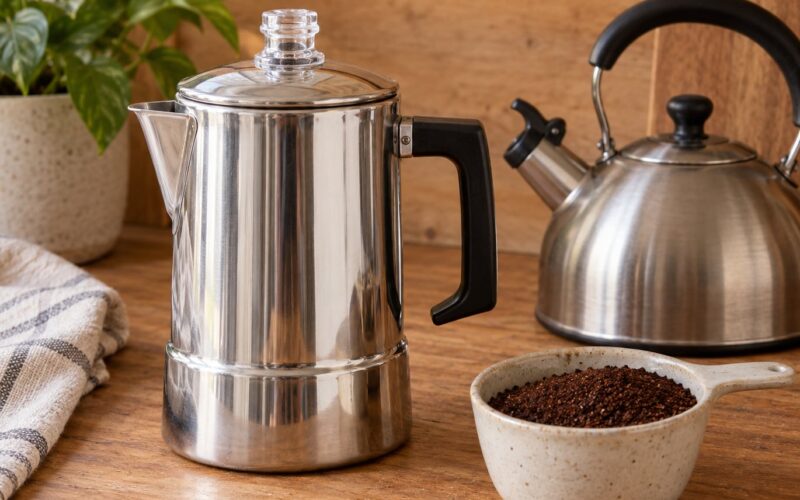
- A coffee base. A double espresso from an automatic or manual machine is the easiest canvas. A moka pot, AeroPress, or strong batch brew works too, as long as the coffee is concentrated and dark enough to show white foam against.
- Whole milk. More fat and more protein than 2%, and it is far easier to texture. Half-and-half is even richer and works well in small amounts for cappuccinos.
- A stainless steel pitcher. 12 to 20 fluid ounces is the useful range. You want a sharp spout and a shape that lets you see the milk’s surface.
- A cup. A 6 to 8 ounce ceramic cup with a flat bottom and a handle. The handle gives you something to hold steady while the pitcher hand does the work.
- A thermometer. Aim for a probe that reads 200°F or above so it survives the pitcher. Clip-on models work in a pinch.
- Optional: a flat counter or knock box for tapping the pitcher, a bar towel for wiping a wet wand, and a spot at the edge of your pour station to set the pitcher down.
Plant milks foam, but they behave differently and need a different approach. This is the honest comparison.
| Milk | Frothability | Foam stability | What to do differently |
|---|---|---|---|
| Whole dairy | Easiest | Best, holds a glossy surface for minutes | Nothing. Start here. |
| 2% dairy | Easy | Good | None, but the foam goes flat a little faster |
| Skim dairy | Moderate, hard to texture | Weak, thin foam | Steam to a slightly higher temperature for extra body |
| Oat | Good with cold, hard foam | Strong, sweet | Steam from fridge temperature, pour slowly, and use it fresh |
| Soy | Very good | Strong, slightly bean-like | Steam gently; boiling gives it a scorched taste |
| Almond | Fair | Moderate, thin | Foams easily but lacks body, so a heart can look washed out |
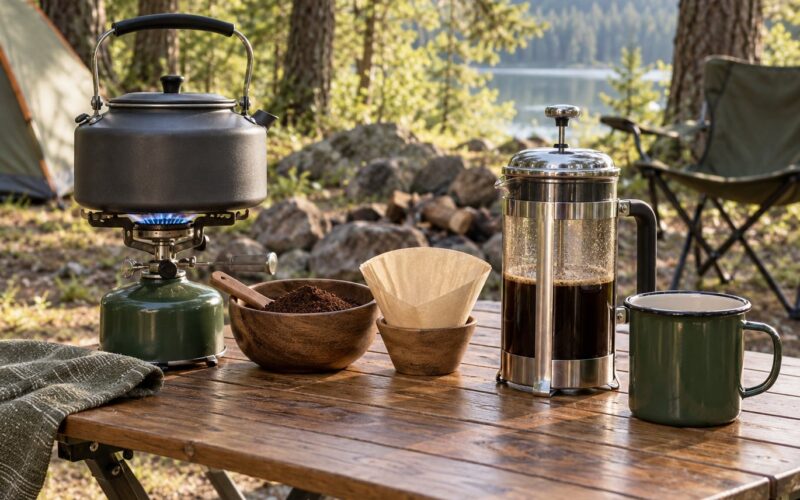
If you do not own an espresso machine, none of this stops you. A moka pot on the stove, an AeroPress pushed hard with fine grounds, a pod machine, or a batch brew reduced with extra coffee grounds all give you a dark, crema-like surface that white foam will sit on clearly. The design will not be as crisp as espresso crema, but a heart is absolutely achievable.
Step-by-Step: How to Make Latte Art at Home
Choose and Prepare the Coffee
Start with a short espresso, roughly 18 grams of coffee in the basket and 36 grams out in 25 to 30 seconds, and use that as your benchmark if your machine gives you numbers. The surface should be a deep brown with a hazelnut-colored crema across the top.
That crema is your canvas. If it is pale, thin, or streaky, the milk will have nothing to contrast against and the pattern will disappear into the cup. Swirl the finished cup on the counter to settle the crema into an even, flat surface before you pick up the pitcher.
Working without an espresso machine, aim for the same ratio of concentration: two level tablespoons of finely ground coffee to six ounces of water, brewed strong, is a reasonable substitute. Reduce it slightly so a full cup of milk does not wash out the coffee. A moka pot run slightly under-extracted is fine; a thin drip brew brewed weak is not.
Steam the Milk to the Right Texture
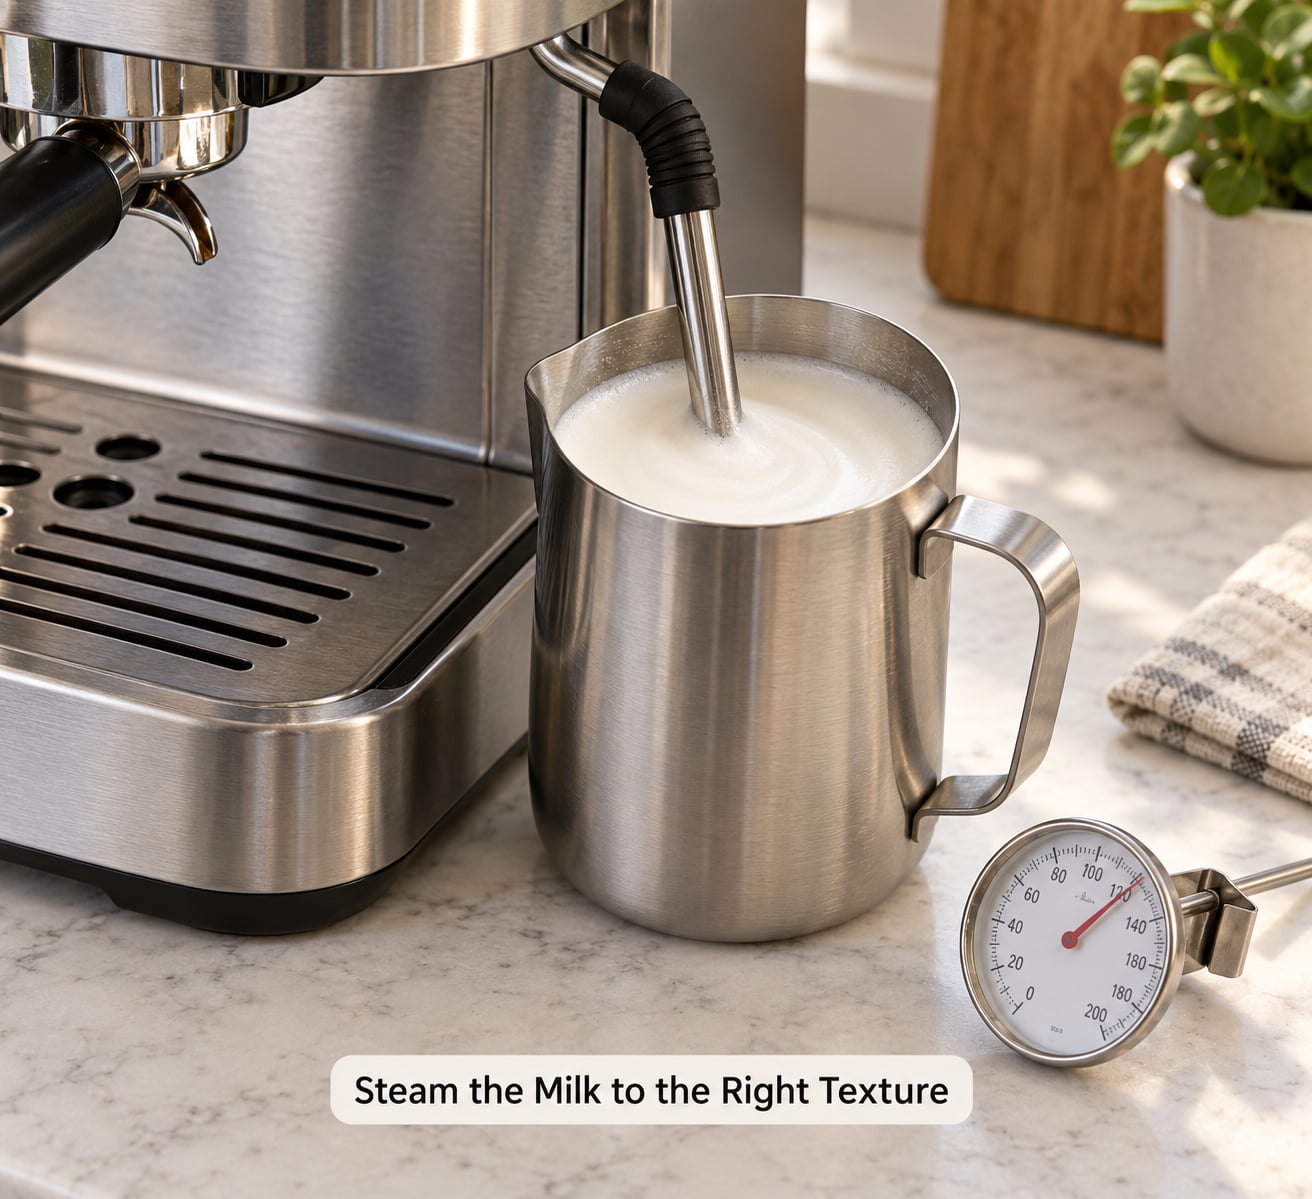
Steam milk to 140°F to 158°F, which is 60°C to 70°C. That is the target band for latte art. Below it the milk is under-textured, and above roughly 160°F the proteins set, the foam flattens, and the milk tastes scalded.
Fill the pitcher no more than a third to half full. Cold milk holds more soluble air than warm milk, so always steam from the fridge rather than from the counter, and cold milk is the reason the pour is repeatable twice in a row instead of once.
Purge the steam wand for a second, wipe it with a damp bar towel, and only then put it in the milk. Set the tip just under the surface near the side of the pitcher, with the handle in your non-dominant hand so you can turn the whole pitcher to find the position.
Turn the steam on and let the wand open a whirlpool. You are aiming for a gentle spinning motion, not a violent tornado, and the pitcher should not be roaring. Let air in early with a low hiss until the milk roughly doubles in volume, then drop the tip just under the surface so the steam stretches the foam instead of tearing more bubbles into it.
Keep the whirlpool going as the temperature climbs. When the stream of steam dissolves into a quieter, papery hiss, the milk is close to done. Break the suction with a quick dip below the surface, swirl the pitcher once, tap it gently on the counter to pop any large bubbles, and check for a glossy, wet-paint surface with no visible bubbles.
No thermometer? Put a hand on the outside of the pitcher. It should feel too hot to hold comfortably but not painful, which lands you in roughly the right zone. Watch the pitcher too: at the wrong temperature you often see a thick, matte layer forming on the surface, and that means the milk has gone past its window.
How to Make Latte Art at Home for Beginners: Pour the Base
Hold the cup handle with your pouring hand so the cup cannot drift, and tilt the cup about five degrees. This is the step that trips up most beginners, because the instinct is to set the cup down and pour into it. The handle is your anchor.
Start the pour from about two inches above the surface, letting the milk fall into the center of the cup and blend into the coffee. Keep this steady for the first few seconds to build a light base of mixed coffee and milk, which is what gives the design contrast.
Then lower the pitcher until the spout is almost touching the surface, and slow your pour down considerably. From here, the foam rides the top of the stream and paints the surface. The higher you pour, the more milk goes into the liquid body of the drink; the lower you pour, the more lands as foam.
Keep pouring until you have made a large circle that nearly fills the cup. Watch the circle grow wider and stop just before it reaches the edges, because you need a rim of dark coffee left for the pattern to sit in.
Create the Heart
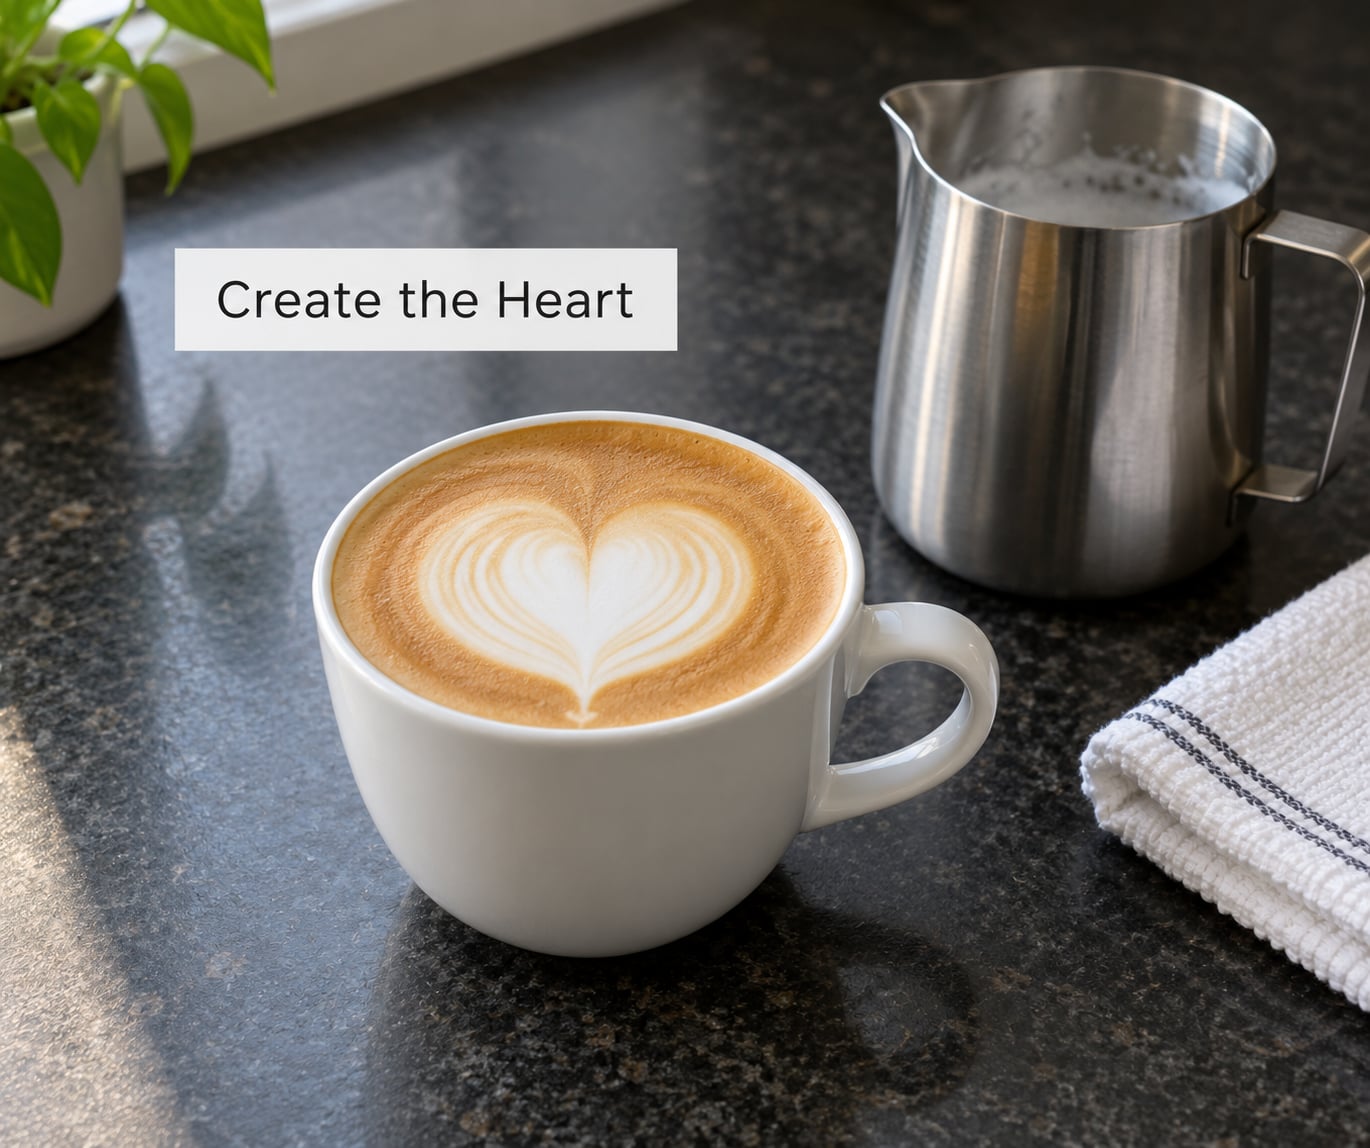
When the circle is big enough, stop pouring and lift the pitcher straight up a few inches to let the flow thin to a thread. Then move the pitcher forward through the foam, from the back of the cup toward you, in one steady motion.
That forward movement pushes the white foam into a crescent and draws a line of darker coffee through the middle. The faster and more decisively you cut, the cleaner the center line looks. Keep the pour going very slightly as you finish the cut to draw the tip of the heart, then stop.
A good heart has a pointed tip at the front, two rounded lobes at the back, and crisp edges where the white meets the coffee. If your tip is rounded and your lobes are a single blob, the pattern came out too small, which is the next thing to fix.
Common Mistakes
Almost every failed pour is one of four problems: the milk, the temperature, the pour height, or the amount of coffee in the cup. Look at what you actually got before you change anything, because guessing sends people in circles.
| What you see | Likely cause | Fix |
|---|---|---|
| Foam is coarse, bubbles visible in the cup | Air was introduced too late, or the pitcher was too full to roll | Fill the pitcher less, start air early, and hold a visible whirlpool |
| Foam is thick, flat and dull | Milk went past about 160°F, or the foam sat too long | Start with colder milk, stop at 158°F, and pour within a minute |
| White blob with no shape | Poured from too high, so foam sank into the drink | Lower the spout until it nearly touches the surface before you finish |
| Pattern is a faint smudge | Coffee volume too small, or the crema was already disturbed | Use more coffee, then swirl the cup flat and wait for the crema to settle |
| Pattern spreads across the whole cup | Base pour too slow or too long | Pour the base a little higher and faster, then lower earlier |
| No contrast between white and brown | Cold, weak, or thin coffee base | Use a shorter, more concentrated shot and let the crema hold its color |
| Design wobbles to one side | The cup moved, or the pitcher tilt changed mid-pour | Grip the handle with your pouring hand and keep the pitcher at one angle |
| Consistent on the first cup, worse on the second | Milk was not cold enough, or the pitcher was not rinsed | Rinse the pitcher and refill with cold milk for every pour |
Long-time home baristas say the same thing about this stage: the milk texture decides whether a design appears at all, and the pour only decides what shape it takes. When a pattern fails, steam a fresh pitcher and pour into a cup of water if you want to test the texture in isolation. That one habit alone will tell you whether the problem is your milk or your wrist.
Fix a Pattern That Is Too Small
A tiny, cramped heart usually means too little coffee in the cup and not enough volume poured. Use a slightly larger coffee base, keep the initial pour a little higher so it mixes more thoroughly, and stop cutting through the foam sooner so the lobes have room to open.
Widen the base circle before you cut, and finish the forward movement in about a second. If the pattern is small but the foam is good, the problem is almost entirely cup volume, not technique.
Fix a Pattern That Is Too Large
An oversized heart that bleeds into the rim means the base circle grew too wide. Bring the pitcher closer to the surface sooner, pour more slowly through the base, and stop while there is still a visible ring of dark coffee around the outside.
Lifting the pitcher higher during the final cut also shrinks the design, because the foam falls into the drink rather than sitting on top. Think of pour height as your zoom control: higher spreads the design across the cup, lower keeps it tight.
Practice More Consistently
Repetition beats talent here, and a small routine works better than occasional long sessions. Use the same cup, the same pitcher, and the same milk volume every time, so the only variable left is your hand.
Fill the pitcher to a consistent level each round, and change just one thing per pour: temperature, height, or pace. Recording a short side-view video of your steaming and your pour is the fastest self-diagnosis available, because you can see the whirlpool break down or see the pitcher jump as you start the cut.
Change one variable at a time for a week and the pattern will usually start appearing. Once the heart holds its shape on most pours, move on to a tulip, which is the same cut done in a staggered stack, and then to a rosetta, which wiggles side to side while you pour forward.
Frequently Asked Questions
What is the easiest latte art to make?
The heart is the easiest pattern because it is a single cut through the foam rather than a repeated stack. A tulip is the same cut done two or three times in a row, and a rosetta needs a side-to-side wiggle while pouring forward. Learn the heart first, get it clean on most pours, then move up.
What is needed to make latte art?
You need a coffee base with crema, milk, a stainless steel pitcher with a sharp spout, a cup with a flat bottom and a handle, and preferably a thermometer. A steam wand helps but is not required, since a handheld frother or a whisk can produce usable foam. The pitcher and the milk matter more than the machine.
Can I make latte art with regular coffee?
Yes. Latte art needs a dark, concentrated coffee with a creamy surface, not specifically espresso. A moka pot, an AeroPress pushed hard with fine grounds, pod machine, or a strong batch brew all work. Reduce the coffee slightly so a full pour of milk does not wash it out, and swirl the cup to settle the surface flat.
What is the best temperature for steaming milk for latte art?
Steam to 140°F to 158°F, or 60°C to 70°C. Below that range the milk lacks body and the foam will not hold a glossy surface. Above roughly 160°F the proteins set, the foam flattens, and the drink tastes boiled. Cold milk starting temperature also matters, since colder milk incorporates more air.
How can I practice latte art at home?
Practice in short daily sessions instead of long occasional ones. Use the same cup, pitcher, and milk volume each round, change only one variable per pour, and keep drilling one pattern until it holds its shape. Recording a side-view video of your pour and steaming shows problems you cannot feel while you are doing them.
Is it hard to make latte art?
Not to start. Steaming milk consistently takes a few days of practice, and a recognizable heart usually appears within a week or two of daily attempts. The skill is less about creativity than control: temperature, a steady whirlpool, and a low steady pour do most of the work.
Start With a Simple Heart
If you do one thing this week, make the same heart ten times in a row. Fresh espresso or your strongest coffee, cold whole milk in a small pitcher, steam to 140°F to 158°F, and a slow base pour with the spout almost touching the surface.
Finish with one forward cut through the foam and stop. Repeat it tomorrow, change one thing at a time, and the shape will show up faster than you expect. Once the heart holds, tulips and rosettas are just variations on that same cut.