If you have only ever made coffee at home with a machine, the good news is that how to brew coffee while camping comes down to three choices: pick the brewer that matches your trip, get the ratio roughly right, and rest the water before it hits the grounds. Most bad camp coffee is not the gear’s fault; it is boiling water poured straight onto fine grounds.
The whole process takes about five minutes once the water is hot, and a beginner can get a clean, strong cup on the first try. Here is the setup and the method, in the order you would actually do them at 6am.
Table of Contents
- What You Need to Brew Coffee While Camping
- Coffee
- Water
- A brewing device
- Heat source
- Containers and the rest
- Step-by-Step: How to Brew Coffee While Camping
- Step 1: Choose a Brewing Method
- Step 2: Prepare the Coffee and Water
- Step 3: Heat the Water Safely
- Step 4: Brew and Filter the Coffee
- Step 5: Serve, Adjust, and Clean Up
- Common Mistakes When You Brew Coffee While Camping
- Frequently Asked Questions
- Can I make coffee while camping without a stove?
- What is the easiest way to brew coffee while camping?
- Is instant coffee better than ground coffee when camping?
- How do I keep coffee hot throughout the morning?
- How much coffee and water should I use for two cups?
- Can I use a campfire to heat water for camping coffee?
- Conclusion
What You Need to Brew Coffee While Camping
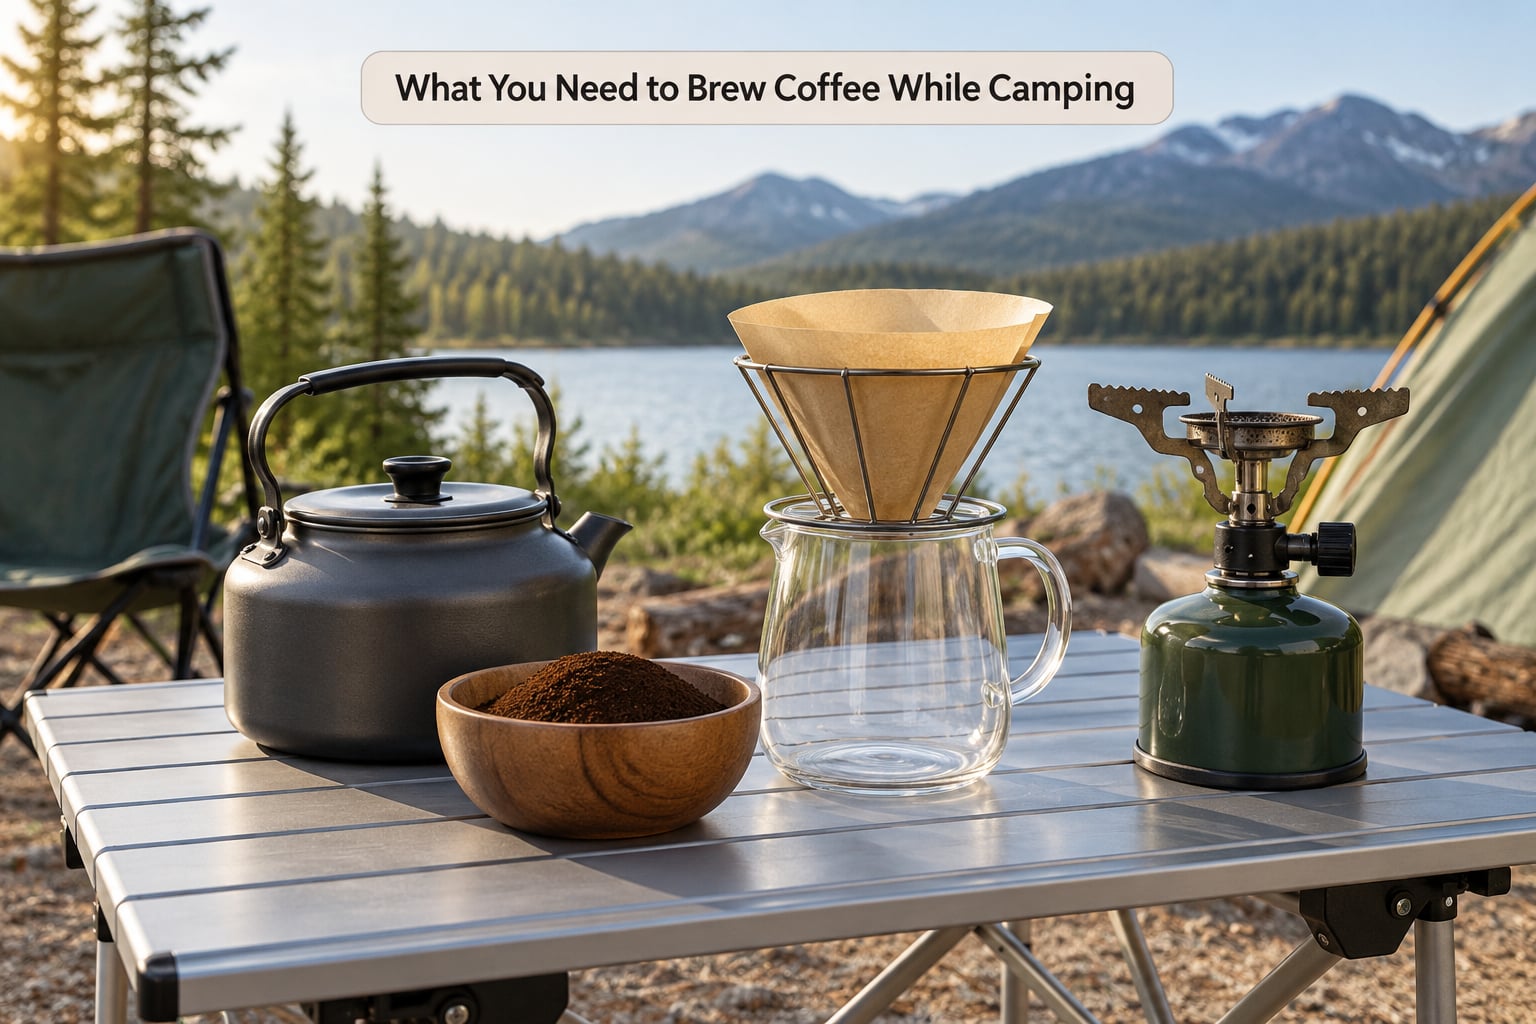
Coffee
Bring enough ground coffee for the number of cups you plan to drink. A rough rule is one tablespoon of grounds per six ounces of water, so a two-cup morning takes about three tablespoons including a little extra for the pot.
Grind size matters more than the bean you buy. Coarse grounds, like cracked pepper, suit a French press or percolator. Medium grounds, like table sugar, suit a pour-over cone. Fine grounds, like salt, suit an AeroPress or moka pot.
Water
Plan on roughly eight ounces per person per cup, plus a little for rinsing your brewer. In the backcountry that adds up, so if you are carrying a water filter, brew one mug at a time rather than filling a big pot.
A brewing device
- Collapsible pour-over cone: light, needs paper filters, best flavor-to-weight ratio for backpackers.
- AeroPress: compact, forgiving with grind size, easy to clean, works with or without filters.
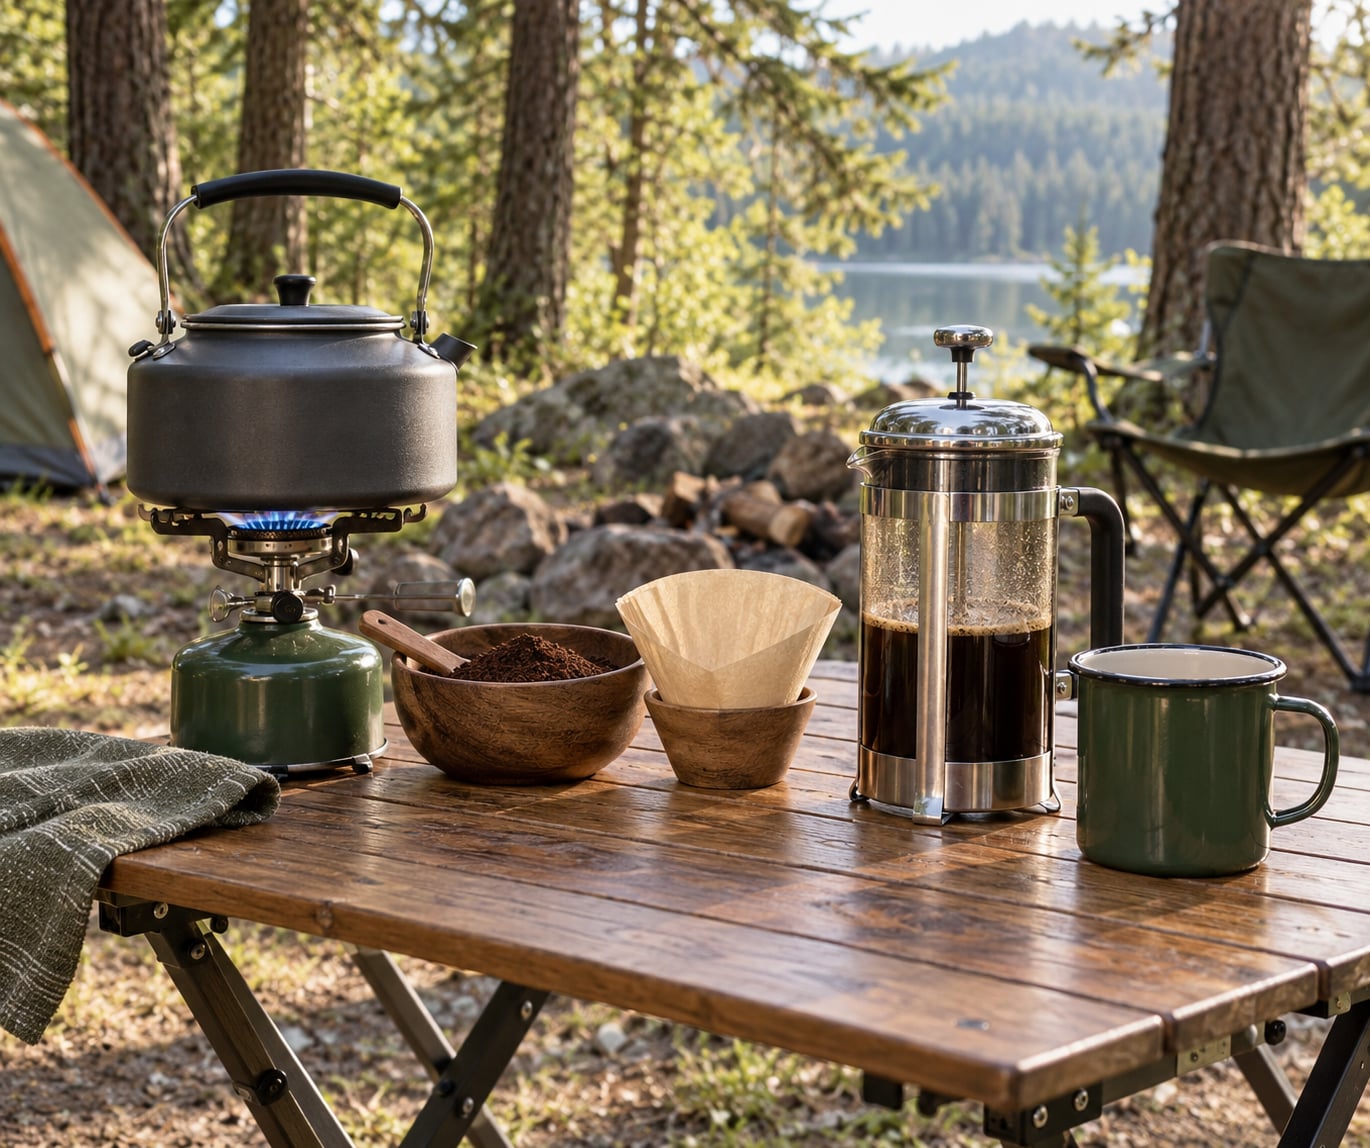
- French press: the most consistent cup and almost no cleanup beyond dumping grounds.
- Moka pot: one pot for water and coffee, produces a thick concentrated brew you dilute yourself.
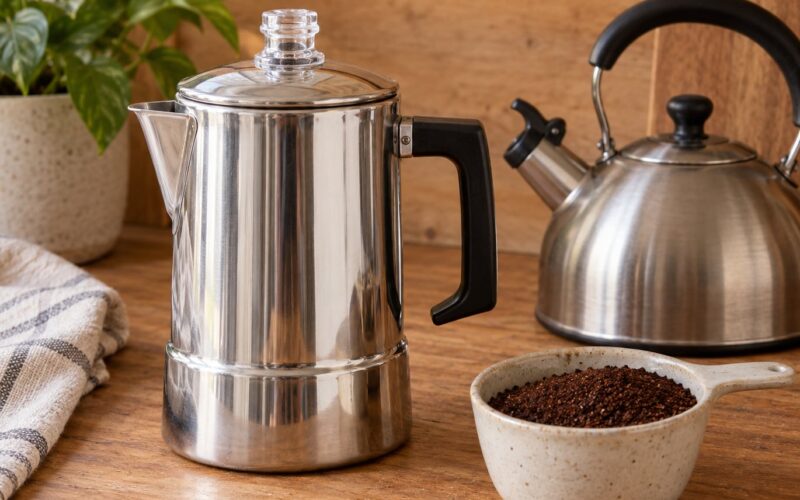
- Percolator: heavy and loud, but the only simple option for serving a group of six or more.
- Thermos or wide-mouth flask: the no-gear option. Coffee goes in dry, boiling water goes on top.
Heat source
A camp stove with a pot or kettle gives you the most control over temperature. A kettle with a narrow spout lets you pour slowly and evenly, which is the difference between an evenly extracted pour-over and a weak one.
A campfire works fine once the flames have settled into coals. So does a thermos filled the night before, if you would rather carry no stove at all.
Containers and the rest
- One mug per person, ideally wide-mouth so grounds stay out.
- A small jar or zip bag to keep ground coffee dry, plus a scoop.
- Paper filters or a reusable metal mesh filter, whichever your brewer takes.
- A spoon for stirring and a trash bag for packing out wet grounds.
- Optional but useful: a small kitchen scale, a thermometer, and a coffee grinder if you are brewing fresh.
Pre-weigh your doses at home and bag them by the day before you leave. It removes the guessing at 5am and stops a spilled bag of grounds from ending the trip.
Step-by-Step: How to Brew Coffee While Camping
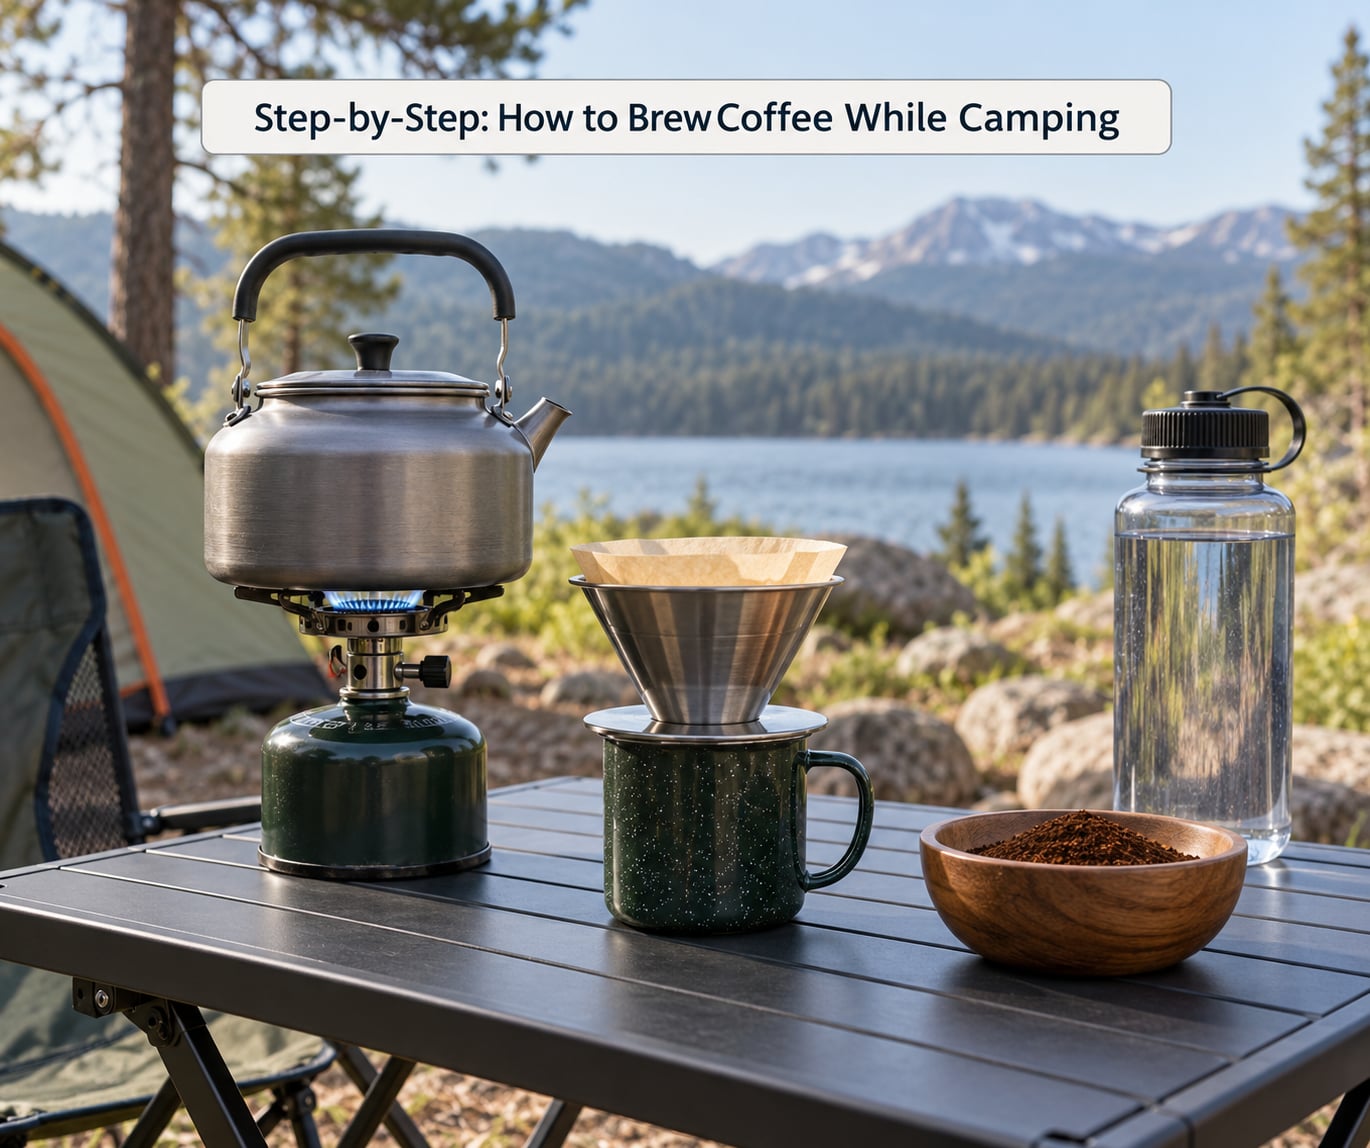
Step 1: Choose a Brewing Method
The default for most campers is a French press or a pour-over cone, because both brew in four minutes and both clean up with a small splash of water.
Weight pushes backpackers toward an AeroPress or a collapsible cone. Group size pushes everyone else toward a percolator or a large press, since brewing one cup at a time for six people means a long wait by the stove.
Read the method this way:
- Solo backpacking: AeroPress or pour-over cone, grounds in a bag, mug in hand.
- Car camping: French press, a burr grinder, and a full kettle. Nobody is counting ounces.
- Group camp: percolator or a large press, plus a second burner if you can carry one.
- No stove at all: thermos pre-brew or cold brew in a bottle.
Step 2: Prepare the Coffee and Water
Aim for roughly a 1:16 coffee-to-water ratio by weight, which is about one tablespoon of grounds for every six ounces of water. Without a scale, tablespoons work fine and nobody at camp will notice the difference.
Water temperature matters. Bring water to a rolling boil, then take it off the heat and let it sit 30 to 60 seconds before it touches the grounds. That lands the water in the 195 to 205 degree range, which is hot enough to extract flavor without scorching it.
At altitude the rules shift. Water boils at a lower temperature up high, so a flat 30-second rest at 10,000 feet can put you past the window you were aiming for, and water that never reached a full boil may need treating first with a filter or purifier. Use the timing as a guide, not a rule, and pour water that is hot enough to feel dangerous.
Preheating helps too. Rinse your mug or press with hot water before brewing. A cold vessel drops the temperature of the whole brew more than most people expect.
Step 3: Heat the Water Safely
Set the stove on bare ground or a rock, never on dry brush, and keep the pot stable so it cannot tip when you pour.
For a campfire, wait for the flames to burn down to steady coals. If the fire is roaring, the kettle gets soot and your coffee tastes like it, no matter what you do later.
Handle the kettle like a hot pan, even when it has a handle that looks cool. Pour slowly into the brewer instead of splashing water across your lap, and set the kettle back on the stove rather than on a folding table edge.
Step 4: Brew and Filter the Coffee
Each method has a slightly different rhythm, but none of them takes more than five minutes.
French press: add coarse grounds, pour the rested water, stir once, and wait four minutes. Push the plunger down slowly and stop at the surface so you do not stir up the bed of grounds.
Pour-over: set the cone on your mug, add a medium-ground scoop, and wet it with just enough water to dampen all the grounds. Wait about 30 seconds for that first pour to swell and release gas, then pour the rest in slow circles until the drip slows to a trickle.
AeroPress: add fine grounds and water, stir twice, cap it, and rest it on your mug for a minute before you press. Pressing gently produces a cleaner cup than jamming the plunger down.
Moka pot: fill the bottom with boiling water to the valve, add grounds to the basket without packing them down, and set it on the stove. When it gurgles and the stream turns pale, take it off the heat and let it rest before pouring. The brew is concentrated, so cut it with hot water.
Cold brew: combine coarse grounds and cold water in a bottle or a sealed bag, shake it, and let it sit four to six hours in the shade. Strain it through a mesh filter or a paper filter. It is forgiving and there is no heat involved at all.
Do not boil the grounds in the water. That single habit produces the bitter, gritty cup that campers complain about most, and it is the reason cowboy coffee gets a bad name.
Step 5: Serve, Adjust, and Clean Up
Taste before you add anything. If the cup is too strong, dilute with hot water a little at a time instead of pouring it out. If it is too weak, add a spoonful of grounds to the pot and let it sit another minute.
To keep a group moving, brew into a pre-warmed thermos instead of filling mugs one at a time. Everyone pours their own, and the pot is free for the second round.
Cleanup takes a minute. Tip the grounds into a sealed bag, rinse the brewer with a small splash of water, and pack the grounds and paper filters out with you. Leaving coffee grounds behind is one of the most common ways campers break Leave No Trace rules, and it attracts animals to your tent.
When the water runs short, a reusable metal filter means you can skip the rinse entirely. Rinse instead with cold water when you can, since hot water on a cold morning wastes more of your supply than the rinse does.
Common Mistakes When You Brew Coffee While Camping
Almost every disappointing camp cup traces back to one of these.
- Pouring boiling water straight onto grounds. Let it sit 30 to 60 seconds off the heat first.
- Boiling the grounds in the pot. Steep instead, then strain. Boiling pulls bitter compounds out of the coffee.
- Wrong grind for the brewer. Fine grounds in a press make silt; coarse grounds in an AeroPress taste sour and thin.
- Forgetting filters or the scoop. Bag small parts with the brewer in one stuff sack so nothing disappears into the rest of the pack.
- Storing ground coffee loose. A zip bag or a jar keeps it dry and stops the whole pack smelling like a coffee shop.
- Skipping cleanup. Wet grounds dumped at the campsite attract wildlife and pull flies, so bag them and carry them out.
- Warming the mug last. Rinsing the mug or press with hot water before brewing keeps the whole batch hot.
- Ignoring altitude. Water boils cooler in the mountains, so shorten the rest and make sure your water is safe before you skip the boil.
One more that is not on the list but catches people: brewing in the dark by headlamp in pouring rain, with a fresh bag of grounds and no filters. Check the kit the night before, not at dawn.
Frequently Asked Questions
Can I make coffee while camping without a stove?
Yes. Fill a wide-mouth vacuum flask with boiling water at bedtime and the coffee will still be drinkable at dawn. For a no-cook daytime cup, mix coarse grounds with cold water in a bottle or a sealed bag and let it steep four to six hours for cold brew. Neither option needs a burner, a lighter, or a pot, which makes them the fallback when fuel runs out.
What is the easiest way to brew coffee while camping?
For most campers, the easiest method is a French press or a single-cup pour-over cone with paper filters. Both brew in four minutes, both rinse clean with a splash of water, and neither needs power. Scoop coffee into the brewer, rest the boiled water 30 to 60 seconds, pour, wait, and drink. A thermos works too if you want zero cleanup.
Is instant coffee better than ground coffee when camping?
Neither is better. Instant and freeze-dried coffee win when pack weight matters most, since they need no brewer, no filter, and no cleanup. Freshly ground coffee wins on flavor and costs you a few extra ounces plus one rinse. Pick instant for solo ultra-light trips and ground coffee anywhere you have a pot of water and ten spare ounces.
How do I keep coffee hot throughout the morning?
Brew a full thermos rather than a single mug, and fill it completely with pre-warmed water just before pouring. An insulated vessel with a tight lid holds heat far longer than a plastic camp mug. For a group, brew one large batch and refill the thermos between pours so nobody waits on the burner while the rest drink cold coffee.
How much coffee and water should I use for two cups?
Use about two tablespoons of coarse ground coffee for two eight-ounce cups, which lands close to a 1:16 ratio by weight. In metric, that is roughly 20 grams of coffee to 500 grams of water. If the cup tastes weak, add a spoonful to the pot rather than brewing longer, since extra time pulls bitter compounds out of the grounds.
Can I use a campfire to heat water for camping coffee?
Yes, a campfire works well once the flames have burned down to coals. Set the kettle or pot on a stable rock or a grate, not on bare soil, and keep it away from dry brush. A kettle with a spout makes pouring easier and cuts the chance of a scalding, since campfire water often sits at a rolling boil the moment it leaves the flame.
Conclusion
Start before you leave: measure your coffee into daily bags, pack the filter that matches your brewer, and pick the method that fits how you actually travel. Then boil the water, rest it 30 to 60 seconds, and brew. That is the whole of how to brew coffee while camping, and the ratio is the only part worth fussing over.
If you have never done it before, bring a French press or a pour-over cone. Both are forgiving, both clean with a splash of water, and both will still make a good cup on your last day when everything else is empty and worn.