Tasting coffee like a pro at home is simpler than it sounds: brew two or three coffees side by side under identical conditions, smell each one, take small sips as they cool, and write down what you actually notice. That method has a name — cupping — and you can run a useful version of it with a scale, three cups and a teaspoon. No certification, no tasting spoons with fancy handles, no cafe vocabulary required.
What it buys you is a vocabulary. Six months of this and you can tell a washed Ethiopian coffee from a natural Brazilian one, explain why your morning cup tastes flat, and pick a bag worth buying again instead of guessing.
Table of Contents
- What You Need
- Step-by-Step: How to Taste Coffee Like a Pro at Home
- Step 1: Prepare the Coffee and Reset Your Palate
- Step 2: Look at the Coffee Before You Drink It
- Step 3: Smell the Aroma
- Step 4: Sip and Identify the Flavors
- Step 5: Judge the Finish and Write a Verdict
- Common Mistakes That Ruin Your Tasting
- Judging only the first sip
- Drinking it too hot
- Skipping the aroma
- Using a dirty or flavored cup
- Letting the bag label write your notes
- Treating bitterness as a flaw
- Frequently Asked Questions
- Do I need special equipment to taste coffee like a pro at home?
- Do you swallow or spit when tasting coffee at home?
- What grind size should I use for coffee cupping at home?
- How do I describe coffee flavors without sounding pretentious?
- What if the coffee tastes nothing like the notes on the bag?
- How many coffees can I realistically taste in one session?
- Conclusion
What You Need
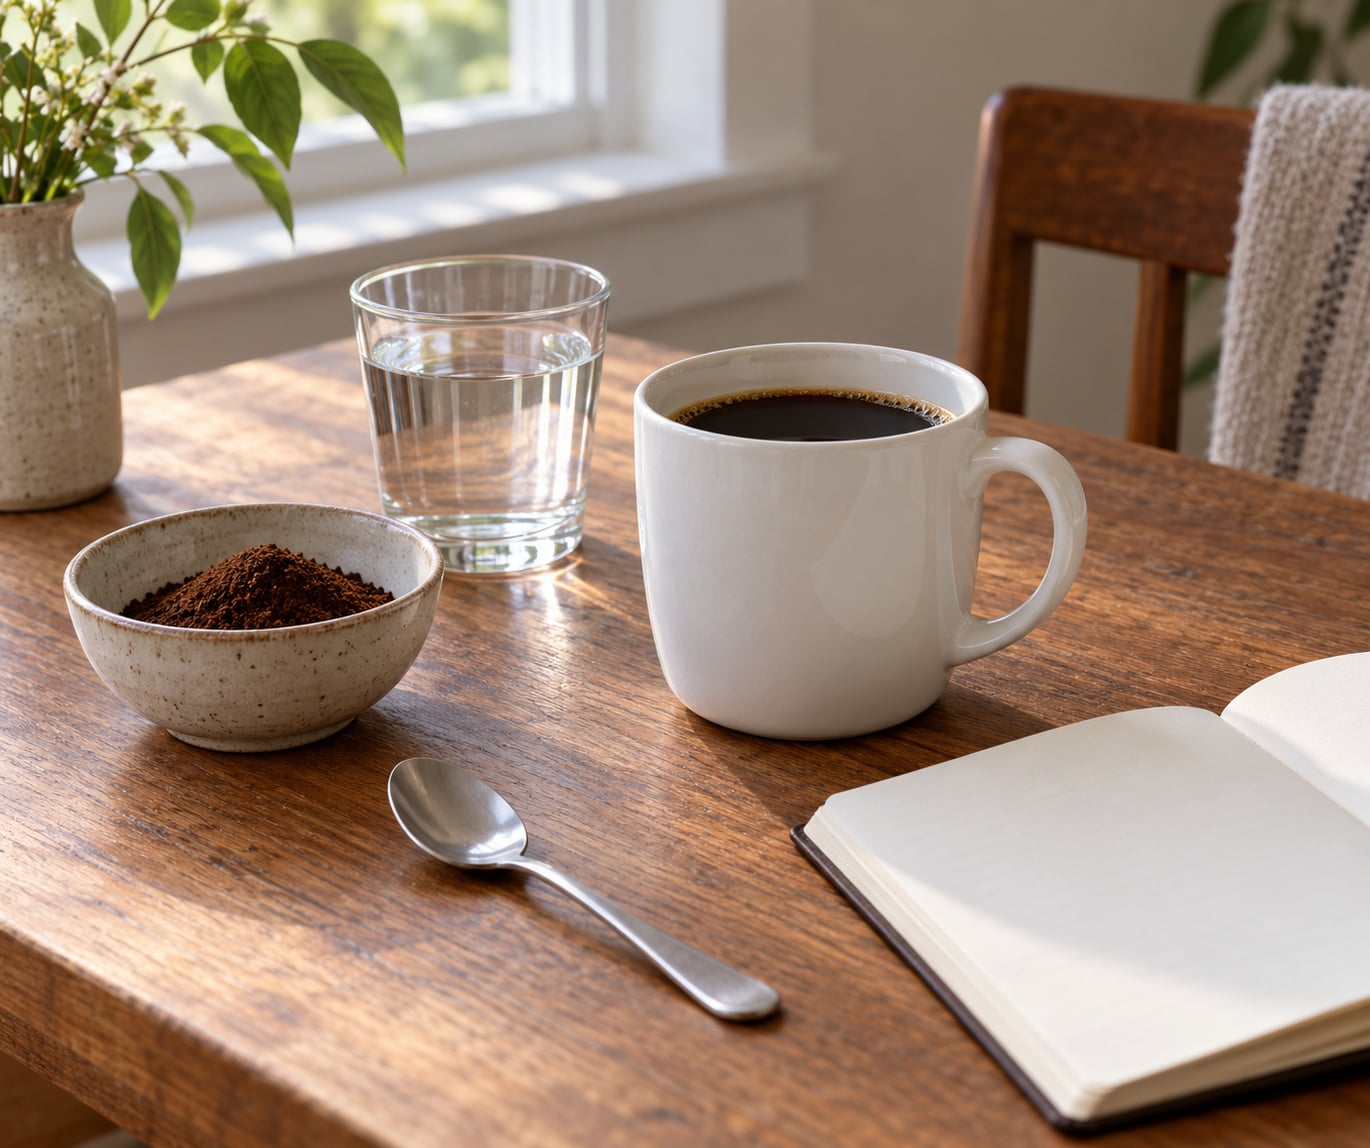
Here is the whole kit, and most of it is already in your kitchen.
- Coffee — two or three coffees, ideally from different places, roasted within the last month. Freshness matters more than anything else on this list.
- A scale — cheap digital grams are enough. Ratios are what separate a good cup from a bad one, and you cannot repeat a ratio without one.
- Cups or small bowls — three of something identical if you can. A plain ceramic mug is fine for one sample; three identical mugs are fine for three.
- A teaspoon — an ordinary one. A cupping spoon is a thicker, deeper version of the same idea.
- Kettle and filtered water — boil, then let it sit about a minute, to roughly 93 °C (200 °F). Boiling water scalds the grounds and flattens the aroma.
- Water and something neutral to eat — plain crackers or a piece of plain bread. Your palate gets tired fast, and the fix is food and water, not willpower.
- A notebook — or the notes app. Write during the tasting, not afterwards, while the memory is intact.
If you buy one thing, buy the scale. Everything else on the list is optional, and a good home tasting can be done with a mug, a spoon and a kitchen timer.
Step-by-Step: How to Taste Coffee Like a Pro at Home

Step 1: Prepare the Coffee and Reset Your Palate
Brew every sample the same way. Use the SCA cupping ratio of about 8.25 g of coffee for every 150 ml of water, or a slightly stronger 12.5 g per 200 ml if you prefer a bigger cup, and apply it to all three samples without exception. Grind medium-coarse, roughly the texture of sea salt — too fine and the cup turns silty and hides the coffee, too coarse and it tastes thin and sour.
Pour the water, wait four minutes, then skim any foam off the top with your spoon. Start with a sip of water and a bite of your neutral snack to clear whatever you ate before. Do not eat anything strongly flavored, and if you smoke or vape, give it a few minutes first. Your palate has to be clean for this to work at all.
Step 2: Look at the Coffee Before You Drink It
Appearance is a clue, not a verdict. Tilt the cup toward a window and note the color: lighter roasts tend toward amber and brown, darker roasts toward near-black, and anything with a grayish cast usually means the coffee sat too long after brewing. Check the clarity too — a filter or paper strainer leaves sediment at the bottom, and suspended fines are the fastest sign of a grind that is too fine.
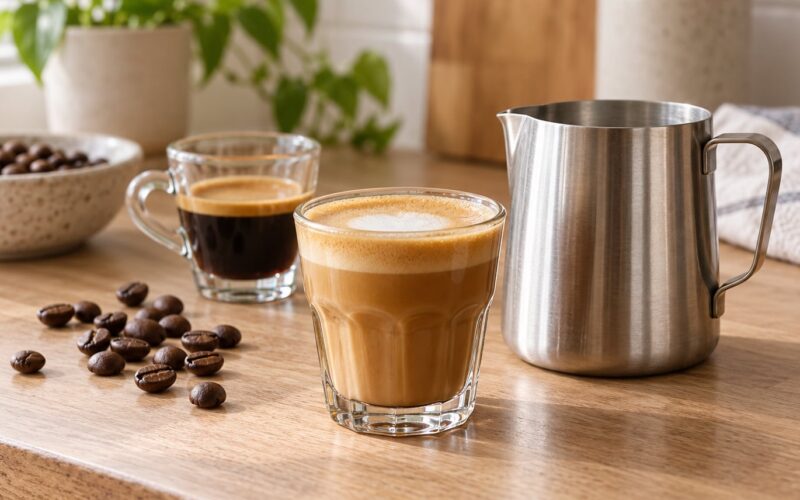
Coffee with a visible crema, that pale layer on the surface of an espresso, tells you the beans are fresh, because carbon dioxide gas escaping the roast is what holds those bubbles in place. In a filter cup you will not see crema, and that is fine. What you are really looking for is whether the liquid looks alive or dull.
Step 3: Smell the Aroma
Smell the dry grounds in the bag or bowl first. That is the fragrance, and it is usually the most concentrated, clearest signal you will get — roast character, freshness, anything scorched or musty. Then smell the wet coffee, the aroma, which is broader and softer because water has released more of the aromatic compounds.
Cup the bowl or cup in both hands to hold the aroma over the surface, and inhale slowly through your nose. Most people, including trained tasters, underestimate how much of what they call flavor is actually smell. Start broad before you get specific: is it floral, fruity, nutty, chocolatey, earthy, spicy, or smoky? Pick one of those, then narrow down.
There is a technique that sharpens all of this: draw air in through the nose while a spoonful of coffee sits at the back of your tongue. Coffee releases its aromas far more readily through the back of the throat than through the front of the mouth. It feels strange the first few times and then becomes automatic.
Step 4: Sip and Identify the Flavors
Stir each cup and take a spoonful, then slurp it. Slurping is not theatre — it spreads the coffee across your whole palate instead of letting it hit one spot, and it aerates the liquid so more volatile aromatics reach your nose. Take the cup away from your face rather than tipping it, and let the coffee cool to somewhere around 60 °C (140 °F) before you judge it. Too hot to taste properly is the single most common beginner mistake.
Now taste for five things, one at a time:
- Sweetness — is there any sugar-like impression at all, or is the cup just dry? This is the anchor. A coffee with no sweetness rarely recovers later in the cup.
- Acidity — is it bright and lively, like lemon or apple, or flat and dull, like milk? Bright is good. Sharp and painful, with a pucker in your jaw, means the cup is under-extracted or the water was too hot.
- Body — the weight and texture on your tongue. Tea-like and thin, or syrupy and heavy? Body is mouthfeel, not strength. A light roast can be syrupy and a dark roast can feel like tea.
- Flavor — the actual descriptors. Once the first four are clear, specific words come easily.
- Finish — what is left 30 seconds after you swallow, and how long does it stay?
Sip again as the cup cools to room temperature. Coffee tastes different hot than cold: acidity softens, sweetness becomes more obvious, and light roasts often open up dramatically. If you only ever taste coffee hot, you are tasting a different drink than a cafe cupping table.
Step 5: Judge the Finish and Write a Verdict
Let the last sip sit. A good cup leaves a pleasant, lingering trace — length and quality both count, and a short clean finish is worth more than a long one that turns ashy. Then rate it honestly in words rather than numbers: clean, balanced, harsh, sour, dull, or simply not for you.
Write your notes while the cup is still in front of you. One line per coffee is plenty: date, origin and roast if you know them, then five words for sweetness, acidity, body, flavor and finish. After three or four sessions you will start seeing patterns — which origins you enjoy, which roasters you buy from again, and what you actually want in a cup.
Common Mistakes That Ruin Your Tasting
Judging only the first sip
The first sip is your least calibrated one. Set the cup down, then taste it again at three temperatures, hot, warm and cool. Most bad-looking coffees improve considerably as they cool.
Drinking it too hot
Anything above roughly 70 °C numbs your palate and kills your sense of sweetness and acidity. Wait. This is the fix with the biggest payoff for the least effort.
Skipping the aroma
If you go straight from pouring to sipping, you are tasting with half your senses switched off. Smell the dry grounds, smell the wet surface, then smell again mid-sip. Fifteen extra seconds changes everything you notice afterwards.
Using a dirty or flavored cup
Yesterday’s cocoa in the mug will invent flavors that are not in the coffee. Wash the cups, use three separate spoons if you are comparing samples, and rinse the spoon between cups. Pulling coffee residue off a spoon with hot water between samples matters more than people expect.
Letting the bag label write your notes
Read the label last, after you have written what you tasted. Readers who cup coffee regularly say that knowing a coffee is Ethiopian makes them taste stereotypical Ethiopian notes rather than what is actually in the cup. If your notes say peanut butter and the bag says jasmine, trust your palate. There are no wrong tasting notes, only different ones.
Treating bitterness as a flaw
Bitterness is a roast and brew signal, not a verdict on quality. A cup can be bitter and thin because it was over-extracted, or bitter and deep and genuinely good. Judge bitterness against the body: drying and hollow means over-extracted, rich and lingering means it belongs there.
Three habits worth keeping: taste blind when you can, by covering the labels or using cups you cannot identify, because it removes almost all bias. Rinse your spoon and eat a cracker between samples so each cup tastes like the first one did. And cup two coffees side by side before buying anything new, because a single sample tells you nothing about whether you would drink the whole bag.
Frequently Asked Questions
Do I need special equipment to taste coffee like a pro at home?
No. A scale, three identical cups, a teaspoon, a kettle and a notebook cover almost everything. Professional cupping spoons and bowls are nice, but they are thicker, deeper versions of what you already own. The one item genuinely worth buying is a cheap digital scale, because repeatable ratios do more for your tasting than any other piece of gear.
Do you swallow or spit when tasting coffee at home?
Both are acceptable. Swallowing is fine for a casual tasting of one or two cups. If you are cupping three or more coffees back to back, spit into a cup or the sink between samples so caffeine does not stack up. Most home cuppers keep the session under about 25 minutes for exactly this reason.
What grind size should I use for coffee cupping at home?
Medium-coarse, somewhere between table salt and sea salt. Fine grounds make the cup silty and can mask delicate flavors, while coarse grounds under-extract and leave the cup thin and sour. If you only own a blade grinder, pulse in short bursts and accept some unevenness, or buy a burr grinder when it is convenient.
How do I describe coffee flavors without sounding pretentious?
Describe the sensation first, then the reference. Instead of simply jasmine, say floral, like jasmine, if you need it. Instead of berry, say juicy and sweet with a sharp edge. Professionals do this too, and they lean on shared references like fruit, nuts, chocolate, spices and dairy. Write what you noticed before what you think it should have been.
What if the coffee tastes nothing like the notes on the bag?
Trust your palate and keep your notes. Bag labels are written by roasters to describe a typical profile, not a guarantee for your roast, brew and water. Age since roasting, a stale bag and your own brewing choices all shift the result. Write what you tasted, and if you keep getting the same impression across several sessions, you have found your own reliable reference.
How many coffees can I realistically taste in one session?
Two to four is the sweet spot at home. Each sample needs about four minutes of brewing and ten minutes of cooling before it tastes its best, so a three-coffee session runs around 25 minutes. Beyond four, your palate fatigues and your notes start reflecting tiredness rather than coffee. Short sessions, repeated weekly, train far better than one long one.
Conclusion
Start smaller than you think. Brew one clean cup at the SCA ratio, smell the dry grounds and the wet surface, then sip it slowly as it cools to room temperature. Write down the clearest single impression you have before you change anything about your beans, your grind or your method.
Do that three weeks running with three different coffees and you will already be tasting coffee more carefully than most of the people who drink it every day. That is the whole method. Everything after it is practice.