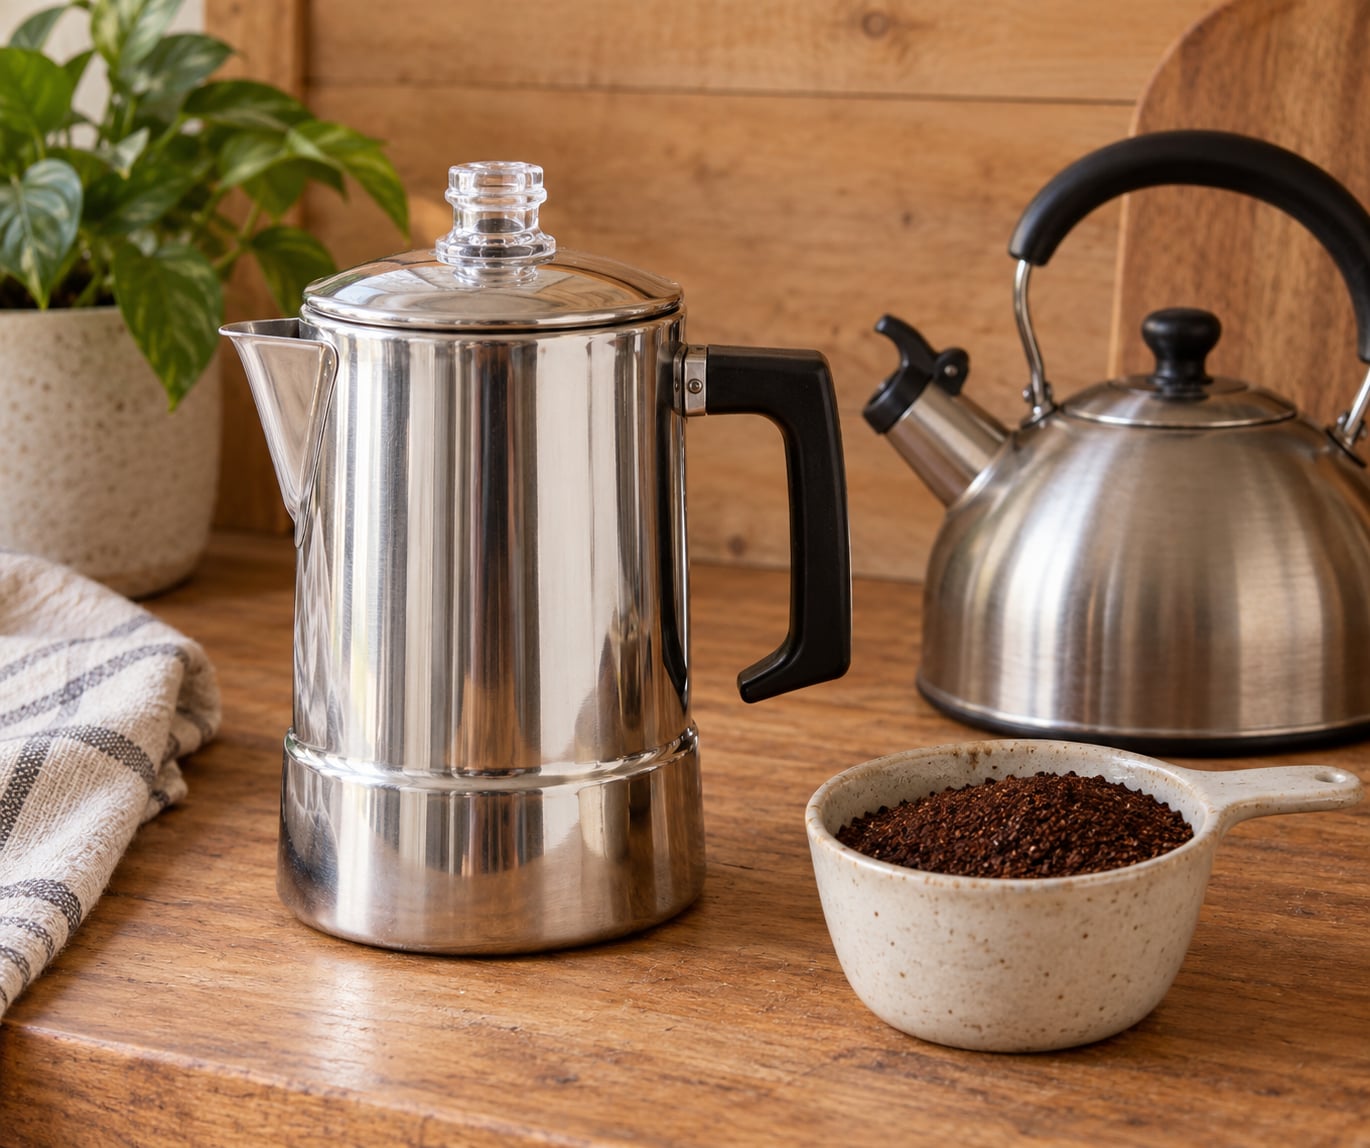
Fill the bottom chamber with cold water up to the max fill line, add about 2 tablespoons of medium-coarse grounds per cup, screw the stem and basket together, and heat on medium until the coffee rises and turns dark brown. Perking takes 5 to 7 minutes, then let the pot sit 2 to 5 minutes before you pour.
If you have never used one, the whole thing takes about 15 minutes start to finish, and there is no electricity involved. Learning how to make coffee with a percolator is mostly about two numbers: how much coffee goes in the basket, and how long you leave it on the heat after it starts to perk.
Table of Contents
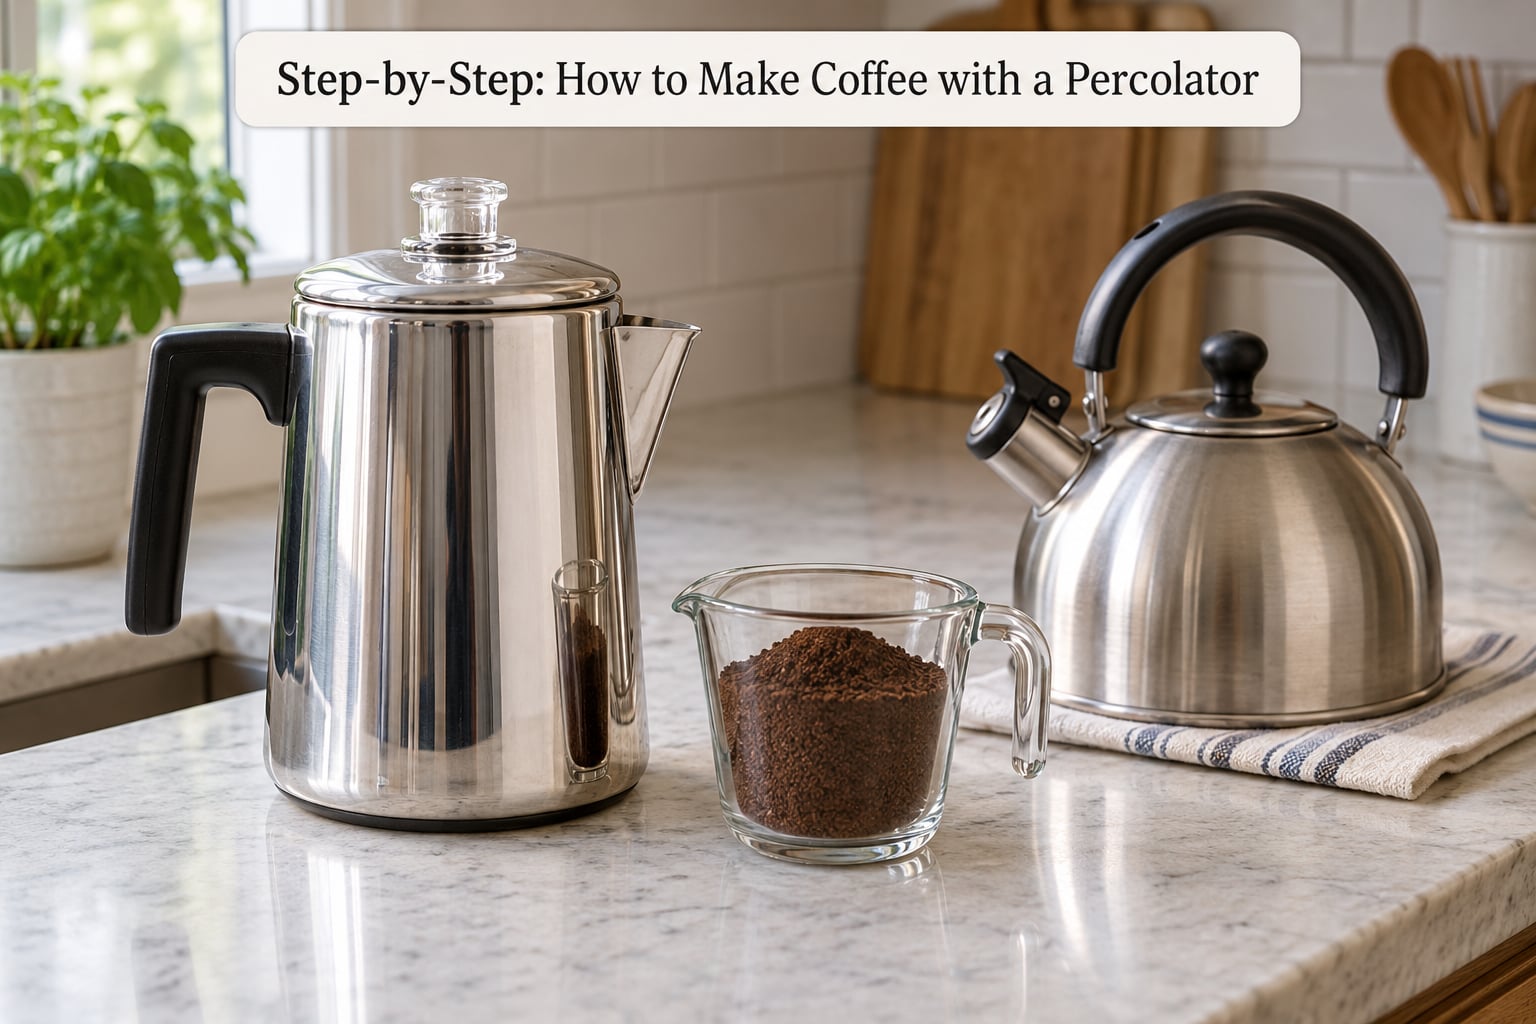
- What You Need
- Step-by-Step: How to Make Coffee with a Percolator
- Step 1: Choose the Right Coffee Grind
- Step 2: Measure the Coffee and Water
- Step 3: Fill and Assemble the Percolator
- Step 4: Heat the Percolator
- Step 5: Watch the Brewing Cues
- Step 6: Remove, Rest, and Serve
- Step 7: Clean and Maintain the Percolator
- Common Mistakes
- Weak coffee when you make coffee with a percolator
- Bitter, harsh coffee
- Boil-over and scorched coffee
- Grounds and silt in the cup
- Frequently Asked Questions
- How much coffee and water should I use in a percolator?
- How long does coffee take to brew in a percolator?
- What grind size is best for a coffee percolator?
- Can I use a stovetop percolator on a gas or electric stove?
- Why does my percolator coffee taste bitter?
- Can I reheat coffee made in a percolator?
- Start with the Right Ratio
What You Need
- A stovetop or electric percolator, plus the percolator basket and stem that came with it
- Fresh coarsely ground coffee, about 2 tablespoons per 5 fl oz percolator cup
- Cold water, measured
- A long-handled spoon or small spatula for leveling the grounds
- A timer or your phone, because the last few minutes matter more than you would think
- A kettle of hot water for rinsing the pot after brewing
One piece of vocabulary first, because it causes most of the confusion: a percolator cup is 5 fluid ounces, not 8. A “12-cup percolator” holds about 60 fl oz, which is roughly seven mugs. If you dose for eight-ounce mugs you will come out badly under-strength.
The second thing to sort out is your heat source. A stovetop percolator works on gas, on a coil or ceramic electric burner, and over a campfire. Not every pot is induction compatible, so check the base: stainless steel and induction-ready models are clearly marked, and most older aluminum percolators are not. Electric percolators have their own cord and heating element, so they never touch your stove at all.
| Percolator type | Heat control | Best for | Watch out for |
|---|---|---|---|
| Stovetop | You set the burner yourself | Camping, cabins, RVs, no power, big batches | Boil-over if the flame is too high |
| Electric | Fixed thermostat, usually around 200F | Daily use at home, hands-off brewing | No control over the perk time, so watch the knob |
Step-by-Step: How to Make Coffee with a Percolator
Step 1: Choose the Right Coffee Grind
Use a medium-coarse grind, somewhere between table sugar and coarse sea salt. That is the single biggest decision you make, because percolator baskets are perforated metal and anything fine enough to fall through will end up in your cup as silt.
Grind size also changes the pace of brewing. A coarse grind slows the water down, which lengthens each cycle and usually leaves you with a stronger brew and less bitterness. Too fine and water races through the basket in seconds, the first cycle comes up weak, and the pot keeps cycling thin coffee until it tastes flat and over-extracted.
Dark roasts, medium-dark roasts and breakfast blends all handle the percolator well. They carry enough body to stand up to the repeated cycling, which a light single origin does not, since its fruit and acidity notes get boiled away before you ever taste them.
Step 2: Measure the Coffee and Water
Measure with tablespoons, not scoops of unknown size. Start at 2 tablespoons per percolator cup and adjust from your first brew. Add water to the max fill line for a full-strength pot, or go one-third lower if you like a lighter cup.
| Pot size | Water to the max line | Coffee at 2 tbsp per cup | That fills roughly |
|---|---|---|---|
| 6 cups | 30 fl oz | 12 tbsp | 3 eight-ounce mugs |
| 9 cups | 45 fl oz | 18 tbsp | 5 eight-ounce mugs |
| 12 cups | 60 fl oz | 24 tbsp | 7 eight-ounce mugs |
| 20 cups | 100 fl oz | 40 tbsp | 12 eight-ounce mugs |
| 40 cups | 200 fl oz | 80 tbsp | 25 eight-ounce mugs |
Do not under-fill the pot. Brewing three mugs in a 12-cup percolator is the most common reason people report weak coffee: the water never rises high enough to reach the basket, so the grounds barely get wet. Fill to the line and drink what you need, saving or freezing the rest.
Step 3: Fill and Assemble the Percolator
Pour cold water into the bottom chamber until it hits the max fill line. The coffee comes last, so it does not sit in scalding water while you fumble with the lid.
Drop the basket into the stem, add your measured coffee, and level it off with a spoon. Do not pack or tamp it down. A loosely filled basket lets water circulate through the grounds, and pressing hard slows flow and gives you uneven brewing with some grounds over-extracted and some barely touched.
Screw the stem and basket onto the filled bottom chamber, then set the top and lid on. Most stems have a rubber or silicone gasket at the bottom; if it is pushed up out of place, push it back down until it seats flat, or steam will escape and the pot will never percolate.
Step 4: Heat the Percolator
On a stovetop, set the burner to medium and leave it there. High heat gets you coffee faster and gives you boiled, scorched coffee at the same time, because once the water starts percolating the pot cannot regulate its own temperature.
Over a campfire, let the coals burn down to a steady bed of embers first, set the pot in the middle rather than on a flame, and raise it with a stick or a folding pot holder if the coals are uneven. On a propane camp stove, medium again, with the pot on a wide burner rather than a tiny one.
Electric models switch on at the base, heat to roughly 200F, and hold there on their own. Most shut themselves off when the brew is done, but many then keep the pot warm on the base, which keeps cycling it. Lift the top off and set it on a heat-safe surface if you are not pouring immediately.
Use a heat-resistant glove or a folded towel. The handle and the metal body get far hotter than the coffee inside, and steam from the vent on top will scald you if you lean in.
Step 5: Watch the Brewing Cues
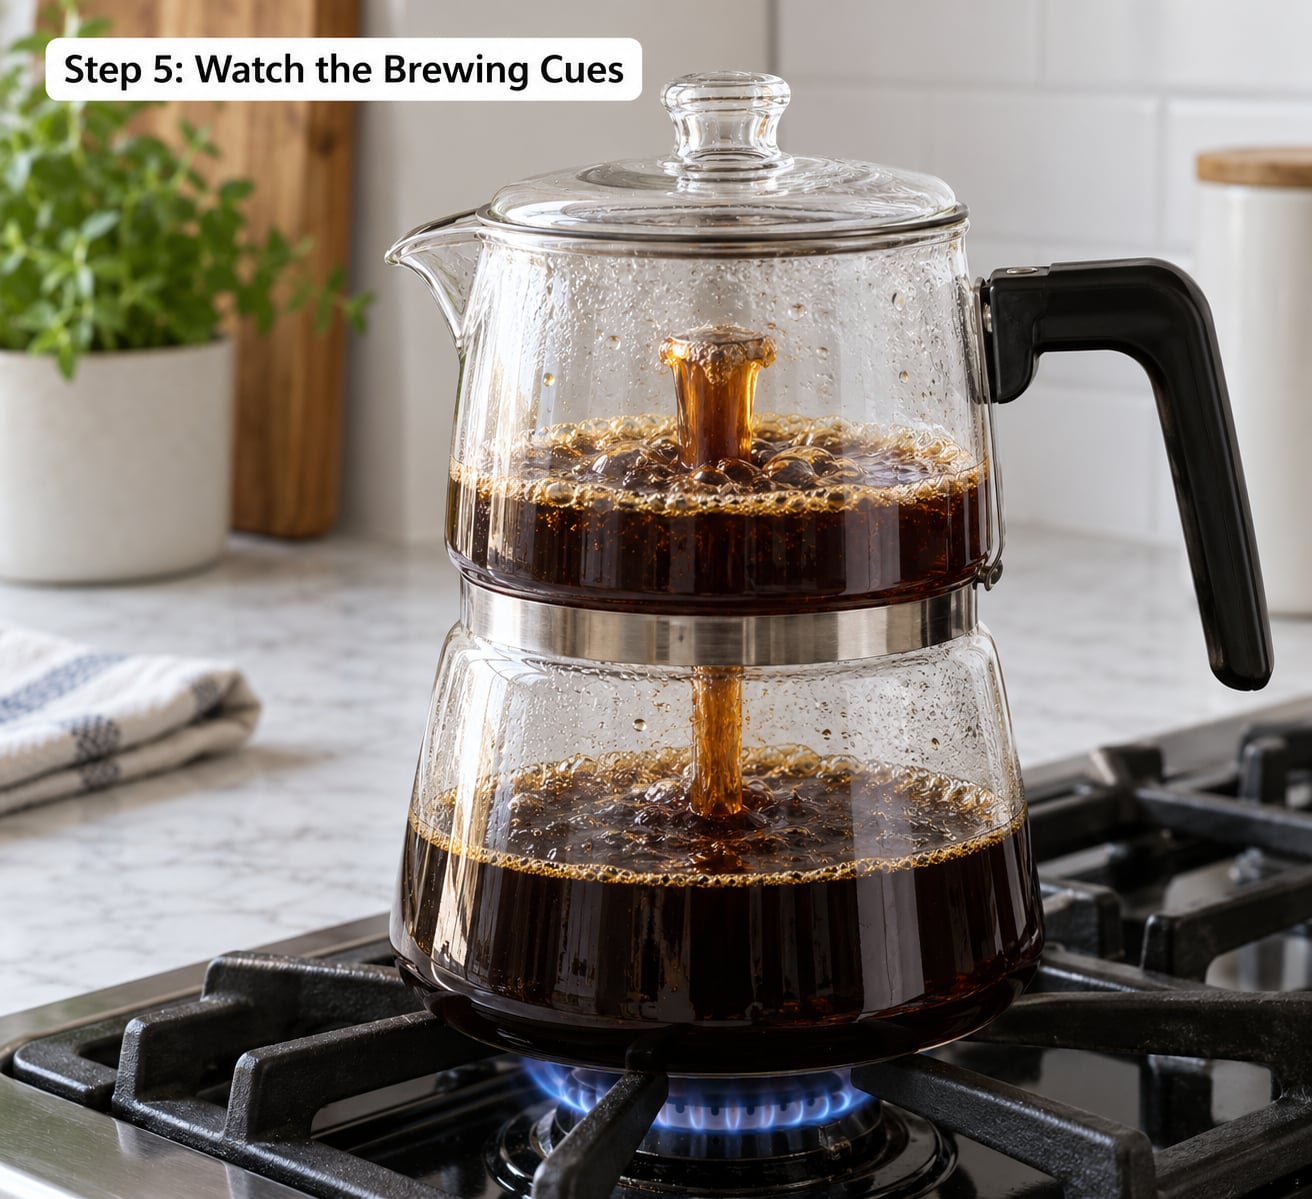
The first sign that things are working is sound: a bubbling, gurgling noise from the stem. A few minutes later, dark coffee rises into the top chamber through the knob or the glass lid. That first surge is the strong brew, and it is when the pot tastes best.
Keep watching after it looks done. As the top chamber fills, it pushes liquid back down the stem, and the same water runs over the grounds again. This is the part people miss. Every extra cycle pulls more bitterness out of the coffee, so the brew goes from rich to harsh if you leave it.
The glass knob is your gauge. Pale tan at the first surge, deep brown once the basket is full and cycling. Dark near-black means you have gone too far. Use the color, not a timer, since pot size and burner strength change the clock every time.
Step 6: Remove, Rest, and Serve
When the basket is about three-quarters full of dark brown coffee, take the pot off the heat. Most longtime users pull the basket out on its stem at that moment rather than waiting for the pot to stop on its own, and that single habit removes most of the bitterness complaints.
Let it rest 2 to 5 minutes with the lid on. The grounds settle to the bottom of the basket, and pouring from the top rather than straight into a mug means the last cup is as clear as the first.
Taste before you adjust. Weak means add coffee next time, not water now. Bitter means use a coarser grind or pull it sooner. Strong means dilute with hot water, and there is no faster fix than serving it over ice for iced coffee, which also softens anything the pot over-extracted.
Step 7: Clean and Maintain the Percolator
Let the pot cool completely before you touch water in it. Cold water on a hot pot warps the metal, and a warped pot will not seal properly on the next brew.
Rinse the top chamber with hot water, then lift the basket off the stem and wash it with dish soap and a brush or a bristled tube cleaner pushed down the stem holes. Coffee oils trapped in those holes are the source of the stale, musty taste people complain about weeks later.
For a deeper clean, fill the bottom chamber with equal parts water and plain white vinegar, reassemble it, and put it on the stove for 15 minutes. Rinse thoroughly afterward, twice, so no vinegar smell carries into the next pot. A kettle of hot water poured through the assembled pot does the same job without the stove.
Dry every part on the counter before storing, and keep the stem and gasket with the pot. Trapped moisture plus trapped coffee oils is what turns a good percolator into one that tastes like yesterday.
Common Mistakes
Almost every bad percolator batch traces back to dose, grind, heat or time. Here is how to tell which one you have.
Weak coffee when you make coffee with a percolator
Weak, watery coffee comes down to too little coffee, too little heat, or too short a time. Add 2 tablespoons per percolator cup instead of one rounded scoop, confirm the burner is on medium rather than low, and let the basket fill at least halfway before you pull the pot. If the pot only ever reaches a pale tan, the grounds may also be too coarse for that basket: go one step finer, or add a percolator disc filter.
Check the stem and basket for clogging too. Old coffee oil narrows the holes and the water trickles through instead of cycling, which produces thin coffee no matter how much you dose.
Bitter, harsh coffee
Bitterness means over-extraction, and in a percolator it comes from repeated cycling rather than one long soak. Pull the pot off the heat the moment the basket reaches three-quarters full, or lift the basket out on its stem. Then grind a step coarser and check that your burner was on medium, not high.
A small pinch of salt in the grounds before brewing also softens bitterness. It does not fix over-extraction, but it takes the edge off while you adjust your technique.
Boil-over and scorched coffee
Boil-over is a heat problem. Turn the burner down one notch, use a diffuser plate if you have one, and keep the lid on, since the steam pressure under the lid slows the surge. Never lift the lid during brewing to peek, because dropping the pressure pulls hot liquid back down the stem and can boil it over the rim.
Scorched coffee means the bottom chamber boiled dry with no water left to circulate. It also leaves a burnt ring on the pot that will flavor the next batch, so scrub it with a paste of baking soda and water while the pot is cool.
Grounds and silt in the cup
Silt comes from a grind that is too fine for the basket. Switch to a medium-coarse grind, one step coarser than your current bag, and make sure the basket sits flat on the stem so it cannot tip and let grounds spill over the rim.
Letting the pot rest 2 to 5 minutes before pouring also helps, and a disc filter catches fines that slip past the perforated basket. Store your coffee in an airtight can away from the stove, because ground coffee picks up moisture fast and goes muddy within days.
Frequently Asked Questions
How much coffee and water should I use in a percolator?
Use about 2 tablespoons of medium-coarse grounds for every 5 fl oz percolator cup, and fill the bottom chamber to the max line. That means 24 tablespoons for a 12-cup pot, which holds 60 fl oz, or roughly seven eight-ounce mugs. Brewing less water than the pot’s rating is the usual cause of weak coffee, because the water never rises high enough to reach the basket.
How long does coffee take to brew in a percolator?
About 5 to 7 minutes of active percolating after the water starts bubbling, measured from the first dark surge into the top chamber. Full pot to pour takes roughly 15 minutes including assembly and the 2 to 5 minute rest. Use the color of the coffee in the glass knob rather than the clock, since burner strength and pot size shift the timing from stove to stove.
What grind size is best for a coffee percolator?
Medium-coarse, somewhere between table sugar and coarse sea salt. Percolator baskets are perforated metal, so finer grounds fall through and show up as silt in your cup. A coarse grind also slows the water down, which lengthens each cycle and gives a stronger, less bitter brew. If coffee still leaks through, step up one grind size or add a percolator disc filter.
Can I use a stovetop percolator on a gas or electric stove?
Yes, and medium heat on either one. On gas, keep the pot centered over the flame and never set it on high, because the pot cannot regulate its own temperature once water is moving. On a coil or ceramic electric burner, medium heat works the same way. Most aluminum and older stainless models are not induction compatible, so check the base before trying a flat induction cooktop.
Why does my percolator coffee taste bitter?
Percolator water rises and falls through the grounds again and again, and every extra cycle pulls more bitterness out. The fix is timing: take the pot off the heat when the basket reaches about three-quarters full, or lift the basket out on its stem at that point. Grind one step coarser, keep the burner on medium, and if the pot is already a favorite, a small pinch of salt softens the edge.
Can I reheat coffee made in a percolator?
You can, but reheat gently and only once. Warming it on a stove or in the microwave keeps pushing bitter compounds out of the coffee, so a low and slow approach matters more than speed. A better move is to brew a fresh smaller batch, or pour the leftovers over ice to make iced coffee, which dilutes any bitterness and gives you a second drink from the same pot.
Start with the Right Ratio
If you only change one thing after today, measure the ratio properly before your next pot. Check the capacity stamped on your percolator, use 2 tablespoons of medium-coarse grounds for every 5 fl oz cup, and fill the water to the max line. That single habit fixes more bad batches than any other.
Then adjust from what you taste. Weak means more coffee next time, bitter means pull it off the heat sooner or grind coarser, and grounds in the cup mean one step coarser still. Keep a note on your phone with the last few adjustments, because a percolator rewards consistency more than most brewers do.
This guide reflects the method as of 2026, and it is current for both stovetop and electric models. Once you have two or three batches behind you, you will stop looking at the knob and start trusting the sound.