Frothing milk without an espresso machine takes one pan, a thermometer and about five minutes: heat the milk to somewhere between 140 and 165°F (60 and 70°C), then put air into it with a whisk, an immersion blender or a lidded jar. That combination is all a steam wand does. Get the temperature right and any of those tools produces a foam you can drink.
The steam wand gets the credit because it does two jobs at once, heating and aerating. Separated, the jobs are easy, and the second one only takes a couple of minutes. This guide covers the tools worth using, the temperature that decides whether the foam holds, and the honest limits of what a wand-less setup can produce.
Table of Contents
- What You Need
- How to Froth Milk Without an Espresso Machine
- How to Froth Milk Without an Espresso Machine with a Whisk
- How to Froth Milk Without an Espresso Machine with an Immersion Blender
- How to Froth Milk Without an Espresso Machine in a Jar
- Common Mistakes
- Tips for Cafe-Style Milk
- Frequently Asked Questions
- What temperature should milk be when frothed without a steam wand?
- Can I froth milk with a whisk?
- Can you froth milk in a blender?
- Which milk gives the best foam at home?
- What can I use instead of a milk frother?
- Why does my frothed milk not hold foam?
- Conclusion
What You Need
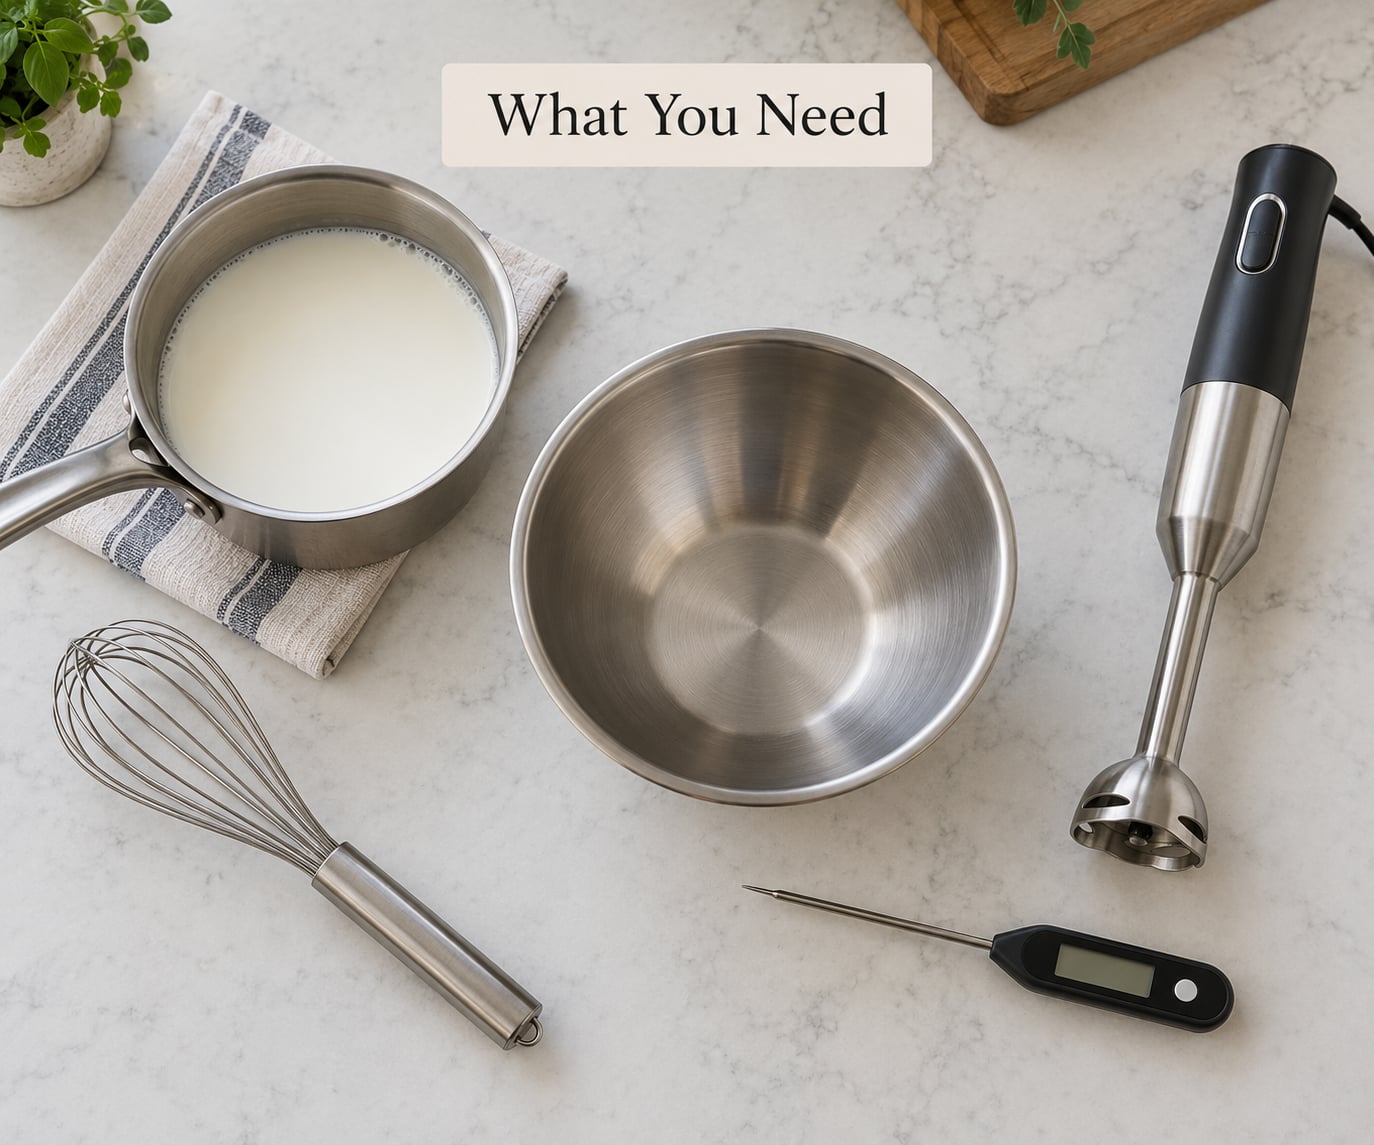
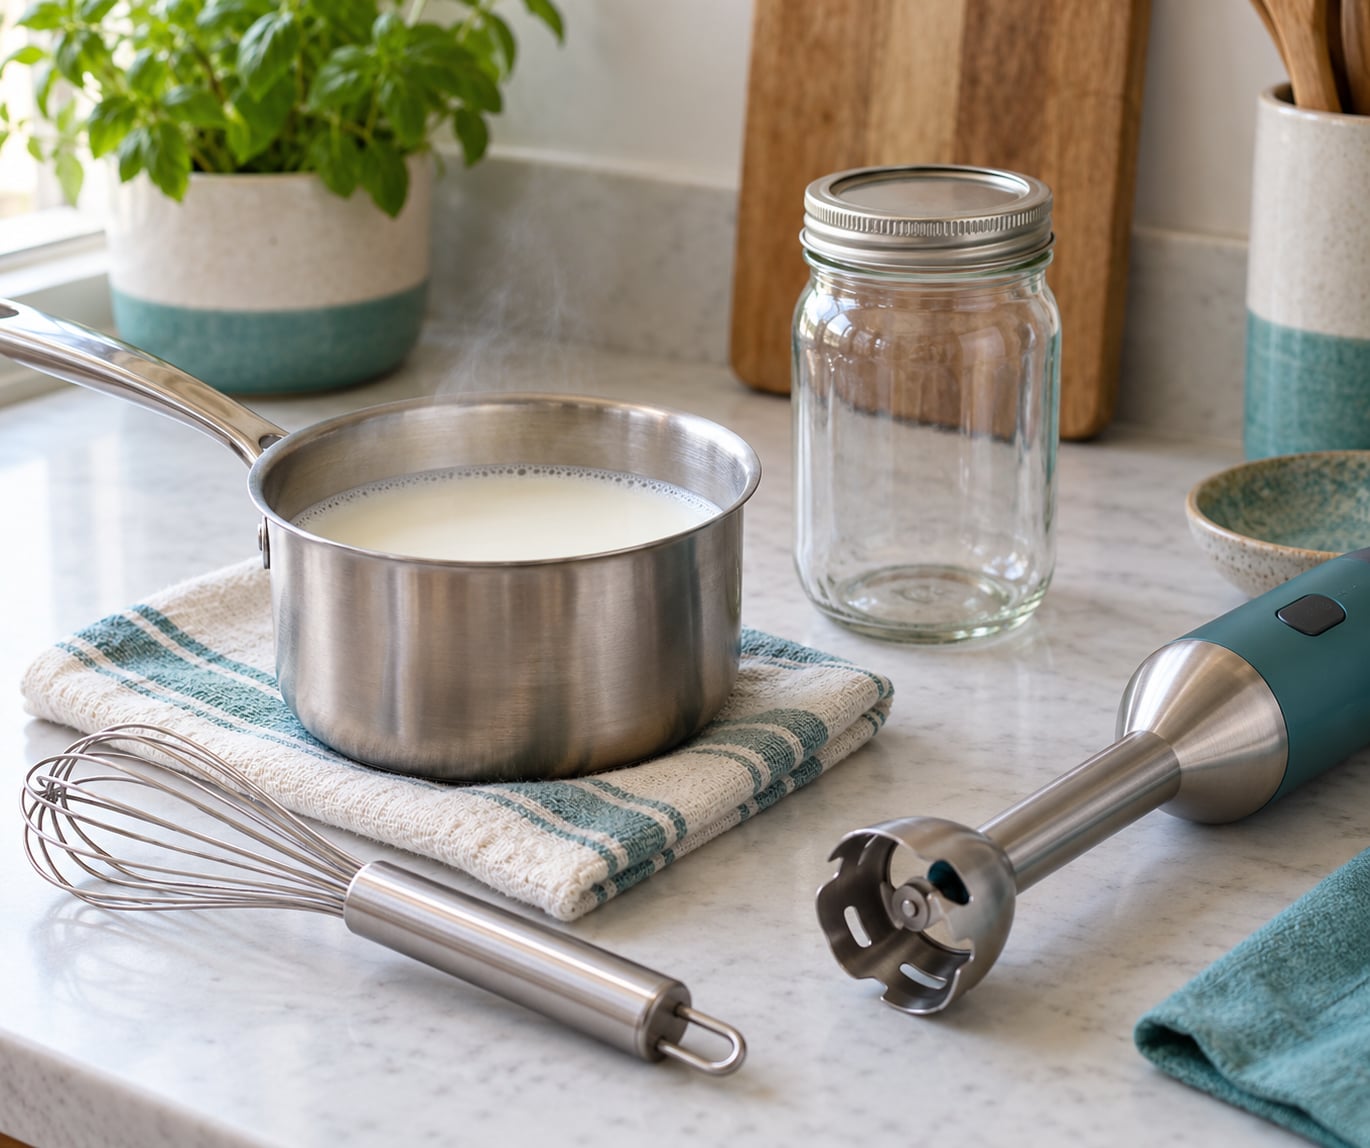
Milk is the only real ingredient, and the tool matters less than most guides suggest. A whisk, a French press, a sealed jar or a blender will all work if your hand is steady and your milk reaches the right temperature.
- Milk. Whole milk froths most easily and gives the most stable foam. Two percent works fine. Skim milk is the hardest to make frothy.
- A thermometer. A cheap clip-on or digital instant-read thermometer removes all guesswork. The target band is 140–165°F (60–70°C).
- A heat source. A saucepan on the stovetop gives you the most control and the best texture.
- A frothing tool. A hand whisk, an immersion blender, a French press, a handheld battery frother, or a mason jar with a tight-fitting lid.
- A tall, narrow vessel. A straight-sided stainless steel pitcher or a tall jar beats a wide bowl, because a narrow column keeps the foam spinning instead of pushing it onto the sides.
- Optional. A pinch of sugar, a splash of vanilla, or a spoon of cocoa powder for a café-style hot chocolate.
If you own none of the powered tools, a mason jar and a whisk cover you completely. Both are cheap, both are usually already in a kitchen cupboard, and neither needs an outlet.
How to Froth Milk Without an Espresso Machine
There are three techniques worth learning, and they differ mainly in how they inject air. A whisk beats air in by shearing the surface. An immersion blender or a handheld frother spins a vortex so fast that air gets pulled under and broken up. A sealed jar uses the pressure of shaking to foam the milk from the inside.
Whichever you pick, the temperature band is the same. Between 140 and 165°F (60 and 70°C) the proteins in the milk unfold and wrap around the bubbles, which is what makes foam stable. Below that band the milk stays loose and watery. Above it the protein structure breaks down, the milk turns flat and the foam collapses in a minute.
Pick by what you have. The whisk costs nothing and teaches you how foam should feel. The immersion blender gives the finest texture of the three and the most speed. The jar method takes no technique at all, so it is the reliable fallback when you are making several drinks in a row.
How to Froth Milk Without an Espresso Machine with a Whisk
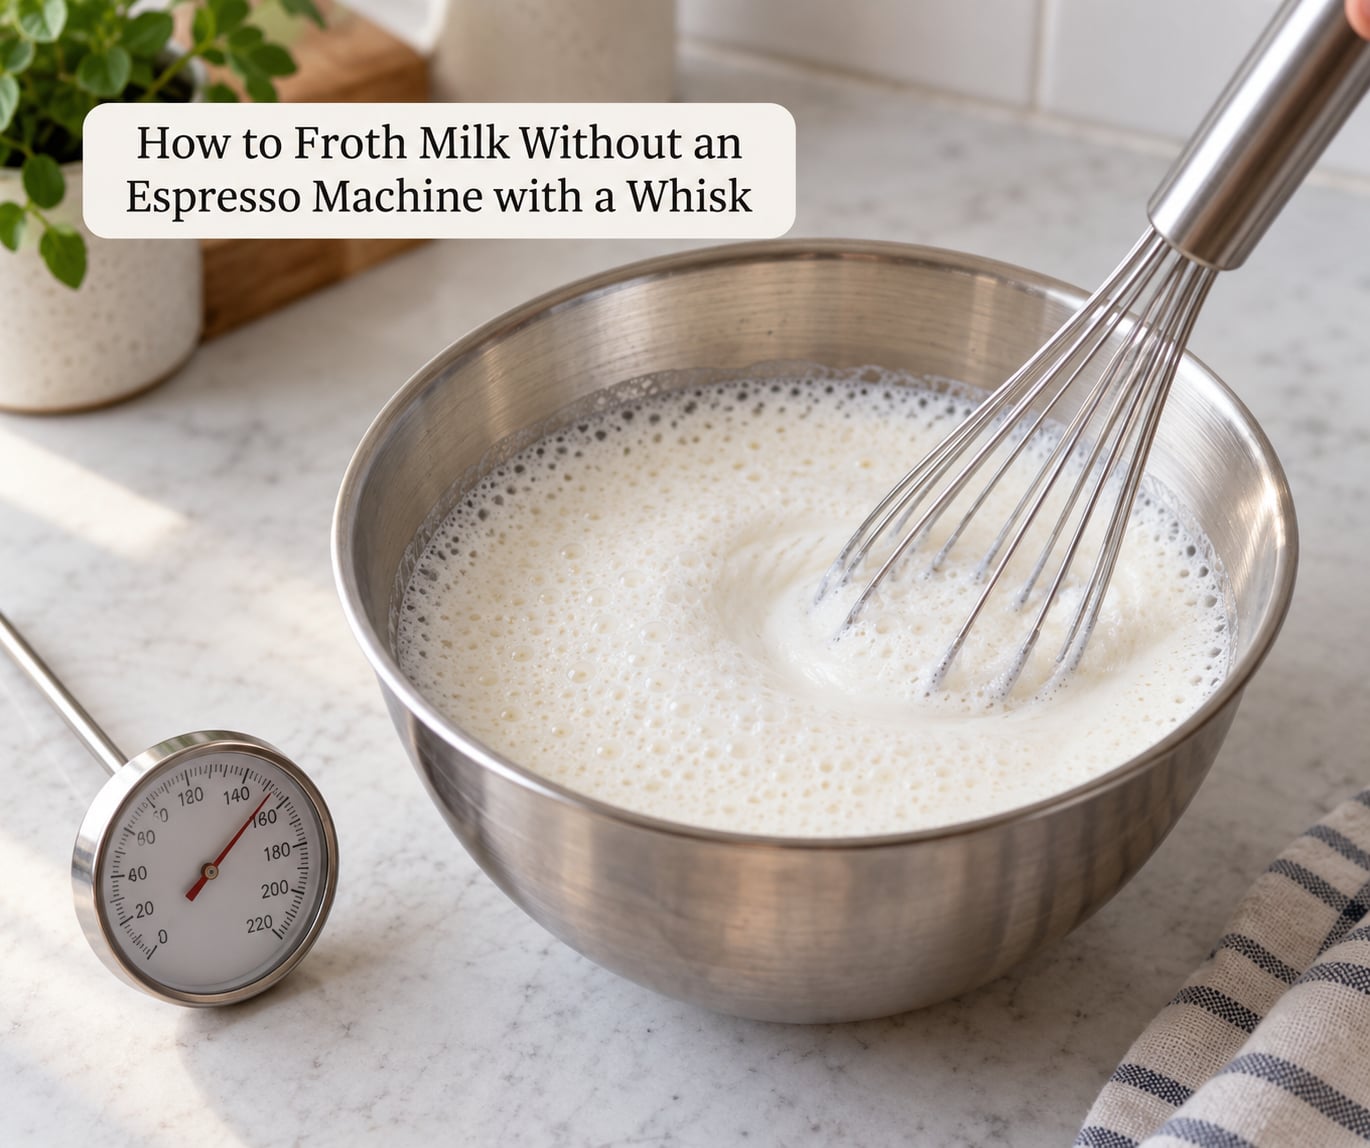
A whisk is the slowest of the three, and it is the one method where controlling the whirlpool matters most. Aim for glossy, wet-looking microfoam rather than a head of bubbles. Here is the sequence that works.
- Heat the milk. Warm about 6 ounces (180 ml) of milk in a saucepan over medium-low heat. Heat the milk, not the foam: you are trying to drive off the sweetness, not create a marshmallow on top.
- Put the whisk in before it boils. Set the whisk in the milk once it is warm to the touch and start moving immediately, before any surface foam forms. Wiping the whisk with a damp cloth first helps break up milk fat and speeds the process.
- Create a steady whirlpool. Whisk briskly in small circles, keeping the whisk tip just under the surface. The motion should look like a gentle vortex, not a frantic blur. A fast spinning whirlpool pulls air in continuously.
- Drop lower and slow down. Once the volume has roughly doubled, lower the whisk a little and slow the pace. This second phase is the texturing step: it knocks the big bubbles down into smaller ones.
- Stop at temperature. Keep the thermometer in the milk and stop at 160°F (71°C). If you go past 165°F (74°C) the milk will taste scorched and the foam will not hold.
- Judge the foam. Good microfoam looks glossy and wet, like wet paint, and holds a thin skin on the surface. If you see distinct soap-like bubbles, you are a beat too fast and need to drop lower and go slower.
Expect the foam to reach roughly 20 to 30 percent more volume than the milk you started with. If it doubles or triples, you have stretched too much and should drink it as a cappuccino rather than a latte.
How to Froth Milk Without an Espresso Machine with an Immersion Blender
An immersion blender makes the finest foam of any method in this guide, because the blade spins at a speed a hand cannot match. It is also the easiest way to end up wearing hot milk, so set the vessel somewhere you can reach quickly.
- Fill a tall container only halfway. Use a narrow jar, beaker or tall glass. A wide bowl will slop. Milk that reaches high up the sides of a tall container also gets a longer whirlpool.
- Heat to 140°F (60°C). Warm the milk first, then blend. Blending cold or barely warm milk gives you volume but not stable foam.
- Submerge the head fully. Lower the blender until the bell is just below the surface. If it breaks the surface you get a fine mist of hot milk sprayed across the counter.
- Hold it steady and low. Keep the bell in the same spot and let the milk spin around it. Do not move the blender up and down; that is what creates the large bubbles people mistake for foam.
- Listen for the change. The sound drops from a heavy whump to a soft hiss when the milk is properly aerated. Check the temperature and stop around 160°F (71°C).
A stand blender works too, but run it in short bursts of a few seconds with the lid vented. Blending continuously heats the milk fast and can take it past the point where foam survives.
How to Froth Milk Without an Espresso Machine in a Jar
The jar method needs no technique, which is exactly why it is worth keeping. It is the fastest option for a second or third drink, and it produces a dry foam that sits well on cold coffee. The one rule is that the lid has to seal.
- Fill a mason jar no more than halfway. A headspace of at least equal volume to the milk gives the foam somewhere to grow. Fill it to the top and you get a sealed, boiling mess.
- Screw the lid on tight. If the lid rocks loose when you shake it, the air escapes and nothing happens. Masking tape around the lid is a legitimate fix.
- Shake hard for 30 to 45 seconds. Hold the jar with both hands, keep your elbows bent and shake from the shoulder, not the wrist. That is a far bigger motion and it works much better than a short fast shake.
- Check the volume and the sound. The milk should roughly double and you should still hear sloshing. If the jar feels light and the milk is flat, the lid leaked. Empty it, reseal and go again.
- Heat, or use it cold. Frothed cold milk works straight over ice for an iced latte. To drink it hot, warm it gently in a pan while stirring, stopping well below a simmer.
If cold milk refuses to froth in a jar, it usually is not fat enough. Half-and-half or a barista edition oat milk will take to the shaking method far more readily than skim.
Common Mistakes
Overheating the milk. Pushing past 165°F (74°C) flattens the taste and collapses the foam within a minute. Remove the pan from the heat and whisk gently while it cools; the damage is partly reversible if you act quickly.
Underheating it. Milk heated only to lukewarm temperature will not hold structure, no matter how well you aerate it. Bring the thermometer with you and stop at 160°F rather than guessing by hand.
Using skim milk and expecting silk. Fat carries flavor and gives the foam body. Skim milk expands well and produces a thin, watery foam that drains fast. Switch to two percent or whole milk and the difference is obvious on the first sip.
Moving the tool too aggressively. Big sweeping motions push air into one place instead of distributing it. Keep the whisk or blender head low and steady and let the whirlpool do the work.
Confusing large bubbles with microfoam. A tall, glossy, wet-looking layer is foam. A foamy head you can see individual bubbles in is not; it collapses the moment it hits the coffee. The fix is the texturing phase: lower your tool and slow down until the bubbles disappear into the milk.
Frothing more than you need. Milk expands roughly a quarter to a third in volume, so over-frothing leaves you with a bucket of foam and not enough liquid to pour.
Tips for Cafe-Style Milk
Choose the milk before you choose the drink. Barista edition oat and soy milks are formulated with added fats and stabilizers so they do not split or curdle under heat, and they hold a smooth foam nearly as well as dairy. Regular supermarket oat milk is fine for baking but usually goes thin and watery when heated.
Match the finish to the drink. A latte wants a thin layer of glossy microfoam and a longer milk pour. A cappuccino wants a drier, thicker cap of foam, so stop aerating as soon as the volume doubles. Flat whites take even less, about a centimeter of foam. A classic macchiato is the opposite: a spoonful of dense foam sitting on top of a small amount of espresso.
Pour through the foam rather than through the liquid underneath it. Hold the pitcher a few centimeters above the drink and let the milk fall in a steady ribbon, sinking under the coffee and lifting it gently. Pouring too fast punches the foam apart and flattens everything you just built.
Tap the side of the pitcher or swirl it once before pouring. That single knock settles the large bubbles into the milk and gives you a smoother pour than any amount of extra whipping.
For chocolate, cut the sugar in half and froth into the cocoa powder first, since milk will not dissolve sweetener once it is foamed. For matcha, froth cold, because heat kills the flavor and dulls the color.
Frequently Asked Questions
What temperature should milk be when frothed without a steam wand?
Aim for 140 to 165°F (60 to 70°C), with 160°F (71°C) as the practical target. That band is where milk proteins denature and trap the bubbles you just added, which is what makes foam feel creamy instead of soapy. Above 165°F the structure breaks down, the milk tastes scorched and the foam sinks. Below 140°F the bubbles pop on their own and you get a thin layer that drains fast.
Can I froth milk with a whisk?
Yes, and it is the cheapest method that genuinely works. Whisk briskly in small circles just below the surface until the volume roughly doubles, then drop the whisk lower and slow right down to break the large bubbles into microfoam. Expect it to take 60 to 90 seconds. A damp whisk picks up milk fat faster, which shortens the job.
Can you froth milk in a blender?
An immersion blender gives the finest texture of any home method, since the blade spins faster than any hand can move. Use a tall narrow container filled only halfway, keep the blender head fully submerged, and hold it steady in one spot while the milk spins. A stand blender works in short bursts with the lid vented, because running it continuously overheats the milk.
Which milk gives the best foam at home?
Whole dairy milk froths most easily and holds the most stable foam because fat adds both body and flavor. Two percent is a good compromise and 2 percent plant milks are usable. Skim milk expands but produces thin foam that collapses quickly. Among plant milks, barista edition oat and soy drinks are the best performers because added fats and stabilizers keep them from splitting under heat.
What can I use instead of a milk frother?
A French press, a mason jar with a tight lid, a hand whisk, an immersion blender or a handheld battery frother all produce usable foam. The French press is the most consistent of the household options: fill it no more than halfway, keep the plunger submerged, and pump until the volume doubles. The jar method needs no skill at all and works best for cold foam over ice.
Why does my frothed milk not hold foam?
Three causes cover nearly every case. Too little heat means the proteins never denatured and the bubbles never had anything to hold them. Too much heat breaks the protein structure apart, which is why milk past 165°F goes flat and scorched. The third cause is motion: lifting the whisk, blender or plunger above the surface traps air that becomes large bubbles, so keep the tool submerged throughout.
Conclusion
Start with the whisk, because it costs nothing and once you can feel how the foam should look, the other methods are easy. Heat the milk, aerate it steadily until the volume roughly doubles, drop your tool lower to refine the bubbles, and stop at 160°F (71°C).
None of these methods fully match a steam wand, and no wand-less setup gives you latte art beyond a simple heart. What you do get is a warm, creamy drink that holds its texture from the first sip to the last, made with equipment you already own.