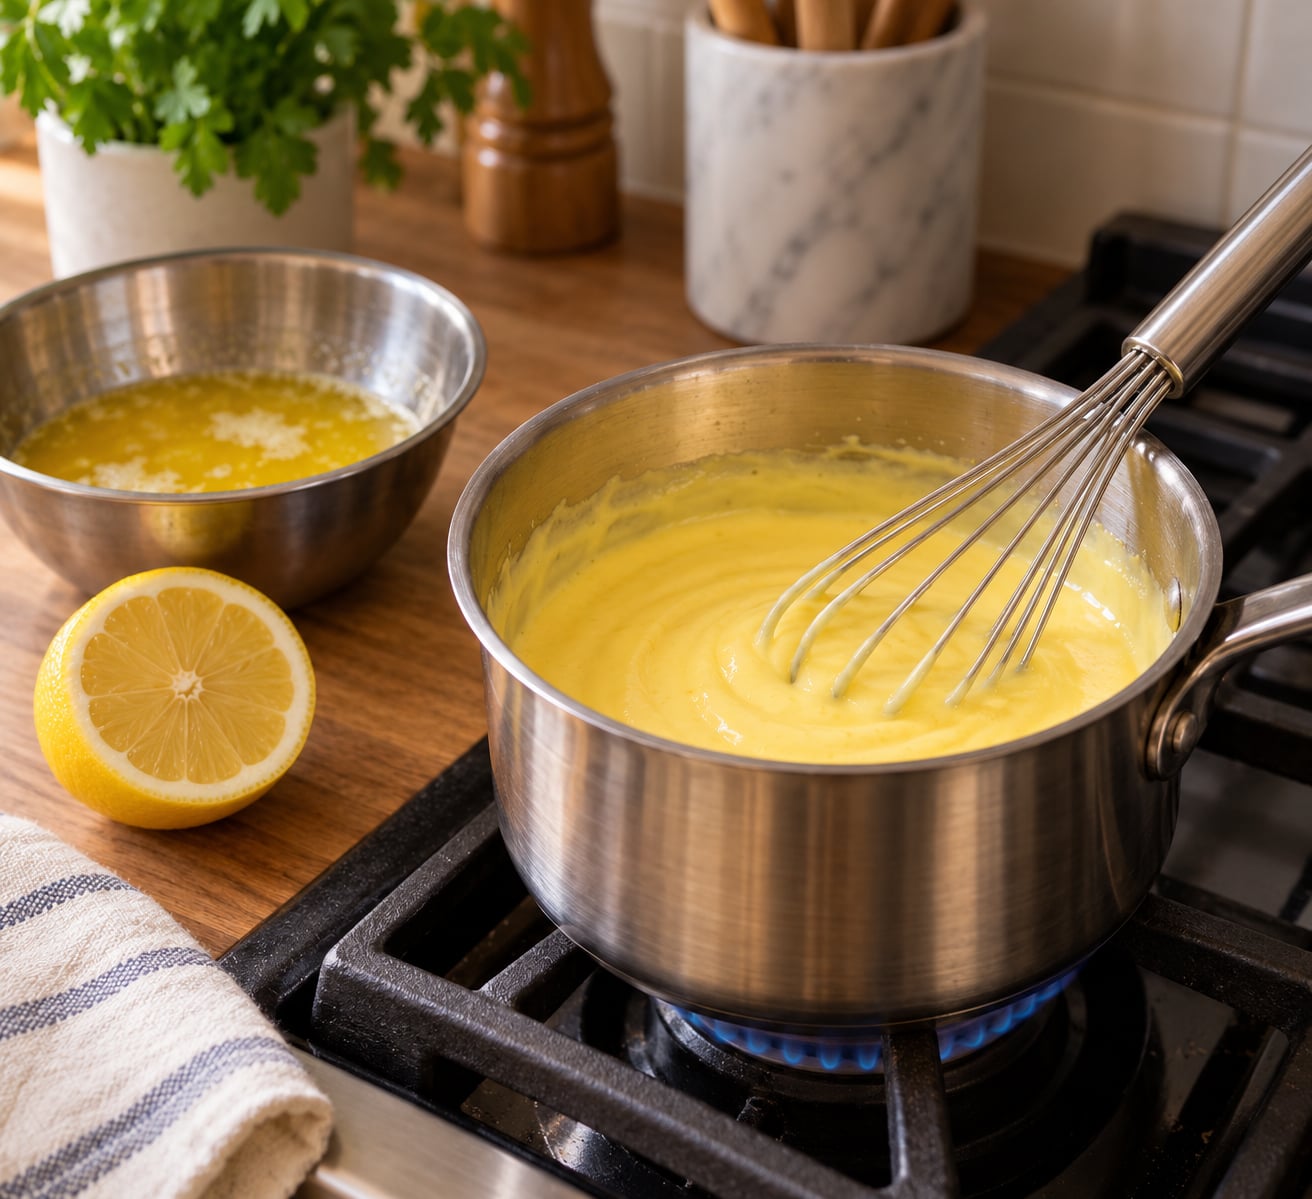
Knowing how to make hollandaise without curdling comes down to two controls: keep the yolks under 160F, and add cold butter one cube at a time in a thin stream while whisking without stopping. That is the whole technique, and it takes about six minutes.
The reason people get tense about hollandaise is that it fails faster than any other sauce in the kitchen. One second of inattention and the smooth yellow turns grainy and greasy. The good news is that a broken batch is almost never ruined. You can shock it with cold water, or rebuild it around a fresh yolk in under two minutes.
Below is the method I use, with the numbers attached to every step so you can tell in advance whether you are going too fast, not after. I also include a triage table that tells you whether your sauce is too thin, too thick, or genuinely split, because those three problems look similar and need opposite fixes.
Table of Contents
- What You Need
- Ingredients for four servings
- Equipment
- Temperature reference
- How to Make Hollandaise Without Curdling: Step-by-Step
- Step 1: Bring everything to the same temperature
- Step 2: Melt the butter separately
- Step 3: Whisk the yolks with lemon juice and water
- Step 4: Heat the yolks over a bain-marie
- Step 5: Take the bowl off the heat
- Step 6: Add the first cube and wait
- Step 7: Build up the rest of the butter, slowly
- Step 8: Season, adjust and serve
- How to Make Hollandaise Without Curdling by Keeping the Heat Low
- How to Make Hollandaise Without Curdling by Adding Butter Slowly
- Why foolproof recipes still break
- How to Make Hollandaise Without Curdling When the Sauce Splits
- Method 1: The cold water shock
- Method 2: The fresh yolk rebuild
- When to give up and start over
- Common Mistakes
- The butter goes in too fast
- The pan is too hot
- You stopped whisking
- Too much butter for too few yolks
- The sauce boiled, or you reheated it too hard
- Too thin, too thick, or actually split
- Keeping hollandaise warm without splitting
- Storage
- Fixing a sauce that tastes too eggy
- Which fat to use
- Variants worth knowing
- What to serve it over
- Frequently Asked Questions
- Why does my hollandaise sauce curdle?
- Can I make hollandaise with pasteurized eggs?
- What temperature should hollandaise be cooked at?
- How thick should hollandaise be when finished?
- How long can hollandaise be held before serving?
- Conclusion
What You Need
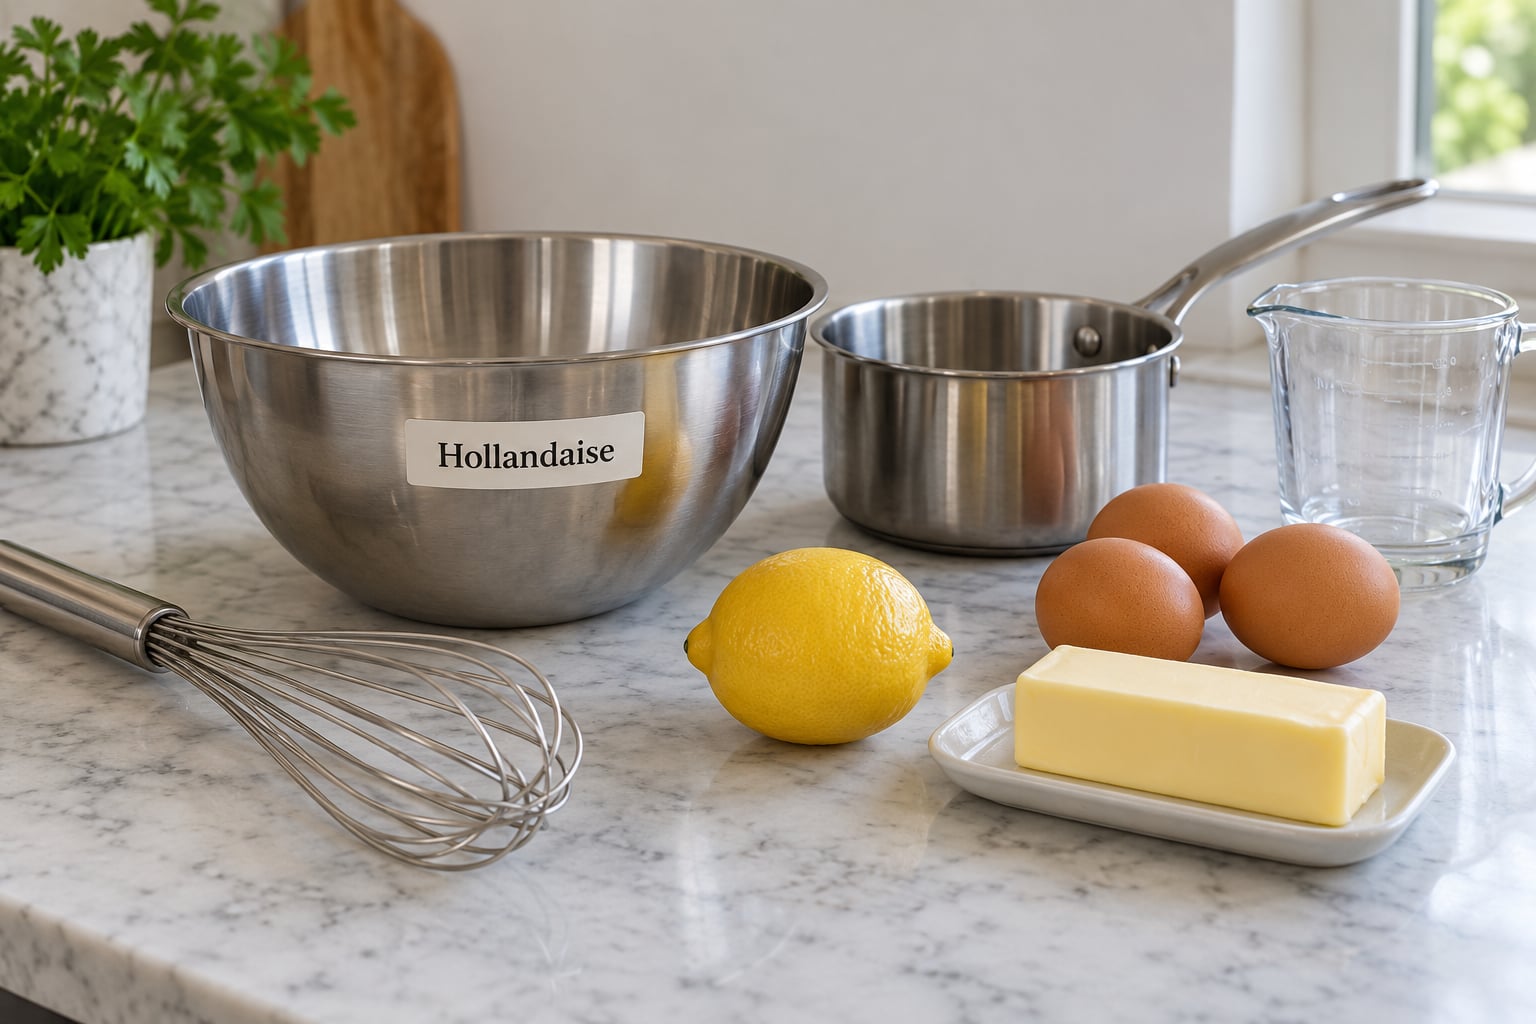
Classic hollandaise is a four-ingredient sauce with a very narrow window of acceptable heat. Gather everything before you turn on the burner, because the cooking part takes five minutes and you will not have time to go hunting for the lemon.
Ingredients for four servings
- 3 egg yolks plus 1 whole egg, at room temperature
- 6 ounces unsalted butter, cut into 1-inch cubes and chilled
- 1 tablespoon lemon juice, plus more to taste
- 1 tablespoon water, cold
- Pinch of salt and a few grinds of white pepper
- Pinch of cayenne or ground mustard, optional
Fresh or pasteurized eggs both work. Pasteurized eggs remove the raw-egg risk entirely, which matters if you are serving anyone pregnant, elderly, very young or immunocompromised. If you use fresh eggs, keep the whole egg out of the shell: crack each one into a cup and tip only the yolk into your bowl.
The whole egg is not traditional, and I use it anyway. One extra white gives the protein network more room to trap fat, which buys about fifteen seconds of extra tolerance while the butter goes in.
Equipment
- Small saucepan that the base of your whisk will cover
- Wire whisk, balloon-shaped if you own one, flat otherwise
- Heatproof bowl or second saucepan for the bain-marie method
- Instant-read thermometer, the single most useful tool in this article
No thermometer? Set the bowl over barely simmering water rather than a flame, and the water itself becomes your buffer. A wide bowl gives you more whisking surface and more room to move, which matters more than most recipes admit.
Temperature reference
These are the numbers that decide whether the sauce holds together. Print this one and stick it above the stove.
| What is happening | Temperature | Why it matters |
|---|---|---|
| Egg yolks start to thicken and set | 140F / 60C | The sauce begins to gain body, which is what you want |
| Yolks fully set, protein clumps form | 160F / 71C | This is the curdle point. Everything below this is safe |
| Butter melts completely | 135F / 57C | Too cold and it seizes the emulsion instead of blending in |
| Butter in the melted stage | 177F / 80C | The correct stage to start adding to the yolks |
| Butter foaming in the foam stage | 190F / 88C | Too hot. Water has boiled off and the casein will clump |
| Sauce held warm, not cooked | 140 to 150F / 60 to 65C | Warm enough for service, cool enough to stay emulsified |
| Eggs pasteurized by heat | 160F / 71C | The food-safety threshold used for egg-based sauces |
That 160F figure is the whole game. Roughly twenty degrees of room separate a perfect sauce from a curdled one, and a gas burner will cross that gap in seconds.
How to Make Hollandaise Without Curdling: Step-by-Step
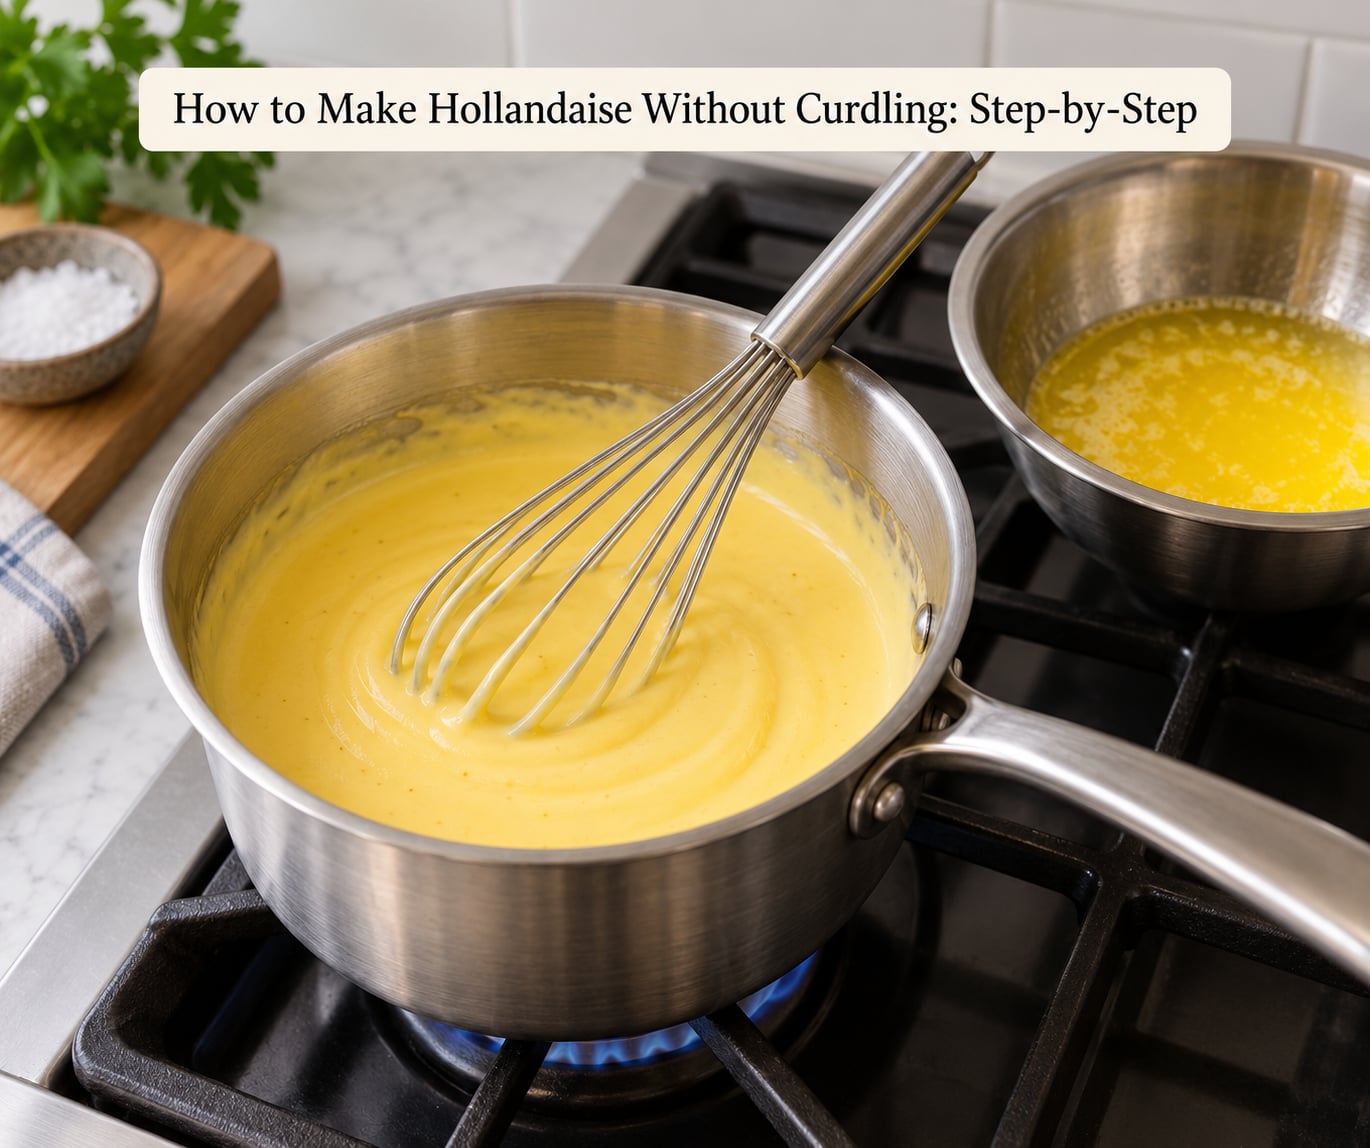
Read the steps through once before you start. The order matters: the yolks thicken first, then the butter builds the sauce. Adding butter before the yolks have any body is the most common reason a batch breaks in under a minute.
Step 1: Bring everything to the same temperature
Take the butter out of the fridge about 15 minutes ahead. Cold butter straight from the wrapper can cool the yolks so much that the emulsion stalls, and stalling is where curdling starts.
Set the yolks, the bowl, the lemon juice and the salt within reach of the burner. Do not walk away once the heat is on.
Step 2: Melt the butter separately
Melt the butter in a small saucepan over medium heat until it is completely liquid and foamy, then take it off the heat. It should look like loose cream with bubbles still moving through it. If you see browned specks or hear sizzling, you have gone past melted into the foam and browning stages; take it off immediately.
Step 3: Whisk the yolks with lemon juice and water
Whisk the yolks, lemon juice, one tablespoon of water, salt and pepper in the bowl until foamy and pale yellow. This initial emulsion is thin and fragile, which is exactly what you want: more liquid to work with means more butter can be absorbed later.
Step 4: Heat the yolks over a bain-marie
Fill a saucepan with an inch and a half of water and bring it to a bare simmer, meaning bubbles rise but nothing is rolling. Set your bowl on top, or set the bowl in the pan if it fits, and whisk constantly.
Keep whisking until the mixture thickens enough to coat the back of a spoon and a line drawn with your finger stays visible. Check the temperature and confirm it sits between 140F and 155F. This is the step that cooks the yolks to the exact point where they can hold fat.
Step 5: Take the bowl off the heat
Move the bowl to a dry towel or a cold burner. You are done with the heat at this point, and every second of residual cooking from here on is risk you do not need to take.
Step 6: Add the first cube and wait
Drop in one cube of butter and whisk until it has vanished into the sauce rather than sitting as a visible lump. This takes about 10 seconds. Resist adding the second cube until the first has gone. That pause is the single habit that separates a stable sauce from a broken one.
Step 7: Build up the rest of the butter, slowly
Continue one cube at a time, whisking steadily and waiting for each to absorb. When the sauce holds together well and coats the whisk, you can start adding two cubes at a time, then a thin steady stream. If the sauce starts to look loose and thin again, drop back to one cube at a time.
Step 8: Season, adjust and serve
Taste and add lemon juice a teaspoon at a time. Sharp is better than flat, and you can always add more acid but never take it back. Add cayenne or white pepper if you like, then serve immediately, or hold it as described below.
How to Make Hollandaise Without Curdling by Keeping the Heat Low
Heat is the number one cause of curdled hollandaise, and it enters the pan in three ways: direct flame, too much heat at the start, and residual heat after you think you have turned it off.
Direct flame is the worst offender. A gas burner gives you a ring of gas bubbles in the pan that will cook the yolk sitting on it long before the surrounding sauce is warm. A bain-marie fixes this by making the water, not the flame, your heat source, and by capping the maximum at 212F. The water cannot get much hotter than its boiling point, so the yolks cannot sprint past 160F even if you get distracted.
Residual heat is the failure people blame on the recipe. In a discusscooking thread titled “Beautiful Hollandaise broke down within minutes,” the sauce looked fine for a minute and then went grainy while sitting in the pan. That is the carryover from a hot pan plus hot butter finishing the job the heat started.
The visual cues are more reliable than any timer, and the fix is simple: take the vessel off the heat the second the yolks thicken. Bubbles in the butter should be small and lazy, like the surface of a drink, not violent. When you drag the whisk through the sauce it should leave a channel that closes slowly. If you see a skin forming on the surface, or if the sauce begins to spit, you are past the safe zone.
How to Make Hollandaise Without Curdling by Adding Butter Slowly
Adding butter too fast is the other half of the problem, and it is the mistake most recipes describe only as “add gradually,” which is useless advice when you are mid-panic.
What “slowly” actually means: the sauce should be able to absorb each addition before the next arrives. With cold cubes, that is roughly ten seconds per cube. If you are pouring a ribbon of butter faster than the whisk can move, no amount of whisking will save it, because the fat is arriving in bigger droplets than the yolk proteins can coat.
Start with cubes rather than a stream. A cube melts at a controlled rate inside the sauce itself, so the fat enters gradually without you having to judge a pour. Once about a third of the butter is in and the sauce is thick and glossy, a thin stream is fine. The stream should be no thicker than a shoelace and should disappear into the sauce before it reaches the far side of the bowl.
Keep the whisk moving the entire time. The yolks are doing the emulsifying, and they can only do it while they are being stirred. Momentary pauses are the window where fat pools, and pooled fat is what a split sauce looks like before it splits.
A useful test: if you lift the whisk and the sauce falls off in a slow ribbon and lands without separating, the ratio is right. If it plops, you are adding too much butter too fast. Stop, and wait for the sauce to re-join before adding anything else.
Why foolproof recipes still break
Plenty of cooks report the opposite: the two-minute blender hollandaise is famous for working, and it still only worked once for them. That recipe is not wrong. Three things cause most of those failures, and none of them are the recipe’s fault.
- Residual heat. A blender jug that just finished processing still has warm walls. The sauce continues cooking after the motor stops.
- An overfilled jar. Blend more than half full and the blade cannot move the butter fast enough, so it sits in pockets and the sauce goes greasy.
- Hot butter in a cold jar. If the butter hits the bottom of the jug before the yolk mixture has dispersed, you get melted butter sitting under egg. That never recovers.
If you use a blender, blend the yolks and lemon first on high for 30 seconds, then add the melted butter in two or three pulses rather than pouring it all in. Pulse, do not purée. An immersion blender is more forgiving still: put the tip of the blender in the bowl with the yolks, start it, and raise the melted butter in a thin ribbon up the side of the bowl.
How to Make Hollandaise Without Curdling When the Sauce Splits
A split sauce is not ruined. Professionals fix split sauces every service, and the fix is a matter of adding water to rebuild the emulsion or adding a fresh yolk to give the proteins something new to grab. Work through these in order and stop as soon as the texture comes back.
Method 1: The cold water shock
- Set the pan or bowl on a cold burner or a wet towel. Coolness buys you a few minutes.
- Whisk in ice-cold water one teaspoon at a time.
- Whisk hard for about 15 seconds after each addition.
- Stop the moment the graininess disappears, which usually takes three to five teaspoons.
This works because the loose butter droplets need water and motion to re-disperse, and cold temperature buys time for the yolk proteins to loosen up again. It is the fastest fix and often the only one you need for a sauce that broke while sitting.
Method 2: The fresh yolk rebuild
- Put one fresh room-temperature yolk in a clean bowl with one teaspoon of warm water. Warm, not hot: about body temperature, or a minute in a mug of hot water.
- Whisk until smooth.
- Now drizzle the broken sauce into the yolk, a spoonful at a time, whisking constantly.
- As soon as the mixture looks glossy and unified, stop adding. Extra sauce will loosen it on its own.
You are rebuilding the emulsion around a new, uncured yolk. The fresh protein network catches the broken butter and suspends it again. The canonical instruction in culinary training material is exactly this: beat in a little hot water a little at a time, or add an egg yolk.
When to give up and start over
If after the water shock and the fresh yolk the sauce still shows visible grainy curds of cooked egg, the yolks have set into solids and no amount of emulsifying will hide them. Strain it through a fine sieve, press the solids, and use the liquid underneath, which will be thin but usable. Or make a second, smaller batch.
Do not keep whisking a broken sauce hoping for the magic to happen. Once the protein has coagulated into chunks, you are whisking butter and egg solids together and damaging the texture further.
Common Mistakes
Nearly every failed batch comes down to one of five things. Work down this list before you start again, because the answers overlap and only one of them is usually the real culprit.
The butter goes in too fast
The single most common mistake, and the one every forum thread describes. The emulsion cannot absorb fat faster than it is being cooked, so extra butter goes from being suspended fat to being loose fat sitting on top. Slow it down: cubes first, ten seconds each, then a stream only once the sauce has body.
The pan is too hot
Medium heat is not low heat. Use a bain-marie, or if you insist on a direct flame, keep the whisk moving in the center so no yolk sits still long enough to cook. If you cannot hold your hand a few inches above the pan for more than a second, it is too hot.
You stopped whisking
Answering the door mid-addition, or reaching for salt and going back to a still bowl, gives the fat a chance to pool. If you must stop, take the bowl off the heat first. A short break off the heat is safe; a short break over heat is not.
Too much butter for too few yolks
Each yolk can suspend roughly half a cup of butter comfortably. Go past that and the ratio breaks. If your butter is generous, add a fourth yolk rather than hoping. Extra yolk is cheap insurance, and it is why many restaurant sauces taste more eggy than yours should.
The sauce boiled, or you reheated it too hard
Anything that takes hollandaise to a rolling boil will curdle it. That includes a full-power microwave. A bubbling surface is a sign the emulsion has already broken, not a sign it is cooking evenly.
Too thin, too thick, or actually split
These get confused constantly, and the fixes are opposite. Identify your state before you touch the sauce.
| What you see | What it means | What to do |
|---|---|---|
| Loose, translucent, runs off the spoon instantly | Too thin, not broken. The emulsion is intact but underbuilt | Over low heat, whisk in another egg yolk or a tablespoon more melted butter, one addition at a time |
| Thick, gluey, holds a stiff peak like warm custard | Too thick, not broken. Too much butter for too little liquid | Beat in cold water or warm water one teaspoon at a time until it falls off the whisk in a ribbon |
| Grainy, curdled, oil pooling on top, yellow flecks | Split. The emulsion has broken | Cold water shock first, then the fresh yolk rebuild |
| Solid bits that do not dissolve when whisked | Cooked yolk clumps, not a recoverable emulsion | Strain through a fine sieve and press, or start a new batch |
One diagnostic trick: spoon some sauce onto a cold plate and wait a minute. A healthy hollandaise settles into a smooth, glossy puddle. A broken one leaves an oily ring and a grainy centre.
Keeping hollandaise warm without splitting
Brunch service is where a perfect sauce gets ruined. The sauce needs to sit between 140F and 150F, which is warm enough for a plate and cool enough that nothing coagulates.
- Bain-marie at a bare simmer. The most reliable method. Keep the water at a boil, not a rolling boil, and stir the sauce every few minutes.
- An insulated thermos. Fill it with hot water first, empty it, then add the sauce. It holds temperature for roughly an hour without direct heat.
- Plastic wrap on the surface. Press wrap directly onto the sauce so a skin cannot form and moisture cannot escape.
- A double boiler in the oven. Set the bowl over hot water in a roasting pan at 250F if your oven runs cool.
Never reheat hollandaise at full power in a microwave. The edges of the bowl hit boiling temperature within seconds while the center stays cold, and the emulsion breaks in the hot spots. Use 20 to 30 percent power in short bursts of 15 seconds, stirring between each, or use the bain-marie instead.
Storage
| Situation | How long | How to store it |
|---|---|---|
| Holding for brunch service | About 1 hour | Bain-marie or thermos, above 140F, stirred occasionally |
| Fridge, airtight container | 2 to 3 days | Press plastic wrap onto the surface, refrigerate at or below 40F |
| Freezing | 1 month | Freezes acceptably as a base sauce, but texture will be looser after thawing |
| At room temperature, out of service | 2 hours | Not recommended. Beyond that, discard it |
Reheat from the fridge through the bain-marie with constant whisking, adding a splash of water if it has thickened. Do not let it boil, and do not add more butter until it is warm and you can see how thick it actually is.
Fixing a sauce that tastes too eggy
If it tastes strongly of egg but is not split, it needs acid, not more butter. Add lemon juice a teaspoon at a time and taste again. A spoonful of Dijon mustard or a pinch of cayenne also cuts the egg flavor while sharpening the whole sauce.
Which fat to use
Whole butter tastes the best and performs the least reliably, because its water and milk solids break first under heat. Clarified butter removes those solids and makes a noticeably more stable sauce, which is worth using when you are cooking for a group. Ghee works the same way and adds a faint nuttiness. Avoid salted butter if you are seasoning the sauce yourself, since the salt load is hard to judge.
Variants worth knowing
- Bearnaise: shallots and tarragon instead of lemon, often served on steak. Same temperature discipline.
- Mousseline: beaten egg whites folded in at the end. Lighter, and less stable, so use it within the hour.
- Noisette: brown the butter until it smells nutty, then strain it out. Added at the last moment so the hot butter does not cook the yolks.
- Maltese: tomato paste and cayenne, popular for fish and eggs.
- Chipotle: a teaspoon of adobo sauce whisked in at the end.
What to serve it over
Eggs Benedict and poached eggs, obviously. Also worth knowing: asparagus, grilled salmon, seared scallops, new potatoes, artichokes, roasted broccoli and sliced beef fillet. It also works as a dip for a warm crusty sandwich if you loosen it with a spoon of hot water first.
Frequently Asked Questions
Why does my hollandaise sauce curdle?
Hollandaise curdles when the egg yolks exceed roughly 160F, or when melted butter arrives faster than the yolks can absorb it. The yolk proteins set into solid clumps, and the fat they were suspending falls out of the emulsion as grease. Keep the yolks under 160F, add cold butter one cube at a time, and whisk without stopping.
Can I make hollandaise with pasteurized eggs?
Yes, and pasteurized eggs are the safer choice if you are cooking for anyone pregnant, elderly, young or immunocompromised. Pasteurized yolks behave the same way in the emulsion, so follow the identical method and temperature targets. If you use fresh eggs, never crack them directly into the bowl, since a shell fragment can carry bacteria.
What temperature should hollandaise be cooked at?
Keep the yolks between 140F and 155F. They start to set near 140F and fully coagulate at about 160F, which is the point where curdling begins. Melt the butter to the melted stage near 177F, never into the foaming stage at 190F, and hold the finished sauce at 140 to 150F for service.
How thick should hollandaise be when finished?
It should coat the whisk and fall off in a slow, continuous ribbon, landing without separating. If it drips off in a thin watery stream it is too thin, so whisk in another yolk or a tablespoon of butter over low heat. If it holds a stiff peak like warm custard, beat in cold water one teaspoon at a time.
How long can hollandaise be held before serving?
About one hour at 140 to 150F in a bain-marie or an insulated thermos, stirred now and then, with plastic wrap pressed onto the surface. Fridge storage lasts two to three days in an airtight container, and it reheats best slowly over a bain-marie with constant whisking. Never reheat it at full microwave power.
Conclusion
Start with the yolks over a bain-marie after letting the butter sit out for fifteen minutes, because temperature control is the part that decides the outcome. Whisk constantly until the yolks thicken to a ribbon, then take the bowl off the heat before adding anything else.
From that point, one cube at a time, waiting the full ten seconds for each to disappear. That is how to make hollandaise without curdling, and it works the same way in a blender. Serve it straight away on your eggs Benedict or asparagus, or hold it at 140 to 150F in a bain-marie with plastic wrap against the surface, stirring every few minutes.
If it breaks anyway, do not bin it. Cold water first, then a fresh yolk, and you will have a smooth sauce again in under two minutes. That is the order to learn, not the sauce.