How to render leaf lard at home is mostly patience: you trim pork leaf fat, melt it slowly in a heavy pot at low heat, strain off the clear golden liquid, and let it set into creamy white lard. The whole job takes two to three hours of mostly unattended stove time, and the skill you need is knowing when the fat is done rather than watching a clock.
Leaf lard is the fat that surrounds a pig’s kidneys and loin, not the belly. That distinction matters because kidney fat is cleaner and milder, which is why bakers reach for it in pie crusts and biscuits. If your butcher hands you fatback instead, the method below still works, but expect a slightly porky flavor in the finished jar.
The part that trips people up is heat. Pork fat starts melting somewhere around 190°F and keeps giving up liquid fat as it climbs toward 250°F, so a low burner and a pot with a heavy base matter more than any special equipment. Push it past roughly 300°F and the solids turn bitter, the kitchen fills with smoke, and a batch that started as a two-hour job turns into a cleanup chore.
Table of Contents
- What You Need
- Step-by-Step: How to Render Leaf Lard at Home
- Trim and Prepare the Leaf Fat
- Render the Fat Slowly
- Strain and Season the Lard
- Cool and Store the Finished Lard
- Common Mistakes
- Frequently Asked Questions
- Should I add water when rendering leaf lard?
- At what temperature does pork fat render?
- How long does it take to render a pound of leaf fat?
- Why is there water at the bottom of my rendered lard?
- How much lard do I get from one pound of leaf fat?
- How to Render Leaf Lard at Home
What You Need
Roughly one pound of raw leaf fat yields about a cup and a half of finished lard, so plan on three pounds of raw fat if you want enough for a month of biscuits. Everything else on the list is a substitute you probably own already.
- Pork leaf fat — 1 to 3 pounds. Choose pieces that are firm, cold, and pale cream in color. Avoid fat that is grey, soft, or smells sour at the counter.
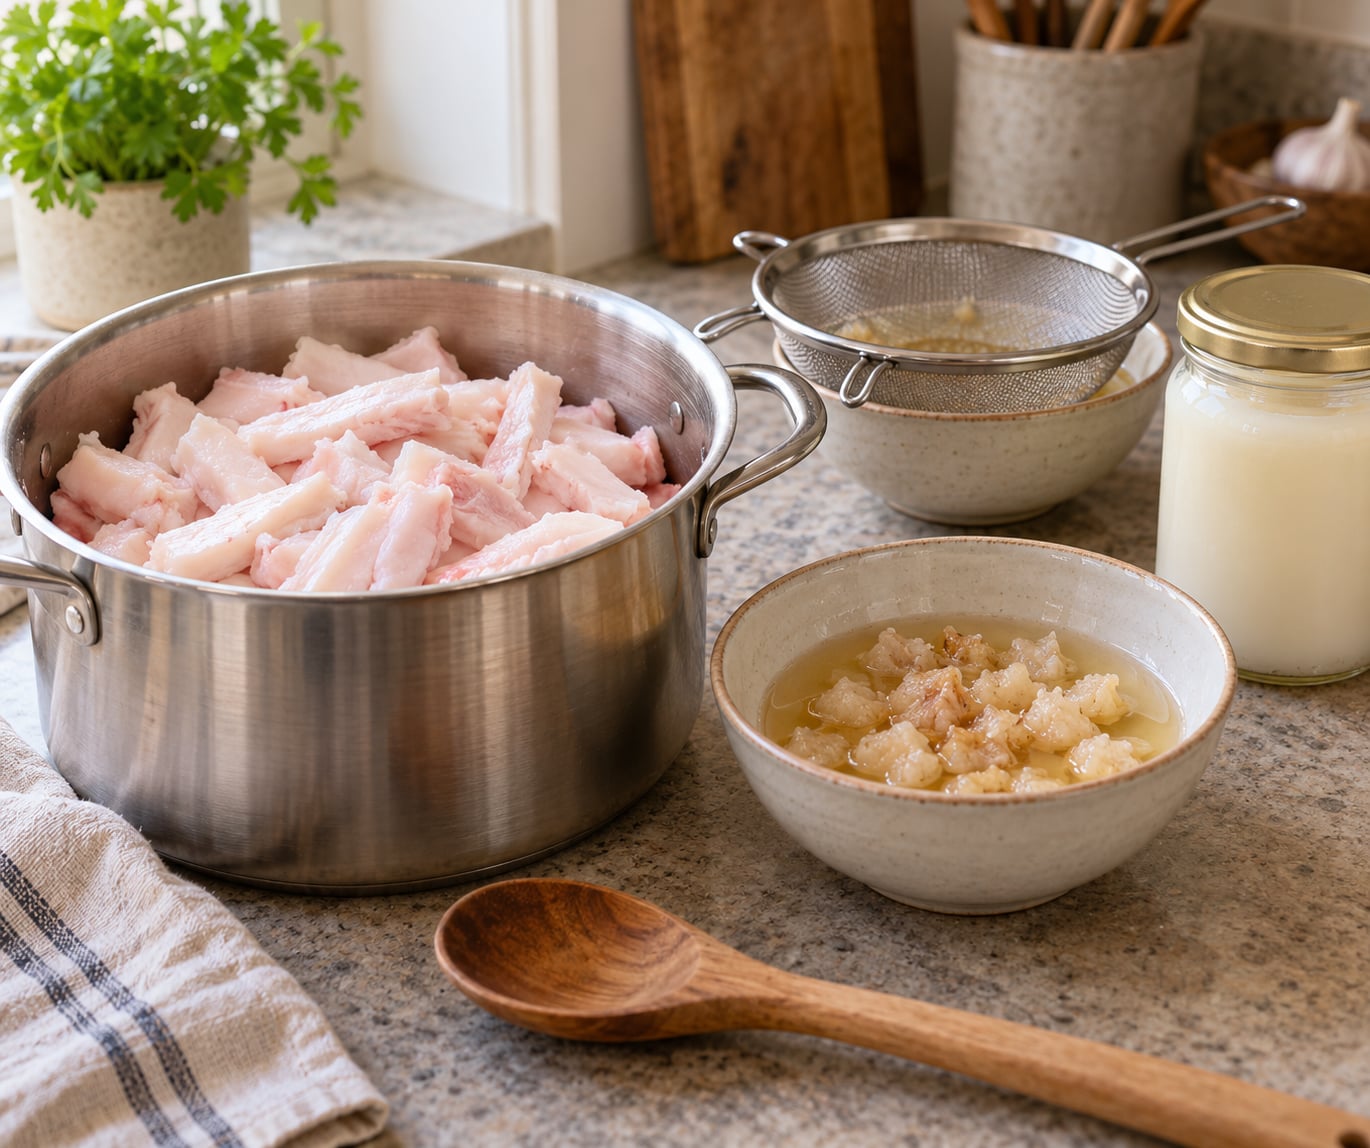
- Heavy-bottomed pot with a lid — a Dutch oven or stock pot works. Fill it no more than halfway with fat so you have room for the liquid to rise and foam.
- Wooden spoon or spatula — for stirring and for skimming the foam off the top.
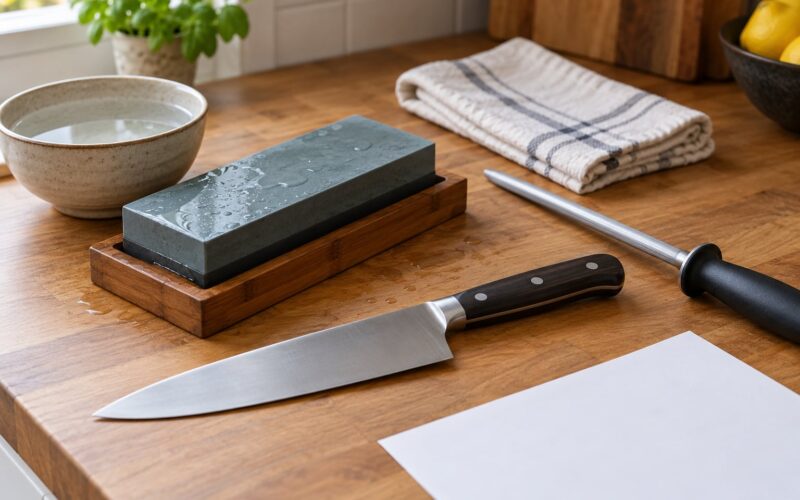
- Fine-mesh sieve or strainer — a wire sieve set over a bowl, lined with a layer of clean cheesecloth, catches the small solids a slotted spoon would miss.
- Clean glass jars — mason jars are ideal. Have more than you think you need, because the finished lard shrinks slightly as it cools.
- Fine mesh skimmer — optional, useful for the wet-render method where you skim water off the top.
- Instant-read thermometer — optional but helpful. It turns “low and slow” into a number you can hold steady.
- Cut-resistant glove — optional. Leaf fat is slippery, and a sharp knife plus slick fat is how people nick themselves.
Step-by-Step: How to Render Leaf Lard at Home

The order below is the dry-render method, meaning you add no water and let the fat melt out on its own. It gives the cleanest, most neutral flavor, and it is the version I come back to for baking.
Trim and Prepare the Leaf Fat
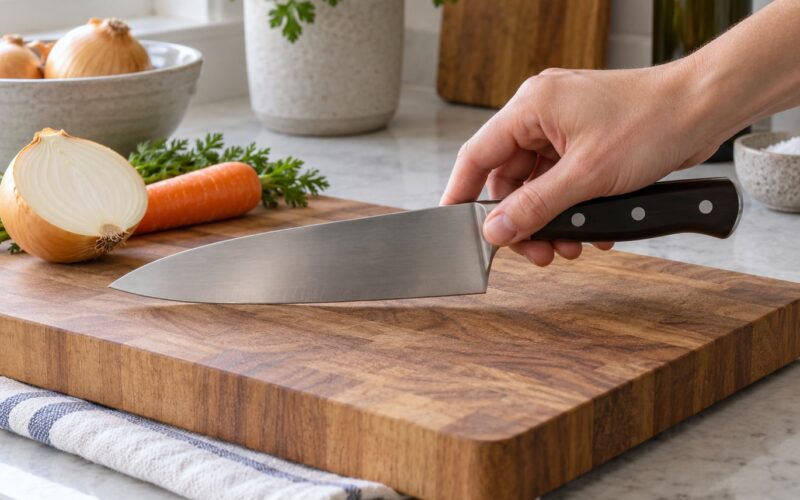
Lay the fat on a cold cutting board and cut away every loose scrap of pink meat, the dark thin membrane, and any skin left attached. Those bits are the source of porky flavor and of the burnt smell that sends people out of the kitchen.
Chill the trimmed fat in the freezer for 20 to 30 minutes, then cut it into cubes about half an inch across. Cold fat cuts cleanly, and small even pieces melt at the same rate, which is how you get uniform rendering instead of scorched bits floating in raw fat.
Render the Fat Slowly
Put the diced fat in your heavy pot and set it over the lowest heat your stove offers. Do not add water, and leave the lid off so steam can escape. Turn the cubes once, then leave the pot alone.
The visual cues run in sequence. At first the cubes sweat and soften, then clear liquid appears underneath them, then the pieces shrink and go translucent and golden as the fat leaves them. A faint crackling sound means the last of the moisture is boiling off. When the solids turn brown, curl, and float rather than sitting on the bottom, they have given up nearly everything.
Keep the temperature between 190°F and 250°F if you are using a thermometer. Anything higher is where bitter solids and smoke start. Expect the pot to be quiet for the first 30 minutes and then to simmer steadily for the rest of the time.
Safety matters here. Rendered fat at 250°F is hot enough to cause real burns, and water dropped in from a wet spoon or a dripping faucet will spit violently. Use dry utensils, keep the pot no more than half full, and have the lid within reach so you can shield yourself if it pops.
Strain and Season the Lard
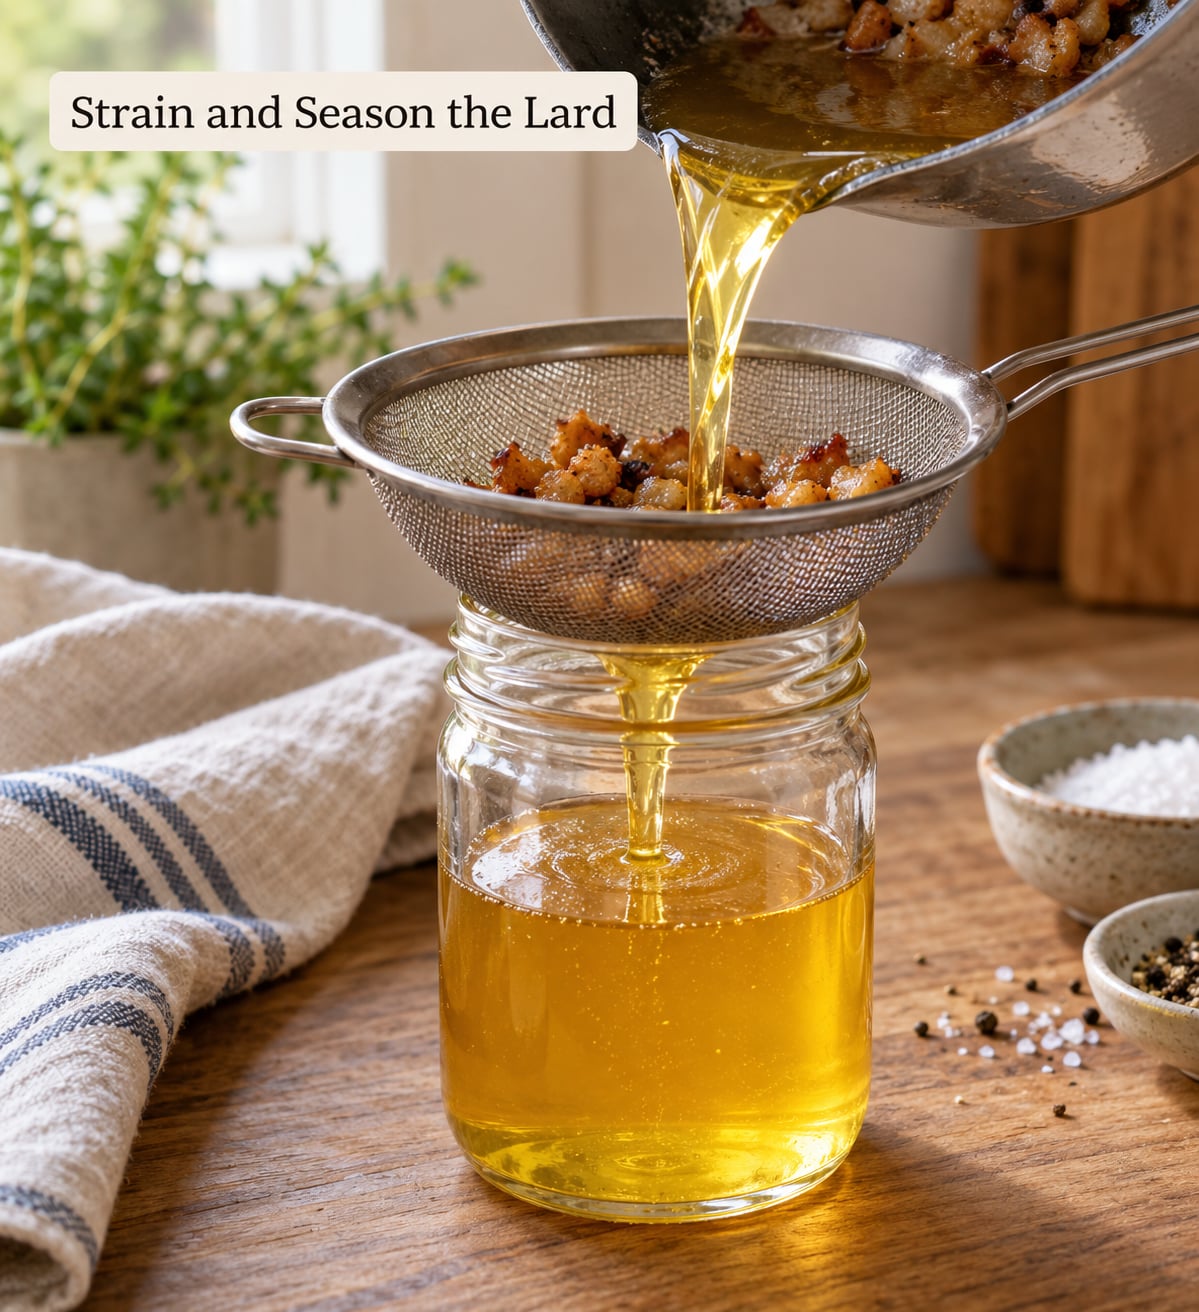
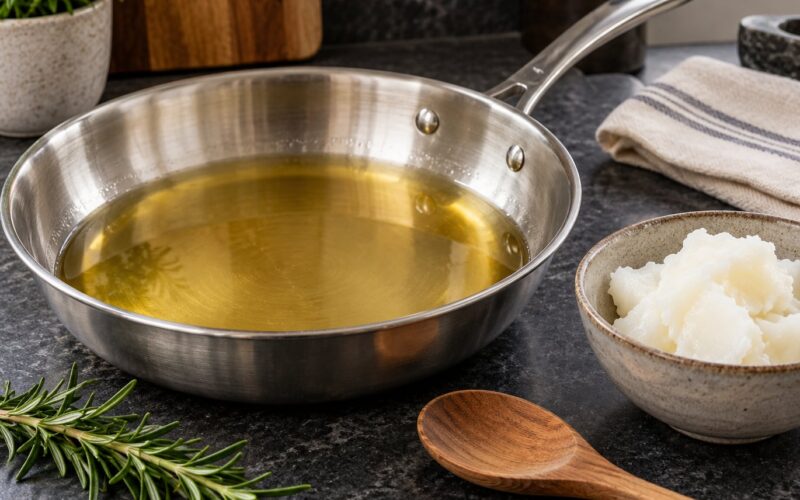
Ladle the warm liquid fat off the solids into a fine-mesh sieve set over a bowl, then press the cracklings with the back of the spoon so the last fat runs through. You can pour the collected fat back through the sieve a second time for a clearer jar.
At this stage the liquid is a dark golden color, and that is normal. It lightens dramatically as it cools, so do not judge the batch while it is still hot.
For plain baking lard, leave it unsalted so you can season doughs yourself. To season it, stir in a teaspoon of flaky salt per cup of warm fat, or add a bay leaf, cracked peppercorn, or a few garlic cloves and let them infuse for an hour before straining again.
Cool and Store the Finished Lard
Pour the strained lard into clean dry jars and leave them uncovered until the surface firms, usually a few hours at room temperature. A properly set jar is opaque white or ivory, matte rather than glossy, and holds its shape when you tip the jar slightly.
Then cap it. If a thin layer of water or cloudy sediment settled at the bottom, that is normal, not spoilage: pure fat cannot mold, and any water came from the tissue. Pour off that layer first and use that jar before the others.
Store sealed jars in a cool dark cupboard for up to about three months, or in the refrigerator for up to a year. For longer storage, freeze in silicone cubes or pour into a jar and leave headroom for expansion.
Common Mistakes
Almost every ruined batch traces back to one of five things.
Starting on high heat. The first ten minutes at a hard boil browns the outside of the cubes before the centers soften, and scorched solids are the bitter aftertaste you cannot strain out. Fix it by starting on the lowest setting and never raising it above a steady bare simmer.
Leaving the pot unattended through the smoke stage. Once the solids brown, a forgotten pot of fat can go from golden to black fast. Fix it with a splatter screen or the lid held loosely nearby, plus a timer you can hear from another room.
Skipping the second straining. A slotted spoon leaves fine sediment behind, and that sediment turns the finished jar cloudy and shortens its life. Fix it by pouring the warm fat through cheesecloth rather than a bare sieve.
Browning the solids past deep gold. You are rendering fat, not making stock, so the cracklings only need to be dry and crisp. Fix it by pulling the pot off the heat when the pieces float and curl.
Storing warm or damp lard. Capping a jar while the fat is still warm traps condensation, and water left in the fat invites mold. Fix it by cooling uncovered, pouring off any water, and drying the rim before you screw the lid on.
A few habits make the rest easier. Render on a day with windows open, because warm fat carries a strong pork smell that lingers in curtains. Keep every scrap of loose meat for the stock pot, since the trim is genuinely good stock material. And run a second render on the solids at a slightly higher heat for an hour if you want another few tablespoons; you will get less than the first pass, but not nothing.
Frequently Asked Questions
Should I add water when rendering leaf lard?
Both methods work. The wet render covers the fat with a shallow layer of water and skims the foam off the top, which stops the solids from browning and reduces smoke but costs you some flavor. The dry render needs no water and gives the cleanest, most neutral lard. Use the dry method for pie crusts and biscuits, and the wet method if you render on a day you cannot open the windows.
At what temperature does pork fat render?
Pork fat starts melting at roughly 190F and gives up most of its liquid between 190F and 250F. Hold the pot in that range and stir occasionally. Above 300F the leftover solids burn, which is what gives people a bitter or acrid lard they cannot wash out with straining.
How long does it take to render a pound of leaf fat?
About one to one and a half hours of gentle heat, plus cooling time. Half-inch cubes melt faster than large chunks, so cutting evenly matters more than the clock. You are done when the solids are deep golden, crisp, and floating rather than sinking in the pot.
Why is there water at the bottom of my rendered lard?
Pork fat always carries some water, and that water sinks as the lard cools. A thin layer of clear liquid or pale sediment at the bottom of the jar is expected and not spoilage. Pour it off, use that jar first, and keep it out of warm storage until the layer is gone.
How much lard do I get from one pound of leaf fat?
One pound of well-trimmed leaf fat yields roughly one and a half cups of strained lard. Fat that still carries meat or membrane yields less, because you discard it with the cracklings. Three pounds of raw fat is a sensible first batch for a household that bakes a few times a month.
How to Render Leaf Lard at Home
Start by trimming a pound of firm, cold leaf fat and cutting it into even half-inch cubes. That is the step that decides whether the rest goes smoothly, so do it before you turn on the burner.
Keep the heat genuinely low, between 190°F and 250°F, and pull the pot off when the cracklings are golden, crisp, and floating. Strain the warm fat through cheesecloth twice, then jar it uncovered so it sets hard before you close the lid.
Once it is set, put the fat to work in a pie crust, a batch of buttermilk biscuits, or a skillet of fried chicken. Fresh lard is creamy, neutral, and holds heat better than the oils it replaces, which is the whole reason to spend an afternoon on it.