Honing is how you realign the microscopic teeth along a knife’s edge so it cuts cleanly again, without removing any metal. Between sharpenings, a few light passes on a whetstone or honing steel every few uses will keep a blade working, and the whole job takes about three minutes on a towel at the counter.
The part that trips people up isn’t the technique, it’s the timing. Many treat honing as a rare event and then wonder why the knife still drags through an onion. Others bear down hard enough to grind the edge away in a month. The trick is light hands and a repeatable angle.
Everything below works on a European chef’s knife, a Japanese santoku, or a cheap paring knife from a drawer. If your knives are duller than you’d like right now, that usually means sharpening, not honing. Sharpening and honing are different jobs, and knowing which one your knife needs saves you time.
Table of Contents
- What You Need
- Step-by-Step: How to Hone a Knife Between Sharpenings
- Prepare the Knife and Honing Tool
- Set a Consistent Honing Angle
- Hone Both Sides of the Blade
- Check the Edge Without Damaging It
- Clean and Store the Knife
- Common Mistakes
- Frequently Asked Questions
- How often should I hone a knife between sharpenings?
- Can honing a knife remove metal like sharpening does?
- What angle should I use when honing a kitchen knife?
- Is a honing steel the same as a sharpening steel?
- How do I know when my knife needs sharpening instead of honing?
- Can I hone a knife with a whetstone at home?
- Conclusion
What You Need
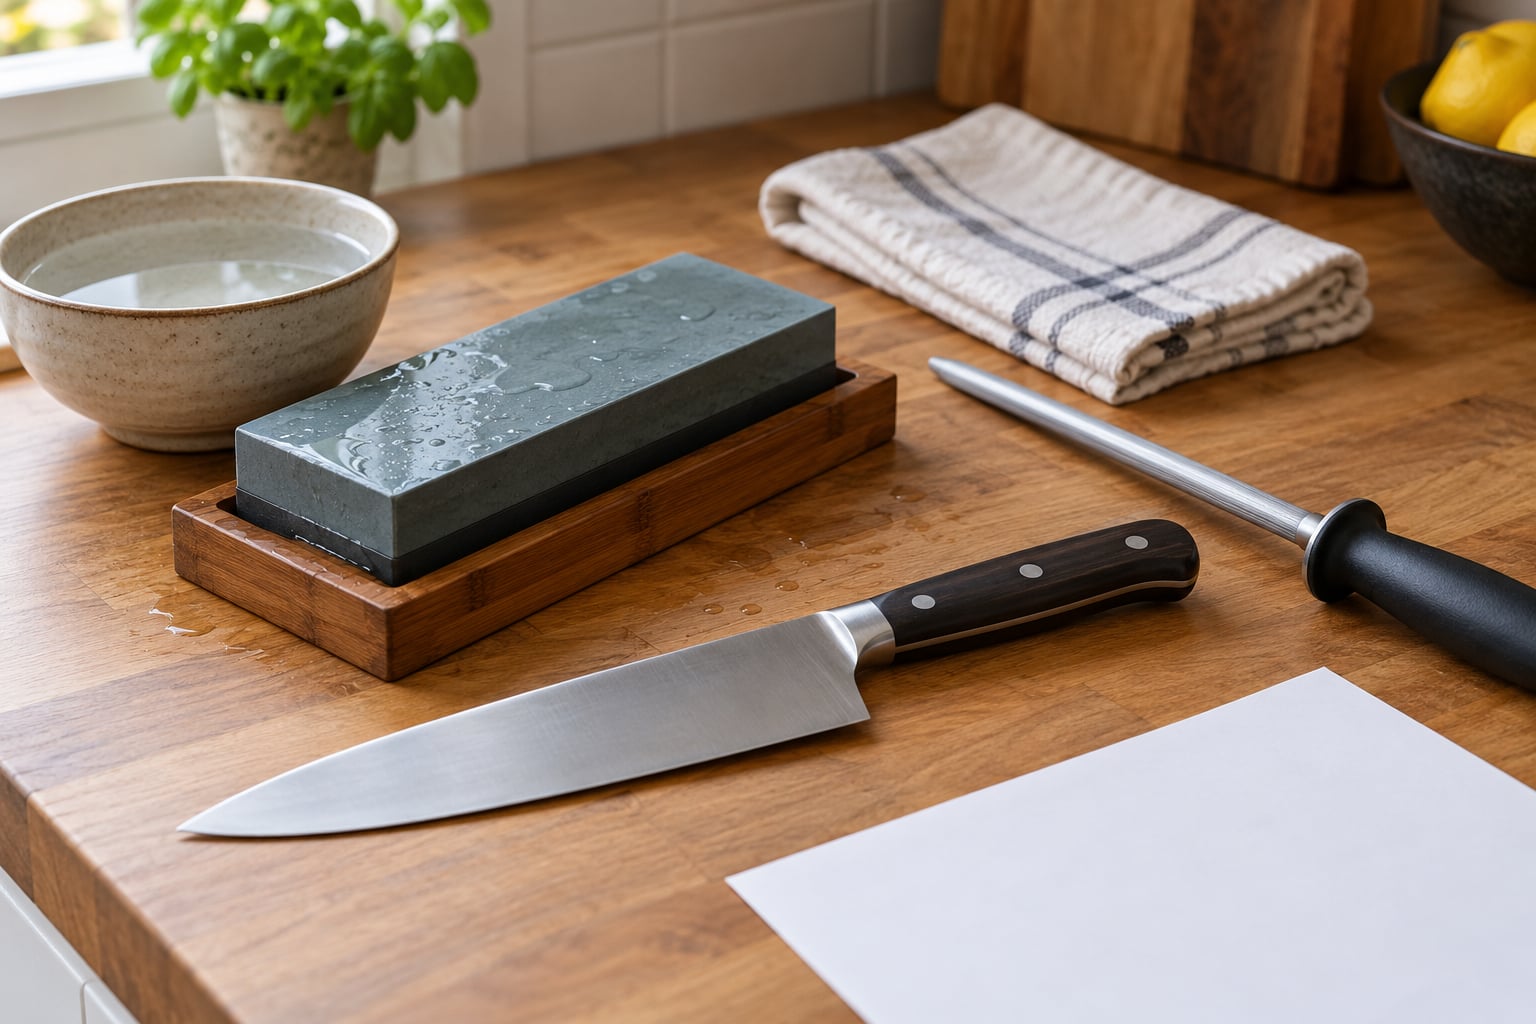
Before you start, gather four things. The first is the knife itself, wiped clean. A blade with food residue or dried starch will grind that debris into the stone instead of straightening the edge.
The second is your tool, and this is where most home cooks pick wrong. A honing steel, the round or oval rod most knives ship with, realigns a rolled edge. It does not remove metal, so a damaged or deeply dull edge will never come back on a steel. A whetstone both hones and sharpens, which makes it the better single choice if you want one tool for everything.
You’ll also want water for soaking a whetstone, plus a clean folded towel to set the stone on so it doesn’t skid across your counter. Water on a steel is optional, though a light film keeps the rod from depositing loose grit on your blade.
Last, a sheet of printer paper for testing. If you like numbers, set a kitchen scale on the counter, rest the spine of the knife on it, and learn what three to five pounds of pressure feels like through the handle. That feel is the hardest skill in this whole process.
Step-by-Step: How to Hone a Knife Between Sharpenings
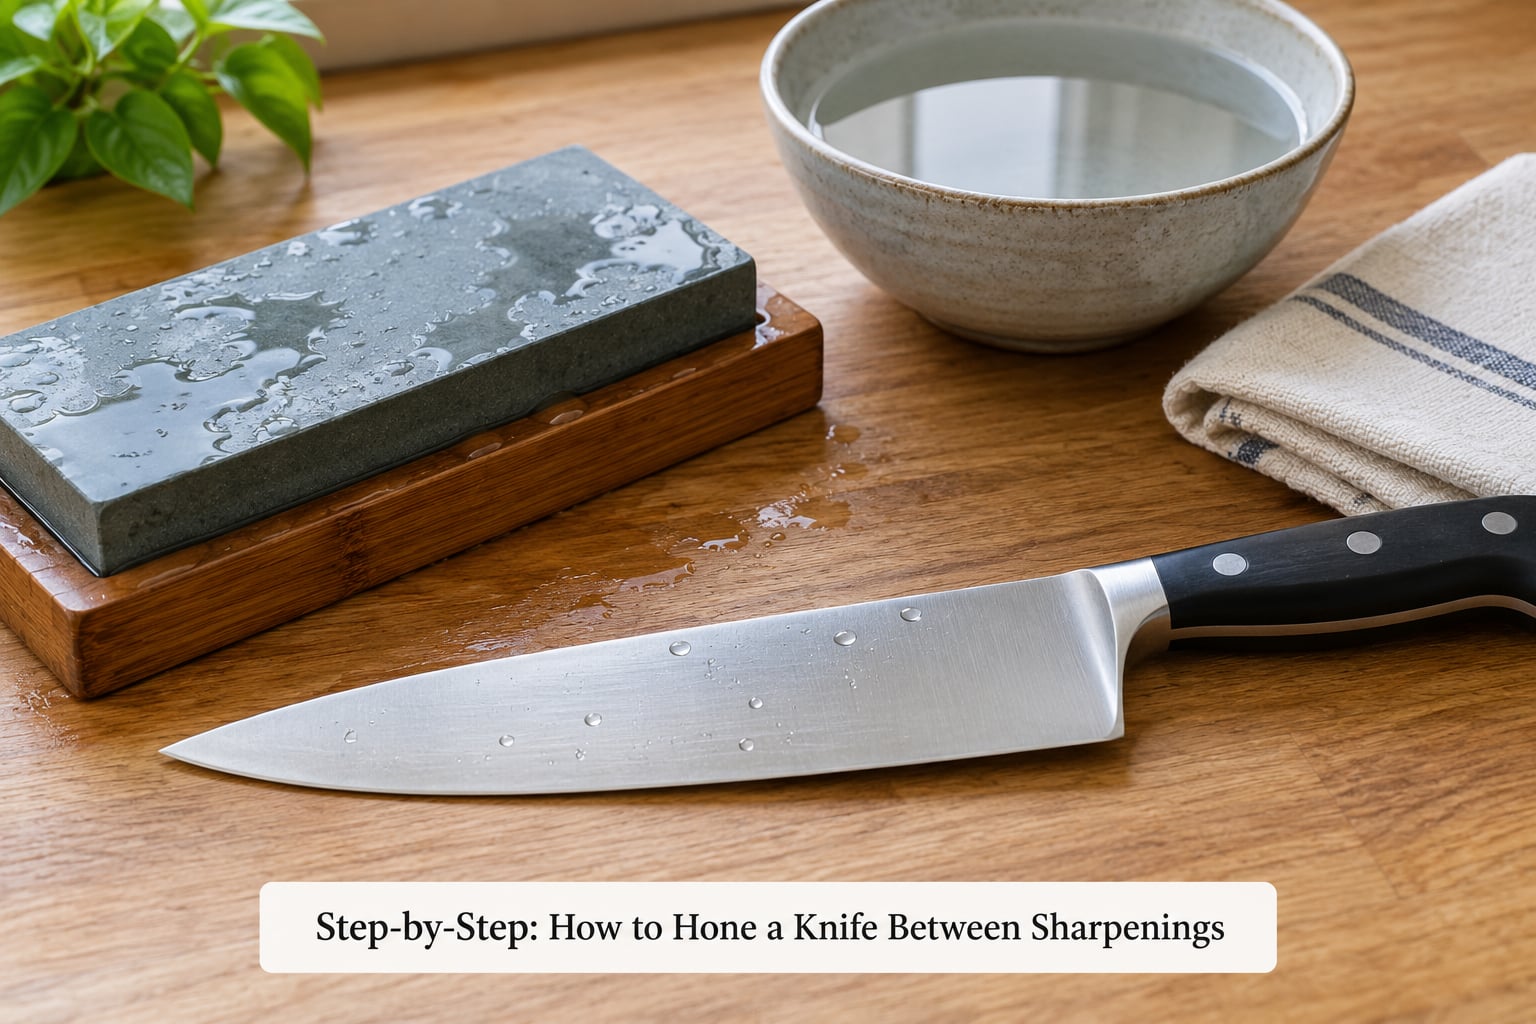
Prepare the Knife and Honing Tool
Wash the blade and dry it, then hold it up to a window or a bright overhead light. You’re looking for a bright line of reflected light running along the edge with no dark spots in it. Dark gaps mean the edge is rolling or chipped, and light honing won’t fix that.
Soak a whetstone in water for ten to fifteen minutes until bubbles stop rising from the surface, then set it on your damp towel. A sharpening stone is used wet, sitting in a thin film of water on its face. A honing steel is used dry, held in the air or braced against the counter.
Wipe the blade with a clean towel. If you just washed it, the residual water is fine, but visible oil or sticky food needs to go first.
Set a Consistent Honing Angle
This is the whole game. Hold the steel vertically in one hand, handle down against the counter or the heel of your other palm. Lay the knife’s bevel flat against the side of the rod, heel near the top.
Now tilt the blade until only a sliver of the rod shows between the knife’s spine and the steel. That sliver is your angle. For most European knives sold in the US, that’s 15 to 20 degrees per side. Japanese knives are often sharpened closer to 15 degrees, so a slightly flatter presentation is right for them.
No gauges or protractors needed. If you have a sheet of paper, fold it in half, then in half again, then open the last fold so you get 22.5 degrees. That single crease matches a European edge well enough for routine honing.
Once the knife is lying on the rod at that angle, lock your wrist and keep it there for every stroke. Changing the angle mid-pass is what dulls knives.
Hone Both Sides of the Blade
Slide the blade down the rod from heel to tip, using light downward pressure, then lift and return to the top. That single pass is one stroke. Most kitchen knives want five to eight strokes per side.
Focus on the back half of the blade, roughly the middle third, since that’s where most cutting happens. Don’t drag all the way to the tip on every pass. Instead, finish every set with one dedicated stroke at the tip and one at the heel, where chips and rolls usually start.
Alternate sides and keep the counts even. Five strokes on one side, five on the other, starting and ending on the same side is the usual convention.
Which direction you move matters less than people think. Heel to tip, as described, is the standard. Working tip to heel is acceptable in some kitchens, but heel to tip is easier to control and gentler on a fine edge.
Check the Edge Without Damaging It

Slice a sheet of printer paper held loosely at one corner. A honed edge bites into the paper and cuts a clean line with almost no drag. If the sheet tears into fuzzy strips or the knife skates, the edge is not aligned yet, so keep going.
A ripe tomato is the better kitchen test. A properly honed blade sinks into the skin with light hand pressure and makes a clean slice without crushing the fruit. A dull or rolled edge squashes it and pushes juice across the board.
Skip the finger test. Dragging a thumb across the edge or pressing a fingernail into it is how people end up with a cut that needs a trip to urgent care. If you want tactile feedback, press your thumbnail lightly against the back of the blade instead.
Clean and Store the Knife
Rinse the blade, dry it immediately with a towel, and don’t leave it soaking in the sink. Water sitting on stainless steel for hours causes rust spots and pitting that no amount of honing will remove.
Store it sheathed, in a block, or on a magnetic strip with the blade facing sideways. A loose knife in a full drawer gets knocked against forks and pan lids, and that’s a fast way to roll an edge you just fixed.
Common Mistakes
Pushing too hard. Force from your shoulders grinds metal instead of straightening teeth. Honeing should feel like drawing a blade along a surface, not sawing it.
Changing the angle between strokes. Every pass has to match the last. If your knife starts feeling worse rather than better, your angle is probably drifting steeper on one side.
Skipping the tip and heel. Full-length passes leave both ends untouched, so the round blunt spot near the heel keeps crushing food instead of cutting it.
Honing a dirty blade. Food and grit act like abrasive paste and can scratch the edge you’re trying to save.
Treating a steel like a sharpener. Dragging hard and fast down a steel to rescue a dull knife is the fastest route to a thin, useless edge. A steel hones. A stone sharpens.
Waiting too long. Once an edge rolls noticeably, no amount of honing brings it back. Hone every three to five uses and you’ll rarely need more than an occasional touch-up on a stone.
Frequently Asked Questions
How often should I hone a knife between sharpenings?
Hone every three to five uses for a knife you cook with daily, and once a week if it sits in a drawer most days. You are looking after the edge before it rolls, so short sessions beat long gaps. A quick five to eight strokes per side takes under a minute, which makes it easier to do before prep than to remember later.
Can honing a knife remove metal like sharpening does?
No. Honing straightens microscopic teeth that have bent sideways, and metal stays where it is. Sharpening grinds that metal away to build a new edge, which is why it is needed less often and why an over-honed knife can end up thin. If your edge feels dull rather than scratchy, you need sharpening.
What angle should I use when honing a kitchen knife?
Match the angle the knife was sharpened to. European knives from makers like Wusthof or Henckels usually sit at 15 to 20 degrees per side, while Japanese knives are often 15 degrees or less. If you do not know, a folded sheet of paper at 22.5 degrees is a reasonable starting angle for a European knife.
Is a honing steel the same as a sharpening steel?
They are two names for the same round rod, and neither one sharpens. Both realign an already-sharp edge. A whetstone is the sharpening tool, since its abrasive surface removes metal. Many people use the two words interchangeably, which is how the belief that a steel can fix a dull knife keeps spreading.
How do I know when my knife needs sharpening instead of honing?
If the blade snags on paper, tears rather than cuts, and needs pressure you would never use on food, the apex is worn past what honing can realign. Another sign is a hazy or rounded look to the edge under bright light. Sharpening is infrequent, so save it for a scheduled session rather than trying to force it with a rod.
Can I hone a knife with a whetstone at home?
Yes, and a whetstone is the more capable tool since it hones and sharpens in one pass. Wet the stone, keep it flat on a damp towel, and work each side with the same steady angle you would use on a steel. Start with a coarser grit to reestablish the bevel, then finish finer for a clean edge.
Conclusion
Start with a clean blade and a properly prepared tool, then hold one angle and repeat light, even passes from the middle of the blade out to the tip and heel. Five strokes a side, paper test, rinse, dry, and put the knife away protected.
Do that every three to five uses and the knife stays sharp enough for the whole week. Learning how to hone a knife between sharpenings is less about gear than rhythm.