Hold the knife in a pinch grip: thumb on one side of the blade, index finger on the other, right where the blade meets the handle, with your middle, ring and pinky fingers wrapped around the handle. That is how to hold a chef knife correctly, and the whole setup takes about two minutes.
One warning before you start. The pinch grip feels wrong for the first few sessions, and a lot of people decide it must be a mistake because it does not feel like a normal fist around a handle. It is not a mistake. It is the position every line cook spends a ten-hour shift in, and the awkward feeling fades once your hands learn it.
Below is the short version you can act on tonight, followed by the mistakes that cause most of the cut fingers people ask me about.
Table of Contents
- What You Need
- How to Hold a Chef Knife Correctly, Step by Step
- 1. Set Up a Stable Cutting Surface
- 2. Choose the Pinch Grip
- 3. Position Your Supporting Hand
- 4. Adapt the Grip to the Cut
- 5. Check Control and Finish the Cut
- Common Mistakes
- Frequently Asked Questions
- Should I Hold a Chef Knife Like a Pencil?
- Is the Pinch Grip Safe for Beginners?
- Where Should My Thumb Go When Using a Chef Knife?
- Why Does My Knife Hand Get Tired?
- How Do I Hold Food While Cutting?
- Conclusion: Start With a Stable Board and Pinch Grip
What You Need
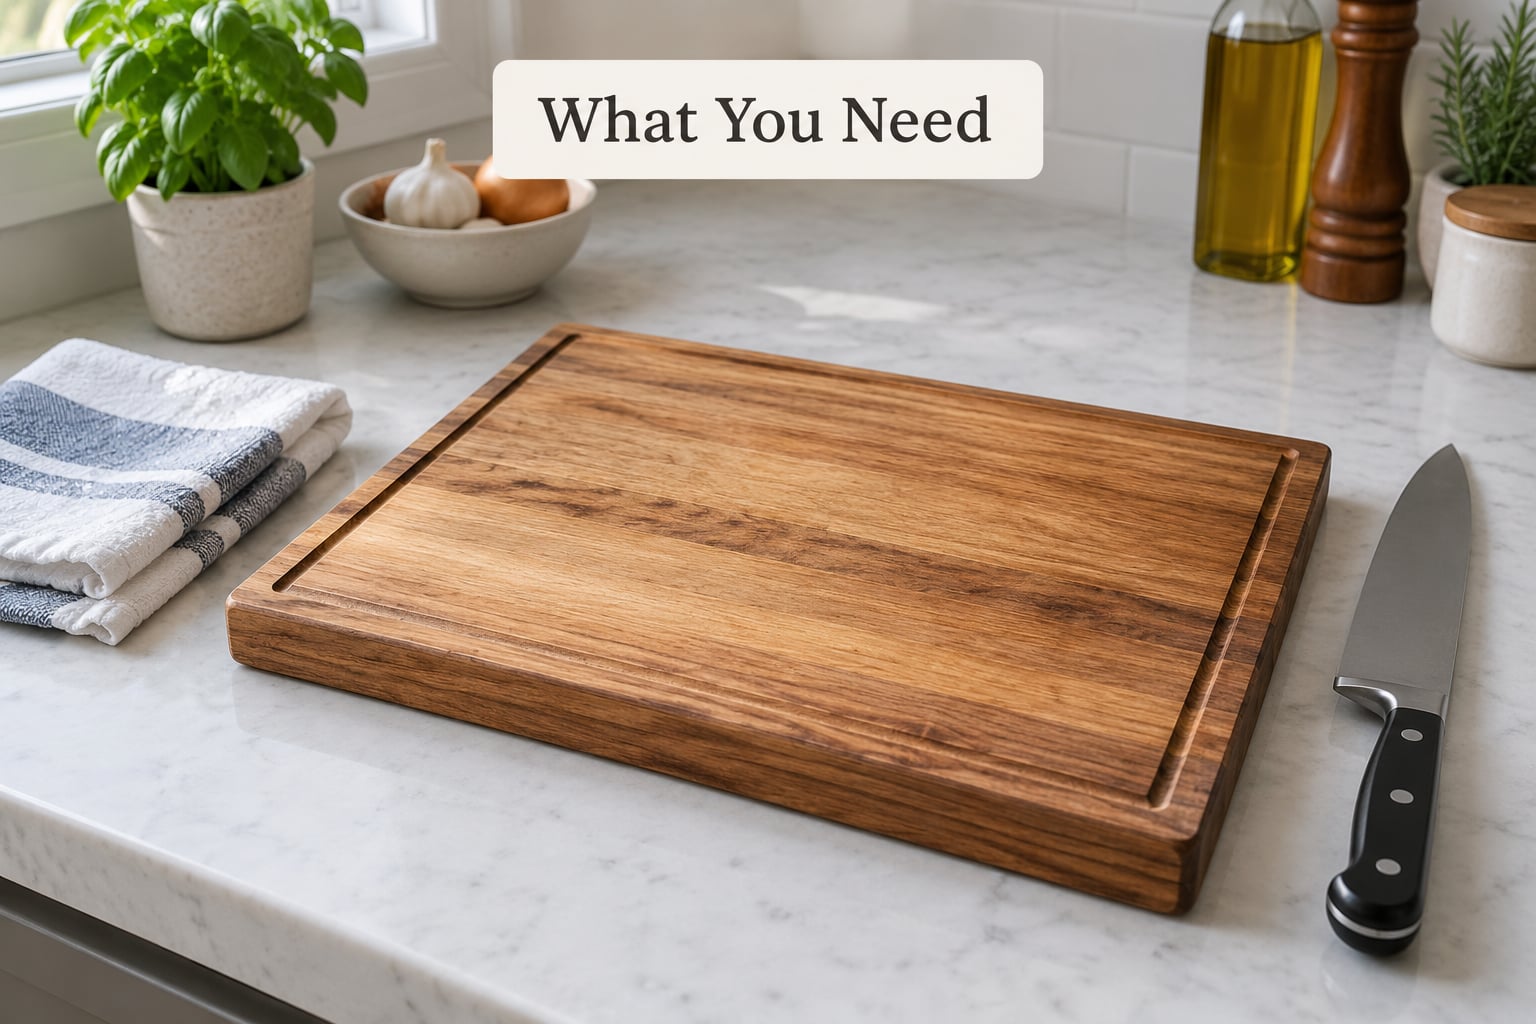
You need very little, and none of it is special:
- A chef knife in decent shape, 6 to 8 inch blade for most home work.
- A cutting board with enough room for both hands, preferably with a groove or a handle you can hold.
- A clean, dry counter and dry hands, because a damp handle or wet onion skin is a slip waiting to happen.
- A damp kitchen towel to go under the board so it cannot walk across the counter while you push on it.
The board is the part people skip. If it slides an eighth of an inch, your hands compensate and the cut gets sloppy, and on a slick glass or laminate board the slip can be sudden. Fold a towel into a flat square, dampen it, set the board on top, and it stops. A wet palm on the handle of the knife does the same job in a pinch.
How to Hold a Chef Knife Correctly, Step by Step
1. Set Up a Stable Cutting Surface
Put the damp towel down first, then the board on top of it, then the food. Everything you cut should be between your hands, not over an edge or a gap where a dropped onion can roll off the counter.
Stand with the board slightly in front of you and a little to the leading-hand side, so your cutting arm moves straight down and forward rather than across your body. Elbows soft, feet planted, shoulders dropped. If your shoulder is up by your ear, that tension travels down into the hand and shows up as a shaky cut twenty minutes later.
2. Choose the Pinch Grip
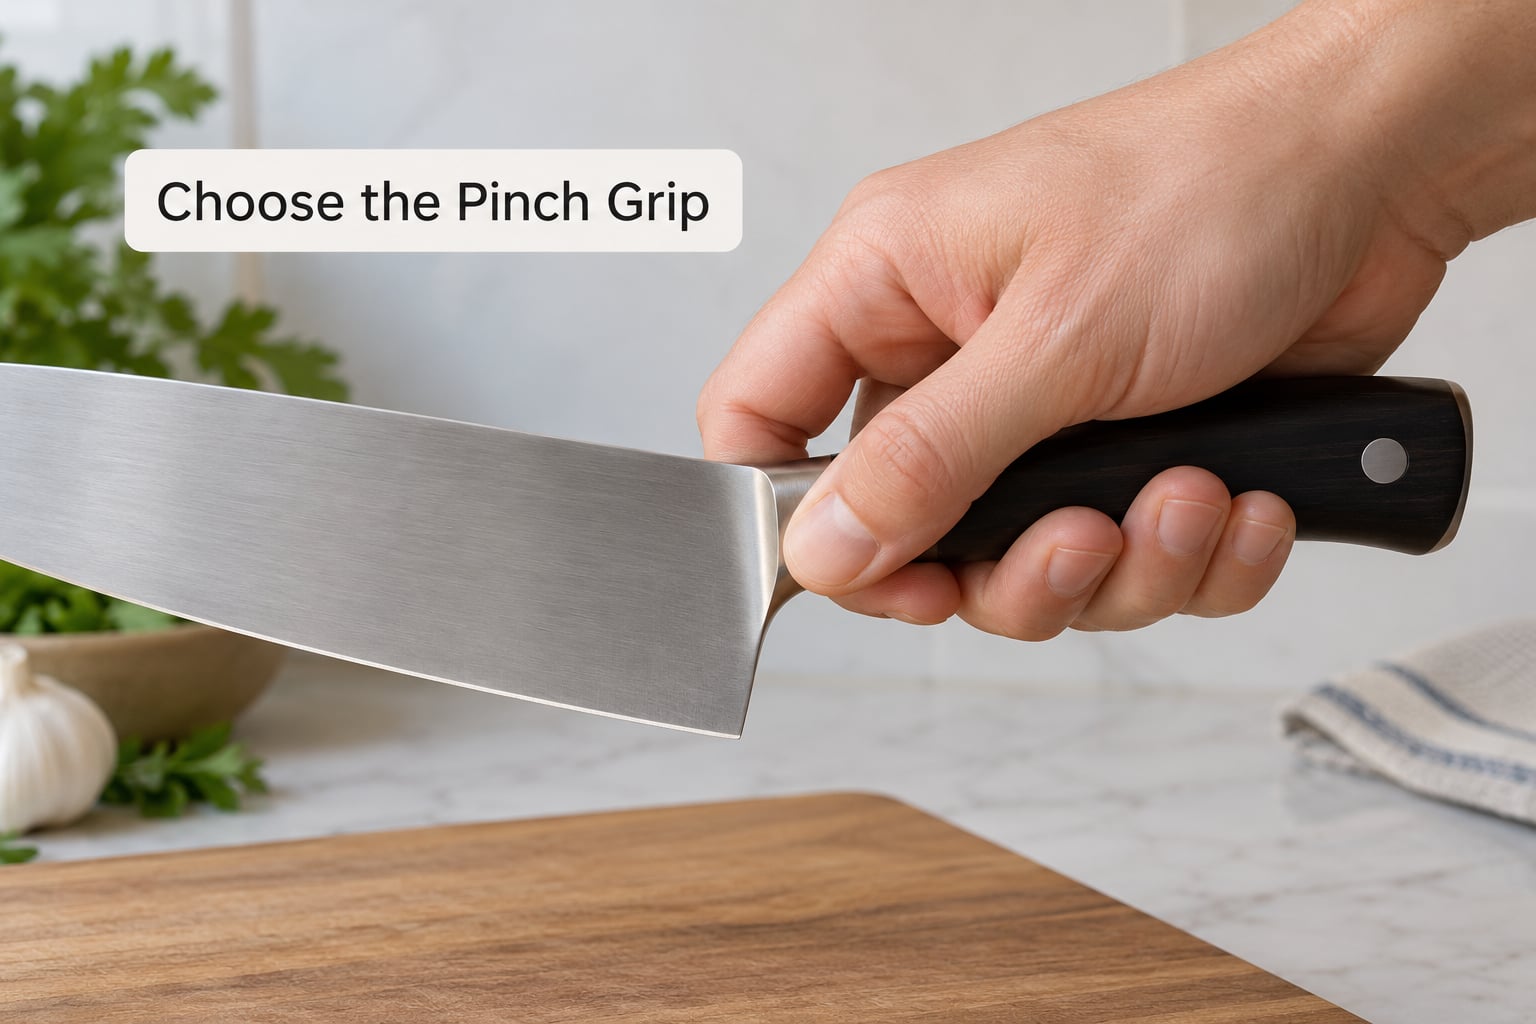
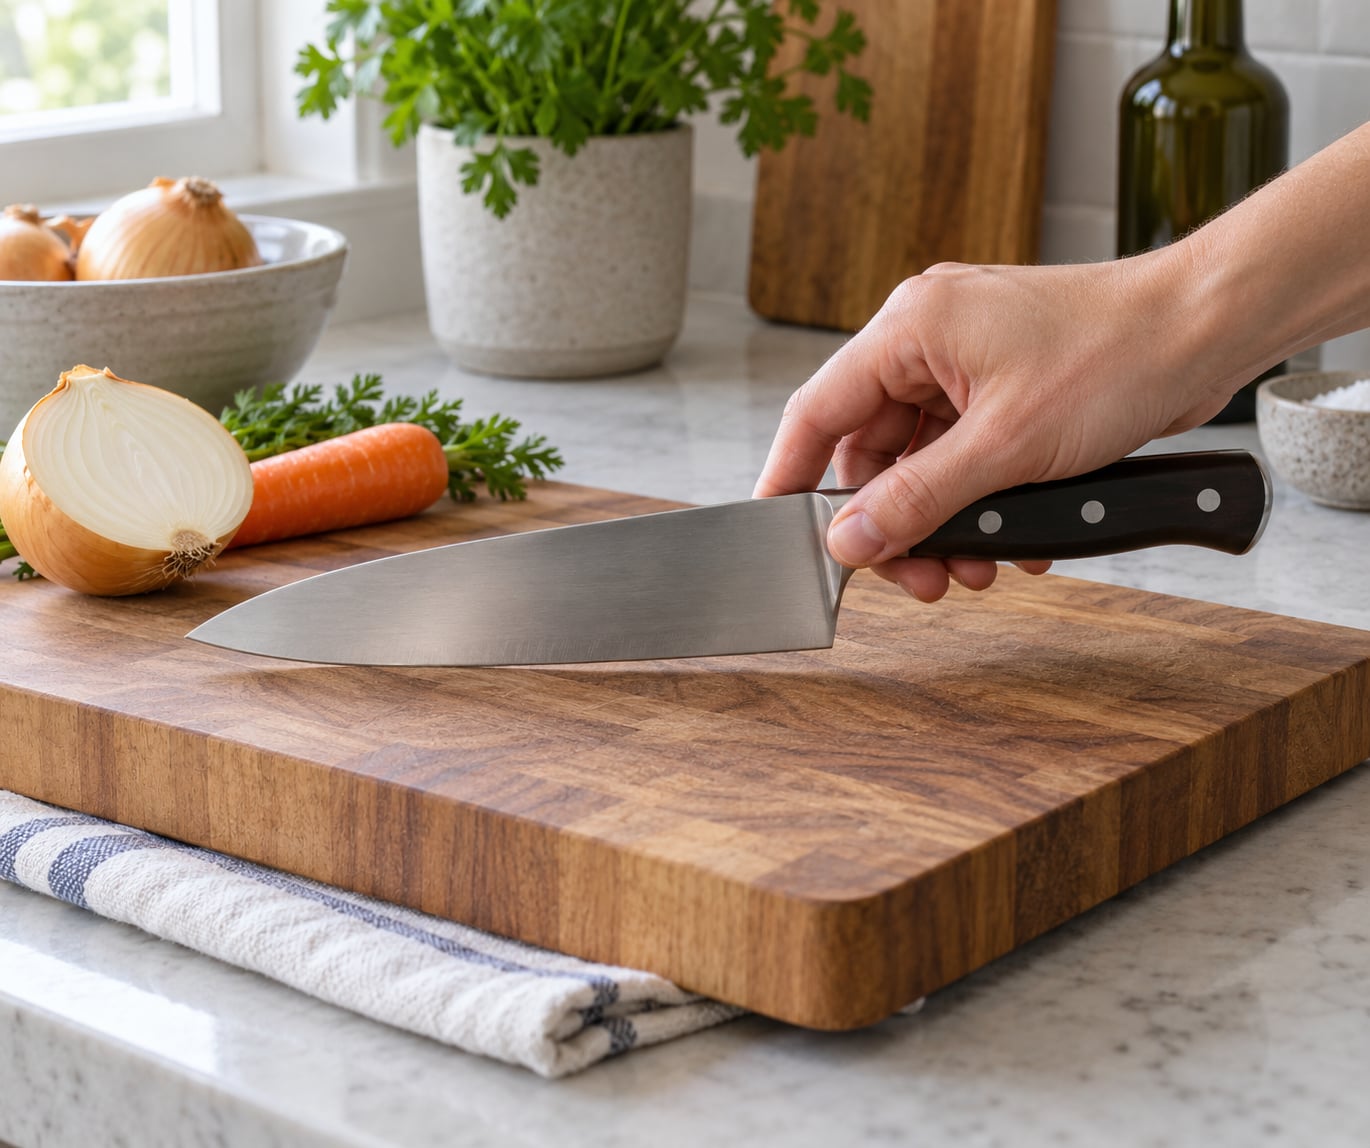
Pick the knife up with the edge facing away from you, then set your index finger and thumb on the flat of the blade just above the bolster, on opposite sides. Pinch lightly. Do not squeeze, and do not pull down hard. The grip is a light contact, not a grip on the handle.
Now wrap your middle, ring and pinky fingers around the handle. Your pinky usually ends up resting against the back of the handle or the bolster, which is what stops the knife from twisting in your hand when you hit something hard. Keep the wrist straight and in line with your forearm. A bent wrist is the single biggest reason the knife feels heavy, because it puts your weight in the wrong place.
Here is why this position works, and the explanation matters more than the instruction. Pinching the spine near the bolster turns your thumb into a pivot point, something like a fulcrum. When you move your hand down, that pivot turns the whole blade downward with very little effort from your arm. Gripping the handle only, the same motion has to come from squeezing your fingers harder, and squeezing is what tires a hand out.
It also puts your index finger in charge of the blade’s angle, which is what lets you do fine work like mincing herbs or slicing a shallot thin. A handle-only grip is perfectly safe and fine for a cook who never had lessons, but it gives up precision and it is where most beginner mistakes start.
3. Position Your Supporting Hand
Your other hand is the guiding hand, and it has one job: hold the food steady without being in the knife’s path. Curl your fingers under and pull your knuckles forward, so your fingertips tuck behind your fingertips’ knuckles and point back toward your wrist. This is the claw position, and it is the single most useful safety habit in a kitchen.
Two details make the claw work. Rest the pads of your middle finger and thumb on the top of the ingredient, because those are the contact points that keep it from rolling. Then hover rather than plant: let the side of your index knuckle ride just above the blade’s spine as it passes, so you can feel where the knife is without ever being where the knife is.
For round things like onions, carrots and potatoes, cut a flat side first and stand the piece on it. A cylinder lying on its side rolls, and a rolling onion drags your guiding hand toward the edge.
4. Adapt the Grip to the Cut
The pinch grip is the default, and it stays for most work. What changes is the motion:
- Slicing a curved Western blade: keep the tip on the board and rock the knife, heel to tip, letting the curved belly do the cutting. A rocking chop is faster and quieter than a straight up-and-down press.
- Straight up-and-down chopping: use it with a thinner, straighter Japanese-style blade, a nakiri or a gyuto. Those edges are meant to be pressed straight down, and pinching keeps the blade from wobbling.
- Push cuts on soft ingredients: a plain handle grip is fine. A ripe tomato or a block of tofu does not need blade control, and the pinch grip can slip on something wet and soft.
- Mincing, julienne and chiffonade: full pinch grip, small fast strokes, and a guiding hand that advances in small steps as the pile shrinks.
- Peeling and delicate trimming: shift the pinch point slightly forward toward the bolster for a shorter, more precise tip control, and turn the knife away from your body on every stroke.
Left-handed cooks use the same grip, mirrored. The knife sits on the left, the guiding claw forms on the right, and the pinch still lands on the spine just above the bolster. Nothing about the technique changes, only which hand does what.
5. Check Control and Finish the Cut
Test on something forgiving: a yellow onion. Slice it crosswise with no pressure at all and see whether you get even rounds that fall on their own. Even slices, no skidding, no sore hand, means the grip is right. If the knife drifts to one side or you are pressing down with your wrist, move the pinch point closer to the bolster and relax your fingers.
When you are done, set the knife down flat on the board with the edge facing away from you, or slide it into a knife block. Do not walk with it pointed down, and do not try to catch one that hits the floor. A dropped knife gets picked up once you have stepped away, with a dish towel, handling the blade from the spine end.
Give it a week or two. Most home cooks report that the grip starts feeling automatic somewhere in the first ten days, once they stop gripping the handle like a doorknob. A five-minute drill helps: slice one onion a day for a week and count the strokes. Fewer strokes per slice is the fastest sign the knife is doing the work.
Common Mistakes
These are the ones I see most often, and each has a fix:
- Gripping far too tight. A white-knuckle hold is the beginner’s response to being scared of a slip, and it is the reason the hand cramps. Fix: hold the knife firmly enough that it cannot move, then consciously relax until the grip drops maybe ten percent.
- Choking up too far on the handle. Gripping the very end of the handle with all four fingers gives you a lever and a sore wrist, and no fine control at all. Fix: move the thumb and index finger onto the blade spine so your hand sits closer to the work.
- Holding food with flat fingers. This is the number one cause of sliced fingers. Fix: curl the fingertips under, knuckles forward, and keep the side of the index knuckle riding above the spine.
- Cutting on a board that moves. Fix: damp towel underneath, or a board with a handle to hook a free hand through. Also keep the counter dry and dry your hands first.
- Bending the wrist and cutting with the hand. Fix: straighten the wrist so the knife lines up with your forearm, and let the arm above the elbow do the work. Power comes from the shoulder, not the fingers.
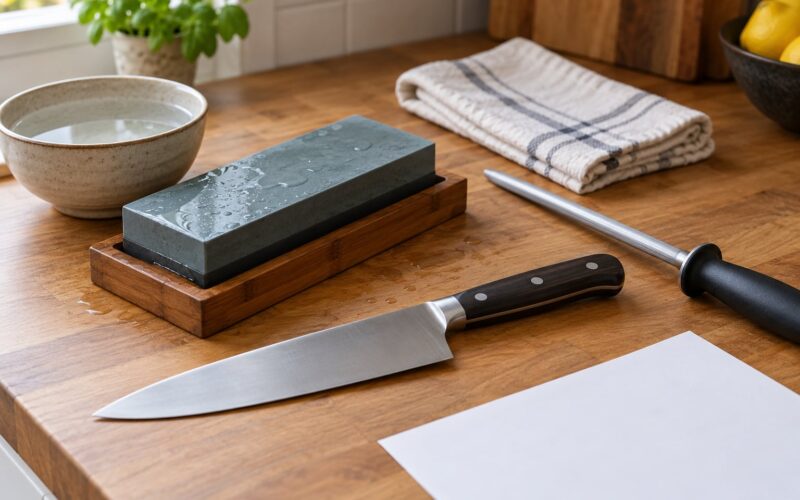
- Ignoring a dull edge. A dull knife slides, and a sliding knife is the dangerous one. Fix: use a sharpener regularly, or send the knife out for sharpening on a schedule you actually keep. A sharp edge bites before it slips.
Two smaller habits are worth adding. Never drag the blade edge across the board to push food around, use the flat of the blade instead, and never use a chef’s knife to cut a package, a bit of tape or a cloth, because a sideways twist is how good edges get marked up.
And if your hand cramps or the knife feels slippery no matter what, change one thing at a time. Dry your handle, loosen your grip, re-seat the towel, then check the edge. Usually one of those four is the answer.
Frequently Asked Questions
Should I Hold a Chef Knife Like a Pencil?
A light pencil-style hold can work for certain push cuts, and for anyone with limited hand strength it is a reasonable compromise. For chopping, dicing and mincing, the pinch grip is better, because your index finger on the spine controls the blade angle directly instead of the knife being steered by the handle alone. Try the pinch grip on a soft onion for a week before deciding.
Is the Pinch Grip Safe for Beginners?
Yes, as long as three other things are in place. The blade needs to be sharp, the cutting board needs to stay put, and the other hand needs to be curled in the claw position with fingertips tucked behind the knuckles. With all three sorted, the pinch grip is safer than a fist grip, because your fingers sit farther from the cutting edge and the blade lands where you aim it.
Where Should My Thumb Go When Using a Chef Knife?
Put your thumb on one flat side of the blade, roughly level with your index finger, right where the blade meets the handle at or just above the bolster. Your index finger goes on the opposite side, and your middle, ring and pinky fingers wrap around the handle below. Keep the wrist straight and in line with your forearm rather than cocked to one side.
Why Does My Knife Hand Get Tired?
Most hand fatigue comes from one of four habits: squeezing the handle instead of holding it, working with a dull blade, bending the wrist so the arm has to fight it, or pushing the knife through food that a sharp edge would have cut on its own. Switch to a pinch grip, straighten the wrist, and let the blade do the work and the hand usually stops aching within a session or two.
How Do I Hold Food While Cutting?
Curl your fingers into a claw. Tuck the fingertips under, point the knuckles forward, and let the pads of your thumb and middle finger rest on top of the food. That keeps the fingertips behind your knuckles and out of the blade’s path while still letting the food advance as you cut. Hover the guiding hand slightly rather than pressing it down hard, and cut a flat side onto round vegetables first.
Conclusion: Start With a Stable Board and Pinch Grip
Three actions, in order. Dampen a towel and put the cutting board on it so the board cannot move. Pinch the flat of the blade between thumb and index finger just above the bolster, with three fingers wrapped around the handle and a straight wrist. Curl the fingertips of your other hand under, knuckles forward, so they sit behind your knuckles.
That is how to hold a chef knife correctly, and the rest is practice. Keep the edge sharp, control the force instead of forcing it, and let the knife be a quiet extension of your hand rather than something you are wrestling.