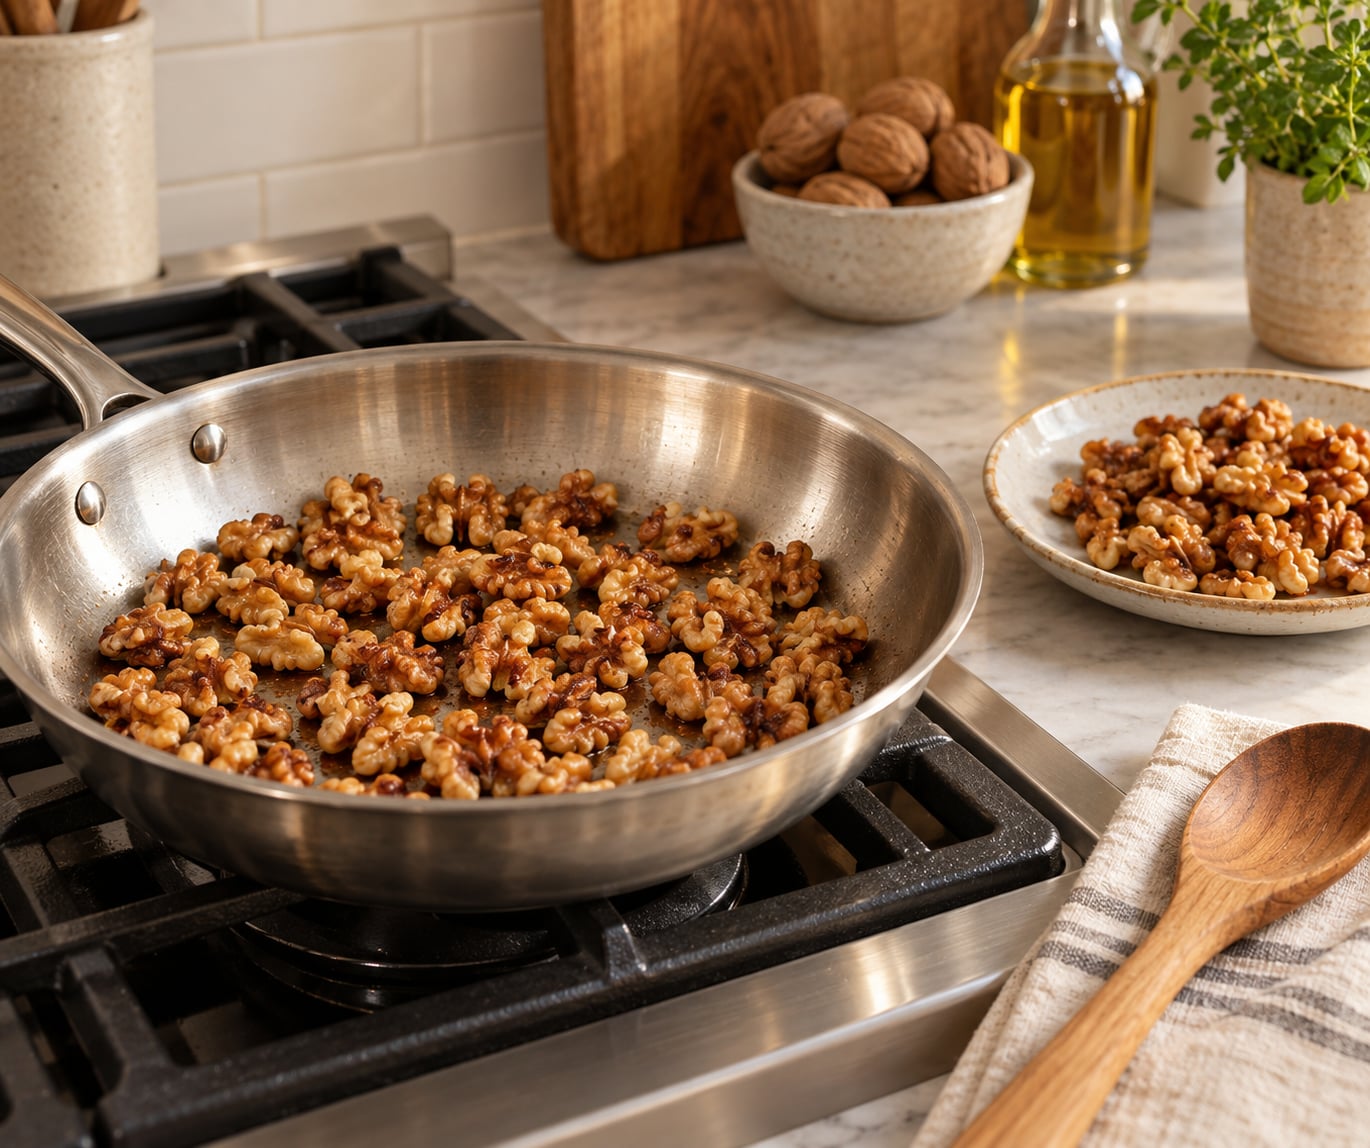
To toast walnuts in a skillet, heat a dry skillet over medium heat, add the walnuts in a single layer with no oil, stir every 30 seconds, and cook 3 to 7 minutes until they smell rich and look evenly golden brown. Then pull them straight out onto a cold plate, because residual heat keeps browning them for a minute or two after the burner is off. It takes under ten minutes and the whole job is watching them, not timing them.
That last part matters more than it sounds. Walnuts go from perfect to acrid faster than most people expect, and the pan is usually still hot enough to keep cooking them after you think you have stopped.
Toasting is a dry roast: no oil, no butter, just heat and moving nuts. It concentrates flavor, deepens the color, and knocks the raw bitterness out of walnuts so they taste like something worth putting in banana bread, a salad, or a bowl of yogurt. If you have ever bought “roasted” walnuts that tasted dusty, this is the fix.
Table of Contents
- What You Need
- Step-by-Step
- How to toast walnuts in a skillet
- Skillet vs oven: which method fits your batch
- How to know when the walnuts are ready
- How to cool and store toasted walnuts
- Common Mistakes
- Frequently Asked Questions
- Can I toast walnuts in a cast-iron skillet?
- Should I remove the skins from walnuts before toasting?
- Can I add sugar or other seasonings before toasting walnuts?
- How long do toasted walnuts keep after cooling?
- What To Do First
What You Need
The equipment list is short, and most kitchens already have everything on it.
- Walnuts. Raw, shelled walnut halves or pieces. If the bag says roasted or salted, skip it. Pre-roasted nuts have already taken all the heat they can take, and salted ones can go bitter fast.
- A dry skillet. Stainless steel or cast iron works best. The pan must be completely dry; a drop of water makes the nuts steam instead of toast.
- A wooden spoon or silicone spatula. Something that can push nuts around without scraping a nonstick coating.
- A timer. Useful as a backstop, not as the deciding vote.
- A heatproof plate or sheet. A room-temperature ceramic or glass plate is your landing spot.
- Flaky salt, optional. Add it after the nuts leave the heat so the salt does not scorch.
Give the walnuts a quick smell first. If they smell like paint thinner or old crayons, they have gone rancid and toasting will not rescue them. Toast in batches rather than doubling up. One cup of walnut halves spreads comfortably across a 10-inch skillet; two cups will steam in the middle and scorch at the edges.
Step-by-Step
How to toast walnuts in a skillet
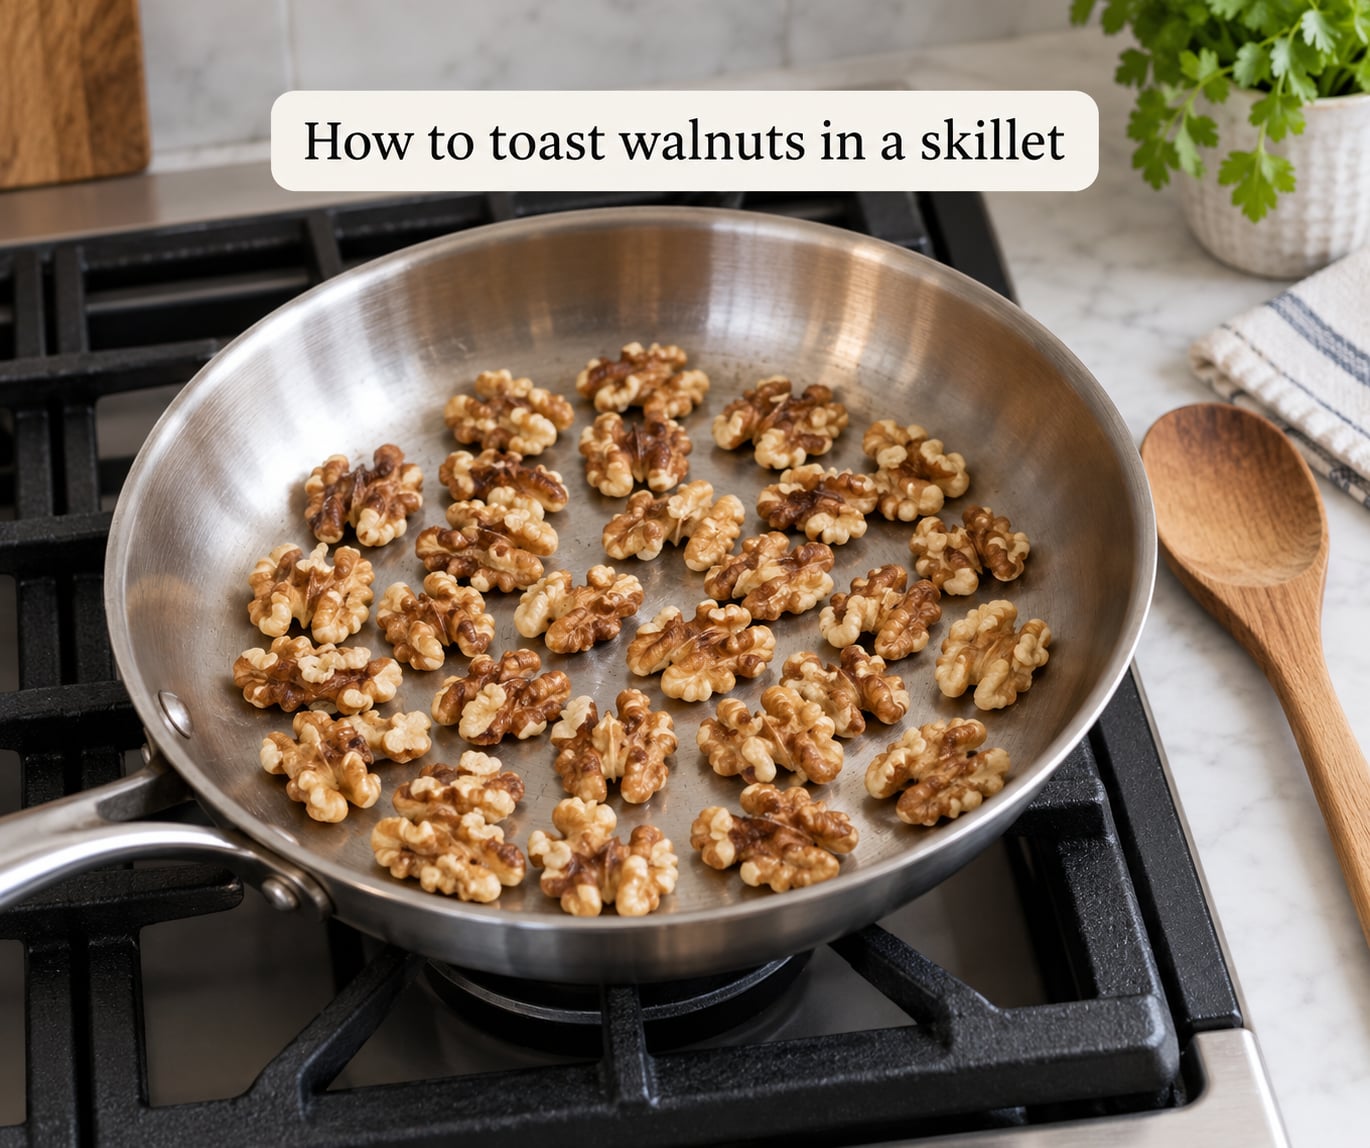
Five steps, and the order matters more than any single instruction.
- Heat a dry skillet over medium heat. Set the burner to medium and leave the pan there for a full minute before the nuts go in. On a cast-iron skillet, drop one step to medium-low. Cast iron heats faster and holds heat longer, so the burner setting that works in steel will scorch nuts in iron.
- Add the walnuts in a single layer, dry, with no oil. Spread them out and leave gaps. If they touch in a solid mat, the underside steams while the exposed edges burn. Skip the oil for a pure dry roast; add a teaspoon of olive oil if you want a seasoned snack rather than a baking ingredient.
- Stir or shake every 30 seconds. Push them with the wooden spoon or grip the handle and shake the pan a few times. Constant movement is what stops one walnut from becoming charcoal while its neighbor is still pale.
- Cook 3 to 7 minutes until fragrant and evenly golden. Watch the color, not the clock. Whole halves run longer than chopped pieces, and a crowded pan runs hotter.
- Transfer to a cold plate immediately. Tip the nuts onto a room-temperature plate and spread them out. That single move kills residual heat and is the difference between toasted and burnt.
If you want a skillet method with more flavor, melt a tablespoon of butter in the pan just before the walnuts go in, or add a teaspoon of olive oil and a pinch of salt. Both give you something closer to a snack. Neither is right for cookies, where you want the clean walnut flavor to come through.
Skillet vs oven: which method fits your batch
Every search result mixes oven and skillet advice into one article, so here they are side by side.
- Skillet. Medium heat, or medium-low for cast iron. 3 to 7 minutes. About 1 cup per 10-inch pan. High hands-on effort, stirring every 30 seconds.
- Oven. 350 F / 180 C. 7 to 10 minutes. Several cups on one sheet at a time. Low effort, one stir at the halfway point.
- Microwave. No heat setting. 30 to 60 seconds in bursts. A handful only. Medium effort, with frequent pauses to shake the bowl.
The skillet wins for small batches, speed, and immediate use. The oven wins if you are toasting four cups at once or do not want to stand over a burner. The microwave does an uneven job and tends to leave some pieces rubbery.
How to know when the walnuts are ready
Three cues, in this order. Check your nose first, your eyes second, and texture last.
- Smell. A rich, warm, nutty aroma fills the room well before the color changes. Once the smell turns sharp, acrid, or smoky, you are already past done.
- Color. The pale tan deepens to an even golden brown on all sides. Some pieces will look darker than others; that is normal, and the paler ones catch up as residual heat works through the batch.
- Texture. The nut feels firm and dry rather than waxy or rubbery. A raw walnut bends slightly; a toasted one snaps cleanly.
A timer is a backstop, not an answer. Three minutes is right for chopped walnuts in a hot steel pan. Seven minutes is right for whole halves on medium-low. If you are relying on the number alone, you will eventually get it wrong, and the tell is always the smell.
How to cool and store toasted walnuts
Fresh from the skillet, walnuts are hot enough to burn a mouth and soft enough to disappoint. The crunch you are after develops as they cool, so the cooling step is not optional decoration.
Tip the nuts onto a room-temperature plate, spread them into a thin layer, and leave them alone for 10 to 15 minutes. Do not leave them in the skillet, and do not pile them into a bowl, because trapped steam softens the crust. Test one before you think you are done; it should snap.
Once fully cool, store them in an airtight container. They keep their toasted flavor for about a week at room temperature, roughly two to three weeks in the fridge, and several months in the freezer. Label the container with the date so you use the oldest batch first.
Common Mistakes
Nearly every failed walnut toast traces back to one of five things.
Heat too high. This is the big one. Medium heat gives the nuts time to release their oils gradually. Medium-high scorches the outside before the inside dries out, and the result tastes bitter rather than nutty. If your gas flame licks up the side of the pan, turn it down.
Overcrowding the pan. A single layer is the rule for a reason. Nuts packed together steam, and steam is the opposite of toasting. Toast a second batch instead of doubling up.
Not stirring often enough. Thirty seconds is the working interval. If you walk away to answer the door and the phone in the same trip, expect smoke.
Leaving the nuts in the hot pan. A skillet fresh off the burner holds enough energy to take light golden nuts to burnt in a minute. Moving them to a cold plate stops that instantly, and it is the fix nearly every experienced cook reaches for after a bad batch.
Seasoning too early. Sugar burns long before nuts brown, and salt added at the start can bite the pan and scorch. Finish with flaky salt after the nuts are off the heat.
One more that catches people: a dark or well-worn pan. The darker the surface, the harder it is to read walnut color, and the faster you are likely to overshoot. A light-colored skillet gives you a much better view of what is happening.
Frequently Asked Questions
Can I toast walnuts in a cast-iron skillet?
Yes, and cast iron gives you the most even browning of any skillet. The catch is heat: cast iron heats faster and holds it longer than stainless steel, so set the burner to medium-low instead of medium. Keep stirring every 30 seconds and pull the nuts the moment they smell rich, because a hot cast-iron pan will keep cooking them after you turn the burner off.
Should I remove the skins from walnuts before toasting?
No need. The thin brown skin comes off easily once the nut is toasted, and it protects the walnut from direct heat while it is in the pan. Toasting first makes the skin looser, so it slips right off. If you prefer the smooth, skinless look, peel after toasting rather than before.
Can I add sugar or other seasonings before toasting walnuts?
Cinnamon, chili, rosemary, and a pinch of salt all go in fine, but sugar is the exception. Sugar melts and burns well before the walnuts brown, which is how candied nuts turn bitter in a skillet. For a sweet version, toast the nuts dry, then toss them with sugar in a bowl or finish them on a rimmed sheet in the oven.
How long do toasted walnuts keep after cooling?
In an airtight container, cooled toasted walnuts stay good for about a week at room temperature, two to three weeks in the refrigerator, and several months in the freezer. Cool them fully on a plate before sealing the container, or trapped steam will soften them overnight. If they smell of paint thinner when you open the jar, discard them rather than re-toasting.
What To Do First
Put a dry stainless steel or cast-iron skillet on medium heat, wait a full minute for it to warm, and add one cup of raw walnuts in a single layer. Stir every 30 seconds, trust your nose over the timer, and move them to a cold plate at 3 to 7 minutes. Everything else on this page is a refinement of that sequence.
Once you have toasted walnuts down, the same pan method works for pecans, almonds, hazelnuts, and pine nuts, with slightly shorter times for the softer nuts.