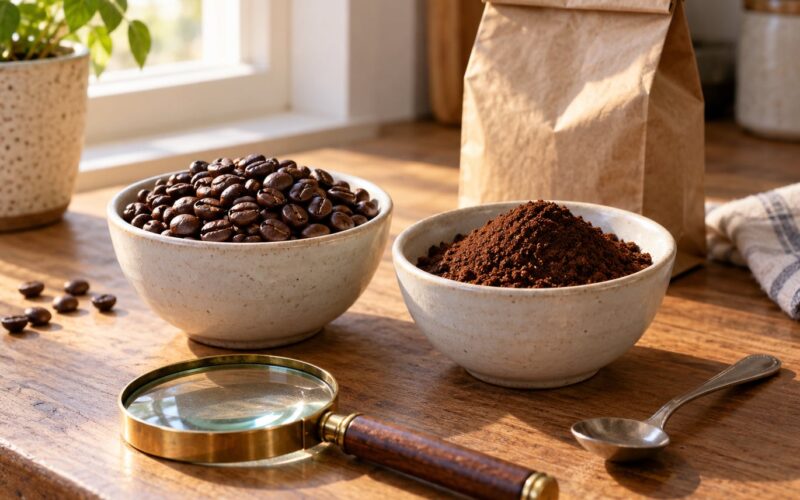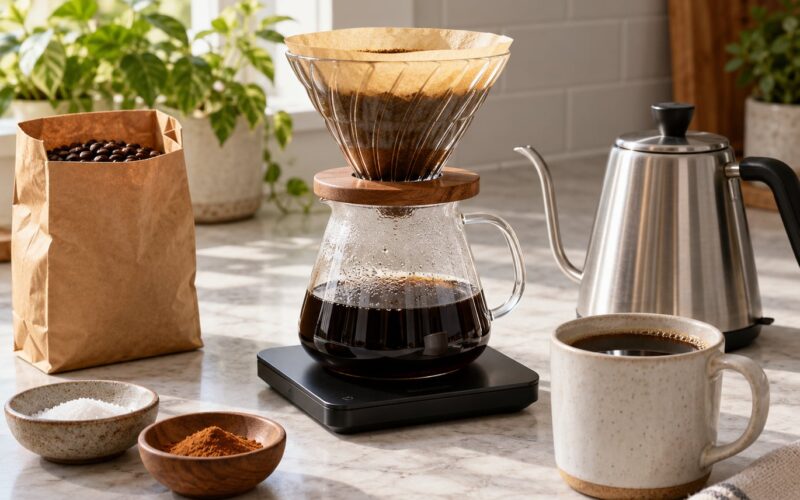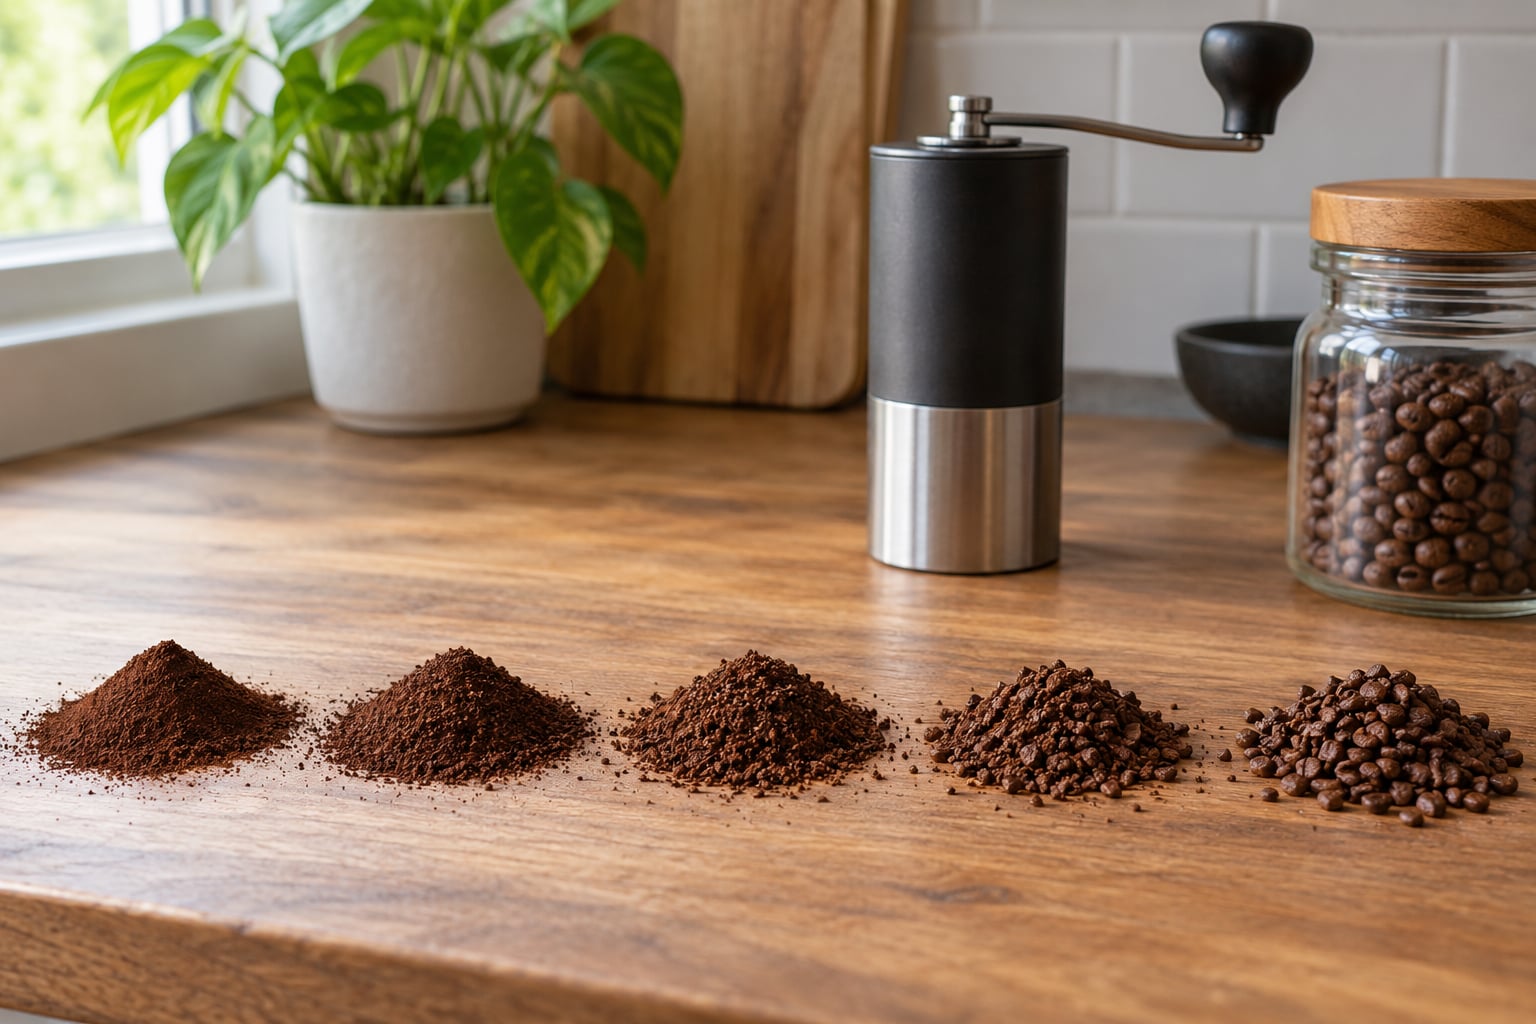
Grind size has to match how long and how hard your brewer pushes water through the coffee. Fast, high-pressure methods like espresso need a fine grind; slow immersion methods like French press need a coarse one. Get that match right and the rest of the recipe mostly takes care of itself.
That is the whole idea behind learning how to grind coffee for different brew methods. It sounds simple until you notice that a setting number on your grinder means nothing on its own. What actually tells you the truth is the grind itself, seen on your palm or spilled on the counter, and how the brew behaves in the first 30 seconds.
Grind is also the cheapest variable you can change. Your brewer and kettle are fixed, but grind moves on every single dose, which makes it the first thing to touch when a cup tastes wrong. Most of the diagnostic advice below comes down to one line: sour and weak means grind finer, bitter and harsh means grind coarser.
Table of Contents
- What You Need
- Step-by-Step
- How to grind coffee for espresso
- How to grind coffee for moka pot
- How to grind coffee for pour-over coffee
- How to grind coffee for French press
- How to grind coffee for AeroPress
- How to grind coffee for cold brew
- How to grind coffee for siphon brewing
- How to grind coffee for Turkish coffee
- How to grind coffee for batch brewing
- How to Make the Adjustment
- Common Mistakes
- Changing dose and grind together
- Judging by smell alone
- Grinding stale or pre-ground coffee
- Never cleaning the burrs
- Skipping distribution
- Treating brew time as a fixed rule
- Assuming one setting transfers perfectly between brewers
- Coarsening on a cheap conical burr grinder and expecting quality to hold
- Frequently Asked Questions
- What grind size should I use for different coffee brewing methods?
- Can I use a blade grinder to grind coffee for different brew methods?
- How do I know if my coffee grind is too fine or too coarse?
- Should I change the grind size when I change coffee beans?
- How do I keep my coffee grinder settings consistent between brews?
- Conclusion
What You Need
The single most important tool is a burr grinder with an adjustable grind setting. Everything else is secondary.
A burr grinder crushes beans between two hardened surfaces, which produces particles of similar size. A blade grinder, the kind that chops beans with spinning blades, produces a mix of dust and chunks. That mix means no grind chart applies to your coffee, and no cup will be repeatable from one day to the next.
Beyond the grinder you need freshly roasted coffee, a small kitchen scale, your brewing vessel, and a timer. Distribution tools like a dosing cup, a funnel, or a WDT tool help if you are brewing pour-over, and none of that matters much on the espresso path.
Grind immediately before brewing. Coffee starts losing aroma within minutes of hitting the air, so grinding the whole bag on Sunday and brewing on Wednesday costs you more than the beans did.
While recipes vary between roasters and cups, every method sits on one ladder. From finest to coarsest: extra fine, fine, medium, coarse, and extra coarse. The rest of this guide is really just mapping each brewer onto that ladder.
| Brew method | Grind label | Particle size | Looks like | Contact time |
|---|---|---|---|---|
| Turkish coffee | Extra fine | under 100 microns | Flour, almost powdered | 3-5 minutes, unfiltered |
| Espresso | Fine | 200-300 microns | Granulated sugar, gritty | 25-30 seconds at pressure |
| Moka pot | Fine to medium-fine | 200-400 microns | Table salt to fine sand | 3-5 minutes, pressurized |
| Siphon / vacuum pot | Medium | 400-700 microns | Coarse sand | 6-8 minutes total |
| AeroPress | Medium-fine to medium | 200-500 microns | Between salt and sand | 1-2 minutes immersed |
| Pour-over (V60, Chemex, Kalita) | Medium | 600-900 microns | Coarse sea salt | 2:30-3:30 total |
| Batch / drip brewer | Medium | 600-900 microns | Coarse sea salt | 4-6 minutes percolated |
| French press | Coarse | 1000-1400 microns | Cracked pepper, breadcrumbs | 4 minutes immersed |
| Cold brew | Extra coarse | 1100-1500 microns | Sea salt flakes, gravel | 12-18 hours immersed |
Micron numbers are a reference, not a target. Beans differ in density, and two grinders set to the same number rarely produce the same particle size. Use the column to know roughly where you are, then judge by texture and by how the brew runs.
One more thing worth knowing before you start: roast level shifts the target. Light roasts are denser and usually want a slightly finer grind, while dark roasts are oily and brittle and grind better a touch coarser. Moving to a darker roast without touching your grinder is one of the most common reasons a good recipe suddenly goes sour.
Step-by-Step
The baseline workflow is the same for every method. Weigh a consistent dose, grind only what you need, start at the middle of the range this guide gives you, brew the full recipe, taste it, and change one variable at a time.
Named grinder settings from forums and manuals are useful orientation but they do not transfer between machines. A setting of 15 on one conical burr grinder can be espresso on another and cold brew on a third. Before you trust any number, learn what the grind looks and behaves like at your own machine’s mid-range.
How to grind coffee for espresso
Espresso wants the finest grind you can brew with, starting finer than anything else on this list. Aim for a texture somewhere between granulated sugar and table salt, with no visible chunks and no dust on your fingers.
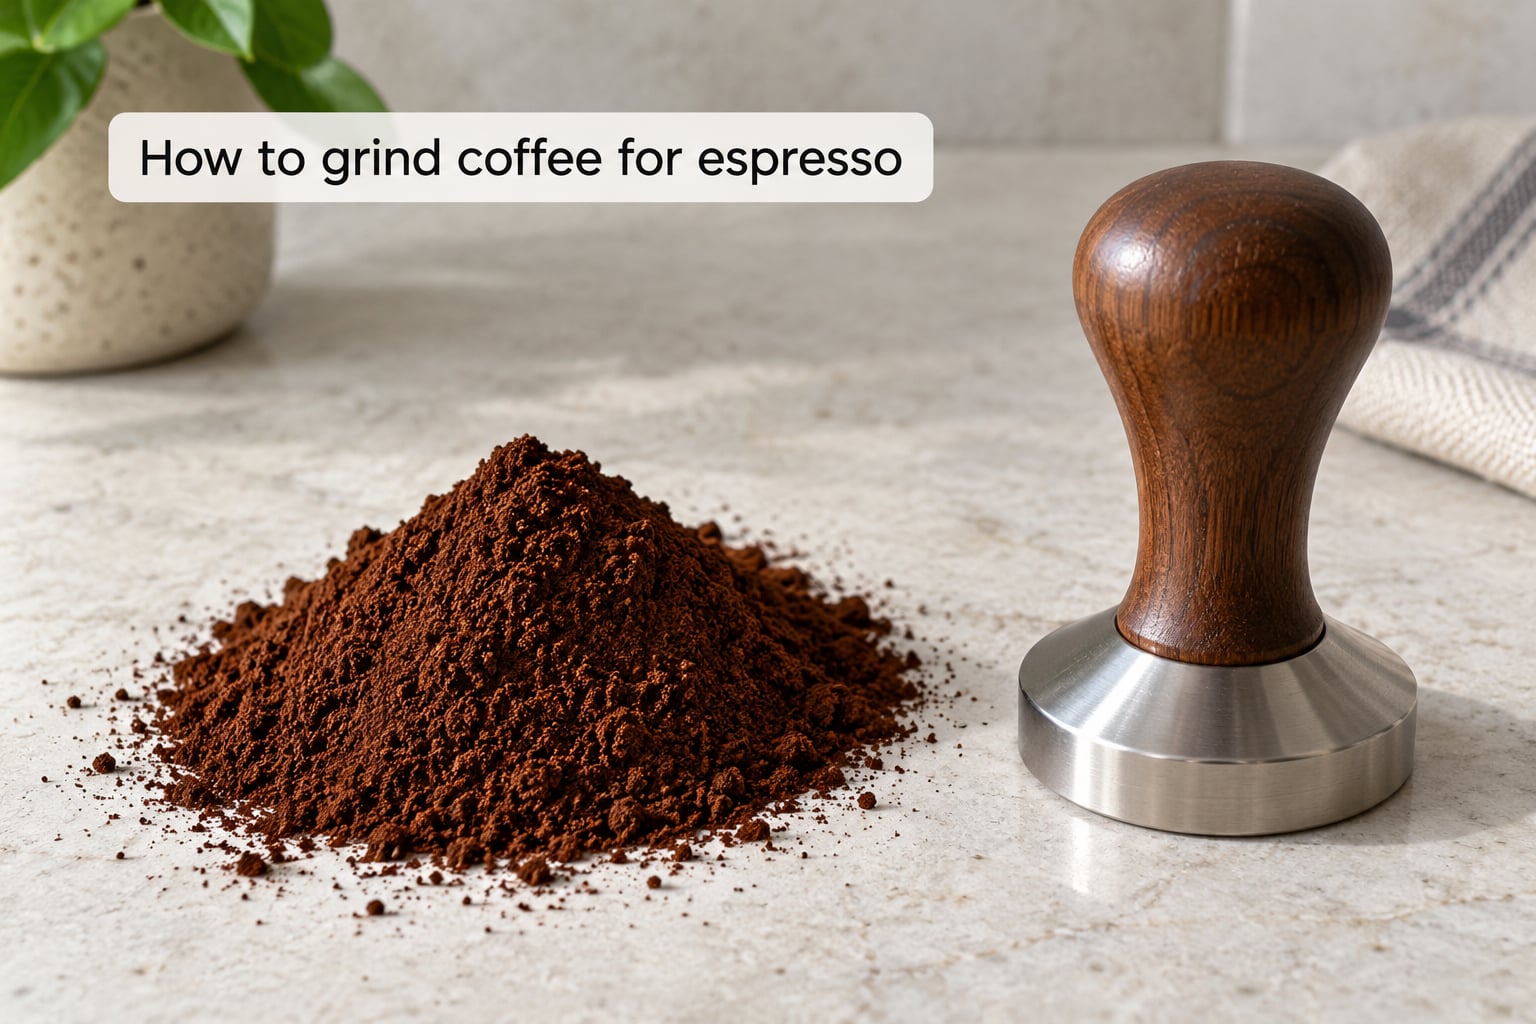
There is no universally correct micron figure for home espresso. Beans, dose and machine all shift it, so use texture as your reference and let the shot time do the measuring. Start around 18 grams of coffee in and aim for a 25 to 30 second shot, then adjust.
Once the grind is close, distribution and pressure matter more than any further micron chase. Break up clumps in the basket, level the bed, tamp once with even pressure, and wipe the rim before locking in. If water finds one weak channel, a shot that should have taken 28 seconds will gush through in 12 and taste sharp and hollow.
A shot that runs fast and thin needs a finer grind. A shot that crawls, drips slowly, or tastes bitter and drying needs a coarser one. Change a small step, re-tamp, and try again.
How to grind coffee for moka pot
A moka pot sits between espresso and drip. Start at a fine-to-medium grind, roughly the texture of table salt, and pack the basket down firmly so the coffee forms a level, compact bed.
That bed is the point. Moka pots rely on steam pressure pushing water through grounds that have already been heated by the burner, and loose grounds let steam slip past the coffee instead of through it. Fill the water chamber to just below the safety valve and keep the coffee level with the funnel so the pre-boiler water cannot wet the grounds too early.
Heat slowly on the smallest flame you have. A hard boil scorches the grounds and pushes bitter compounds into the cup long before extraction is done.
Too fine and the pot gurgles and spits, with a bitter, burnt taste. Too coarse and it flows fast, produces weak coffee, and leaves you wondering why it tastes hollow. The moka pot crowd is right about one thing: adjust in small steps until it tastes good to you rather than chasing a published number.
How to grind coffee for pour-over coffee
Pour-over wants a medium grind with visible grain, similar to coarse sea salt or damp sand. Pour it between your fingers and you should be able to see individual particles without them feeling sharp.
Pour over is the most sensitive of the immersion-style methods to small grind changes because the water is driven through the bed by gravity and your pour pattern. That is also why the bloom matters: 50 grams of water or about twice your dose, poured in and left for 30 to 45 seconds, wets the bed evenly and lets CO2 escape instead of pushing dry pockets through the coffee.
If the brew stalls, drips almost to nothing, and tastes heavy and bitter, grind finer. If it drains too fast and the cup tastes hollow, sour, or watery, grind coarser.
Treat this as a baseline rather than a rule. Filter material shifts the target slightly, with some paper types running a touch finer and abaca filters a touch coarser. A 60 gram pour-over usually lands around a 1:16 ratio; single origins often want slightly more coffee in the same water.
How to grind coffee for French press
French press wants a coarse grind, similar to cracked peppercorns or coarse breadcrumbs. If your grounds look like sand, you have gone too fine.
The brewer soaks the coffee in water for about four minutes and then pushes a metal mesh plunger through the bed. That plunger is why the grind matters so much: too fine and the mesh clogs, you cannot press down, and the cup comes out full of silt.
Break the crust, skim the foam, and plunge slowly right after the steep. Pour the full batch at once and let it settle for a minute before drinking to keep sediment out of the cup.
A muddy, silty cup with weak flavor means you went too fine, so coarsen. A bitter cup that keeps extracting as it sits means it was slightly too coarse and bitter compounds had too long to pull out. Pour the whole press into a server or mugs rather than leaving coffee sitting on the grounds.
How to grind coffee for AeroPress
Start the AeroPress at medium-fine to medium. It is more forgiving than espresso because immersion and agitation do part of the extraction work, so grind precision matters less here than almost anywhere else.
What tells you which way to move is the press itself. If it plunges down easily and quickly, you have gone too coarse and the water barely touched the coffee. If you are pushing hard and it feels like the coffee is set in concrete, grind coarser and loosen the bed. You want steady moderate pressure on the plunger for most of the push, not a freefall and not a workout.
Brew time comes next, then taste. Stirring between the pour and the plunge changes extraction, so keep stirring consistent while you are dialing the grind.
How to grind coffee for cold brew
Cold brew is a coarse grind by design. Start at extra coarse, with particles the size of sea salt flakes, and go as coarse as your grinder allows without choking it.
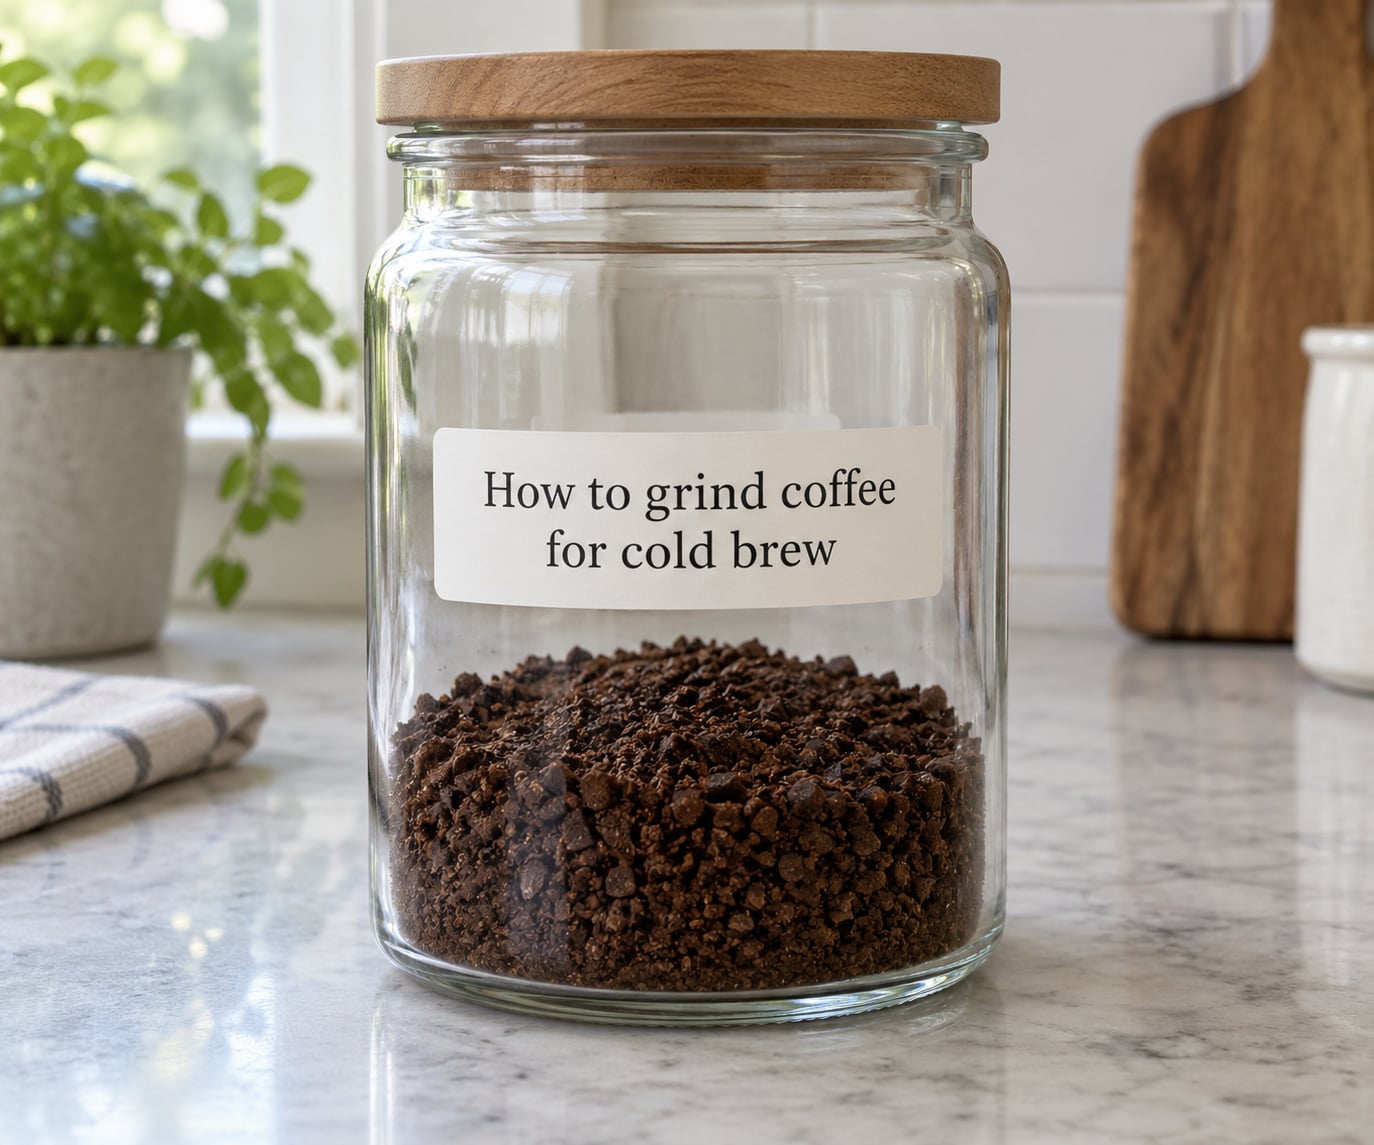
The logic is simple: cold water extracts slowly over many hours, so large particles have time to give up their flavors. Finer grounds in cold brew usually produce a muddy, bitter concentrate because there is nothing to slow the extraction down.
A typical starting recipe is one part coffee by weight to eight to ten parts water, steeped 12 to 18 hours in the fridge, then filtered through a paper filter or fine mesh. Adjust concentration through your water ratio and steep time before you touch the grind.
If the concentrate is bitter and astringent, use coarser grounds or cut the steep time. If it is thin and watery, add more coffee or steep longer. Serve it over ice diluted with water or milk to taste.
How to grind coffee for siphon brewing
Siphon, or vacuum pot, brewing works best at a medium grind, a little finer than pour-over and noticeably coarser than espresso. Think coarse sand that still holds its shape when you press it.
Because the coffee sits submerged for several minutes before the vacuum pulls it back down, keeping the bed clean matters. Break up any clumps before the water goes in, and avoid fines that can carry over into the lower globe and cloud the finished cup.
Watch the color of the brew in the upper globe as it climbs. A pale, thin color usually means your grind is too coarse or the water was not hot enough. A dark brew and a bitter cup point to too fine a grind. Water around 200 to 205F suits most light and medium roasts.
How to grind coffee for Turkish coffee
Turkish coffee is the extreme end of the ladder: extra fine, almost flour-like, with no particles larger than powdered sugar. This is the one method where the extra-fine setting is genuinely correct rather than a compromise.
Use a small dose, around two level teaspoons for a cezve, and grind only what you need each time. Put the grounds in the pot, add cold water, and heat it slowly and without interruption. The coffee will foam up as it nears boiling. Let the foam rise, then let it settle.
Serve the liquid without disturbing the settled grounds in the bottom of the pot. That sediment is not a grinder fault. Turkish coffee is brewed unfiltered by design, and grounds at the bottom are the normal end of the process.
If the cup is thin and sharp-tasting, the grind is too coarse or the coffee did not come to a full boil. If it is bitter and sludge-like at the back of the throat, the grind is too fine or the pot boiled too long.
How to grind coffee for batch brewing
For a batch brewer, start at medium and expect to fine-tune. Commercial and supermarket machines vary far more than the manual brewers people compare, so your machine’s manual and its own basket are better references than any chart.
Begin with the machine’s suggested coffee-to-water ratio, usually between 1:15 and 1:17, and change the grind before you change anything else. Many brewers also have an adjustable brew strength control, but grind changes the flavor more than that setting does.
If the carafe tastes thin and sour, grind finer. If it tastes harsh and dark with a burnt edge, grind coarser. Water temperature matters too, and machines set at the default often brew cooler than you want for light roasts.
Used grounds sitting in the basket between brews turn bitter fast, so empty the basket and rinse the filter each time. It costs ten seconds and it is the difference between a good morning cup and a bad one.
How to Make the Adjustment
Calibration is a repeatable process, and the most important part is that you change one thing at a time. Fix the dose, ratio, water temperature and pouring technique, then move the grinder a small step, brew the full recipe, taste, and decide which direction to go next.
Start each session by finding the middle of your grinder’s usable range, not the middle of its dial. Mark that position so you can always get back to it. From there, move one click at a time and keep notes on what changed.
Small batches change the target. For doses of 8 to 12 grams, a medium-fine grind is a common starting point so the bed does not collapse and stall, which is why small-batch recipes often call for a finer grind than the same method at full size.
| Symptom | Likely cause | Change first |
|---|---|---|
| Sour, thin, hollow, watery | Grind too coarse, water moved too fast | Grind finer |
| Bitter, harsh, drying, astringent | Grind too fine, water lingered too long | Grind coarser |
| Brew stalls or barely drips | Grind too fine, filter clogged, bed compacted | Grind coarser |
| Espresso gushes in under 15 seconds | Grind too coarse or channeling | Grind finer, then improve distribution |
| Espresso drips slowly past 40 seconds | Grind too fine | Grind coarser |
| Muddy cup, heavy sediment | Grind too fine for an immersion brewer | Grind coarser |
| No flavor at all, tastes flat | Stale beans or uneven flavor split between the extremes | Fresh beans, then adjust grind |
| Tastes different every brew at the same setting | Blade grinder, or burrs needing cleaning | Switch to burrs, clean the burrs |
If a cup tastes wrong and you are not sure whether the grind or the ratio is the culprit, coarsen first for anything bitter and coarsen-then-fine for anything sour. In practice, grind explains the large majority of bad cups, and it costs nothing to test.
Also worth knowing: grind retention means some coffee stays inside the grinder after you grind. Single-dosing and purging reduce it, which stops wasted beans and, more importantly, stops the last dose being blended with stale grounds from hours ago.
Common Mistakes
Most grind problems come from changing several variables at once, or from trusting a number that means nothing outside your own kitchen.
Changing dose and grind together
The fix: keep the dose fixed and change only the grind. If you double both, a good change in one cancels out the other and you learn nothing.
Judging by smell alone
Aroma is strongest right after grinding and tells you very little about the particle size. Put grounds on your palm or on a plate and look at them.
Grinding stale or pre-ground coffee
Flavour compounds oxidize quickly once exposed to air. Grind in small amounts, right before you brew.
Never cleaning the burrs
Static cling pulls coffee dust onto the burr set. Over months it shifts your effective setting and dulls flavor. Empty and brush the chamber regularly.
Skipping distribution
Clumps cause channeling in espresso and uneven extraction in pour-over. A quick break-up before brewing costs seconds and consistently improves the cup.
Treating brew time as a fixed rule
Seconds only mean something against a known dose and a known method. A 3:30 brew is slow at one ratio and fast at another.
Assuming one setting transfers perfectly between brewers
Different methods need different grind sizes by design. Each brewer has its own row in the table above, and moving between them means moving the grinder.
Coarsening on a cheap conical burr grinder and expecting quality to hold
This one catches people off guard. On budget conical burr sets, a coarser setting runs faster but the shaft can wobble more, so consistency drops exactly when you coarsen. Know your grinder’s usable range before you rely on its extremes.
Frequently Asked Questions
What grind size should I use for different coffee brewing methods?
Match the grind to how long and how hard water moves through the coffee. Turkish and espresso want the finest settings, moka pot and AeroPress sit fine to medium, pour-over and batch brewers want medium, French press wants coarse, and cold brew wants extra coarse. Start in that range, brew the full recipe, then adjust one step at a time based on taste.
Can I use a blade grinder to grind coffee for different brew methods?
You can, but no grind chart will apply to your coffee. A blade grinder chops beans into a mix of dust and chunks, and that mix means uneven extraction, sediment in the cup and a cup that tastes different every morning. It is fine for a rough cold brew or French press and frustrating for espresso. Any real dial-in work needs a burr grinder.
How do I know if my coffee grind is too fine or too coarse?
Judge by both the cup and the brew. Sour, thin, hollow or watery means water moved too fast, so grind finer. Bitter, harsh, drying or astringent means water lingered too long, so grind coarser. A stalled or barely dripping brew is too fine; a brew that drains in seconds with no body is too coarse. Look at the grounds on your palm too.
Should I change the grind size when I change coffee beans?
Often yes, especially when the roast level changes. Darker roasts are oily and brittle and usually grind better a touch coarser, while dense light roasts tend to want a finer grind. Single origins also vary in density between harvests. Rather than chasing a number, brew the new bag at your current setting and adjust one small step from there.
How do I keep my coffee grinder settings consistent between brews?
Write your setting down and use a fixed dose measured on a scale. Start each session from a marked mid-range position so you always have a known reference point. Clean the burrs on a schedule, since retained coffee shifts the effective setting, and avoid moving the dial while you are making other changes to the recipe.
Conclusion
Start where the table says: extra fine for Turkish, fine for espresso, fine to medium for moka pot, medium for pour-over and batch brewing, coarse for French press, extra coarse for cold brew, and medium for siphon and AeroPress.
Then do one thing: use the setting your brewer suggests, write it down, brew the full recipe with a fixed dose, and taste. Make a single small adjustment based on taste and flow, and keep going from there. That loop, not any published number, is how you grind coffee for different brew methods and actually get a repeatable cup. Updated for 2026.