Tasting wine is five moves in order: see it, swirl it, smell it, sip it, then savor the finish. That takes about two minutes per glass, costs nothing, and needs no training — you are simply paying attention to what you already smell and drink, just more slowly.
Most people drink wine rather than taste it, which is why they buy the same bottle twice and never know why. A structured routine gives you a way to describe a wine in plain words, remember what you liked, and spot the bottles worth your money again next time.
I have taught this routine to friends who insisted they could not taste wine. Within a month they were arguing about body and tannin at dinner, which is a better problem to have. Below is the version that actually sticks.
Table of Contents
- What You Need
- Step-by-Step
- 1. Choose and Prepare the Wine
- 2. Look at the Wine
- 3. Swirl and Smell
- 4. Take a Sip and Assess the Body
- 5. Swirl, Retaste, and Finish
- 6. Record and Judge Your Impressions
- Common Mistakes
- Frequently Asked Questions
- Do I need a special wine glass to taste wine?
- Should I drink the wine or spit it out while learning?
- Why does wine smell different after swirling the glass?
- How do I describe a wine when I do not recognize the aromas?
- Can I taste several wines together, or should I try one at a time?
- Conclusion
What You Need
Very little. Anything fussy gets in the way of noticing things, and a clean kitchen glass works fine for your first ten bottles.
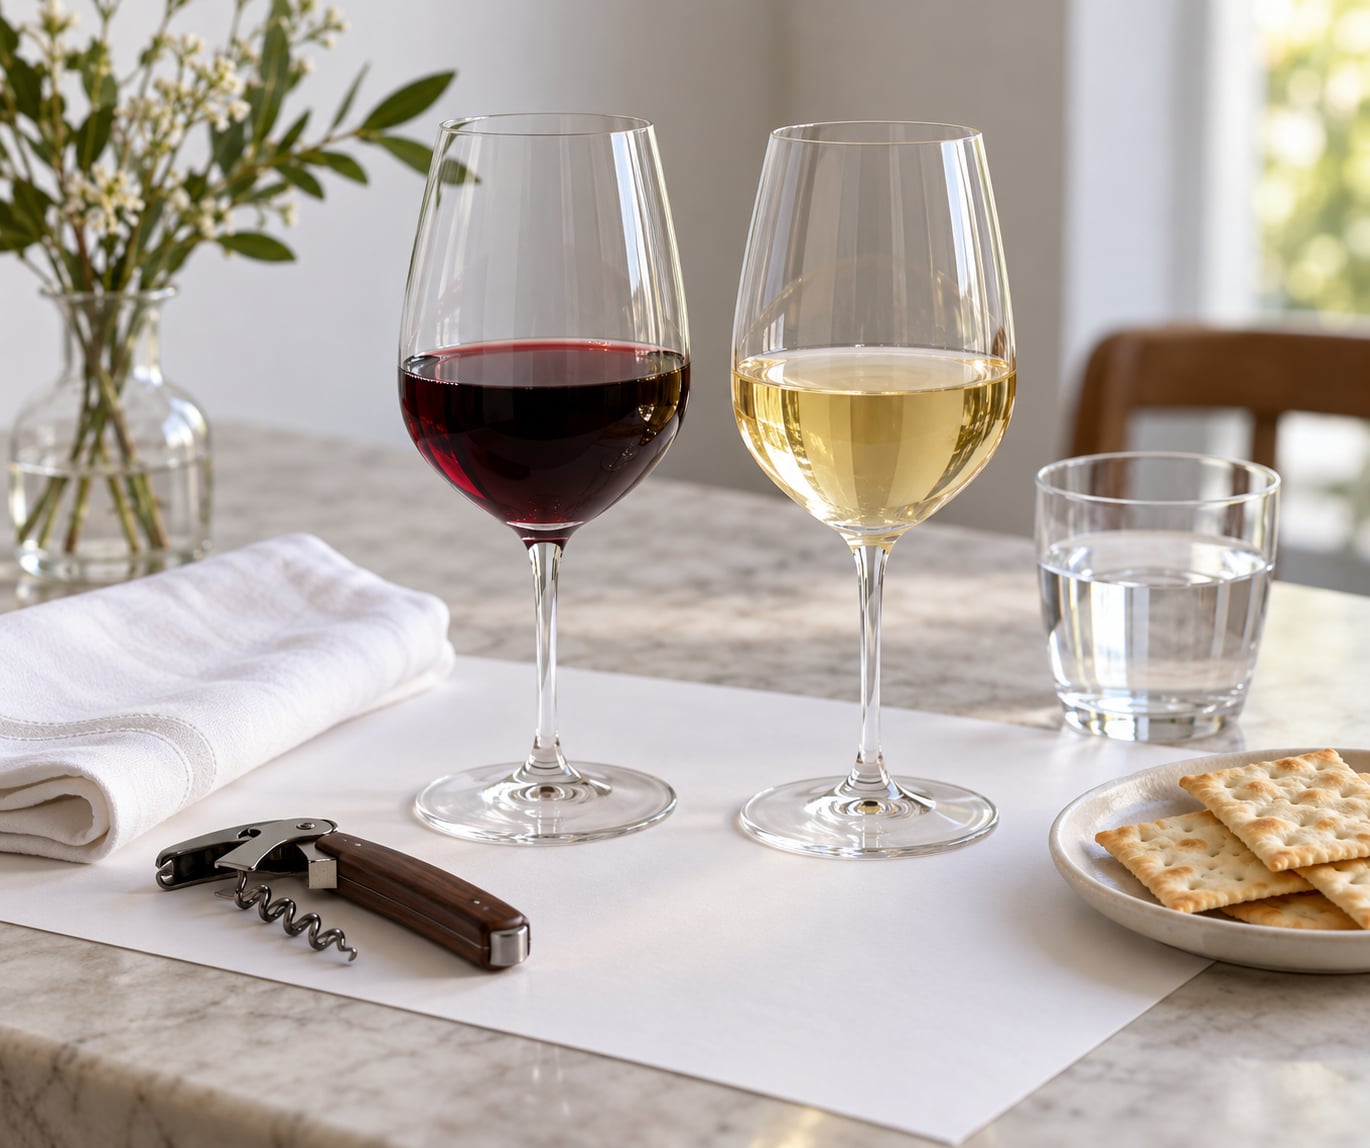
- A clean, odor-free glass. A standard wine glass with a bowl wider at the base than at the rim helps, but any stemmed glass or even a small tumbler will teach you the sequence. Wash and rinse it with hot water so no detergent or cabinet smells linger.
- A white napkin or plain light surface. Color is judged against white, and a patterned tablecloth will send you chasing reflections that are not in the glass.
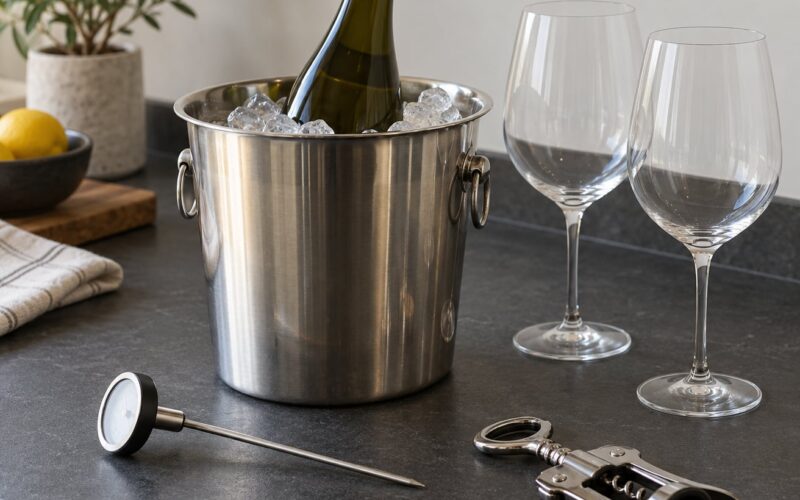
- A wine opener. If you plan to taste more than once, a decent corkscrew is worth having. If the bottle has a screw cap, you are set.
- Water and plain crackers. Both reset your palate between wines. Bread works too; anything salty or flavoured will distort the next glass.
- A napkin or small notepad, and a pen. Optional on your first try, essential from the second tasting onward.
Two numbers do most of the work. Pour about 2 to 3 ounces (60 to 90 ml) per wine, which is roughly a third of a standard glass. And skip the phrase room temperature — reds are best around 60 to 65°F, whites closer to 45 to 50°F, which means a cool room or a short spell in the fridge.
Hold the glass by the stem or the base, never the bowl. Your hands carry heat, smoke and soap, and all three will flatten the aromas in the first five minutes.
Step-by-Step
The whole routine exists to make your impressions repeatable. You are not deciding whether a wine is correct or impressive; you are collecting honest observations so you can compare this bottle to the last one. Work through the same six steps every time and your notes become useful.
1. Choose and Prepare the Wine
Start with a wine you are likely to enjoy, because the point of the first attempt is to build a habit rather than to prove something. Light, simple reds like Pinot Noir or Gamay, and crisp whites like Sauvignon Blanc or Pinot Grigio, are forgiving places to learn. Save the high-tannic, heavily oaked bottles for later.
Serve it slightly cooler than you think it should be. Chill reds for about fifteen minutes if they have been sitting in a warm room, and pull whites out of the fridge five minutes before pouring so they are not too cold to smell.
You will know this step worked when the glass smells clean and the wine holds its aroma instead of fuming off the moment it meets air. If you cannot pick anything out at all, the wine is usually too warm or the glass needs another rinse.
2. Look at the Wine
Hold the glass by the stem and tilt it so the surface of the wine forms a shallow disc against the white napkin. Note the depth of colour, the shade at the rim, and whether the wine is bright or dull. Sediment at the bottom is normal in an older wine and not a fault.
Then look at the streaks that run down the inside of the glass after you swirl. These are commonly called legs or tears, and they mostly reflect alcohol and sugar levels. A beginner-friendly, cool climate red will not produce many; a warm, ripe one will.
Stop there. You are not pinning a vintage or a grape from colour alone, because colour shifts with age and lighting and proves very little. Success here means you can describe what you see — a deep ruby with a garnet edge, or a pale straw yellow — without claiming the wine is a certain age or a certain quality.
3. Swirl and Smell
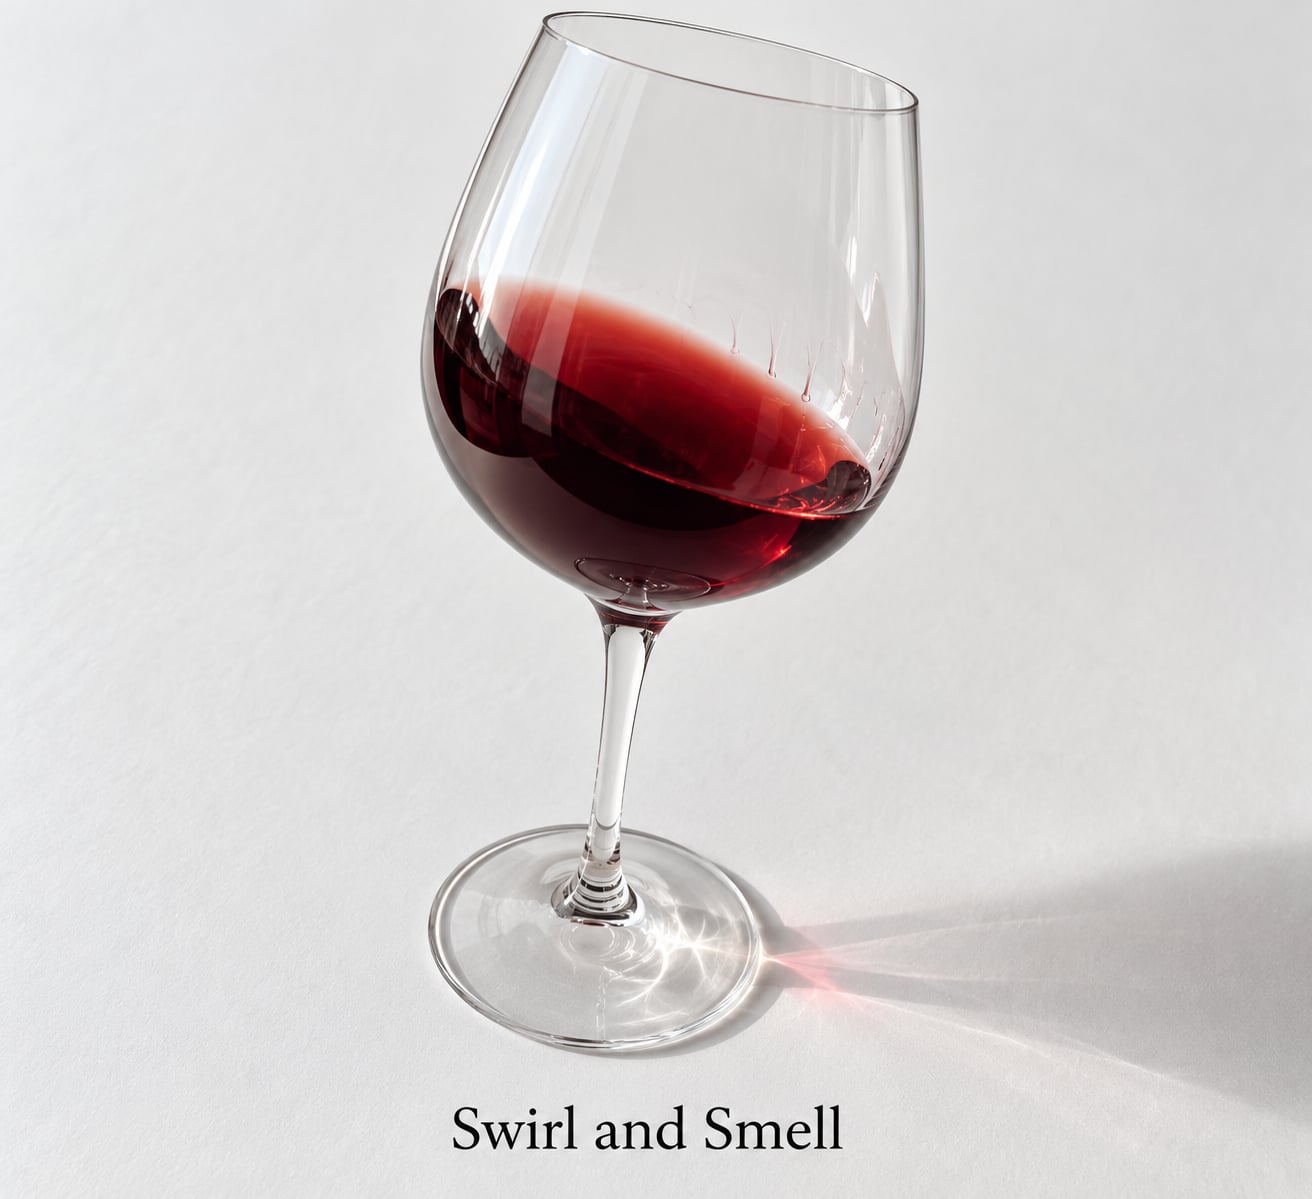
Swirl the glass gently by the stem, a few slow rotations, so the wine climbs the sides and exposes more surface to air. You are not trying to make the legs bigger. The point is to give volatile aromatics a chance to lift off the liquid.
Now smell twice. The first sniff should be open and honest: whatever crosses your nose first, before you go looking. The second sniff is where you sort things, and it is worth knowing where the wine comes from.
Primary aromas come from the grape and are mostly fruit — cherry, plum, citrus, peach, apple. Secondary aromas come from fermentation and oak, so think bread dough, vanilla, clove, toast, coconut or dill depending on the wood. Older wines develop tertiary aromas: leather, forest floor, dried herbs, mushroom, tobacco.
You have done this step well when you can name at least two real observations, even vague ones. There is no wrong answer here, and the vocabulary follows on its own once you have a few reference points to anchor it.
4. Take a Sip and Assess the Body
Take an unrushed sip small enough to move across your tongue rather than fill your mouth at once. Let it sit a second before swallowing, because the front of the palate is where sweetness shows and the back is where tannin and structure land. Swishing and a small sip of water afterwards both help.
Five things are worth naming in plain language:
- Sweetness. Does it taste dry, or does sweetness stay through the finish? A little residual sugar in a supposedly dry wine is a real and common fault.
- Acidity. The lift and freshness you feel on the sides of your cheeks and the back of your jaw.
- Tannin. The drying, gripping or pucker you feel on the inside of your cheeks. It comes from grape skins, seeds and stems, and it is not the same as bitterness.
- Alcohol. A warmth in the throat or stomach, sometimes with a touch of nosebleed heat on a bigger pour.
- Body and mouthfeel. How much weight the wine seems to have, and whether it coats the mouth or feels thin and watery.
Try to connect at least one mouth sensation back to something you smelled earlier. A dry, tannic sip that follows a cherry and oak nose is a description, and it is far more useful than a score.
5. Swirl, Retaste, and Finish
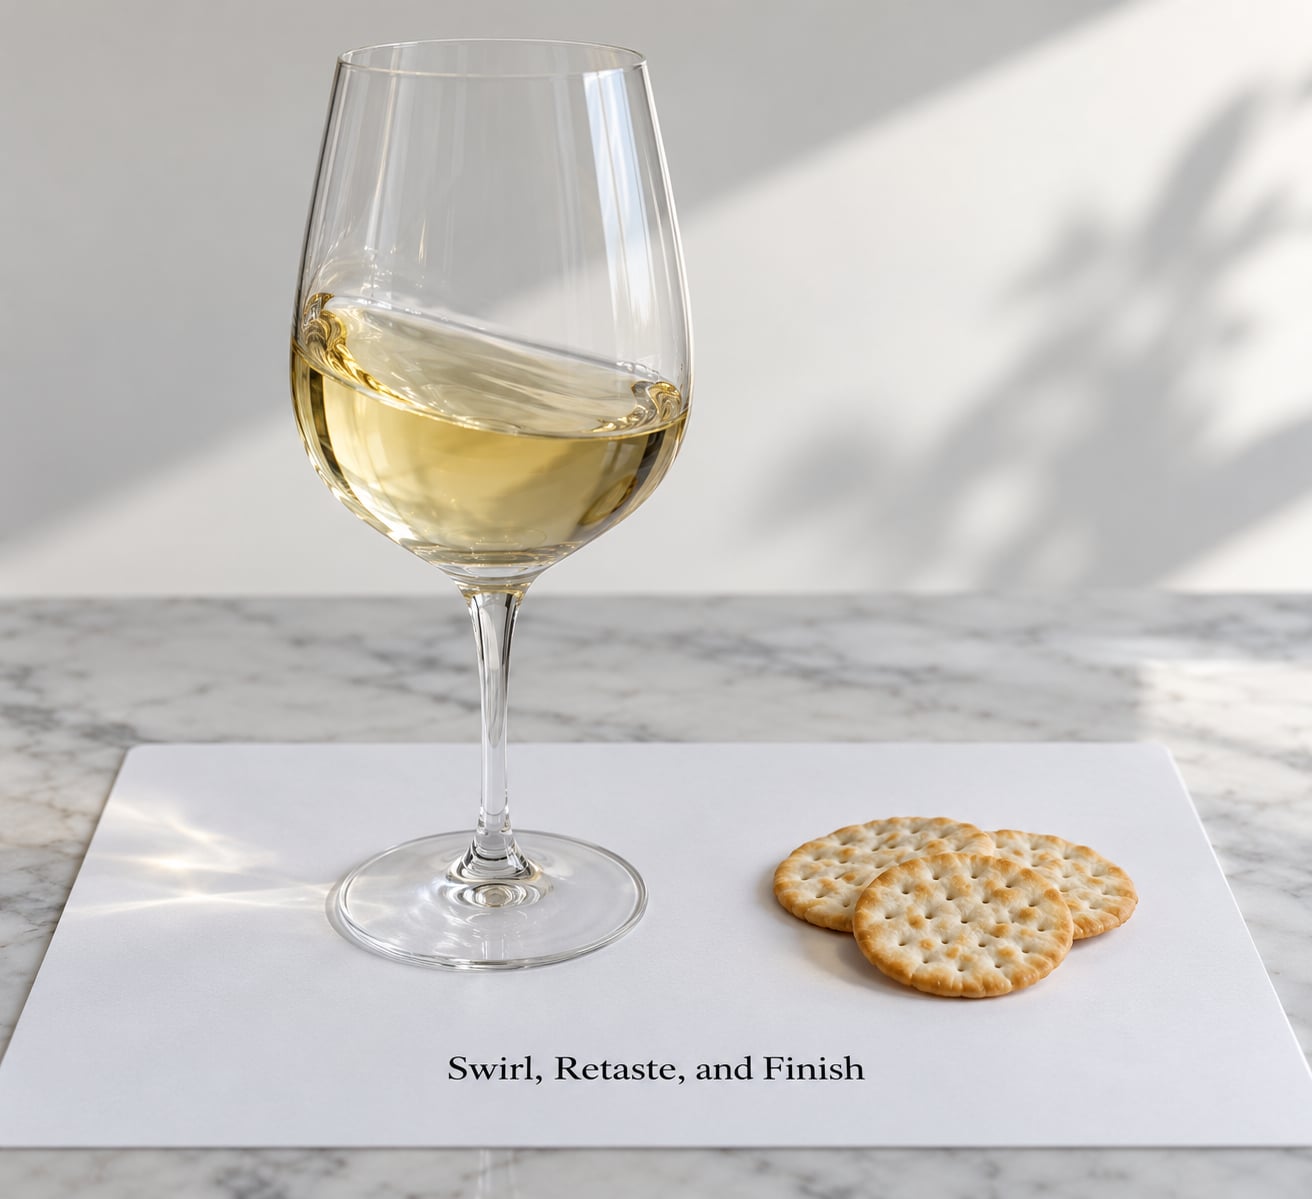
Take a second sip after another gentle swirl. Aroma and flavour are not the same thing: aroma is what reaches your nose, flavour is what arrives in your mouth, and mouthfeel is the texture around it. Swirling shifts the balance between them, which is why the second sip often tastes more like what you smelled.
Then swallow and pay attention to what remains. Is it a long, layered trail, a short flash, or nothing much at all? A minute of lingering flavour is a genuinely long finish for most home bottles. Twenty seconds is perfectly normal.
Avoid treating intensity as quality. A powerful, oaky, high-alcohol red is not better than a lighter, more restrained one; it is just louder. Two wines can both be well made and completely different, and your notes should record the difference rather than rank it. You have done this step well when you can tell aroma, flavour and mouthfeel apart in your own words.
6. Record and Judge Your Impressions
Write your notes immediately, in about twenty seconds per wine, while the impression is sharp. A simple structure is enough:
- Appearance: colour, clarity, how much it stained the glass.
- Aroma: first impression, then one or two specific notes.
- Palate: dry or sweet, acidity, tannin, body.
- Finish: short, medium or long, and what lingers.
- Overall: would I drink this again, yes or no, and with what food.
For what to taste wine step by step with friends or a bottle you cannot identify, a blind setup works well. Cover the bottles, label two glasses A and B, pour small amounts, and taste them in order from lighter to heavier and drier to sweeter. Tasting a heavy tannic red first dulls your palate and makes everything after it taste flat.
Comparing two wines in one sitting teaches far more than tasting alone, so keep the pour small and take a break after about twenty minutes. If you taste more than six or seven wines in a session, your palate tires and everything starts to blur together.
Skip the numerical score. Precise numbers give you an illusion of precision you have not earned, and they are hard to revisit. A yes or no on would you drink it again is worth far more for buying wine. Revisit your notes a month later, and you will find your palate has moved in ways you can actually track.
Common Mistakes
Almost every beginner error has a simple fix.
- Tasting wine too warm. Warm reds smell flat and alcoholic. Chill everything for fifteen minutes.
- Rushing the aroma stage. Most people sip before they have properly smelled. Take your two sniffs first.
- Describing only varietal labels. Saying pinot notes when you are not smelling fruit trains you to perform rather than notice. Describe the smell first, label it second.
- Confusing tannin with bitterness. Tannin is drying and gripping; bitterness is sharp and unpleasant. They come from different parts of the grape.
- Overestimating colour. A dark wine is not automatically an old or good wine.
- Treating intensity as quality. Loud is not better. Record the profile, not the score.
- Not resetting your palate. Water and plain crackers between wines, and a short break after twenty minutes.
- Forcing unfamiliar flavours into familiar words. If nothing fits, say what it reminds you of, even if that is lemon cleaner.
- Believing experts always use jargon. Good tasters use plain words too. There are no wrong answers here.
Frequently Asked Questions
Do I need a special wine glass to taste wine?
No. A clean, stemmed glass with a bowl wider at the top than the base makes swirling easier, but a small tumbler teaches you the same five steps. The two things that matter more than the glass are that it is free of detergent or cabinet smells and that you use the identical glass for every wine you are comparing, so the wine is the only variable.
Should I drink the wine or spit it out while learning?
Both are normal, and spitting is standard practice at professional tastings because five or six full glasses adds up quickly. Swallow when you are tasting one bottle with dinner, and spit when you are comparing many wines in a session. Have a bucket or kitchen sink within reach, take a small sip, and let it out quietly behind the glass. Nobody at a winery or tasting room will find it odd.
Why does wine smell different after swirling the glass?
Swirling increases the surface area of the wine and exposes it to air, which lets volatile aroma compounds lift off the surface and reach your nose. The streaks you see running down the glass, called legs or tears, mostly reflect alcohol and sugar levels rather than quality. Swirl gently: hard swirling can strip away delicate top aromas you wanted to catch.
How do I describe a wine when I do not recognize the aromas?
Describe the sensation instead of hunting for the perfect grape name. Say things like sour or tangy, dry and tight, creamy, sharp at the back of the throat, reminds me of a forest floor after rain. Comparing to something you already know is a legitimate tasting note, and it is far more useful to your future self than guessing at a word like cassis that you have never smelled.
Can I taste several wines together, or should I try one at a time?
Both work, but tasting several together teaches you much more. Start lighter and move to heavier, drier to sweeter, younger to older, so the powerful wines do not numb your palate for everything after them. Pour 2 to 3 ounces per wine, take water and crackers between glasses, and stop after six or seven wines or twenty minutes, whichever comes first, because tired palates make every wine taste alike.
Conclusion
Here is the whole thing in one sitting. Pick an approachable bottle, chill it for fifteen minutes, pour two ounces into a clean glass, and hold it by the stem.
Look at it against something white. Swirl it, smell it twice, and take one slow sip. Write down three observations — one colour, one aroma, one mouth sensation — plus whether you would drink it again.
Then open a second bottle of a different style and do it again side by side. That comparison is where the skill actually comes from, and after a month of it you will be picking bottles with confidence instead of guessing from the label.