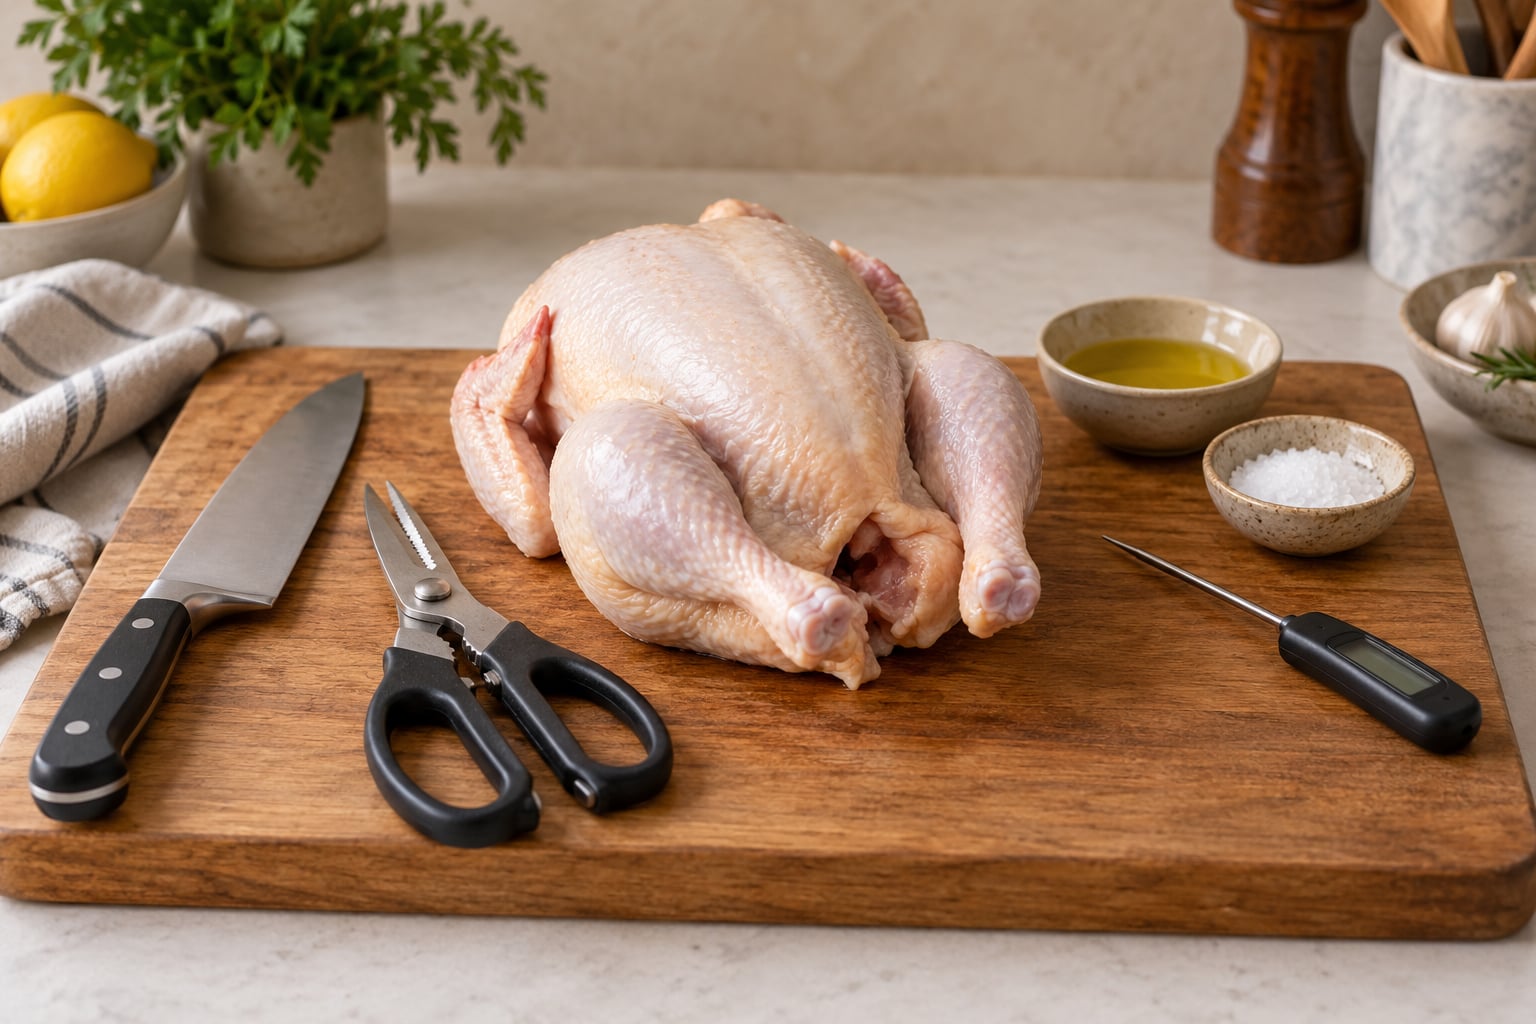
To spatchcock a chicken, you cut out the backbone and press the bird flat so it lies open on the board and cooks quickly and evenly. Learning how to spatchcock a chicken step by step takes about five minutes with a pair of shears, and it turns a long roast into a fast one with crisp skin and a breast that stays juicy while the thighs finish.
The reason it works is simple. A chicken cooked with its backbone in is two halves of meat at different thicknesses held in a curved shape. Flatten it and every part sits at the same height, so heat reaches the breast and the legs at the same rate. The word itself is an old abbreviation of “dispatch the cock,” and the technique turns up in everything from Sunday roasts to whole birds on the grill.
Below is the full method with the cues to watch for, plus the temperature and resting guidance most recipe pages skip.
Table of Contents
- What You Need
- Step-by-Step
- 1. Prepare the Chicken and Workspace
- 2. Locate and Cut Alongside the Backbone
- 3. Cut Alongside the Other Side of the Backbone
- 4. Remove the Backbone and Open the Chicken Flat
- 5. Check the Flattened Chicken and Season It
- 6. Choose the Roasting Method and Temperature
- 7. Roast Until the Chicken Is Fully Cooked
- 8. Rest, Check, and Serve the Spatchcocked Chicken
- Common Mistakes
- Frequently Asked Questions
- Does spatchcocking a chicken change the flavor?
- Can I spatchcock a chicken on a grill?
- Should I season a spatchcocked chicken under the skin?
- Is chicken done at 145 or 165 degrees?
- What should I do if the chicken tears while I am removing the backbone?
- Conclusion
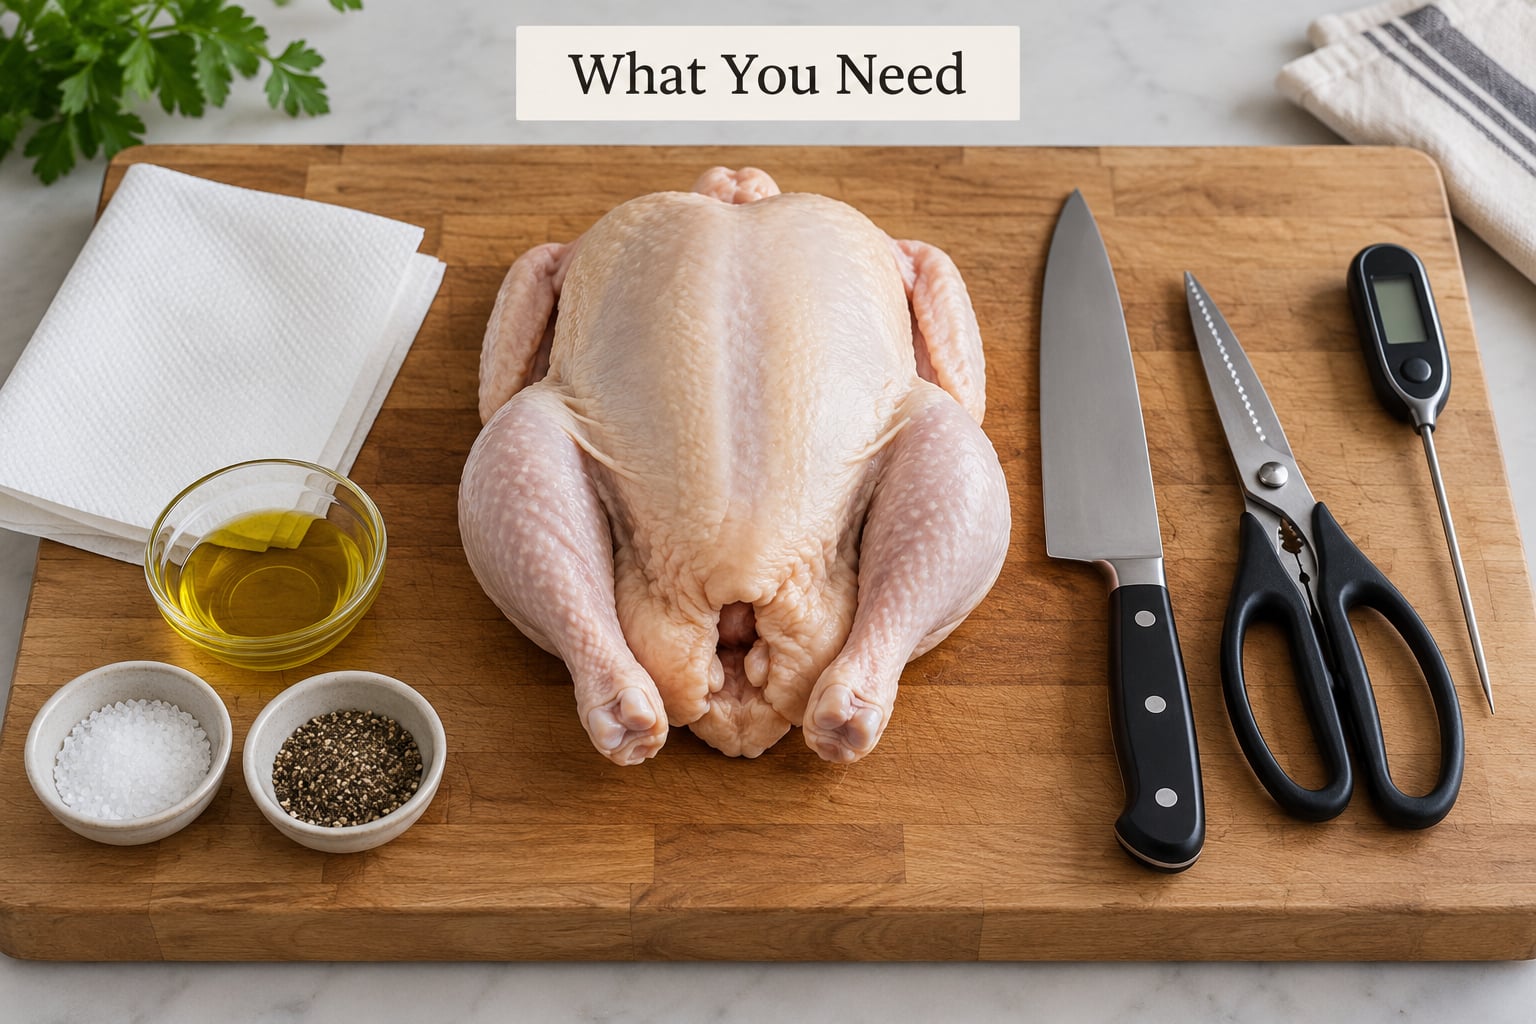
What You Need
A spatchcocked bird cooks in one piece, so it wants one piece of cookware: a rimmed sheet pan, a roasting pan, a cast iron skillet or a wire rack set over a pan. A wire rack is the one that gets you the crispiest skin, because air moves under the bird instead of the underside sitting in its own juices.
- Poultry shears or heavy kitchen shears. These do the backbone work in seconds. A sharp chef’s knife works too, but go slow and keep the blade angled down toward the board.
- A sturdy cutting board. Big enough that the bird fits with room around it, and one you can press down on hard without it sliding. Dampen a towel and lay it under the board if you have a smooth counter.
- Paper towels. Drying the skin is the difference between crisp and rubbery.
- Neutral oil or softened butter. For the skin, plus salt and whatever seasoning you like.
- An instant-read thermometer. This is not optional in practice. Time is a rough guide; the thermometer is the answer.
Before the first cut, clear your sink, take the trash out, and put a bowl next to the board for the backbone and the giblets. Wash your hands, and keep raw chicken away from anything you plan to eat cold. Toss the packaging, the paper towels you pat the bird with, and the board in the bin or the sink with hot soapy water straight after.
Step-by-Step
The whole process runs eight moves: unwrap and dry, find the backbone, cut down one side of it, cut down the other, lift it out, crack the breastbone flat, season, then roast to temperature. Five of those eight are cutting moves, and four of them take less than a minute each.
1. Prepare the Chicken and Workspace
Take the chicken out of its packaging and pull out the giblet packet from the cavity. Pat the bird dry all over, inside and out, and pay attention to the underside where the fat sits. Trim any thick, floppy fat from the tail end if it is loose; it just burns.
Set the bird breast-side up, neck end pointing away from you, and let it settle. Feeling where the backbone runs under the skin is easier now than after the bird has been moved around a few times.
2. Locate and Cut Alongside the Backbone
Flip the chicken so the breast faces down and the backbone runs left to right in front of you. Turn the bird so the tail end faces you, which gives you the clearest view of the ribs and the neck joint.
Slide the blades of your shears in from the tail end, snout resting against the backbone, and cut through the ribs and cartilage alongside it. Work toward the neck end in short snips. Stay close to the bone and stop before you reach the shoulder; there is nothing left to cut past that point.
3. Cut Alongside the Other Side of the Backbone
Rotate the bird a half turn and repeat on the second side, again with the blade pressed flat against the bone. The ribs curve away from the spine, so keep the shears angled up slightly as you go to avoid taking a strip of meat with the bone.
You are looking for the backbone to lift out cleanly once both sides are free. If the shears meet solid bone with meat attached, that is the moment to stop, reposition, and keep cutting closer to the bone rather than pulling harder.
4. Remove the Backbone and Open the Chicken Flat
Lift the backbone out with your hands. It should come away in one piece, and the cavity opening should be visible where it sat. Set it aside rather than throwing it away; the spine, neck and cartilage make excellent broth.
Turn the bird breast-side up. The keel, that narrow ridge of cartilage running down the center of the breast, is now the only thing keeping the two sides raised. Press down along it with the heels of your hands until you hear a crack, then press again along the breastbone and near the leg joints until the bird lies flat on its own.
If the crack never comes, the bird is usually a larger one and wants a second pass, or your knife cut left the breastbone hinged. Cut the hinge with the shears and press again.
5. Check the Flattened Chicken and Season It
Lay a palm flat on the breast and check that the two sides are level. If one hip rides up higher than the other, press that side down until the bird sits evenly on the board. An uneven bird cooks unevenly no matter how good your thermometer is.
Tuck the wing tips back and under the breast, or trim them off. Unfolded wings are the first thing to burn and dry out on a flattened bird.
Now season. Rub oil or softened butter over the skin, then salt generously, including under the skin on the breast where people tend to skip it. Salt applied between skin and meat seasons the meat directly and helps it stay moist. Do the cavity as well, and any dry rub or garlic paste you like under the skin on both sides. If you can spare 20 to 30 minutes before cooking, leaving it salted at room temperature acts as a dry brine and seasons all the way through.
6. Choose the Roasting Method and Temperature
Heat the oven to 450°F for the fastest, crispest skin, or 425°F for a little more margin. Start checking temperature early rather than trusting a clock, because birds, pans and ovens all differ. At 400°F you will have better heat circulation but expect a longer cook and skin that is less blistered.
These are starting points for a bird on a rack, and they are only estimates. A thermometer decides when it is finished.
| Bird weight | 450°F | 425°F | 400°F |
|---|---|---|---|
| 4 lb | 25 to 35 min | 35 to 45 min | 45 to 55 min |
| 4.5 lb | 30 to 40 min | 40 to 50 min | 50 to 60 min |
| 5 lb | 35 to 45 min | 45 to 55 min | 55 to 65 min |
| 6 lb | 45 to 55 min | 55 to 65 min | 70 to 80 min |
Grilling works the same way over indirect heat. Set up two zones, put the bird skin-side up over the cooler side at 400 to 425°F, and check it the same way you would in the oven. Smokers at that temperature land around an hour and a quarter for a four to five pound bird. An air fryer at 380 to 400°F runs fast, so start checking around the 25 minute mark for a four pound bird.
One warning from real kitchen reports: a butter-based rub at 450°F will scorch before the chicken is done. Oil instead of butter for high-heat cooking, or drop the temperature, and put a pan of water on the rack below if butter is what you want on the skin.
7. Roast Until the Chicken Is Fully Cooked
Start checking the bird once it is halfway through your estimate, not at the end. Insert the thermometer into the thickest part of the breast, avoiding the bone, and then into the thickest part of a thigh without touching bone or the joint.
Poultry is safe to eat at a minimum internal temperature of 165°F, and the breast and thigh both need to reach it. That is the USDA recommendation, and it is the number to use unless you have a specific sous-vide setup and the rest of the time and temperature it requires.
The breast will often hit 165°F while the thighs are still catching up, which is exactly the problem spatchcocking is supposed to reduce. Give the thigh time to come up, and if the breast passes 170°F while you wait, cover it loosely with foil to slow the drying.
8. Rest, Check, and Serve the Spatchcocked Chicken
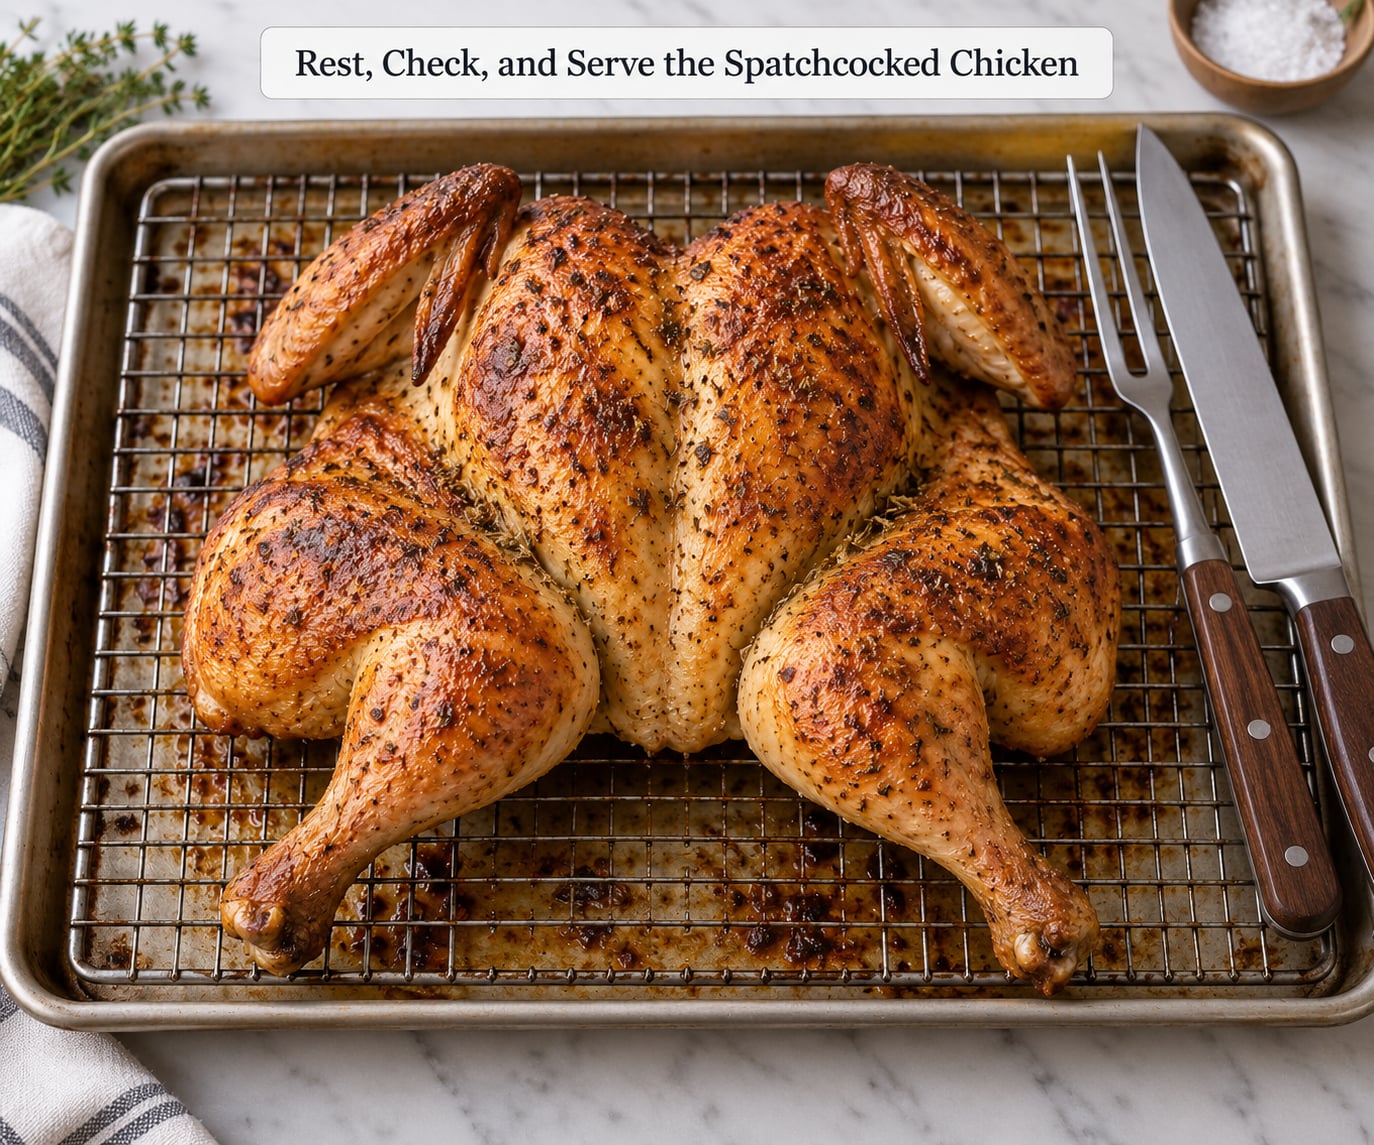
Rest the bird 10 to 15 minutes on the rack or the pan. Resting lets the juices that pushed out during cooking settle back into the meat, and on a flattened bird there is plenty of surface area for them to spread back into.
Recheck the thigh and the thickest breast point after resting, then carve. Pull both leg and thigh away from the body at the joint, cutting through the small connecting joint. Remove the wings. Slice the breast meat off the bone in one piece per side, then cut it across into slices, cutting away from you for control.
Because the bird is flat, carving is closer to slicing a loaf than carving a whole chicken, and every piece serves evenly. Leftovers keep three to four days in the refrigerator or two to three months in the freezer.
Common Mistakes
Cutting too deep and taking breast meat with the backbone. If you feel the blade drifting into soft meat away from the bone, lift and reposition rather than pushing through. A backbone with a strip of breast attached still works; you just lose a little meat.
The bird will not lie flat. Most often the breastbone hinge is intact. Cut that hinge with the shears and press again along the keel. A second, firmer press usually does it.
One side sits higher than the other. You cut one side closer to the bone than the other. Press the higher hip down flat, and check by resting your palm across both breasts.
Rubbery skin. Two causes: the bird went into the oven wet, or it roasted too cool for the fat to render. Pat it dry, salt it early, and give it real heat.
Seasoned only on top. Lift the breast skin and season underneath on both sides. It takes ten seconds and it is the biggest difference in seasoning you will notice.
Trusting the time on a timer. This is the most common failure in forum threads. People pull birds early and get lucky; more often they let a half bird go past done waiting for a large bird’s window. Check the thermometer at the halfway mark and trust 165°F.
Not rotating the pan. Hot spots in a home oven still exist on a flat bird. Turn the pan 180 degrees once or twice during cooking, and swap leg side to back if you have one.
Frequently Asked Questions
Does spatchcocking a chicken change the flavor?
The cut itself changes nothing about how the meat tastes. What changes is the cooking: flatter meat cooks faster, so the breast spends less time losing moisture, and more skin sits exposed to dry heat, which is why the skin browns and crisps more deeply. Seasoning under the skin and salting the bird ahead of time have a far bigger effect on flavor than the spatchcock technique.
Can I spatchcock a chicken on a grill?
Yes, and it is one of the better uses of the technique, since a flat bird sits over indirect heat without the legs hanging off to one side. Cook it skin-side up at 400 to 425°F over the cooler zone of the grill with the lid on, and watch the thigh rather than the breast, since the leg side sits closer to the coals. Start checking temperature after about 40 minutes.
Should I season a spatchcocked chicken under the skin?
Yes. Slide your fingers under the breast skin, push down to loosen a pocket, and work salt and any rub into the meat underneath, then do the same on both sides. Seasoning the cavity matters too, since the bird sits flat and the underside cooks in its own drippings. Butter under the skin will burn at 450°F, so use oil or butter for a lower-heat cook.
Is chicken done at 145 or 165 degrees?
The USDA safe minimum internal temperature for poultry is 165°F, and that is the number to use for roasting, grilling, smoking and air frying. At 145°F, poultry held for the required time is also safe in the FDA and USDA pasteurization model, but that holds only with exact time-and-temperature control. Check both the thickest breast and the thigh, and ignore the clock.
What should I do if the chicken tears while I am removing the backbone?
Stop cutting and let the piece settle. Most of the time you are pulling instead of cutting, and the meat tears because the shears are not already through the connective tissue. Reposition the blades flush against the bone and take short snips. If the bird has torn and you cannot get the backbone out, pull it away from you rather than up, then press the bird flat and roast it; a slightly ragged bird still cooks and tastes fine.
Conclusion
Your first three moves set up everything else: turn the chicken breast-side up on a stable board, find the backbone, and make two shallow cuts running alongside it. Cut the second side, lift the backbone out, flip the bird, and press down the breastbone until it cracks and lies flat.
Season both sides and the cavity, roast on a rack at 450°F or 425°F, and start checking temperature halfway through instead of waiting for a timer. When the thickest breast and the thigh both read 165°F, rest the bird 10 to 15 minutes and slice it straight off the bone.