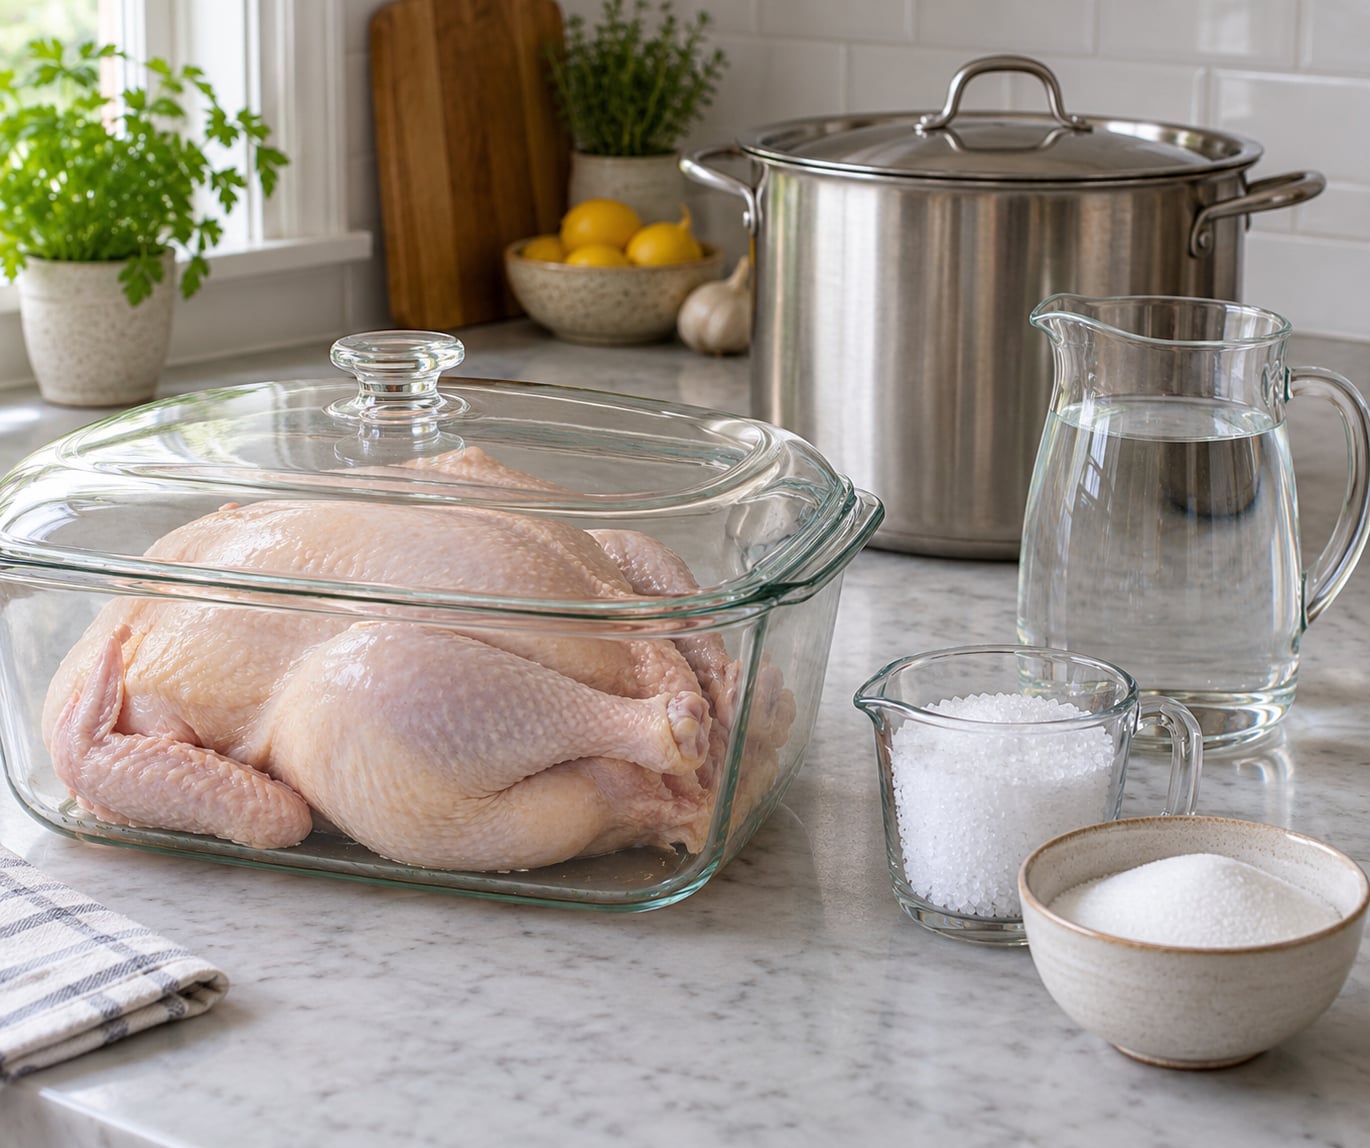
To brine a chicken for juicy meat, soak it in a saltwater solution of roughly 3 to 6 percent salt by weight of water, keep it fully submerged in the refrigerator for 4 to 24 hours depending on the cut, then cook it until the thickest part hits 165°F (74°C). The salt loosens the muscle proteins just enough that they hold moisture through cooking instead of squeezing it out. It takes about ten minutes of active work plus fridge time.
Breast meat is the reason most people search for this. It is lean, so it has little fat to keep it moist, and it overcooks fast. A brine is the cheapest insurance against a dry chicken, and unlike salting the surface at the grill, it seasons the meat all the way toward the bone.
Table of Contents
- What You Need
- Step-by-Step: How to Brine a Chicken for Juicy Meat
- 1. Choose the Right Brine for Your Chicken
- 2. Mix and Cool the Brine
- 3. Submerge and Refrigerate the Chicken
- 4. Drain and Dry the Chicken
- 5. Cook the Chicken to 165°F
- Common Mistakes and How to Fix Them
- Frequently Asked Questions
- Does brining chicken make it too salty?
- What is the best salt-to-water ratio for brining chicken?
- How long should I brine a chicken breast versus a whole chicken?
- Can I marinate chicken after brining it?
- What internal temperature should brined chicken reach?
- Conclusion
What You Need
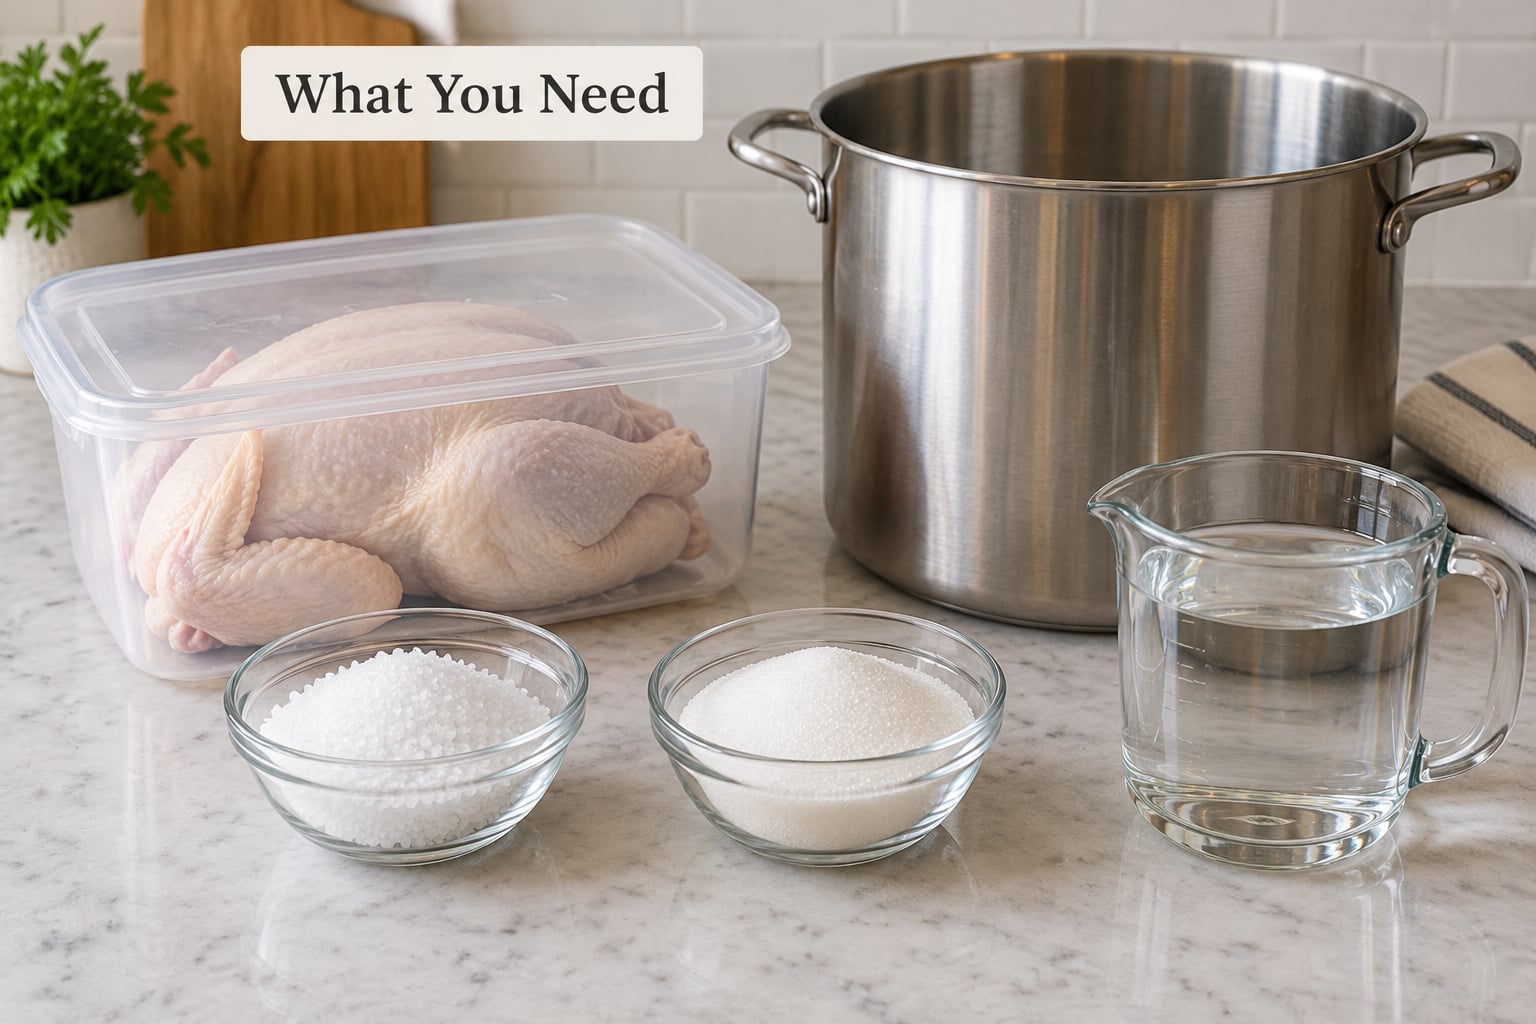
The basic formula is simple: for every gallon (3.8 L) of cold water, use 1/4 cup (about 60 g) of kosher or coarse salt and 1/4 cup (50 g) of sugar. That lands you at a mild wet brine, not a cure. Sugar is optional, and it does two jobs — it rounds out the salt and it helps the skin brown.
Beyond the liquid, you need:
- A chicken cut — breasts, thighs, drumsticks, wings or a whole bird
- Coarse or kosher salt (Diamond Crystal or Morton). Table salt is about twice as dense, so use roughly half the volume
- Cold water, and a container deep and wide enough to submerge the chicken completely
- A lid or plastic wrap so nothing sits uncovered in the fridge
- Optional aromatics: bay leaves, rosemary, thyme, garlic cloves, halved lemon or orange, peppercorns, fennel seeds
- An instant-read thermometer for the cooking stage
One caution about volume. A 10 percent brine (1 cup of salt per gallon of water) is a concentrated cure used for short soaks and for preserving meat like pastrami or corned beef. It is not what you want for a roast chicken. Using cure-strength salt for hours will make the outer layer aggressively salty and the texture tacky. Stick to the gallon formula above.
On a container: a large stock pot, a plastic deli container, or even a large bowl wrapped tightly in plastic works. A zip-top bag is the tidiest option for breasts and thighs, and it uses almost no fridge space. For a whole chicken you need something you can weight down so the bird stays under the surface.
Step-by-Step: How to Brine a Chicken for Juicy Meat
1. Choose the Right Brine for Your Chicken
A standard wet brine for chicken runs 3 to 6 percent salt by weight of water, which is what the gallon formula gives you. That range is wide enough for different jobs: the low end suits delicate lean breast meat and short soaks, the higher end gives you more seasoning punch for a whole bird sitting overnight.
Follow a tested concentration rather than improvising the ratio by taste. Salt dissolves fast, tastes different once diluted, and the difference between 3 and 6 percent is invisible until the chicken is already salty. The one practical rule: use coarse salt by weight, not by volume, and never add extra salt “to taste” before the chicken goes in.
Matching strength to cut matters more than people expect. Breasts and skinless boneless thighs are lean and absorb salt quickly, so they want the gentler end of the range and less time. Bone-in thighs, drumsticks and a whole bird have more fat and connective tissue, take salt more slowly and handle a longer soak.
2. Mix and Cool the Brine
Warm about a cup of the cold water in a saucepan or large measuring cup and stir in the salt and sugar until nothing is left on the bottom. If crystals sit in the pan after stirring, keep going — undissolved salt means uneven concentration, and you will find gritty patches on the bird later.
Pour that concentrate into the remaining cold water and stir again. The brine should be clear and completely cool before the chicken touches it. Warm brine speeds up salt uptake and gives you very little control over the final seasoning, so chill it first if you made it ahead.
Aromatics go in sparingly. Two or three bay leaves, a couple of peppercorns and a halved lemon are plenty for a gallon. If you pile in rosemary, garlic, onion and citrus, the brine takes on a flavor that can taste like a marinade rather than seasoned meat, which is the opposite of what brining is for.
3. Submerge and Refrigerate the Chicken
Put the chicken in the container, pour the brine over it, and press it down so it stays under the surface. If the bird floats, set a plate or a weight on top. Any part of the chicken sitting above the liquid only seasons on the surface, and that is the usual reason a brined roast tastes seasoned outside and plain inside.
Then refrigerate at or below 40°F (4°C), covered, for the time that matches the cut:
- Boneless, skinless chicken breast: 4 to 6 hours
- Bone-in breasts and thighs: 6 to 12 hours
- Drumsticks and wings: 4 to 8 hours
- Whole chicken up to 4 lb (1.8 kg): 12 hours
- Whole chicken 4 to 8 lb (1.8 to 3.6 kg): 12 to 18 hours
- Whole chicken 8 to 14 lb (3.6 to 6.4 kg): 18 to 24 hours
Cooking the same day still helps. Thirty minutes to an hour of brining is enough to make a noticeable difference, which makes it workable on a weeknight rather than a weekend-only technique.
Two hard rules here. Never leave raw chicken brining at room temperature — a warm saline solution is a growth-friendly environment, and refrigeration is what makes long soaks safe. And don’t go past 24 hours for any cut; past roughly 8 hours, breast meat starts turning gummy and loses its texture, which is the most common brining complaint from home cooks.
If your cut was frozen solid, thaw it first. A frozen breast absorbs almost nothing until it thaws, so a brine poured over it mostly freezes around the outside.
4. Drain and Dry the Chicken
Pull the chicken out at the end of the brining time and discard the liquid. Don’t pour it into a stock and don’t taste it and add more — it is heavily salted and it will spoil quickly at room temperature. If you want the flavor, strain it and boil it hard with vegetables and bones for a cooking stock, then use it well diluted.
Let the chicken sit on a rack in the fridge, uncovered, for 30 to 60 minutes. This dries the skin so it crisps, and it lets the surface salt settle inward slightly rather than tasting salty on the first bite. It is a small step that makes a real difference on a roast or fried chicken.
For how long raw brined chicken stays safe: cook it within one to two days of brining. Brined raw chicken keeps in the refrigerator covered at or below 40°F (4°C) for about one to two days, which is why an overnight brine planned the night before cooking is the natural shape of this method.
5. Cook the Chicken to 165°F
Do not rinse the brined chicken under the tap. Rinsing washes off surface flavor and leaves the surface damp, which fights against browning. Pat it dry with paper towels if it looks wet, season lightly if you want, and cook.
Brined chicken usually needs slightly less cooking time than unbrined chicken, because the meat is holding extra water. A common kitchen rule is to check about 15 minutes earlier than the recipe suggests. Roasting and baking are the default for whole birds; poaching in the brine itself works well for breasts; air-fryer and grill work fine, just watch the temperature rather than the clock.
Check the thickest part with an instant-read thermometer and stop at 165°F (74°C), which is the USDA minimum internal temperature for poultry. For whole birds the probe goes into the thickest part of the thigh without touching bone; for breasts, into the thickest part of the breast; for ground-meat stuffed recipes, 160°F (71°C) is the standard for ground poultry.
Rest the chicken 10 to 15 minutes before carving. Handle raw chicken with clean hands, wash cutting boards and counters after contact, and refrigerate leftovers within two hours. Reheat leftovers to 165°F (74°C) until steaming hot all the way through.
Common Mistakes and How to Fix Them
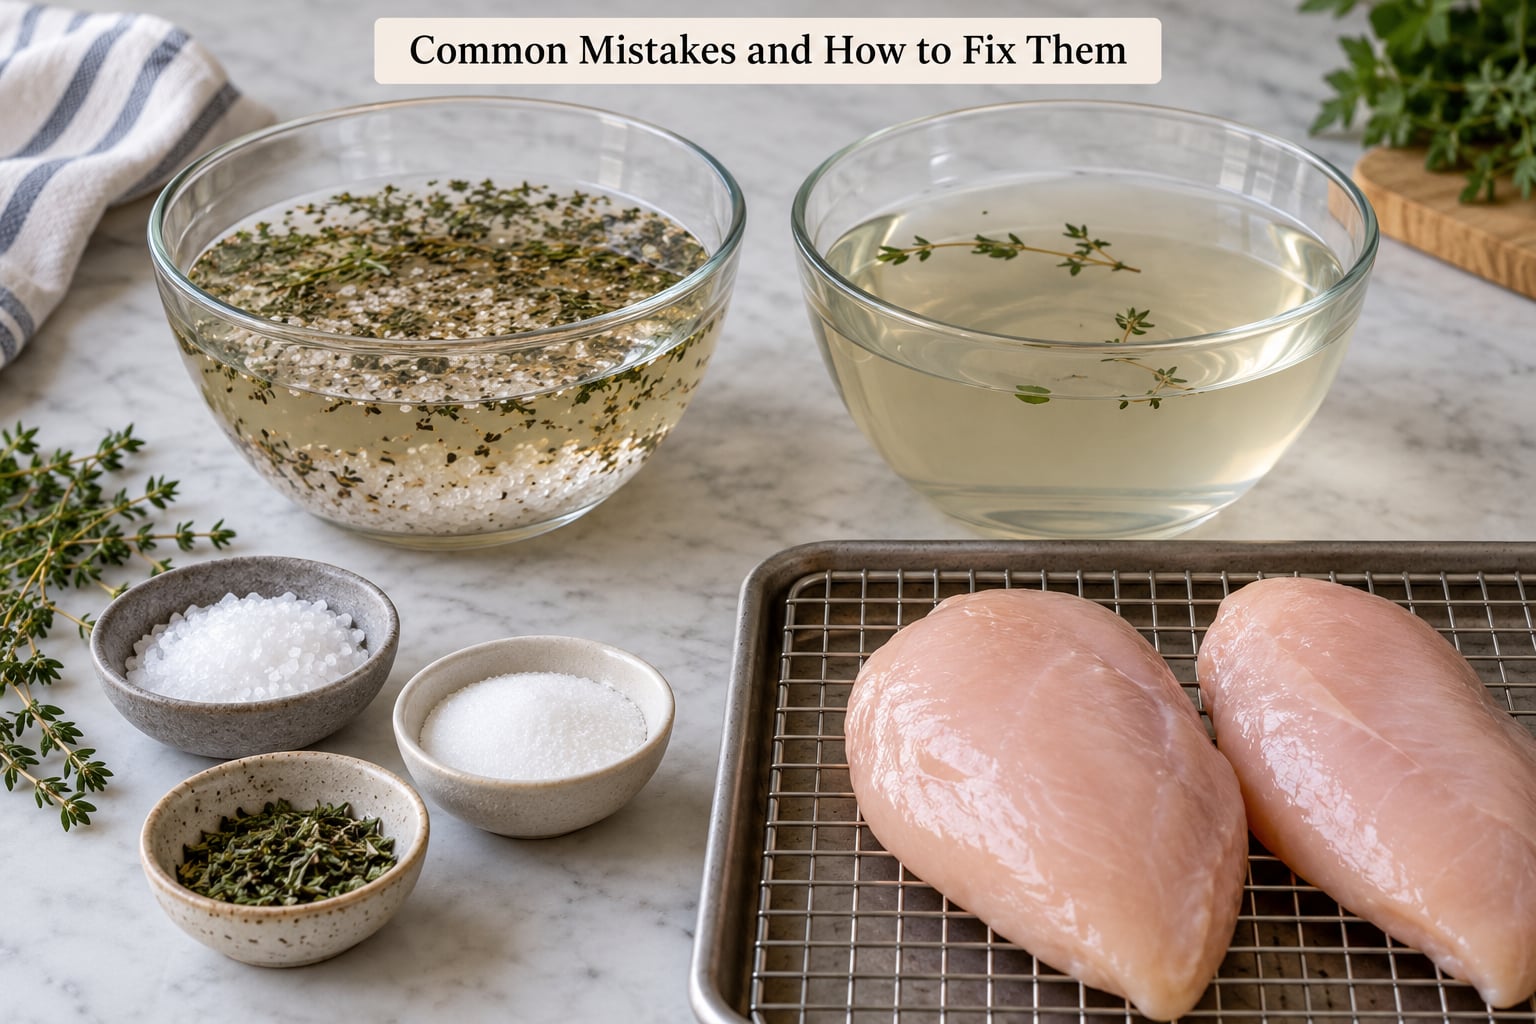
The chicken came out too salty. Usually one of three things: too much salt for the cut, too many hours, or coarse crystals that never dissolved. Next time use the gallon formula with kosher salt measured by weight, brine lean cuts for the shorter end of the range, and stir the concentrate until the pot bottom is clean.
Salt is still sitting in the bottom of the pan. The chicken has absorbed whatever dissolved first, which means the concentration drifted. Dissolve the salt and sugar in a cup of warm water first, then top that concentrate up with cold water.
Parts of the chicken were above the liquid line. Seasoning stayed on the surface only. Use a plate, a weight or a zip-top bag, and check the level halfway through the soak.
It brined too long. Past roughly 8 hours, breast meat loses its springy texture and can turn mushy. Longer is not better — set a timer and pull on time.
The brine was warm or hot when the chicken went in. Salt uptake accelerates with temperature and gets harder to judge. Chill the brine fully first.
You skipped the drying step. A wet surface steams instead of browning. Thirty minutes uncovered in the fridge fixes it.
You salted the surface again after brining. You almost certainly do not need to. Salting after brining is the second-salt mistake; taste first, season only what is missing.
You used cure-strength brine. Ten percent salt is for preserving, not for roasting. If your chicken tastes aggressively salty at the edges with a tacky texture, that is a cure, not a brine.
A few habits that make this repeatable. Weigh your salt rather than eyeballing it, and label the container with the cut and the time you started so you know how long it has been soaking. Keep your salt choice consistent — switching between brands changes concentration because crystal density differs. Cook brined chicken within three to four days and store leftovers covered in the refrigerator.
Frequently Asked Questions
Does brining chicken make it too salty?
It can, and it is the most common brining failure. Usually the cause is too much salt for the cut, too many hours, or a cure-strength solution rather than a 3 to 6 percent brine. Lean breast meat is the most sensitive because it absorbs salt fastest, so brine it for the shorter end of the range and measure kosher salt by weight. Pull the chicken out on time, pat the surface dry and rest it before tasting. Next time, drop the salt by a tablespoon per gallon or cut the soak by several hours.
What is the best salt-to-water ratio for brining chicken?
For a standard wet brine, use 1/4 cup of kosher or coarse salt and 1/4 cup of sugar per gallon (3.8 L) of cold water. That is roughly a 4 to 6 percent solution by weight, which seasons the meat without curing it. Ten percent salt by weight is a concentrated cure used for preserving meat, not for roasting. Always measure salt by weight, and remember table salt is about twice as dense, so use roughly half the volume if that is all you have.
How long should I brine a chicken breast versus a whole chicken?
Boneless, skinless breasts need only 4 to 6 hours, and even 30 minutes helps. Bone-in thighs and drumsticks take 6 to 12 hours. A whole chicken up to 4 lb wants about 12 hours; an 8 to 14 lb bird needs 18 to 24 hours. Whatever the cut, do not go past 24 hours. Past roughly 8 hours breast meat can turn gummy and lose its texture, which is why most brining complaints trace back to a long soak rather than too much salt.
Can I marinate chicken after brining it?
You can, but it rarely helps. Brine seasoning already penetrates well past the surface, and most marinades are acidic, which tenderizes on the surface and can make a brined breast mushy or chalky if it sits for hours. If you want extra flavor after brining, pat the chicken dry, rub on a dry rub or herb paste, and cook right away. Save long acidic marinades for chicken you skip the brine on.
What internal temperature should brined chicken reach?
Cook brined chicken to an internal temperature of 165°F (74°C), which is the USDA minimum for poultry. Check with an instant-read thermometer rather than the clock, because brined meat often finishes cooking faster than a recipe suggests. For a whole bird, probe the thickest part of the thigh without touching bone; for breasts, the thickest part of the breast. Rest the chicken 10 to 15 minutes after cooking so the juices settle.
Conclusion
Start tonight. Mix a gallon of cold water with 1/4 cup of kosher salt and 1/4 cup of sugar, chill it, pour it over the chicken until the bird is completely under the surface, and refrigerate for the time that matches the cut — six hours for breasts, twelve for a small whole bird. Then cook to 165°F (74°C) and check with a thermometer, not the clock.
Controlled salt concentration, correct timing, a dry surface and a proper cook temperature are the whole method. Get those four right and brining a chicken for juicy meat stops being guesswork.