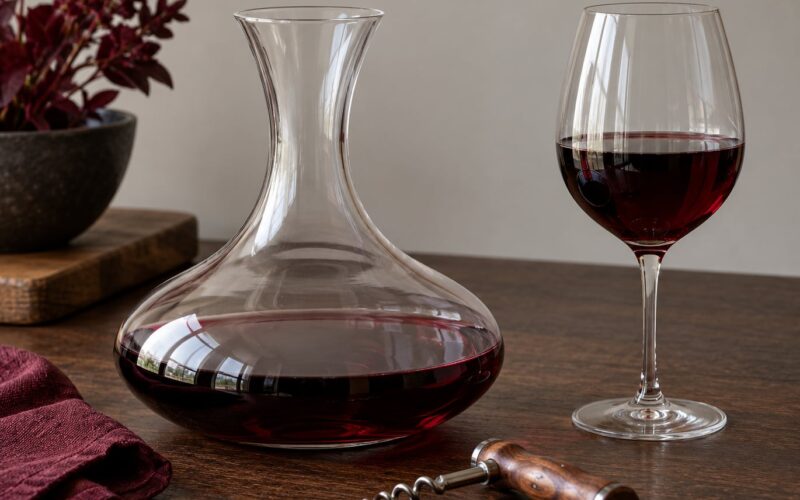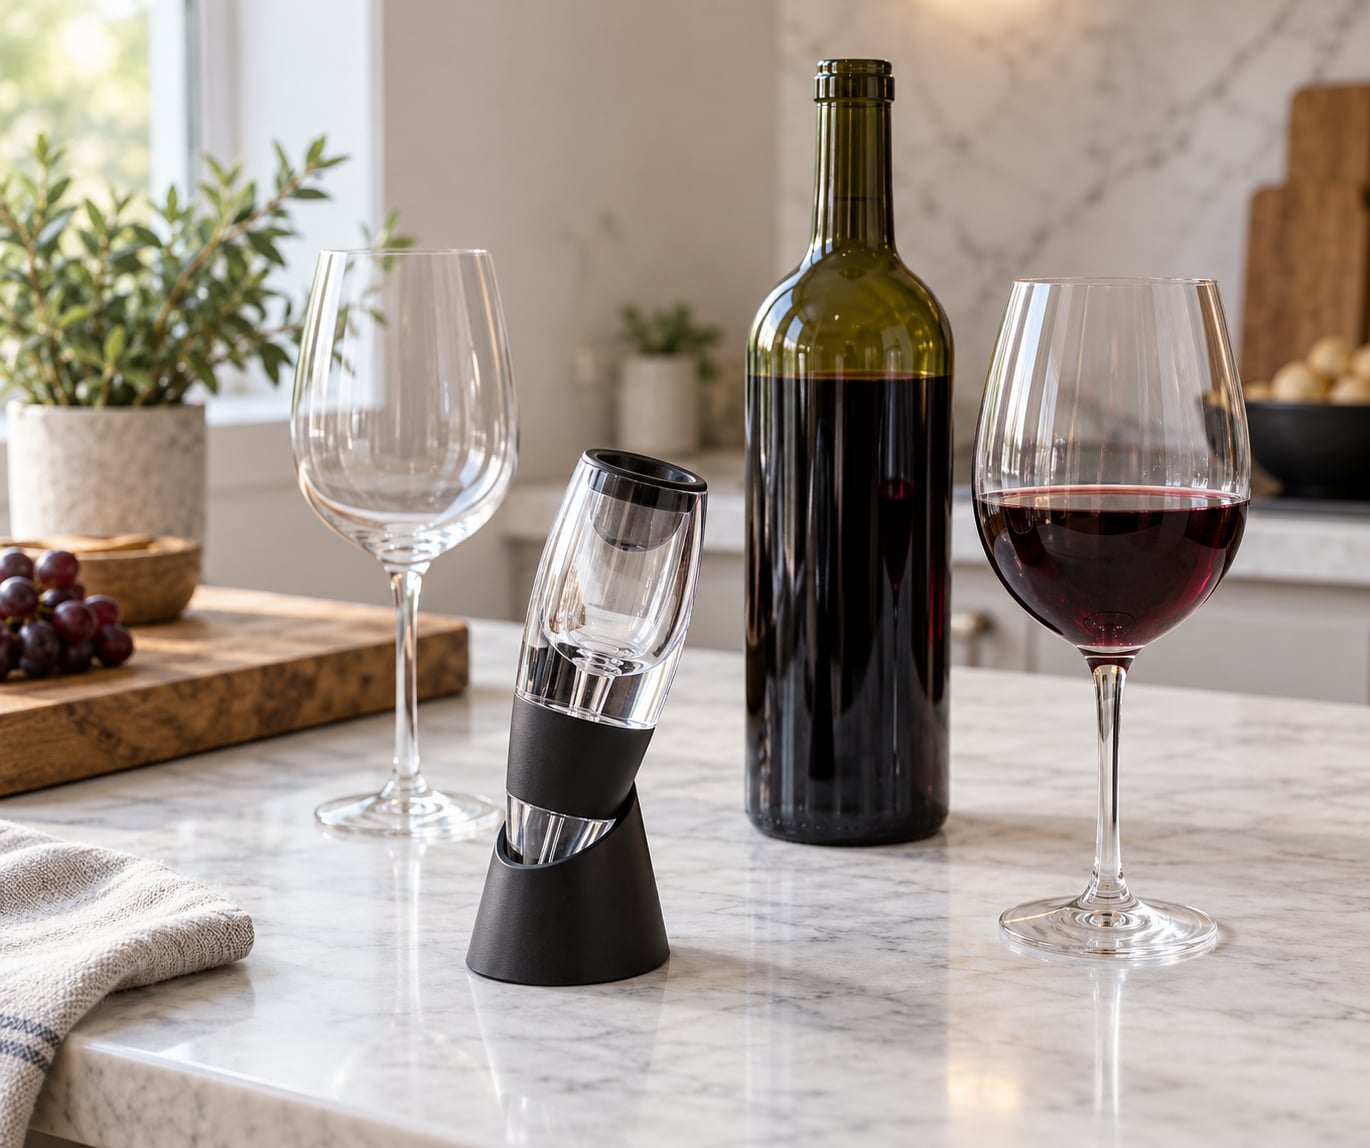
To use a wine aerator the right way, hold it directly over a clean glass, pour a small amount of wine in a slow, thin stream from about an inch above the rim, then swirl and taste. The whole thing takes five seconds and works best on a young, tannic red you are about to drink now.
The part almost everyone gets wrong is the pour itself. Speed up and the wine runs through without pulling in much air, so you have paid for a plastic funnel and nothing else. Slower, closer, and steadier is the difference between a wine that smells open and one that tastes flat.
It is also worth saying up front what an aerator is not. It does not fix a wine that was stored badly, it cannot make a cheap bottle taste expensive, and it is not a substitute for drinking wine at the right temperature. It is a serving technique, and it takes about five seconds.
Table of Contents
- What You Need
- Step-by-Step: How to Use a Wine Aerator the Right Way
- Choose the Right Glass and Pouring Position
- Start the Pour Slowly and Watch the Flow
- Swirl, Smell, Taste, and Adjust
- Pour Less for Better Results
- Clean and Store the Aerator Properly
- Common Mistakes
- Frequently Asked Questions
- Does a wine aerator really work?
- How much wine should I pour through an aerator?
- Is a wine aerator better than a decanter?
- Do I still need to swirl the glass if I use an aerator?
- What do I do if the pour is slow or the wine will not flow?
- How do I clean a wine aerator properly?
- Conclusion
What You Need
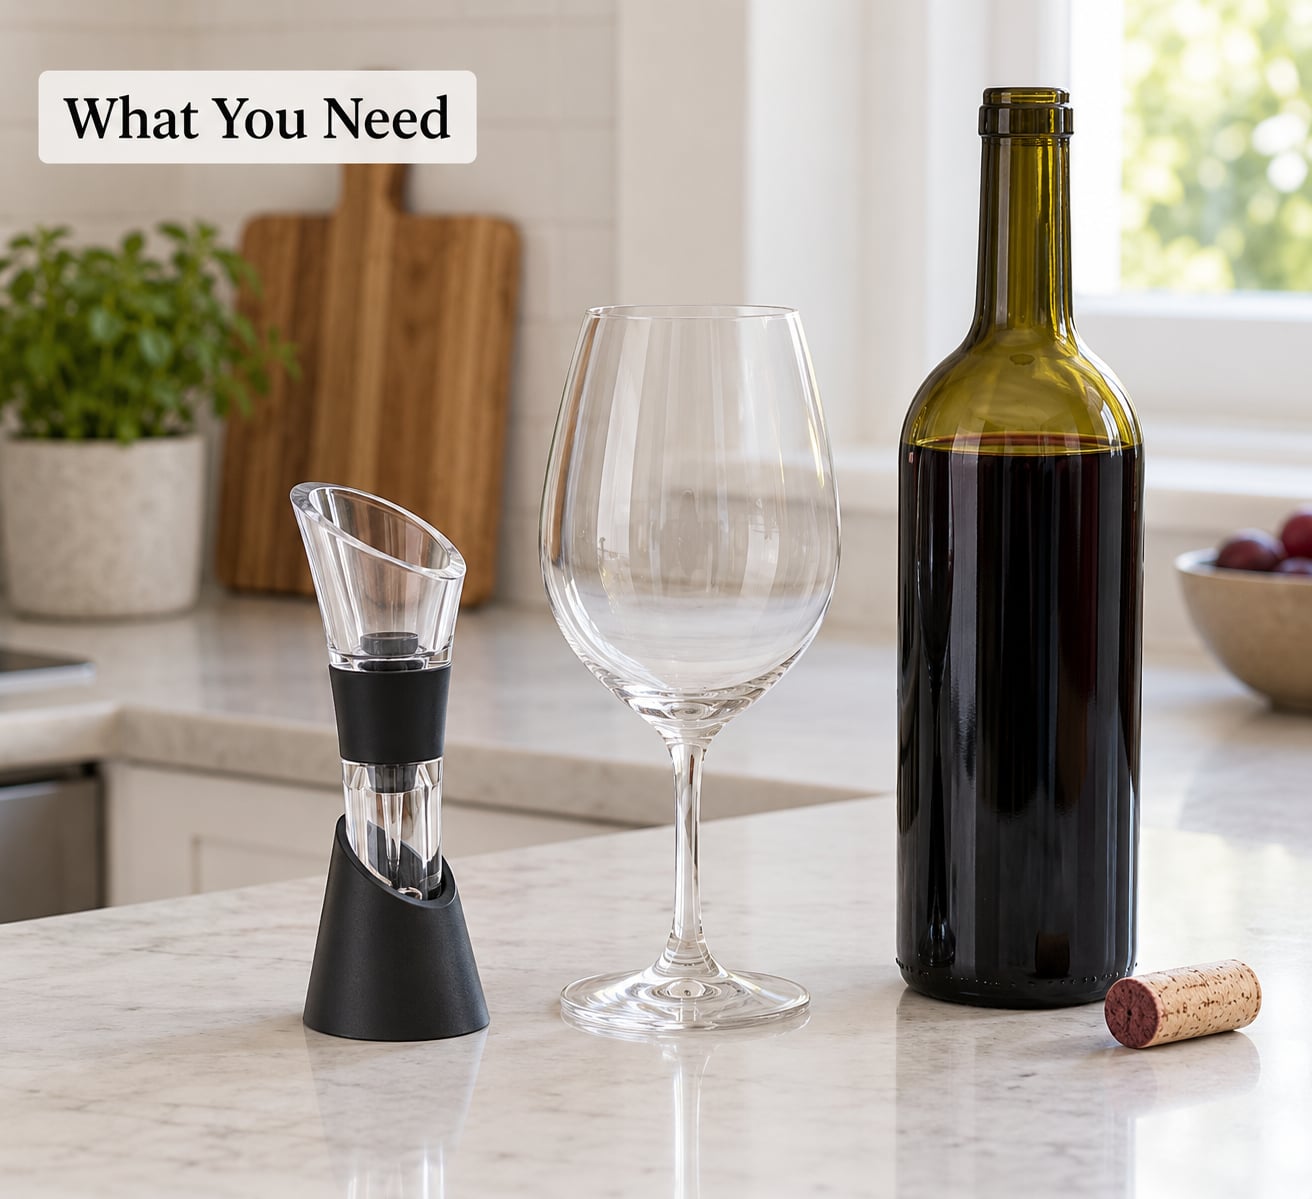
You need very little, which is part of why this is a good technique to keep in the habit loop.
- The wine aerator itself
- A wine glass or a small tasting glass, clean and free of soapy residue
- A bottle of wine
- A corkscrew if the bottle is still closed
- A clear pour area, ideally over a sink or a mat you do not mind splashing
Most pour-through aerators are built for one person and roughly a single glass at a time. That is not a flaw in the design; it is what makes the pour controllable. If you are serving four people, you are going to pour four small glasses in a row rather than one big decanter, and that is exactly the tradeoff you are making by choosing an aerator.
Check the packaging for two things before first use: whether the parts are dishwasher safe, and whether the maker includes a brush or has a specific cleaning order for removable pieces. Follow those instructions rather than a generic method, because plastics and coated metals do not all tolerate the same soak or detergent.
Step-by-Step: How to Use a Wine Aerator the Right Way
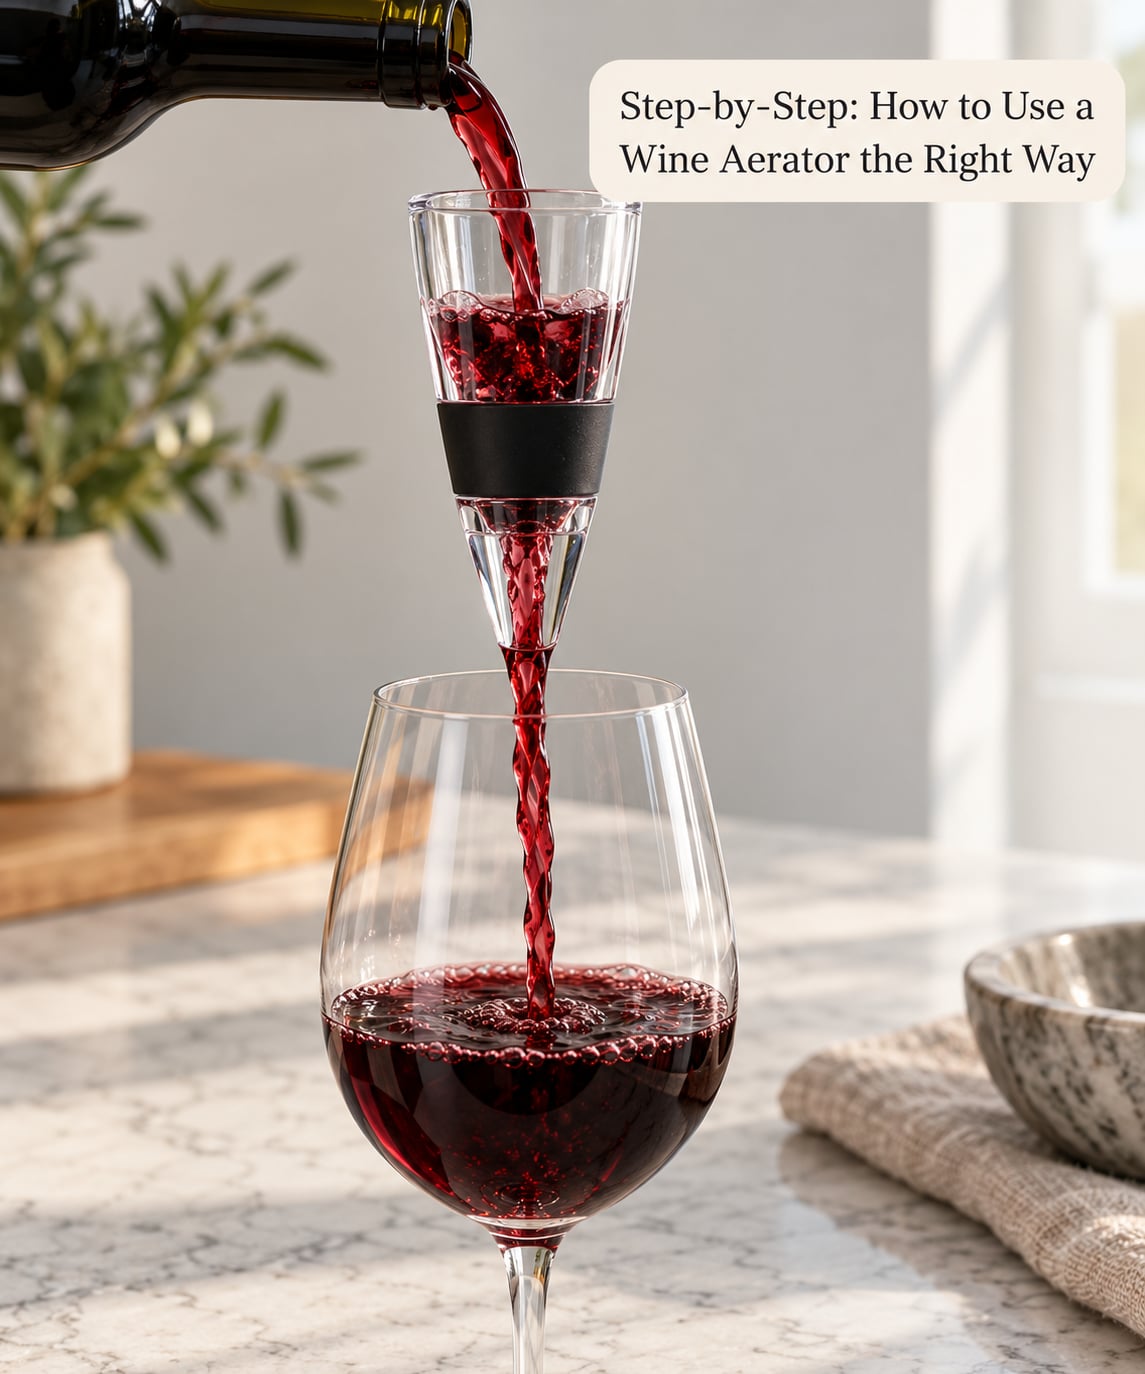
Here is the sequence, in order. Each step has a cue you can actually check rather than guess at.
- Choose the wine and the glass. A bowl-shaped red wine glass or a small tasting glass gives you more surface area than a narrow flute.
- Position the aerator. Rest its outlet just inside the rim of the glass, or hold it an inch above it, so the stream falls a short distance and breaks up on the way down.
- Start the pour slowly. A thin stream is the whole point. If you cannot hear a faint hiss or bubbling as the wine moves through, you are pouring too fast.
- Swirl, smell, taste. Give the glass two or three gentle swirls, put your nose in it, then take a sip while the wine is still moving.
- Pour less, not more. Stop at a tasting-sized pour, compare it against an unaerated taste, and pour the next small glass if you want more.
Choose the Right Glass and Pouring Position
Glass shape controls how much wine sits exposed to air, which is the same variable the device is trying to change. A wide bowl puts a thin layer of wine across a large surface, and that thin layer is what releases aroma. A narrow glass keeps the wine in a tall column with very little exposed surface, so you get less of the effect for the same pour.
Hold the aerator close. The useful work happens as the wine accelerates through the narrow body of the device and picks up air on the way out. If you hold it a foot above the glass, the stream has already fallen out of the device by the time it hits the glass, so you are just pouring wine from a height and making a mess.
Resting the outlet inside or just over the rim is the comfortable position. It keeps the splash contained and leaves your other hand free for the bottle, which is what makes a steady pour possible.
Start the Pour Slowly and Watch the Flow
Begin with a small pour, maybe an ounce, before committing to the full glass. It gives you time to check that air is actually being drawn in, and a small splash onto an empty glass is much easier to clean up than a soaked rim.
Keep the bottle upright enough that the wine leaves the neck in a narrow ribbon rather than a gush. Adjust the tilt of the aerator itself only when the flow stops or surges. Constantly twisting it changes how much of the outlet is covered, and that is how you get the drips down the outside of the glass that people complain about with on-neck models.
The sound is your confirmation. A working pour-through aerator gives off a faint hiss or a gurgle as air is pulled through the side ports, similar to a perfume atomizer. If it runs silent, the stream is too fat or the ports are blocked. Steady movement with no splashing, no heavy foam, and no gurgling stop-start means the flow is right.
Swirl, Smell, Taste, and Adjust
Once the glass is filled, swirl it two or three times and let it sit for a moment. Swirling does two things at once: it coats the inside of the glass so more wine is exposed, and it moves volatile aroma compounds from the liquid into the headspace above it, where your nose can reach them.
Taste while the wine is still moving. Tannin is the drying, gripping sensation on the sides of your tongue, and it is what aeration softens, which is why the effect is easiest to notice on a young Cabernet Sauvignon, Syrah, Malbec, or a Nebbiolo-based red that you would normally decant for an hour.
The best way to know whether any of this is working is a side-by-side taste. Pour a small amount straight from the bottle into one glass and the same amount through the aerator into a second, then taste both. Regulars on wine forums describe this as the fastest way to learn what aeration actually does to a given bottle, and it costs you two tasting pours instead of a whole evening.
Aeration can emphasize fruit and spice, but it will not fix a serving mistake. Wine that is too warm reads flat no matter how much air you push through it, and a wine that has been sitting open for a day is already fading.
Pour Less for Better Results
A single typical serving is plenty. If you are pouring a large glass and the wine has sat open in it, you are asking the same small amount of oxygen to do work over a bigger volume of liquid, and it will not keep up.
Larger pours also expose more wine to air than you intend to consume in one sitting. Over-aerated wine tastes flat, dull, and tired, with the fruit muted and a slightly bruised, apple-like note. If that happens, you cannot pour the oxygen back out. Start with a smaller pour next time.
There is one case where a bigger pour makes sense: a young red you are genuinely drinking over an hour with food, where a decanter would have kept pouring for the whole meal. Even then, pouring two smaller glasses beats one large one.
Clean and Store the Aerator Properly
Rinse it the moment you finish, while the wine is still fresh. Dried red wine in an air port is the clogging problem people describe over and over, and it comes from putting the aerator in the sink and walking away.
Run warm water through it in the reverse direction of the pour, then check each port and the chamber for trapped wine. Disassemble whatever comes apart, clean the removable parts on their own, and put them back together dry. If the maker’s instructions call for a detergent or a soak, use those rather than improvising, since some plastics and adhesives do not like hot soapy water.
Let it air dry fully before storing. A sealed, damp chamber is how you get a musty smell on the next pour that has nothing to do with the wine.
Common Mistakes
Almost every disappointing aerator result comes down to one of these.
- Pouring too fast. The stream runs straight through and the air ports never engage. Fix: slow the pour until you hear the hiss, and keep it there for the whole glass.
- Holding the aerator too high. The wine has already left the device before it hits the glass, so all you did was splash. Fix: rest the outlet inside or just above the rim.
- Filling a large glass. More wine, same amount of oxygen, flatter result, and more oxidation than you planned. Fix: pour a tasting-sized amount and add more if you want it.
- Forcing a clogged passage. Pushing harder on a blocked aerator makes it worse and can crack cheap plastic bodies. Fix: stop, flip it over, run water through it backwards, and check the ports.
- Leaving it to soak until tomorrow. Wine dries inside the chamber and ports and turns into a blockage. Fix: rinse it right after you pour.
- Aerating everything. Sparkling wine, most whites, rosé, and aged delicate reds do not want heavy aeration, and a bottle that has already been open a while gets worse, not better. Fix: aerate young, tannic reds you are drinking now, and keep the device off the rest.
One habit worth keeping: pour your first taste straight from the bottle, then your second through the aerator. It takes ten extra seconds and it is the only way to find out whether your own bottle needed it.
Frequently Asked Questions
Does a wine aerator really work?
Yes, on the wines built for it. A pour-through aerator exposes wine to a large amount of air in a few seconds, which speeds up the softening of tannin and the release of aroma compounds. It does very little for low-tannin, inexpensive wine, and it cannot repair a bottle that was badly stored or has been open for days. Pour a taste both ways and judge for yourself.
How much wine should I pour through an aerator?
One normal serving is plenty, and a tasting-sized pour is better for learning. A large glass gives you more wine than the available oxygen can keep lively, and the leftovers taste flat. Pour a small amount first, taste it, then pour more if you want. Several small glasses beat one big one every time.
Is a wine aerator better than a decanter?
Neither is better; they solve different problems. A decanter separates sediment from a wine that needs hours of settling, which matters for mature bottles. An aerator speeds up oxygen exposure in seconds, which matters for young, tannic reds you want to drink immediately. If sediment is not an issue for the bottle in front of you, the aerator is the faster tool.
Do I still need to swirl the glass if I use an aerator?
Yes. The aerator moves air through the wine on the way into the glass. Swirling coats the inside of the glass and pushes aroma compounds into the air above the wine, where you can smell them. They are a few seconds of work that makes the whole effort obvious, and many people skip the device entirely once they get used to a firm swirl.
What do I do if the pour is slow or the wine will not flow?
Stop pouring rather than forcing it. Most blockages are dried wine in a side port, so turn the aerator over and run water through it backwards to push the blockage out. If the flow is just weak, check that the outlet is not sitting against the inside of the glass. Pouring harder on a clogged device is how plastic bodies crack.
How do I clean a wine aerator properly?
Rinse it within a few minutes of pouring, while the wine is still wet. Run water through it backwards to clear the ports, disassemble any removable pieces and wash them separately, then let everything air dry fully before you put it away. Follow the maker’s instructions if they call for detergent or a soak, since some materials do not tolerate it.
Conclusion
Start with the rinse, then position: hold the aerator at the rim of a clean glass, pour a small amount in a slow stream, and listen for the hiss that tells you air is moving through. Adjust only when the flow goes uneven, and taste before you pour more.
Treating aeration as a serving technique keeps it in proportion. It is five seconds of work that helps a young, tannic red open up tonight. It is not a cure for poor storage, the wrong temperature, or a bottle that has already been open too long.