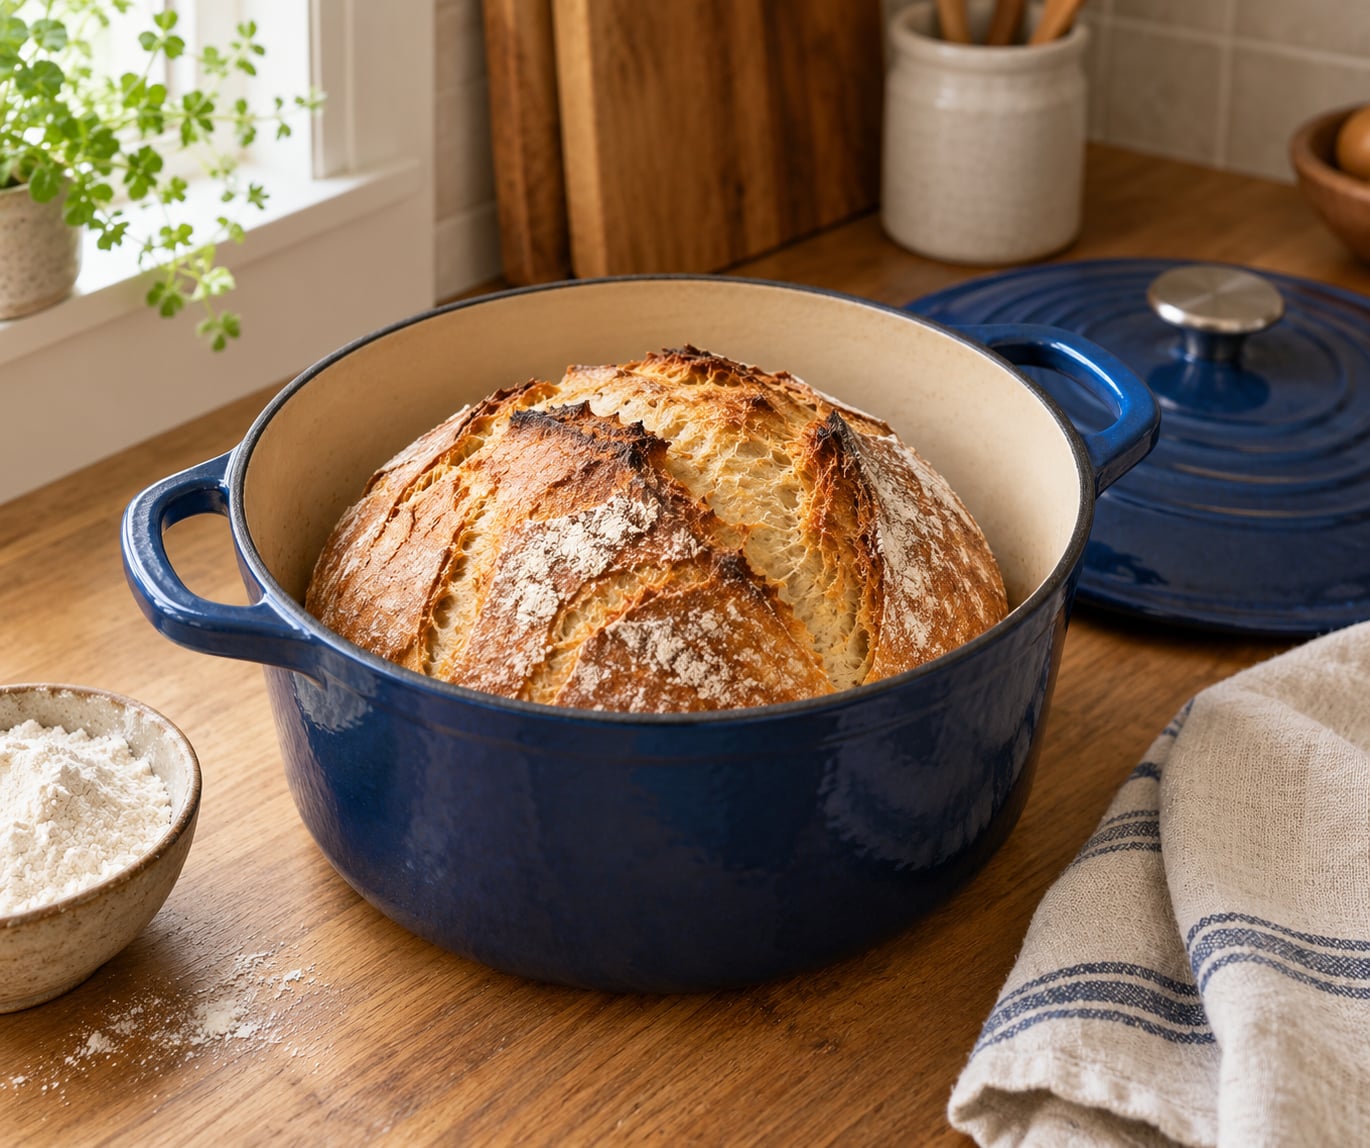
To bake bread in a Dutch oven, heat an empty lidded pot at 450°F (232°C) for 30 to 60 minutes, lower a shaped loaf in on parchment, bake covered for 20 to 30 minutes, then pull the lid and give it 10 to 20 minutes more until the crust is deep gold. Almost all of that is waiting — the active work is about fifteen minutes — and the method suits a beginner’s four-ingredient loaf just as well as a long-fermented sourdough.
The pot is doing two jobs a normal oven can’t. It radiates stored heat into the dough from every side, and its tight lid holds in the moisture the dough gives off, so the young crust stays soft and stretchy long enough for the loaf to spring upward before the starches set.
Table of Contents
- What You Need
- Step-by-Step: How to Bake Bread in a Dutch Oven
- How to bake bread in a Dutch oven: mix and knead the dough
- How to bake bread in a Dutch oven: proof, shape, and score
- How to bake bread in a Dutch oven: bake with the lid on, then finish uncovered
- Common Mistakes
- Frequently Asked Questions
- Should I use cast iron or enamel for Dutch oven bread?
- What size Dutch oven do I need to bake bread?
- What temperature should I bake bread in a Dutch oven?
- How long does bread take to bake in a Dutch oven?
- How much yeast do I need for a no-knead Dutch oven loaf?
- Should I chill the dough in the fridge before baking?
- Conclusion
What You Need
Four ingredients make the dough, and the rest is equipment. A 4- to 6-quart heavy pot with a tight-fitting oven-safe lid is the one thing worth shopping for carefully.
- The pot. Cast iron or enameled cast iron, 4 to 6 quarts, with a lid that actually seals. A 5-quart round pot handles a single 3-cup-flour loaf with room for oven spring. Rectangular 4.5-quart pots work well too, but a round loaf needs round space.
- Flour. Bread flour for chew and structure, or plain all-purpose flour if that is all you have. A blend of both is a reasonable middle ground.
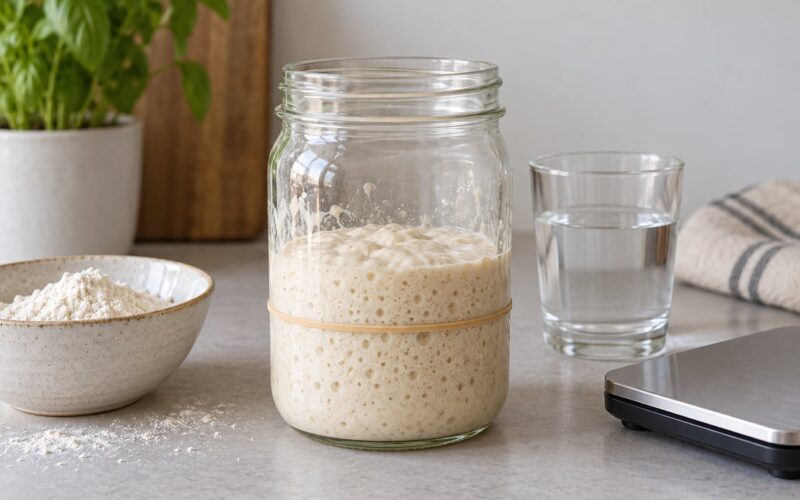
- Yeast. Instant yeast needs no blooming. If you use active dry yeast, wake it in the water first, and if you bake with a starter, cut the yeast back and expect a slower rise.
- Salt. Fine sea or table salt. It seasons the bread and tightens the crumb, so it is not optional.
- Water. Warm, around 105°F (40°C). Hotter water can kill the yeast outright.
- Optional enrichments. Olive oil, honey, milk powder, or a spoonful of sugar all shift the crumb toward softer and slightly sweeter.
- Paper goods. Parchment paper cut into a loose rectangle, a wire rack, and a razor or bench scraper.
- Safety gear. Dry oven mitts and a towel for the lid knob.
Check the lid before the first bake. Many coated cast-iron and enameled Dutch ovens ship with a black plastic or phenolic knob that is only rated to around 390°F (199°C), which is well below bread temperatures. If yours is a plastic-looking knob, replace it with a stainless steel one before you start.
A basic no-knead loaf runs about three cups of flour, a quarter teaspoon of instant yeast, one and a half teaspoons of salt, and three quarters cup of warm water. Weigh the flour if you can; volume measures vary enough to make the difference between a tight loaf and a slack one.
Step-by-Step: How to Bake Bread in a Dutch Oven
There are three phases, and the order matters. Build the dough first, then let it rise and shape it, then bake it covered before you finish it uncovered.
How to bake bread in a Dutch oven: mix and knead the dough
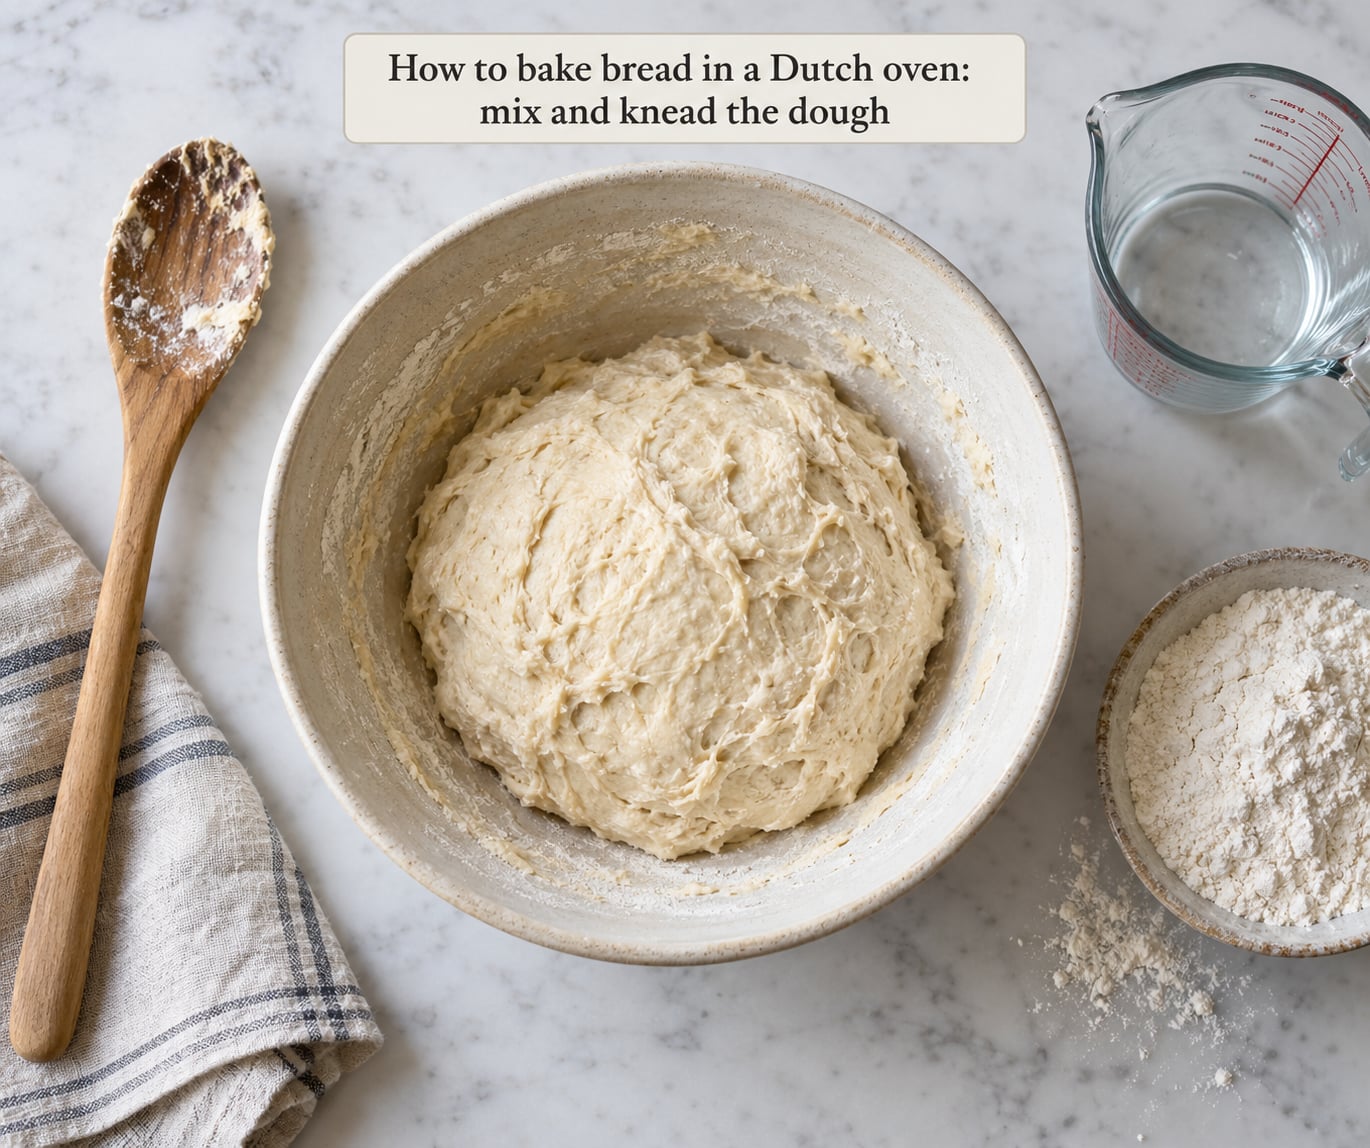
Combine the flour, salt and yeast in a large bowl first, then add the water and mix with a spoon until no dry flour is visible. It will look shaggy and sticky, and that is normal.
Now knead, in the bowl or on a lightly floured surface, for about 6 to 8 minutes. You are looking for one specific sign: the dough turns smooth and elastic and pulls cleanly off the side of the bowl. A rough, torn, sticky ball that never smooths out needs more time.
Ten minutes is the ceiling for a no-knead or lightly kneaded dough. Past that you tear the gluten you built, and the loaf gets denser and flatter. If the dough feels tight and hard rather than springy, you have gone too far.
How to bake bread in a Dutch oven: proof, shape, and score
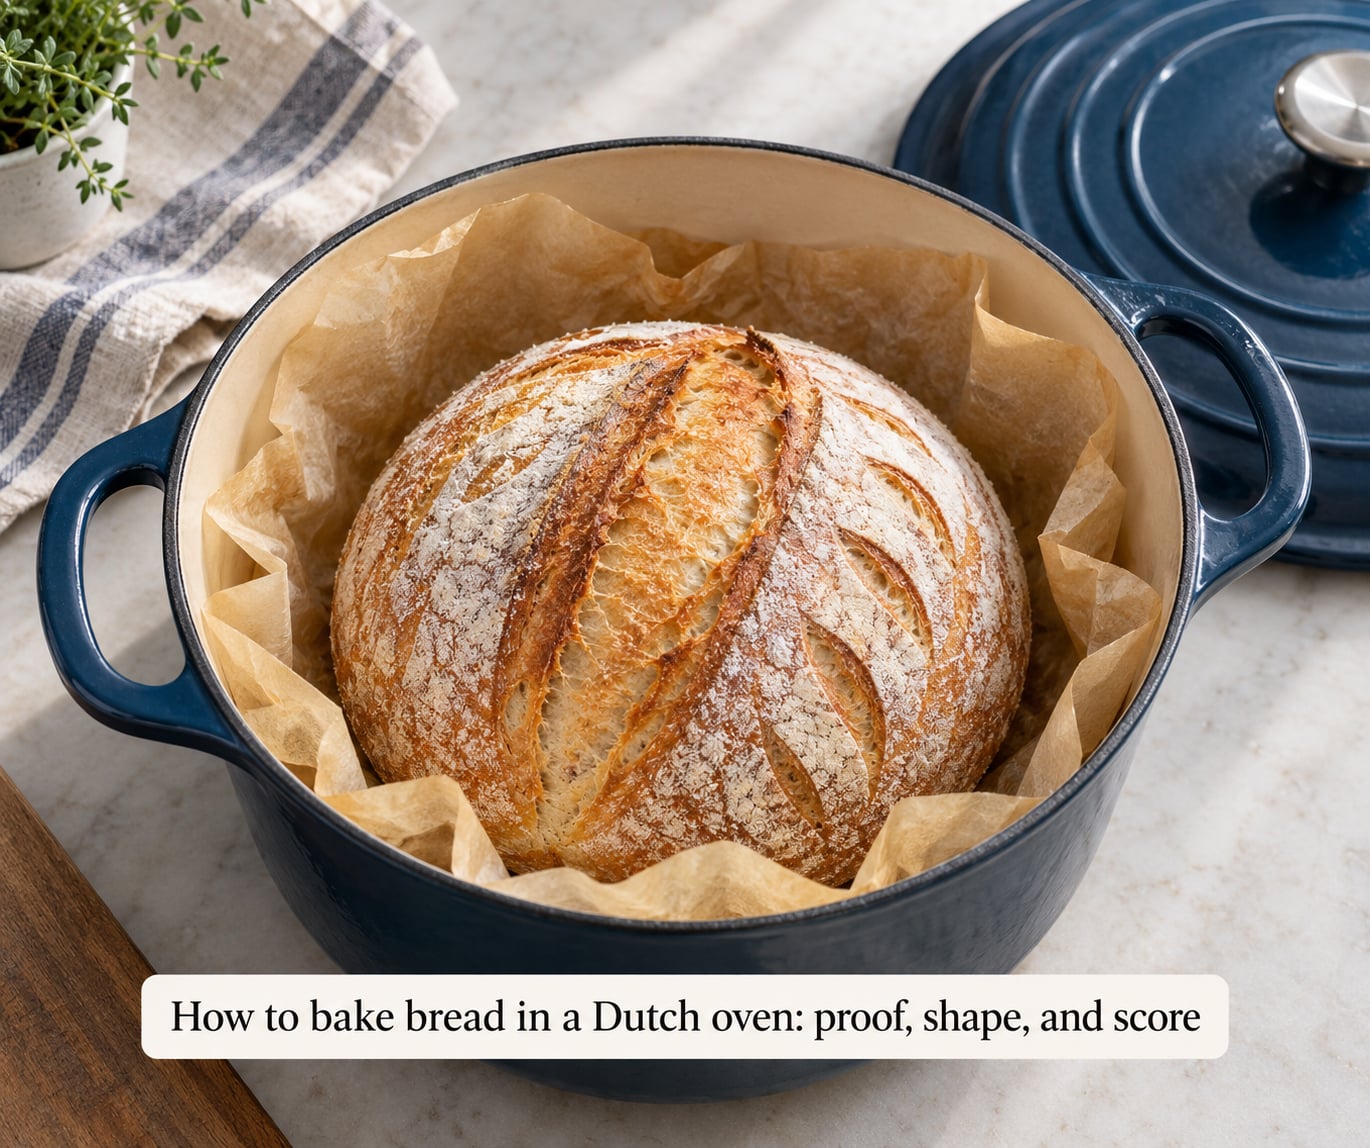
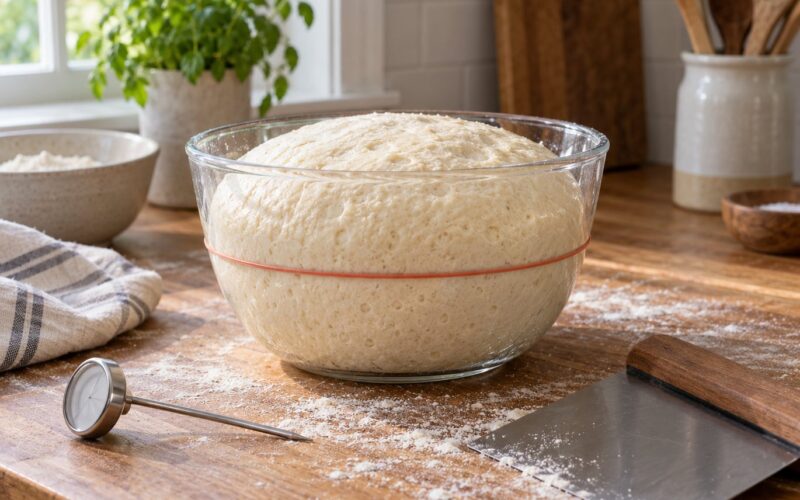
Cover the dough and let it rise until it has roughly doubled in size, which takes 1.5 to 2 hours at a room temperature near 75°F (24°C). Poke it with a floured finger; if the dent springs back, keep waiting, and if it stays, move on.
In a cold kitchen, the clock lies to you. Warm the oven to 150°F (65°C), turn it off, and let the dough rise inside with the light on. Some people go further and refrigerate the shaped loaf overnight, and a long cold rise gives the most flavour because the bacteria and yeast have hours to work on the dough.
Turn it out onto a floured surface and shape it by folding the edges toward the middle, then rolling the seam down to make a taut round. Handle it gently. A shaped loaf has all the gas you are going to get, and hard shaping knocks it out.
Lay a sheet of parchment down, put the loaf on it seam-side down, and let it proof again for 30 to 45 minutes until it puffs and holds a slight dent when poked.
There is a real disagreement about preheating, and it is worth knowing both sides before you commit. Heating the empty pot gives the loaf a hotter surface to spring against, which usually produces a rounder loaf with more oven spring. Bakers who skip it argue the dough is easier to lower into a pot that is only warm, and that the finished loaf is nearly as good. Start with a preheated pot, since it is the better result and the handling is manageable with dry mitts and parchment. If the first few attempts leave you juggling a dangerous pot for a flat gain, a cold-start pot at the same temperature is a perfectly reasonable second choice.
Score the loaf right before it goes in. One confident slash about half an inch deep, at a shallow angle, lets the loaf expand where you choose instead of tearing somewhere random. A razor, a sharp knife or kitchen scissors all work.
Heat the oven to 450°F (232°C) with the empty lidded pot inside for 30 to 60 minutes. That preheat is the whole reason the loaf can be lowered straight from a bowl: the cast iron is already at baking temperature when the dough arrives, so there is no second warm-up delay during the covered bake. Use this window as your final proof — by the time the pot is hot, the dough is ready for the oven anyway.
Lower the loaf into the pot by the parchment, which is the easiest way to move a wet, floppy piece of dough, then put the lid on.
How to bake bread in a Dutch oven: bake with the lid on, then finish uncovered
Bake covered for 20 to 30 minutes at 450°F (232°C). This is the oven spring phase. Steam fills the sealed pot, keeps the crust flexible, and lets the loaf expand before the starches set.
Then lift the lid, pull out the parchment carefully so it does not scrape the loaf, and bake uncovered for 10 to 20 minutes. Dry heat drives off the moisture and browns the surface through the Maillard reaction, which is where the flavor and the crackle come from.
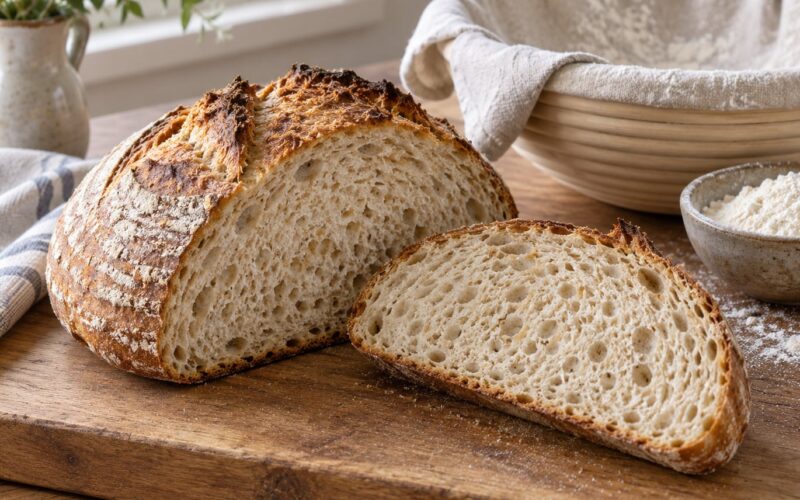
Pull the loaf at 195°F (90°C) internal, measured with an instant-read thermometer in the thickest part, or when the crust is deep brown and the loaf sounds hollow when you tap the bottom with your knuckles. Cutting too early is the most common reason a Dutch oven loaf feels gummy, so cool it on a wire rack for at least 30 minutes.
Here is how those parameters shift by dough type. The times assume a well-calibrated oven and a loaf that has completed its rise:
| Dough | Oven temp | Covered | Uncovered | Done at |
|---|---|---|---|---|
| No-knead, commercial yeast | 450°F (232°C) | 20-25 min | 15-20 min | 195-205°F (90-96°C) |
| Sourdough, active starter | 475°F (246°C) | 25-30 min | 15-20 min | 200-210°F (93-99°C) |
| Whole wheat | 450°F (232°C) | 25-30 min | 10-15 min | 198-205°F (92-96°C) |
| Enriched dough with oil and milk | 425°F (218°C) | 25-30 min | 15-20 min | 190-200°F (88-93°C) |
| Doubled batch in a 6-quart pot | 450°F (232°C) | 35-40 min | 20 min | 195-205°F (90-96°C) |
Those numbers assume a well-calibrated oven. Check yours with a cheap oven thermometer, since dial dials routinely run 25 to 50 degrees off and nobody wants to hear about it twice.
Once the loaf is out, set the pot aside for at least 20 to 30 minutes before washing it. A hot pot hit with cold water can crack the enamel, and a screaming-hot knob is a burn waiting to happen.
Common Mistakes
Almost every disappointing Dutch oven loaf traces back to one of six things. Name the failure, then fix the specific cause rather than adjusting everything at once.
The bottom is black, the rest is fine. This is the loudest complaint in every bread forum, and it is almost always heat contact rather than the recipe. Put the pot on a double layer of baking sheets before preheating; the trapped air gap between the two sheets cuts the direct radiant heat reaching the cast iron, and it works even at 475°F (246°C). A rack set one step up from the bottom element and a parchment liner under the loaf help too. If your oven runs hot, verify it with a thermometer and drop the temperature 25 degrees.
The middle of the crumb is gummy. Two causes: the loaf was cut early, or it needed more time. Gummy and dense in the very center usually means the bake was short; gummy and wet in a ring near the crust usually means it was cut too soon. Bake two to five minutes longer next time and wait the full 30 minutes on the rack.
The loaf came out flat. Either it was underproofed, overhandled during shaping, or too big for the pot. Parchment-marked walls mean the dough touched the sides and had nowhere to rise. Fix all three by letting the first rise run to a clear poke test, shaping lightly, and choosing a pot with an inch of clearance on all sides.
The crust is pale. The lid stayed on for the whole bake, or the oven lost heat during a long preheat. Take the lid off for the final stretch until the color matches a deeply browned biscuit, and add five minutes at the end if the crumb is done but the crust is not.
The loaf stuck to the pot. Always use parchment, and make it big enough to lift out with the bread on it. Do not oil the bottom of the dough to prevent sticking; oil interferes with the flour’s grip and the loaf spreads instead of springing.
No rise at all. The usual culprit is water above 120°F (49°C) killing the yeast, or a kitchen so cold that the dough never moved. Check your water with a thermometer, and if the dough has not grown at all after two hours, throw it out rather than baking it.
One more safety note, because it circulates widely without a caveat: the trick of dropping ice cubes into the pot for extra steam is fine in a cold or moderately heated pot, and a serious hazard in a pot that has been baking at 450°F. Thermal shock can crack enamel. If you want extra steam, add cold water to a pot that has been heating for under 20 minutes.
Frequently Asked Questions
Should I use cast iron or enamel for Dutch oven bread?
Both work and the difference is smaller than most guides suggest. Bare seasoned cast iron gives a slightly deeper, toastier crust because the metal pulls a little more heat out of the loaf. Enameled cast iron needs almost no care and lets you use soap when washing. Whatever you choose, the pot must be oven-safe to 475°F (246°C), including the lid knob, or you need a replacement stainless steel knob before baking.
What size Dutch oven do I need to bake bread?
For a standard loaf built on about three cups of flour, a 4.5-quart pot is enough and a 5-quart round pot is the safest all-round choice. It holds a round loaf with about an inch of clearance on each side, which is what you want for oven spring. Three-quart pots run tight for a full round. Six- and seven-quart pots are for doubled batches, and they need roughly five extra minutes covered.
What temperature should I bake bread in a Dutch oven?
450°F (232°C) is the standard for yeast bread, and 475°F (246°C) suits a well-fermented sourdough that needs more drive for oven spring. Enriched doughs with oil and milk do better a little lower, around 425°F (218°C), because fat slows the browning. Use an oven thermometer if you can. Many dials run 25 to 50 degrees hotter than the number on the front.
How long does bread take to bake in a Dutch oven?
Plan on 20 to 30 minutes with the lid on, then 10 to 20 minutes with the lid off, for a total of about 35 to 45 minutes once the loaf is in the pot. Add the 30 to 60 minutes of oven preheat and the rise time on top of that. Ignore the clock and trust 195°F (90°C) internal temperature plus a hollow sound when you tap the bottom of the loaf.
How much yeast do I need for a no-knead Dutch oven loaf?
About a quarter teaspoon of instant yeast for three cups of flour is the sweet spot for a same-day bake with a 90-minute rise. Half a teaspoon gives a longer, more flavorful rise and fits an overnight schedule better. Active dry yeast needs to be woken in warm water first and is slightly less potent. Using a sourdough starter replaces the yeast entirely, so expect a bulk ferment of 8 to 18 hours instead.
Should I chill the dough in the fridge before baking?
Chilling is optional and it is the single easiest upgrade to flavor. An overnight cold rise lets the yeast and bacteria work for hours, so you get a more complex taste from the same four ingredients, and cold dough is far easier to shape and score. It does change the bake slightly: expect a lower oven spring and add five to ten minutes of covered baking time. Unchilled dough straight from a warm room bakes just fine.
Conclusion
Start here: put the empty pot, lid on, into a 450°F (232°C) oven while your shaped loaf finishes its last 30 minutes of proofing. Then score the loaf, lower it in on parchment, and the covered bake handles the oven spring while the lid comes off for the crust.
Most of the trouble people hit comes from two habits: slicing too early and trusting a loaf that has not finished proving. Give the loaf its full 30 minutes on a wire rack, and check the pot temperature with a thermometer before you decide the recipe is at fault.