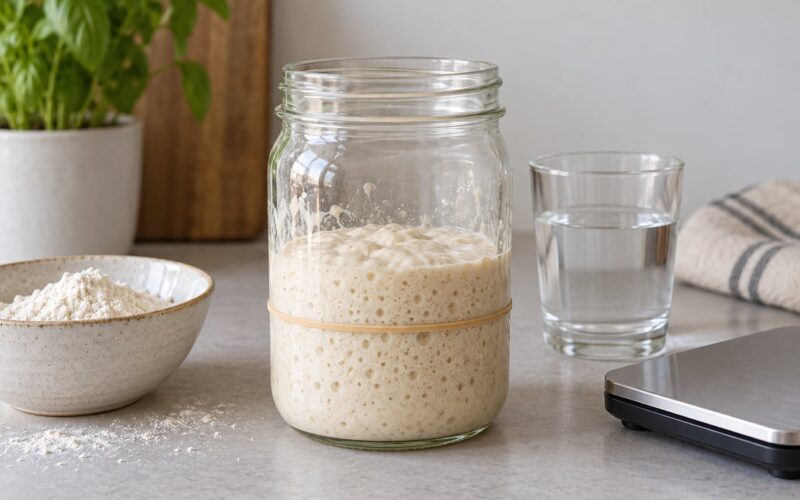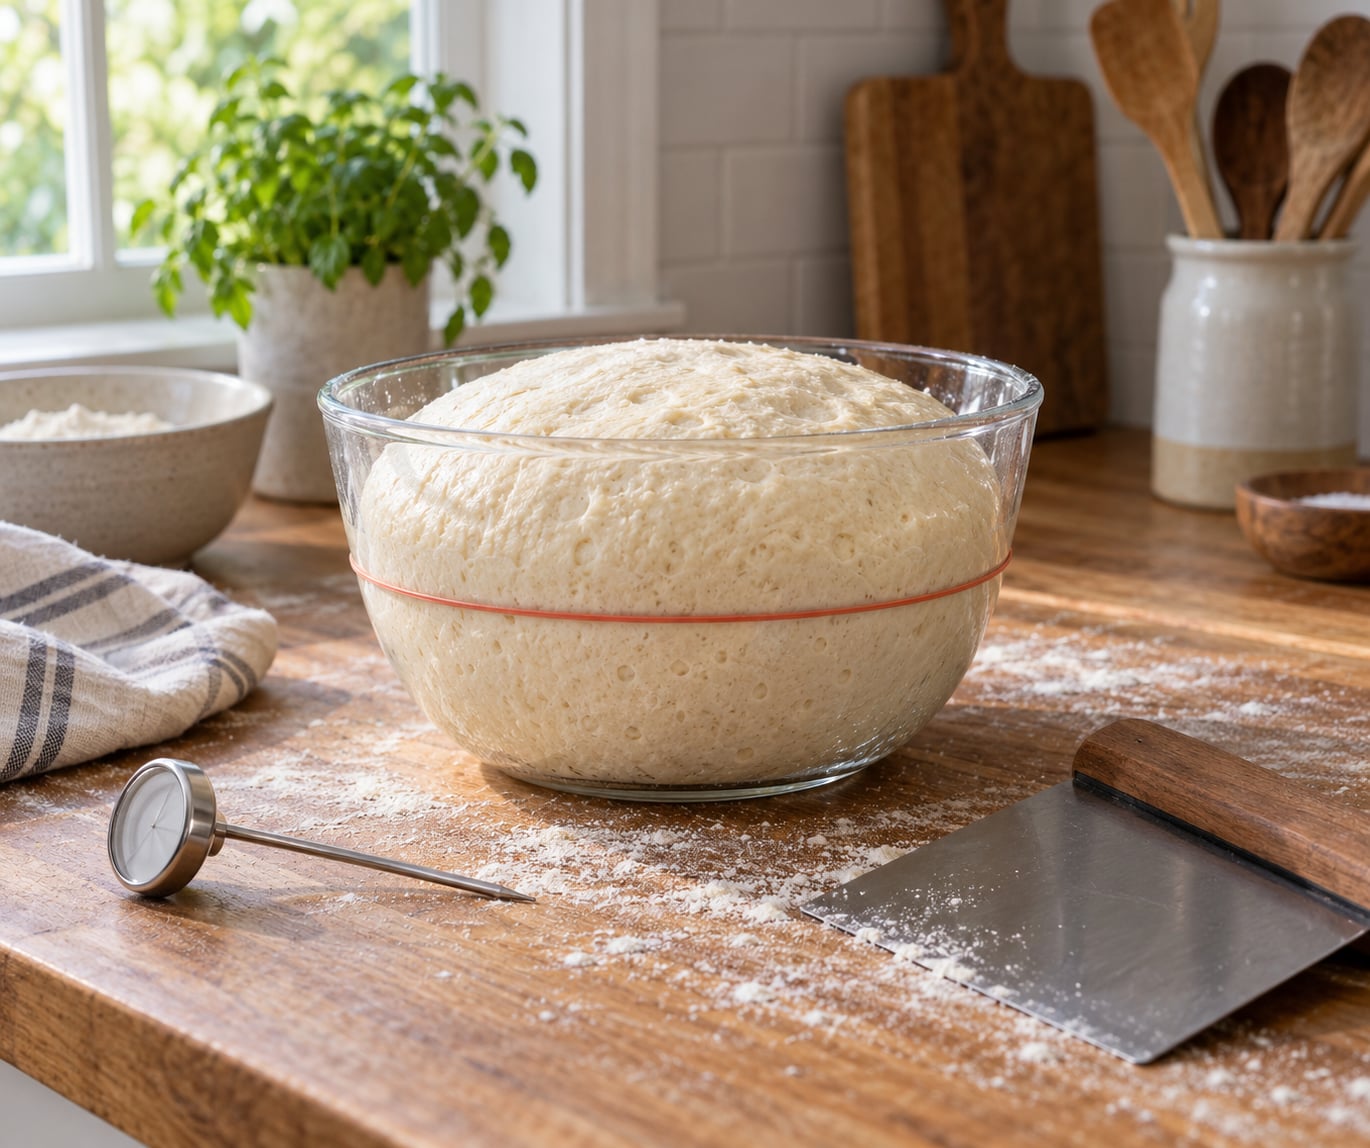
If you’re asking how to tell when bread dough has proofed enough, look for two signals together: the dough has nearly doubled in volume, and a gentle finger poke leaves a small dent that fills back in slowly. Volume alone is not enough. Plenty of dough doubles and then bakes into a dense, gummy loaf, because it was never truly ready.
The whole check takes about ten seconds, works for sourdough, no-knead loaves, pizza dough and dinner rolls, and gets easier every bake. What changes from kitchen to kitchen is how long you wait before you test it.
Table of Contents
- What You Need
- How to Tell When Bread Dough Has Proofed Enough: Step-by-Step
- 1. Check the Dough Before Testing
- 2. Perform the Poke Test
- 3. Use the Float or Rise Check
- 4. Check Yeast Activity and Timing
- 5. Decide Whether to Shape, Proof, or Bake
- What to do if the dough doubled but the loaf is still dense
- Common Mistakes
- Frequently Asked Questions
- How do I perform the poke test on bread?
- How do I tell if my sourdough is perfectly proofed?
- Can you still eat over-proofed bread?
- Can I still bake my overproofed sourdough bread?
- Is underproofed better than overproofed?
- Why is my dough doubled but still dense after baking?
- Conclusion
What You Need
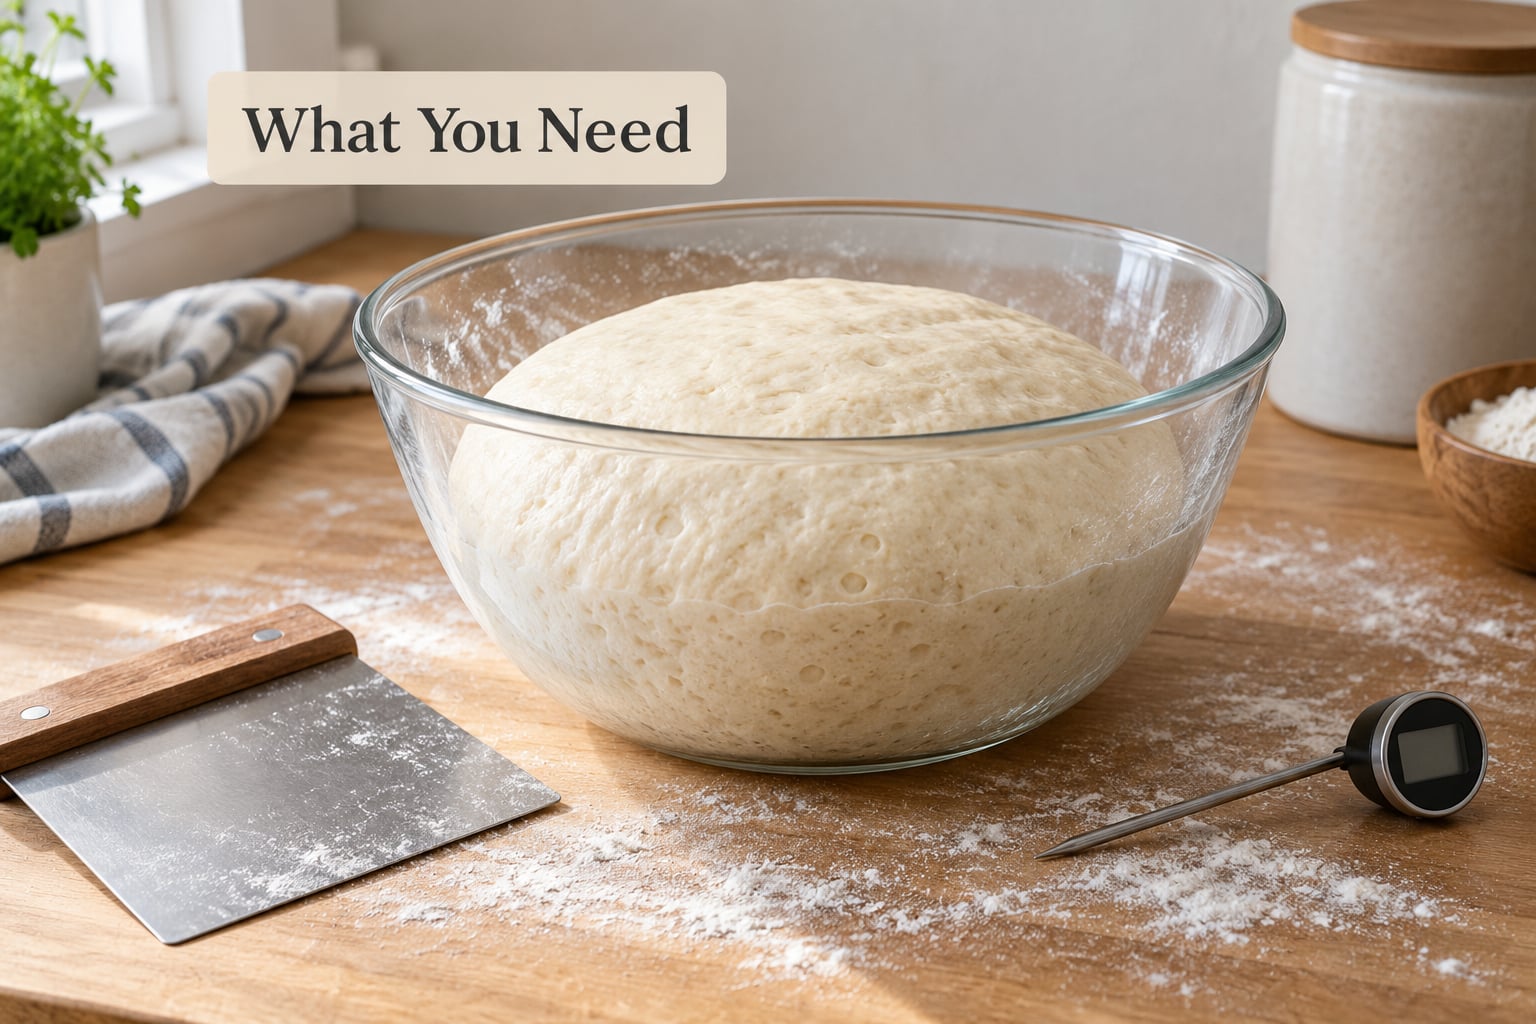
You don’t need much, and none of it is specialised. But a couple of habits make the difference between a guess and a read.
- A clear, straight-sided bowl or tub. Glass or transparent plastic lets you see the sides of the dough without tilting the whole thing. A straight wall also makes a rise line easy to mark.
- A rubber band or piece of tape to mark where the dough sat at the start.
- A floured surface and bench scraper for handling dough without tearing it.
- A timer, plus an instant-read thermometer for the water and the finished dough.
- Flour or a little neutral oil on your fingertip. Raw dough sticks, and a sticky finger makes a rough, unreliable poke.
- Optional: a proofing box, or a cold oven with a roasting tray half-filled with boiling water, if your kitchen runs cool.
Worth having is a notebook or a note on your phone. Writing down the rise time and spring-back for each bake is how you build a personal baseline that finally replaces recipe time ranges.
How to Tell When Bread Dough Has Proofed Enough: Step-by-Step
Run these in order. The visual checks come first because they’re free, then the poke test settles it, then timing explains why the dough behaved the way it did.
1. Check the Dough Before Testing
Look at the dough before you touch it. Four signs matter most: it’s grown noticeably past its starting mark, the surface has gone from tight and matte to slightly domed and relaxed, you can see small bubbles along the edges where the dough meets the bowl, and the sides have started to pull away from the container in a smooth curve rather than clinging.
Give the bowl a gentle nudge on the counter. Ready dough has a soft, heavy wobble to it, a bit like a marshmallow rather than a brick. A raw, under-fermented dough barely moves and feels like a firm putty ball.
Expect roughly a doubling for most lean doughs at a warm room temperature, and a bit less for stiff or enriched doughs. Sourdough often rises 50 to 75 percent and still bakes beautifully, so volume is a supporting cue rather than a pass mark.
2. Perform the Poke Test
This is the single most reliable check, and it takes five steps. Flour or oil your fingertip lightly. Choose the side or top of the dough, away from any seam or edge, and on a shaped loaf stay clear of where the score will go.
Press straight down gently but firmly, about half an inch into a pan dough. Don’t jab, don’t drag, and don’t twist. Lift your finger straight up and watch the dent instead of the dough.
Then read the rebound. A rebound in under three seconds means the dough is still fermenting hard and needs more time. A rebound that takes several seconds and leaves a faint dent means it’s ready. No rebound at all, with the dent staying put or slowly deflating, means it’s gone too far.
Test a second spot before you commit. Dough proofing unevenly is normal, and one good poke next to one bad poke usually means the middle needs another fifteen to thirty minutes.
Two things make the test lie. Testing dough straight out of a hot kitchen gives a soft, meaningless dent, so cool the bowl or move it first. And don’t press twice in the same spot to see how it feels, because the second press always looks more ready than the first.
3. Use the Float or Rise Check
Some bakers use the float test: drop a small knob of dough into a bowl of water. If it sinks, there’s not enough gas yet. If it floats, you’re close. It’s a useful cross-check on the poke test, never a replacement for it, because a very airy dough can float while still being badly under-proofed inside.
The rise check is simpler and more reliable. Mark the starting height, then compare the dough to that mark and to the clock. Volume and poke result should agree. When they disagree, and the dough has doubled but still springs back fast, it needs more time. When the dough has barely grown but pokes perfectly, trust the poke.
Here is how the three outcomes translate in the oven. This is the table I wish I’d had when I first started baking.
| Poke result | Time to bake | What the oven does | Crumb you get |
|---|---|---|---|
| Springs back fast, under 3 seconds | Wait 15 to 30 minutes and test again | Needs proofing, so bake later | Tight, dense, gummy, tearing between slices |
| Springs back slowly, leaves a faint dent | Bake now | Good oven spring, one clean rise | Even, open crumb with a soft texture |
| No rebound, dent stays or sinks | Bake immediately or rescue the dough | Spreads flat, may sink in the middle | Coarse, ragged, sometimes gummy holes |
4. Check Yeast Activity and Timing
Timing tells you something only when you know your conditions, so treat it as a reason rather than a rule. The ideal dough temperature for most bread sits around 70 to 75F. Above roughly 113F the yeast works far too fast and the gluten structure suffers, which is why a warm oven is a bad proofing spot.
The main levers are dough temperature, yeast quantity, salt, hydration, and how fresh your starter is. A double quantity of instant yeast can finish in about 30 minutes where a single spoon takes two hours. Salt tightens the dough and slows things down, while a wetter, higher-hydration dough generally ferments faster because the yeast has more water to work with.
A starter that bubbles but never lifts the dough tells you the culture is alive but the dough itself is the problem: too much salt, not enough yeast, or an autolyse that ran long. Fix it by adding a little more yeast, not by waiting longer.
So is four hours too long to let dough rise? Only if the dough has already passed its poke test. Plenty of cold kitchens need four hours or more, and plenty of warm summer kitchens finish in two.
5. Decide Whether to Shape, Proof, or Bake
For pan loaves and dinner rolls, test the dough in the bowl, shape it, then do a shorter final proof in the tin. Expect roughly a 50 percent rise there, and again test before the oven. Sourdough is usually shaped with a little gas still in the dough, then baked once it passes the poke test in whatever form it is in.
If the poke test shows over-proofed dough, stop waiting and act. Bake it straight away and expect a flatter loaf. Or reshape it into rolls and let it recover for 20 to 30 minutes, or roll it thin for flatbread. Nothing about over-proofed dough is unsafe, it’s just a worse loaf.
If the poke test shows dough that’s ready but shaping feels risky, let it relax ten minutes and try again. Under-proofed dough tears when you handle it, which is the body telling you to wait rather than a skill problem.
What to do if the dough doubled but the loaf is still dense
Doubled in volume and still dense usually means one of four things: you tested too early on a recipe whose yeast needed longer, your kitchen was cool enough to stretch the proof without enough activity, the shaping was too tight so there was no room for the gas to expand, or the dough itself was weak from salt, a long autolyse, or over-whipping.
Next bake, mark the bowl, note the actual rise time, and add fifteen minutes before you test for the first time. Poke a second spot. If the crumb is tight but the loaf tasted good and wasn’t gummy, that’s under-proofing. If it was gummy and dense in the middle, suspect a shaping or gluten issue instead.
Common Mistakes
Almost every mistake here comes back to testing harder or trusting the clock more than the dough.
Pressing too hard. A hard poke goes through the gas structure instead of compressing it, and any dough looks flat afterwards. Press about half an inch and no deeper.
Treating doubling as a pass mark. Volume is necessary and not sufficient. Plenty of bakers post dough that doubled and is clearly not ready, which is why the poke test has to back it up.
Trusting the recipe’s time range. Those windows assume a specific kitchen. In a cold flat, four hours can mean under-proofed; in a warm one, two hours can mean finished. Start checking early and often instead.
Ignoring the recipe’s variables. Yeast amount, salt, hydration and dough temperature all change the window. If you swapped in a different yeast or added a spoonful of honey, don’t expect the old timing.
Baking before the dough is ready. This is the safe mistake. Under-proofed bread is dense but perfectly edible, and it’s still a loaf of bread.
Testing dough that’s too warm. Warm dough dents and feels ready no matter what. Cool it down or move it somewhere cooler first, then judge.
Testing the same spot twice. The second poke always looks more ready. Move to fresh dough each time.
Frequently Asked Questions
How do I perform the poke test on bread?
Flour or oil a fingertip, then press gently but firmly into the side or top of the dough, about half an inch deep on a pan dough. Lift straight up without twisting and watch the dent. A slow rebound that leaves a faint mark means ready, a fast rebound means more time, and no rebound means over-proofed.
How do I tell if my sourdough is perfectly proofed?
Watch it, don’t just clock it. Look for roughly a 50 to 75 percent rise, a domed and relaxed surface, and bubbles at the edges, then poke it. Ready sourdough springs back over several seconds and keeps a faint dent. Straight-sided glass helps most because you can watch the sides without disturbing the dough.
Can you still eat over-proofed bread?
Yes. Over-proofed bread is completely safe to eat, it just bakes into a flatter loaf with a coarser, more open crumb and a denser texture. It’s often good as toast or in a sandwich. If it has already baked and looks slightly sunken with irregular holes, that’s the over-stretched gluten, not spoilage.
Can I still bake my overproofed sourdough bread?
Bake it. Waiting longer won’t bring the gluten back, and a loaf baked immediately will outscore a loaf baked after another hour of collapse. Expect it to spread in the oven and come out flatter. You can also reshape the dough into rolls and give it a 20 to 30 minute recovery before baking instead.
Is underproofed better than overproofed?
For almost every home bake, yes. Under-proofed bread is dense and gummy but still a usable loaf, while over-proofed dough has lost structure and will spread, tear at the sides, and bake with a ragged crumb. If you have to choose a side to err on, err under and check again in twenty minutes.
Why is my dough doubled but still dense after baking?
Four usual causes: you baked before the dough truly passed the poke test, your kitchen was too cool for the yeast amount you used, you shaped too tightly and left no room for expansion, or the gluten was weakened by salt or a long autolyse. Next bake, mark the starting level and add fifteen minutes to your first check.
Conclusion
To answer how to tell when bread dough has proofed enough in about ten seconds: check that it’s risen close to double, then poke it and wait. A dent that springs back over a few seconds and stays faintly visible means shape and bake now.
Write down what you saw this time. Two or three logged bakes and you’ll know your dough better than any recipe clock ever could.