To make flavored vodka at home, steep fresh fruit, herbs, spices or vegetables in a sealed glass jar of 80-proof vodka for 3-7 days, shaking it once or twice a day, then strain out the solids. Use 1-2 cups of flavoring to every 2-3 cups of vodka, keep everything fully submerged, and store the jar in a cool dark place. The whole thing takes about ten minutes of active work and a week of waiting.
Infusing at home costs a fraction of what a flavored bottle sells for, and you get to decide how sweet, how sharp and how strong it tastes. Home bar makers I know started with a mason jar and a cheap bottle, and the first thing they learned is that the base brand matters far less than people assume.
Table of Contents
- What You Need
- Step-by-Step: How to Make Flavored Vodka at Home
- Step 1: Choose Your Vodka and Flavoring
- Step 2: Prepare the Flavoring Ingredients
- Step 3: Combine Vodka and Flavoring in a Jar
- Step 4: Let the Flavor Infuse
- Step 5: Strain, Bottle, and Taste
- Common Mistakes
- Frequently Asked Questions
- How long should I infuse vodka at home?
- What is the best fruit for flavored vodka?
- Can I add sugar or simple syrup to vodka?
- How much flavoring should I use for one bottle of vodka?
- Can flavored vodka be made without a special infusion bottle?
- How should homemade flavored vodka be stored?
- Conclusion
What You Need
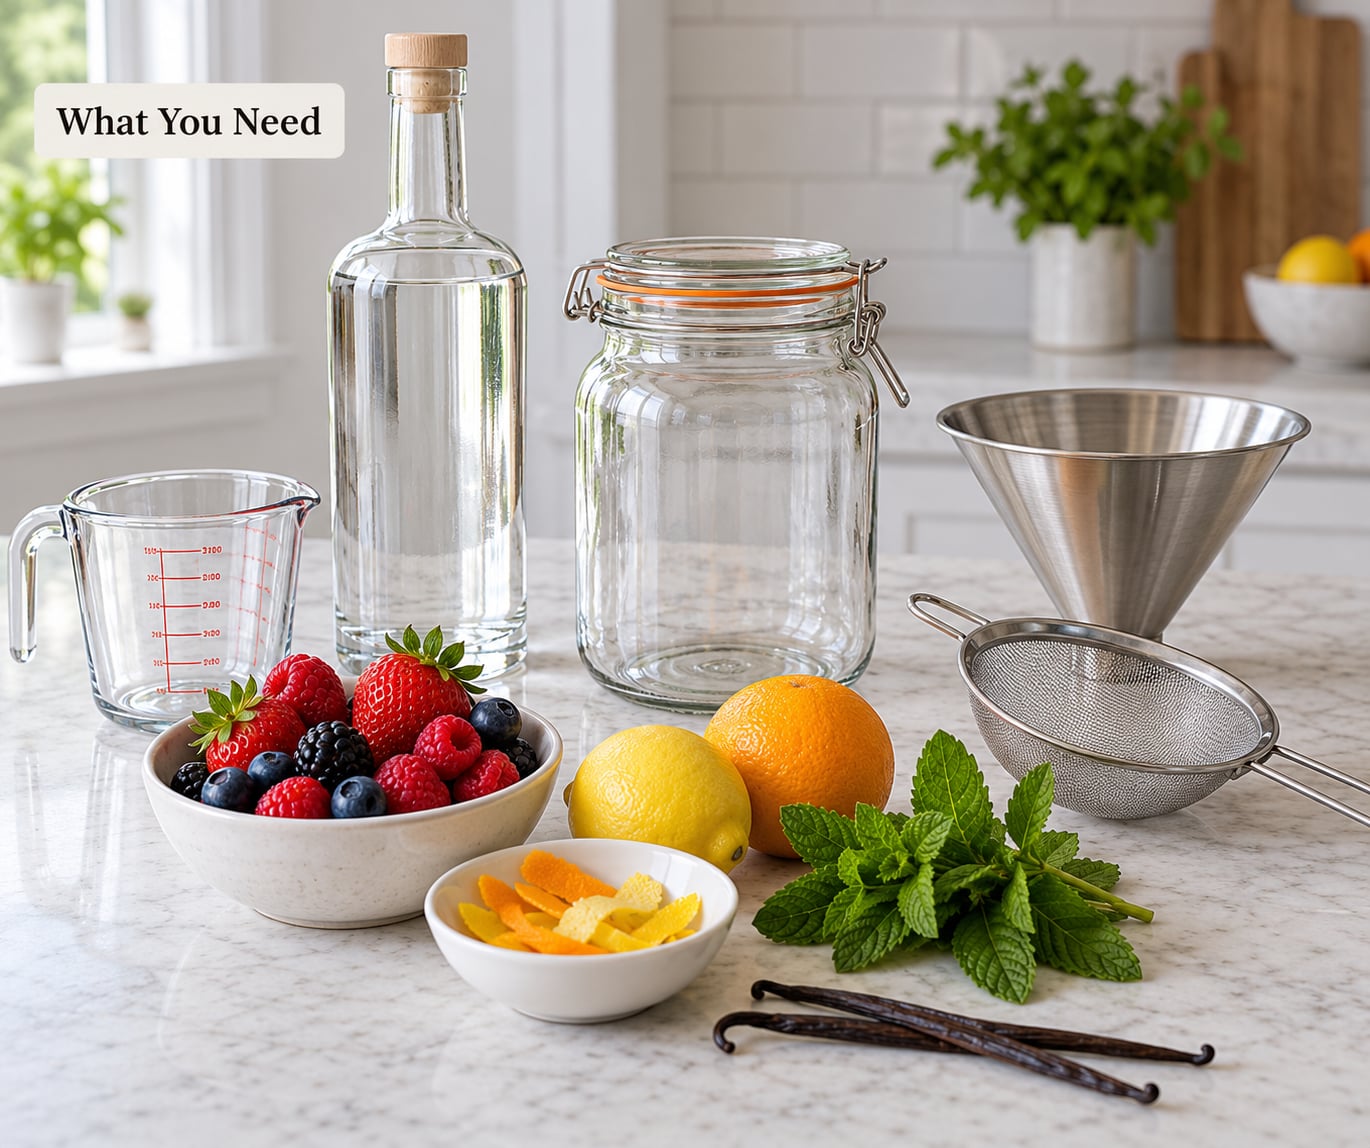
The equipment list is short, and most of it is already in your kitchen.
- A base spirit. An 80-proof (40% ABV) neutral vodka works for nearly everything. Buy the cheapest one that tastes clean when you sip it straight, because after three days of steeping you will not be able to pick it out of the finished drink.
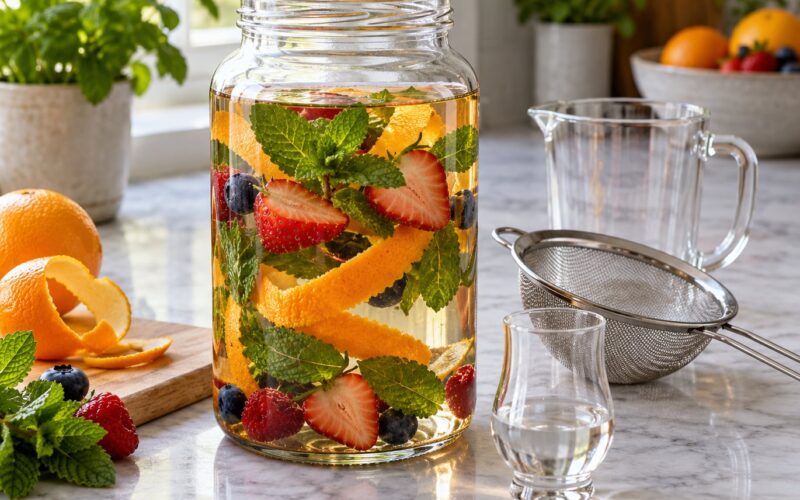
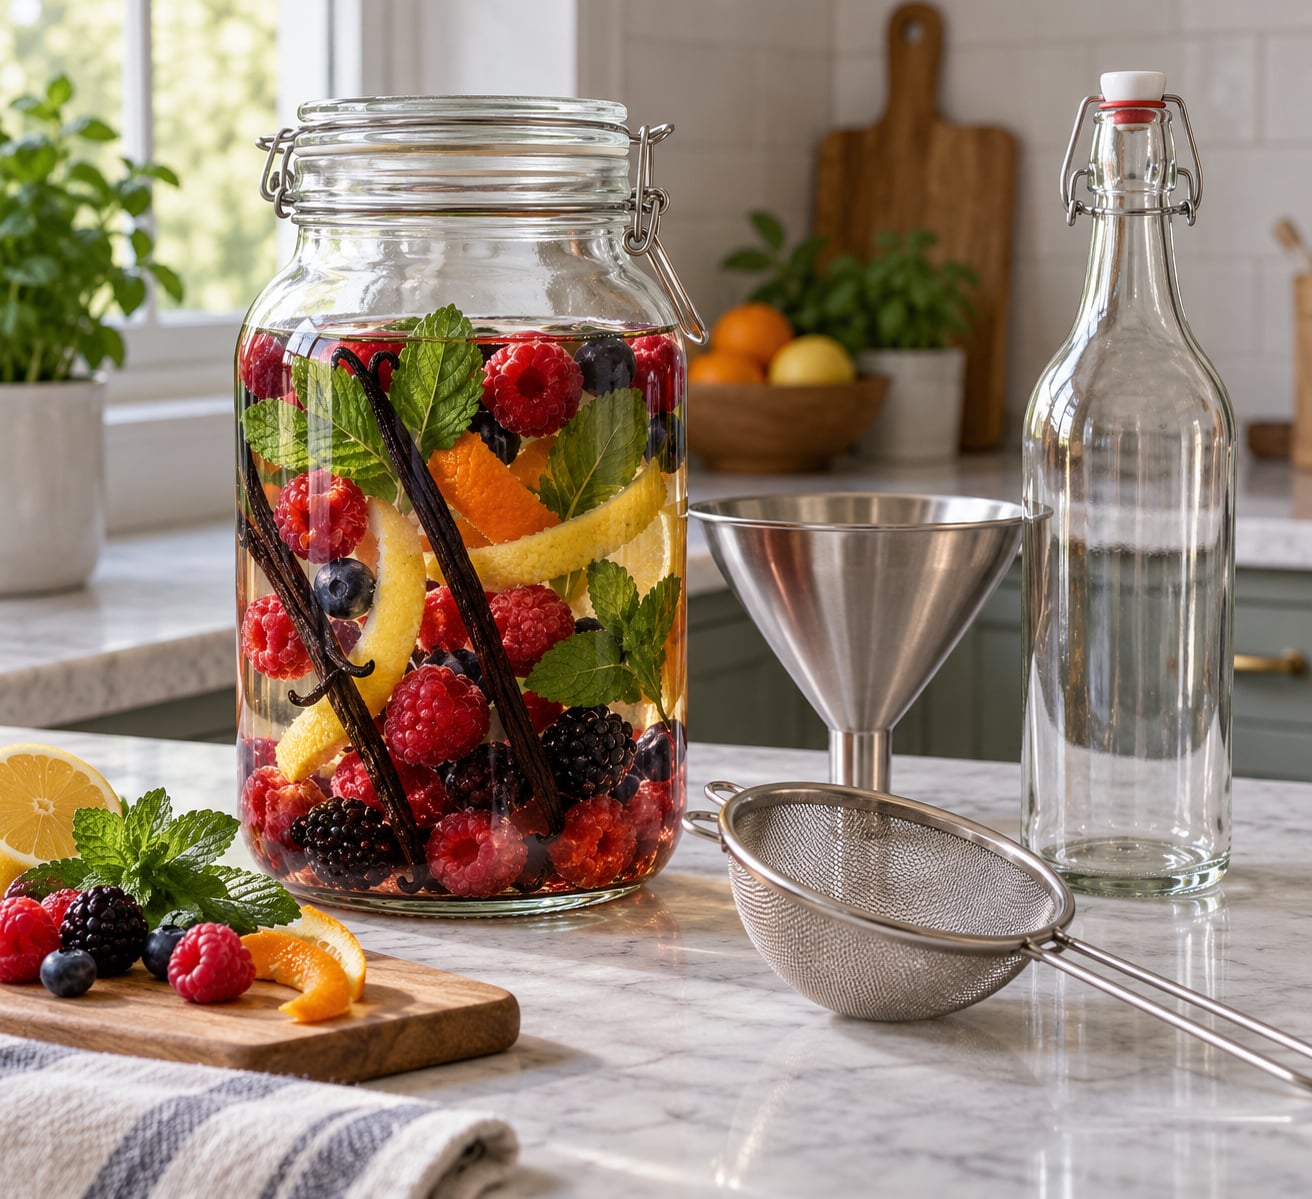
- A clean glass jar with a tight lid. A mason jar, a Kilner jar, or any screw-top jar that seals properly. A wide mouth makes it easier to get the fruit in and out, and a straight-sided jar with volume markings takes the guesswork out of ratios.
- A funnel for loading solids without spilling vodka down the counter.
- A fine-mesh strainer, plus a coffee filter or a folded paper towel for the second pass.
- A measuring cup and clean bottles for the finished batch.
- Your flavorings. Fresh fruit, citrus peel, herbs, spices, chillies, or vegetables.
Skip the specialty infusion bags and vacuum pumps. They cost more than they give you, and a properly sealed mason jar does the same job.
Two things about your ingredients matter more than anything else. First, everything should be spotlessly clean, since a dirty jar or a dusty herb can sour a whole batch. Second, fresh beats dried for aroma and dried beats fresh for keeping a subtle note in the background, so choose based on the result you want rather than habit.
Step-by-Step: How to Make Flavored Vodka at Home
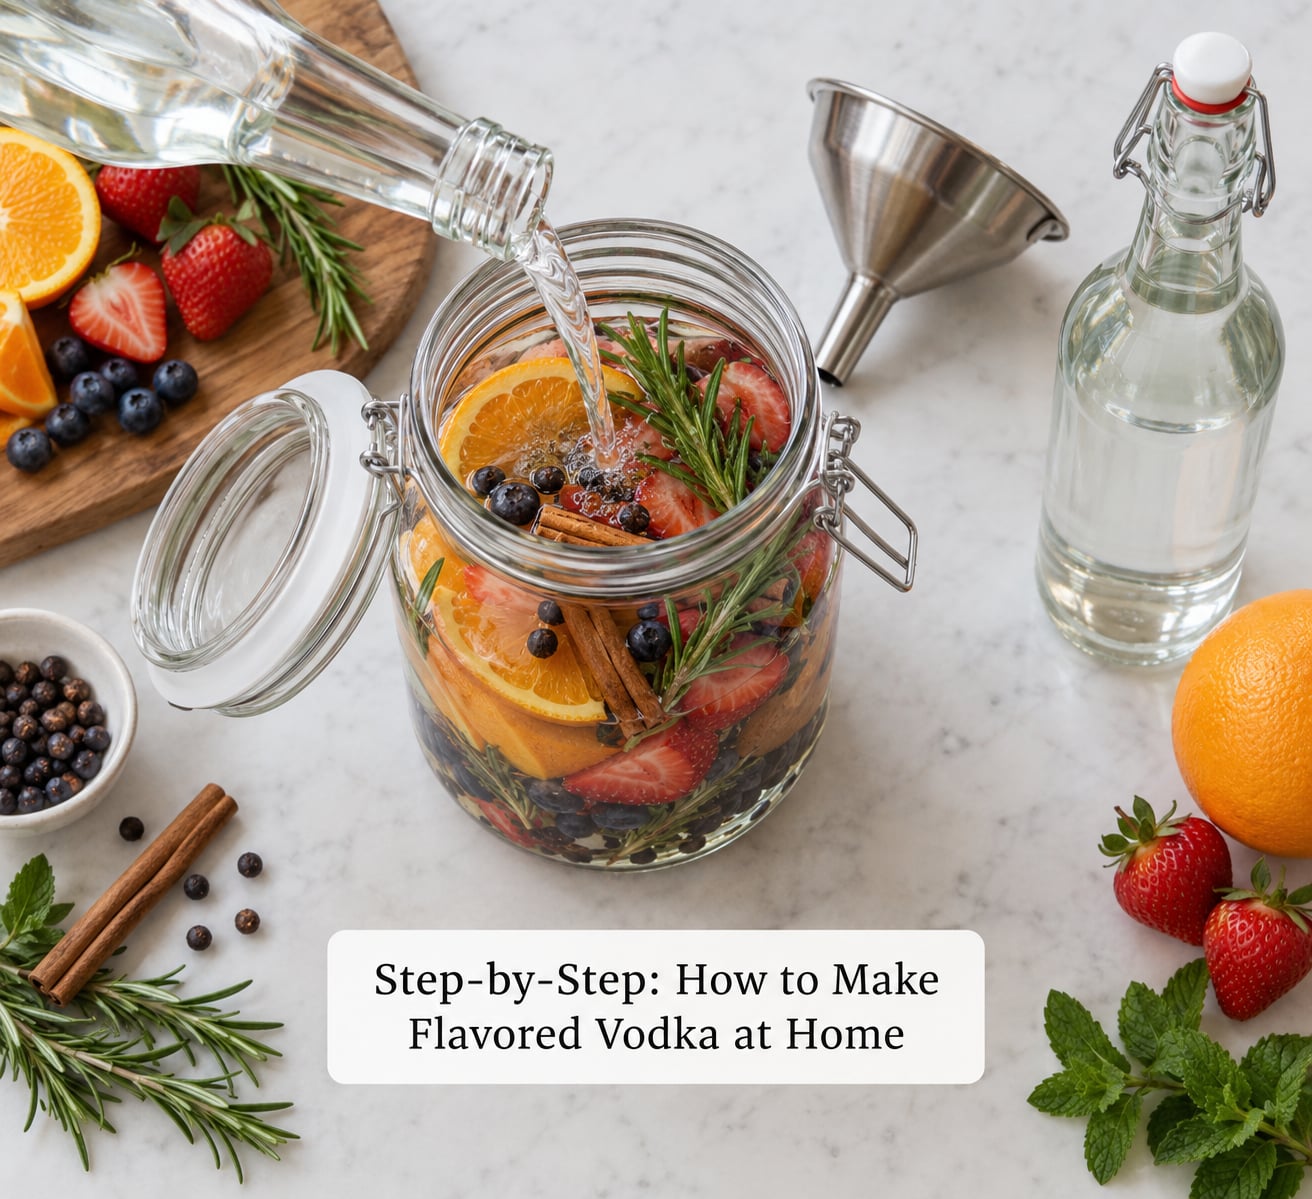
Step 1: Choose Your Vodka and Flavoring
Start with a neutral 80-proof vodka for fruit, herb and citrus infusions. It is the standard because the flavor comes entirely from your ingredients, and neutral spirit does not add its own grain or char character to the finished drink.
Reach for 100-proof when you are infusing something light and delicate like cucumber, elderflower or a single vanilla pod, because a higher alcohol percentage pulls more flavor out of the same ingredient in the same amount of time. Skip top-shelf brands unless you are serving the vodka neat over ice after the infusion, since a premium bottle changes the price and barely changes the result.
Match the flavoring to the drink you plan to make. Berries and stone fruit give sweet, drinkable infusions for spritzes and martinis. Citrus peel, herbs and vegetables make sharper spirits that belong in mixed drinks. Chillies and spices are strongest, and easy to overshoot.
Step 2: Prepare the Flavoring Ingredients
Every prep step is about increasing surface area, which is the whole trick to a fast, strong infusion.
- Wash and dry everything. Rinsing fruit removes dirt and any pesticide residue. Drying matters too, because water clinging to fruit dilutes the vodka in the jar.
- Zest citrus, never peel. The colored outer layer holds the aromatic oils. The white pith underneath is bitter, and it is the single most common reason homemade citrus vodka tastes harsh. If you want the juice in there, use a peeler and add a little of the pulp or juice separately.
- Crush or halve berries, and split vanilla beans lengthwise. A cut surface releases far more than an intact one. Splitting a pod exposes every seed to the alcohol.
- Grate ginger and other hard roots, bruise herbs lightly, and prick chillies with a knife. You want the skin broken, not the ingredient destroyed into paste, which releases sediment and bitter plant matter.
Step 3: Combine Vodka and Flavoring in a Jar
Measure roughly 1-2 cups of prepared flavoring for every 2-3 cups of vodka, add the solids first, then pour the vodka over them. If the ratio feels off once the jar is filled, you can top it up with more vodka, so err generous with liquid.
The vodka must cover every solid completely. Anything poking above the surface is exposed to air, and that is where mold starts. Weighing the fruit down with a small glass weight or a clean lid insert keeps everything under the surface, or split the batch across two smaller jars rather than cramming one full.
Seal the lid, wipe any alcohol or juice from the threads, and label the jar with the date and what went in it. A label is the difference between a planned infusion and a jar of mystery liquid in a week.
Step 4: Let the Flavor Infuse
Store the jar somewhere cool, dark and out of direct sunlight, which means a pantry cupboard rather than a windowsill. Most home infusions need an ordinary room temperature, not a refrigerator, and a cold kitchen simply slows the process down.
Give the jar a shake once or twice a day. Shaking moves the surface of the solids through the vodka, which pulls flavor out faster than leaving it still. The bubbles that form on the fruit are how you know you actually did it.
Here is the timing window by ingredient type, which is more useful than a single number:
| Ingredient | Steep Time | Result |
|---|---|---|
| Delicate florals, herbs, cucumber | 1-2 days | Light, clean, fresh |
| Citrus peel, chillies, ginger | 3-5 days | Bright and aromatic |
| Fresh fruit and berries | 3-7 days | Sweet, rounded flavor |
| Spices, vanilla, coffee | 5-10 days | Deep, warm, lingering |
| Hard vegetables and nuts | 7-10 days | Savory, heavy bodied |
From day 3 on a fruit infusion, taste a teaspoon of vodka from the jar each morning. Once it tastes right, stop. Most batches go wrong from the other direction, sitting for three or four weeks until the fruit turns solventy and medicinal.
Step 5: Strain, Bottle, and Taste
Set a fine-mesh strainer over a clean bowl or bottle and pour slowly, pressing gently on the solids to catch what you can without squeezing so hard that sediment comes through. Run the liquid through a paper coffee filter for a second pass when clarity matters, which it does for anything served in a clear glass over ice.
Taste the finished vodka straight, then taste it diluted, either as a one-to-one with water or a small splash in a drink. Fruit infusions that taste sweet and heavy neat usually come into balance in a cocktail. If it is flat, that is usually not enough ingredient, and the fix is to strain the used fruit and repeat the infusion in the same vodka rather than adding more solids to a thin batch.
Bottle it in something clean, seal it, and store it upright in a cool dark cabinet. The strained fruit is worth keeping: the vodka has already pulled most of the flavor out, so berries and citrus peel go into smoothies, muffins or marinades, and spicy fruit ends up in a jar of pickled cherries.
Common Mistakes
Weak flavor. Not enough ingredient, or too much liquid left behind in the fruit at straining time. Measure by volume rather than by eye, use 1-2 cups of solids per 2-3 cups of vodka, and let the fruit sit in a strainer for five minutes before pressing it.
Bitter or harsh results. Almost always citrus pith, or herbs crushed too aggressively into powdery bits. Zest with a Microplane or the fine side of a grater, pick the leaves off rosemary and thyme rather than tearing them, and strain through a filter paper to catch the fine debris.
Cloudy vodka. Pectin and plant oils get released when fruit is crushed, and they are what make an infusion look milky. It is not spoilage and it is not dangerous, it just looks unappealing. Let the bottle stand for a day or two so the sediment settles, then pour it off the top through a coffee filter, leaving the cloudy last inch behind.
Flavor that overpowered everything else. You steeped too long or used too much chili and spice. Dilute the finished vodka with a little filtered water or extra neutral vodka, and pour it over ice rather than serving it neat.
Mold or off smells. Solids broke the surface, the jar was not sterilized, or produce was dirty. Any visible fuzz, fizzing, or a vinegar smell means the whole jar goes down the drain and the vodka is not salvageable. Airtight lids, washed produce and full submersion prevent nearly all of this.
Excess sweetness. Ripe fruit and sugar syrups over-extract fast. Add sugar in small amounts after the infusion is finished and tasted, rather than soaking it in sweetness from the start, which also keeps the liquid clear.
Pouring hot solids into warm vodka. Warm liquid extracts bitterness faster and is where the harsh, medicinal notes come from. Everything goes in cool.
One last shortcut for anyone short on patience: a sous-vide bath at 135-140°F infuses most fruits in about two hours with a noticeably cleaner result, and a blender or shaker with ice works for sturdy ingredients like pineapple, cucumber and jalapeno in under an hour. Both trade a little clarity for speed, and neither beats a week of patience for a delicate flavor.
Frequently Asked Questions
How long should I infuse vodka at home?
Most fruit infusions need 3-7 days, herbs and delicate florals 1-2 days, and spices or vanilla 5-10 days. Taste from day 3 and stop when the flavor tastes right to you, because you can always steep longer but you cannot take time back. If a batch is ready sooner, the vodka was likely too warm or the solids were cut too small.
What is the best fruit for flavored vodka?
Berries and citrus are the most forgiving for beginners because they are high in sugar and aroma, so a short steep already tastes good. Raspberries, blueberries, strawberries, cranberries and oranges are all reliable. Peaches, pears and mango also work well once sliced. Avoid fruit with very little flavor such as watermelon unless you are infusing the rind rather than the flesh.
Can I add sugar or simple syrup to vodka?
Yes, but add it after the infusion is strained and tasted, and start with a teaspoon per cup. Sugar dissolves slowly in cold liquid, so warm the vodka in a pan with the syrup, stir until clear, then cool and bottle. Adding syrup at the start of steeping keeps the finished vodka cloudy and makes the flavor feel heavier than the fruit alone would.
How much flavoring should I use for one bottle of vodka?
A standard 750ml bottle takes about 2 cups of prepared fruit, herbs or peel. A generous 3-4 cups works well for delicate ingredients like cucumber or herbs, while dense ingredients such as cinnamon sticks, vanilla pods or whole chillies need far less. The number that matters more is volume: everything must stay under the vodka.
Can flavored vodka be made without a special infusion bottle?
Yes, any clean glass jar with a tight screw lid works, and a mason jar is the standard for good reason. What matters is an airtight seal so nothing evaporates and no air gets in, plus enough width to get fruit in and out. Avoid plastic containers for long steeps, and skip jars you intend to put in the dishwasher after the infusion is finished.
How should homemade flavored vodka be stored?
Seal the strained vodka in clean bottles and keep it in a cool, dark cabinet away from sunlight. No refrigeration is needed during the multi-day steeping stage, though a cool kitchen simply slows extraction. Fruit and vegetable infusions keep a few months, while spice, vanilla and herb infusions hold their flavor far longer. Discard it if it smells fizzy, vinegary or shows any cloudiness that returns after filtering.
Conclusion
Learning how to make flavored vodka at home comes down to four habits: pick a clean 80-proof base, cut your flavorings small enough to work, keep every solid under the vodka, and taste daily from day 3 until it tastes right. Start with something forgiving like orange peel and rosemary or vanilla and cinnamon, and you will have a bottle worth keeping within the week.