To make no knead bread you mix flour, water, salt and a small amount of yeast, cover the bowl, and give it 8 to 18 hours at room temperature before baking in a covered pot at 450°F. Hands-on time is about five minutes per loaf. Everything after the stir is waiting, and that waiting is the entire technique.
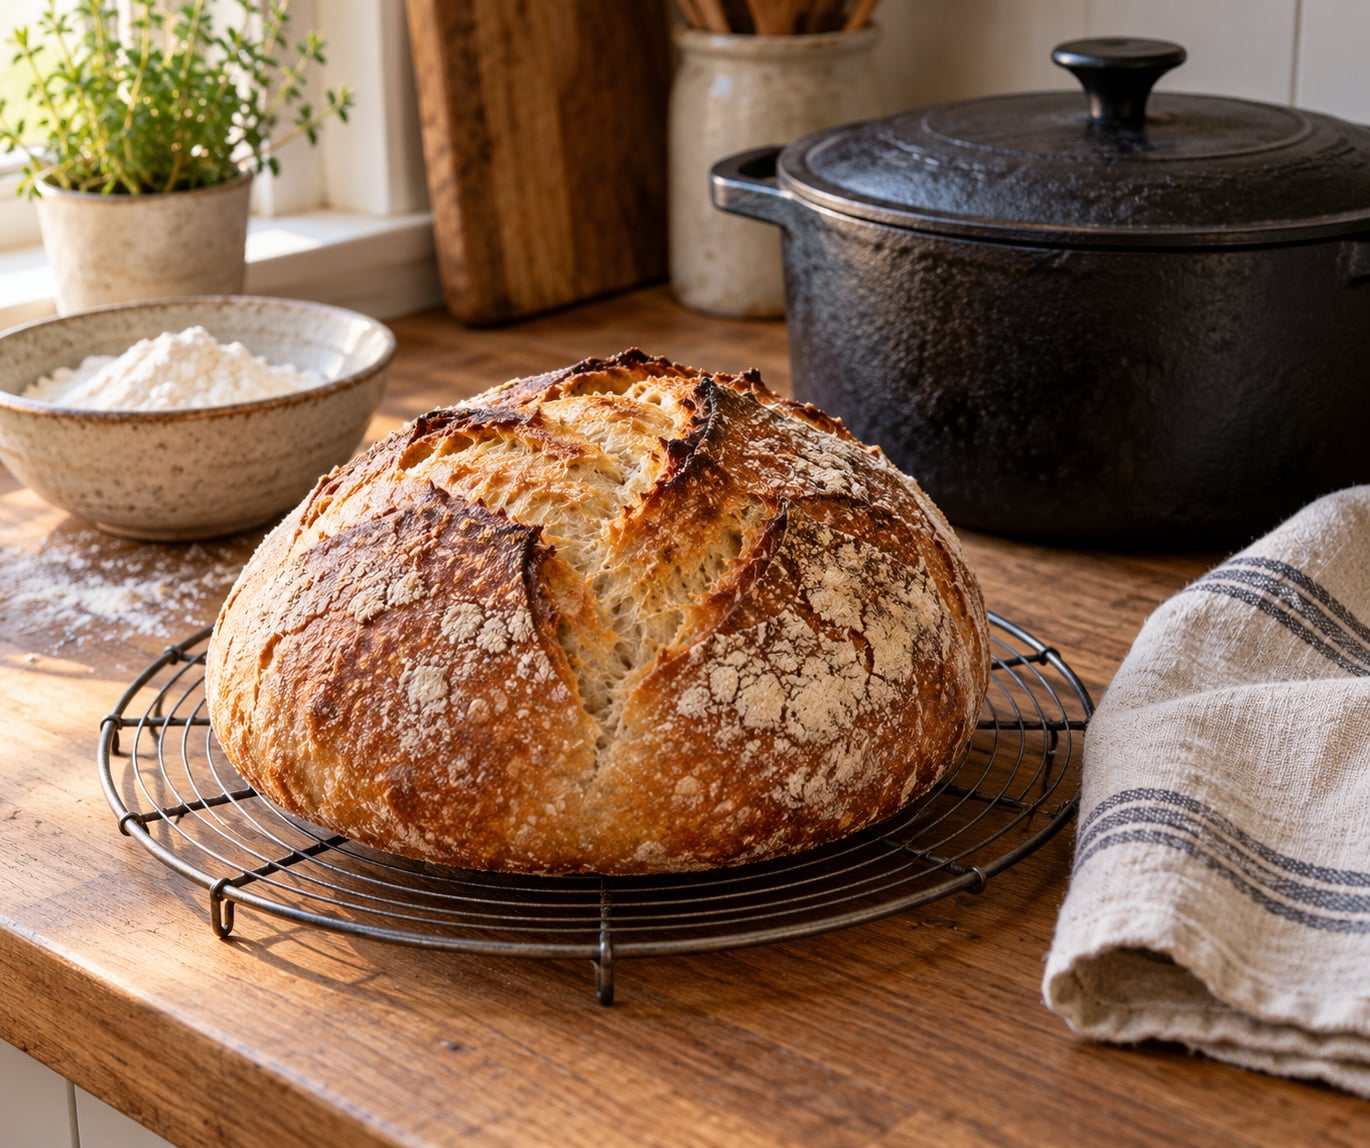
I bake this loaf roughly once a fortnight. The first time, the dough looked wrong — wetter than batter you’d ever trust with bread. The crust that came out of the oven was thick, blistered and deeply brown, and the crumb inside was open and chewy. That is the recipe working, not failing.
Table of Contents
- What You Need
- How to Make No Knead Bread Step by Step
- 1. Mix the Dough
- 2. Cover and Let the Dough Rise
- 3. Check the Fermentation and Degassing
- 4. Shape the Loaf
- 5. Let the Shaped Loaf Proof
- 6. Bake in a Hot Dutch Oven
- 7. Cool the Bread Fully
- Common Mistakes
- Frequently Asked Questions
- Do I need instant yeast or can I use active dry yeast?
- Can I make no knead bread with whole wheat flour?
- How do I know when the dough has risen enough?
- Why does my no knead bread come out flat?
- How should I store and freeze no knead bread?
- Conclusion
What You Need
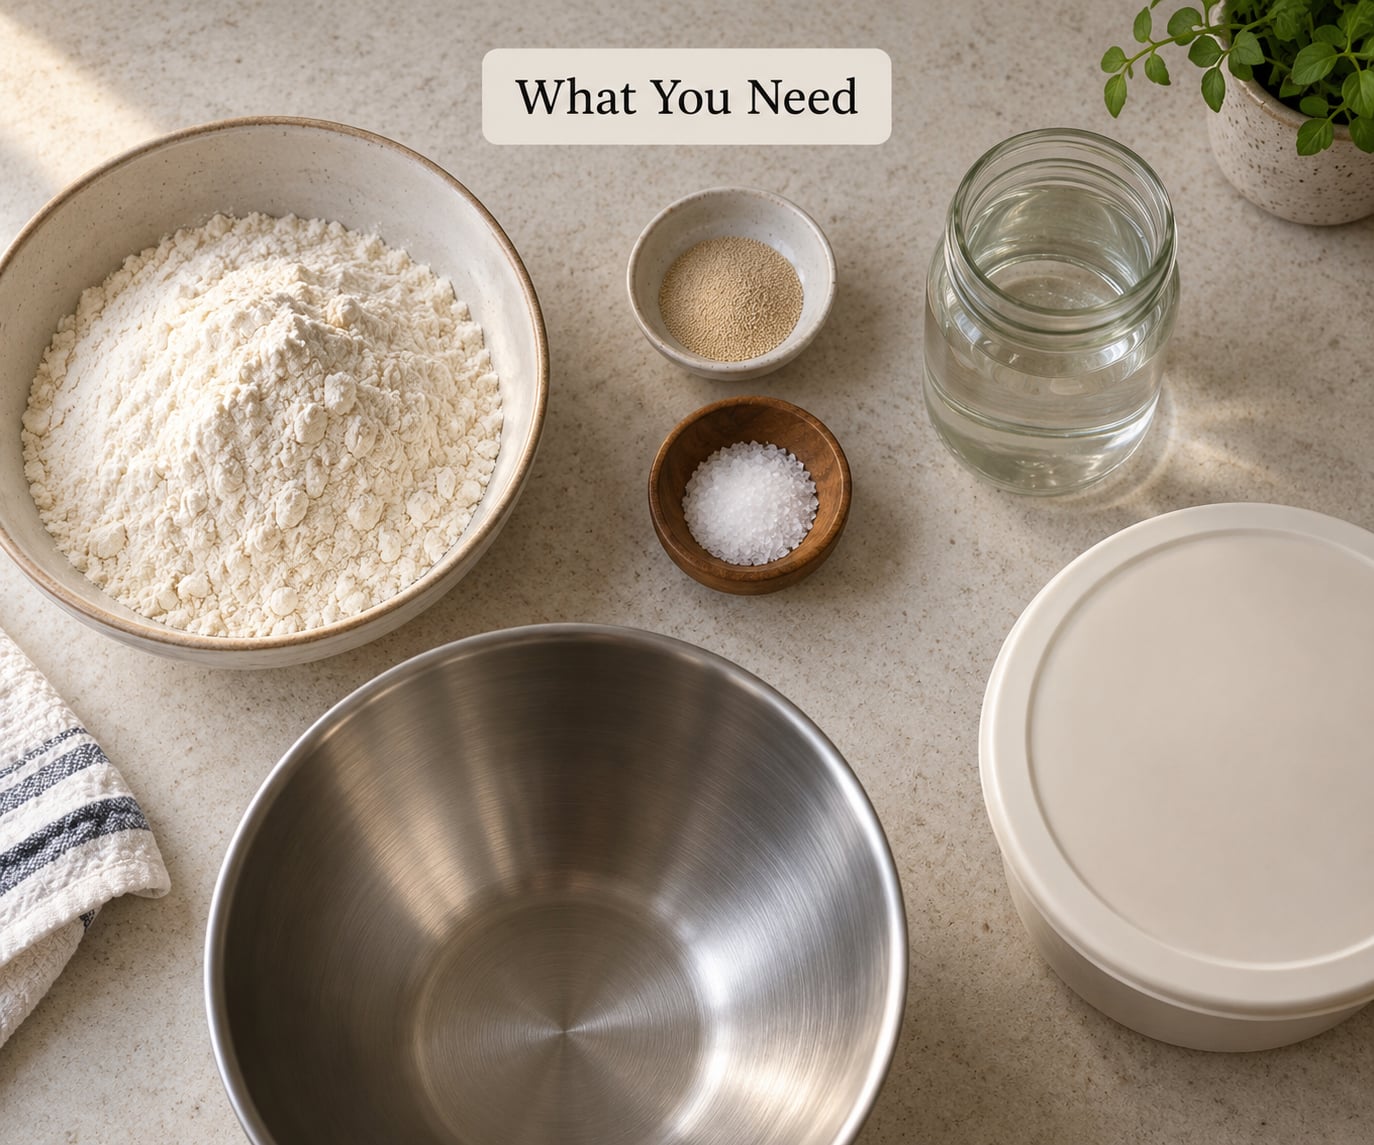
The classic loaf is four ingredients. Every measurement below is given by volume first and by weight second, because bread is built on ratios and flour density varies between bags.
- 3 cups (425 g) bread flour or all-purpose flour. Bread flour has 12 to 14% protein and gives a taller loaf with more chew. All-purpose flour works, sits closer to the center of the range, and is easier to find.
- 1 1/2 cups (355 ml / 12 fl oz) water, at room temperature or lukewarm, roughly 100°F (38°C). Stay under 115°F (46°C) — very hot water damages the yeast and the dough will not rise.
- 1/4 oz (7 g) instant yeast, about 2 teaspoons. Instant goes straight in; no blooming needed.
- 3/4 teaspoon (5 g) fine salt.
That is 425 g flour to 355 g water, or about 83% hydration. Hold that number in your head, because it is the single thing that explains every sticky-dough question you will ever have about this method.
Optional enrichments. A spoonful of olive oil, honey or maple syrup softens the crumb and slows the rise slightly. Buttermilk powder plus honey makes a slightly sweeter, faster loaf. Skip all of it the first time so you learn the base version.
Tools. A large bowl and a lid or cover that lets a little air through, a heavy pot with a lid that fits in your oven, a baking sheet or pizza stone for preheating, parchment paper, a wire cooling rack, and a sharp knife or bread lame for scoring. That is the whole kit.
The covered container matters more than it looks like. A tight seal slows gas loss so the dough keeps inflating overnight, and it keeps a skin from forming on the surface while the inside stays wet. A damp tea towel over a bowl also works, just expect a slightly slower rise.
How to Make No Knead Bread Step by Step
1. Mix the Dough
Stir the flour, salt and yeast together in the bowl first so the salt does not clump in wet spots. Add the water and mix with a spoon or your hand until no dry flour remains. The dough will look shaggy, loose and slightly lumpy. That is correct.
Do not knead it, and do not add flour because it looks sticky. This is where how to make no knead bread actually diverges from every other recipe you have followed. Kneading works by mechanically aligning gluten proteins into an ordered network. This method replaces that labor with time: over 12 or more hours, the wet, warm, slightly acidic dough lets gliadin and glutenin find each other on their own and build the same network, only more slowly and with a milder, more open structure.
Cover the bowl and move on.
2. Cover and Let the Dough Rise
In a kitchen around 70°F (21°C), expect 8 to 12 hours. In a cool kitchen near 60°F (16°C), give it 14 to 18 hours. Warm summer kitchens can double dough in 5 or 6 hours, so start checking earlier.
Clock time is the least reliable signal here. A cold kitchen slows fermentation more than any other variable, which is why the same recipe behaves differently in winter and on a hot July afternoon. If you bake in a cold room, either extend the rise by several hours or find a warmer spot in the house.
If you live above about 5,000 feet, make one adjustment: add an extra 1/4 cup (60 ml) of water. Thin air means faster evaporation and a stiffer dough, and the extra liquid keeps the crumb open.
3. Check the Fermentation and Degassing
The dough is ready when it has roughly doubled in volume, the surface is full of large bubbles, and it feels slack and aerated when you tilt the bowl. Look for bubbles along the edge where the dough meets the bowl wall — that is the clearest sign.
Turn it out onto a floured surface. Wet your hands and press the dough down firmly from the top to flatten it to about 1 inch thick, then fold it back into a ball and turn it once. This degassing step pushes out the biggest, weakest bubbles while leaving the dough aerated.
Skip it if the dough is already slack and bubbly, and you will get a flatter loaf with a more rustic, holey crumb. Most people do not need it.
4. Shape the Loaf
Use a bench scraper or the cup of your hand to drag the dough toward you, then fold it over itself. Turn it a quarter turn and repeat a few times until you feel tension across the top of the ball — that taut skin is what stops the loaf spreading into a puddle in the oven.
Tension, not a smooth surface, is the goal. A shaped no knead boule will still look lumpy. Let it rest seam-side down for a few minutes, then flip it so the seams sit underneath, where they hold the loaf’s shape instead of bursting through the crust.
Restate this because it is the most common self-sabotage in this method: do not dust extra flour into a wet dough while shaping. That extra flour makes the outside tough and chewy and the crumb denser. Use rice flour on the parchment if you need a grip surface, and flour the top only right before the dough goes into the oven.
5. Let the Shaped Loaf Proof
Set the shaped boule on a floured sheet pan, cover it so nothing touches the top, and let it rise until it feels puffy and has grown by roughly half its size. That is usually 1 to 3 hours at room temperature.
Use the poke test: press a floured finger about half an inch into the side of the loaf. If the dent springs back quickly, it needs more time. If it springs back slowly and leaves a soft dent, it is ready for the oven. If the dough deflates or the dent stays, it is overproofed and will bake flat.
For a slower, more flavorful proof, refrigerate the shaped loaf for 8 to 18 hours, seam-side down on a floured plate or directly on the parchment.
6. Bake in a Hot Dutch Oven
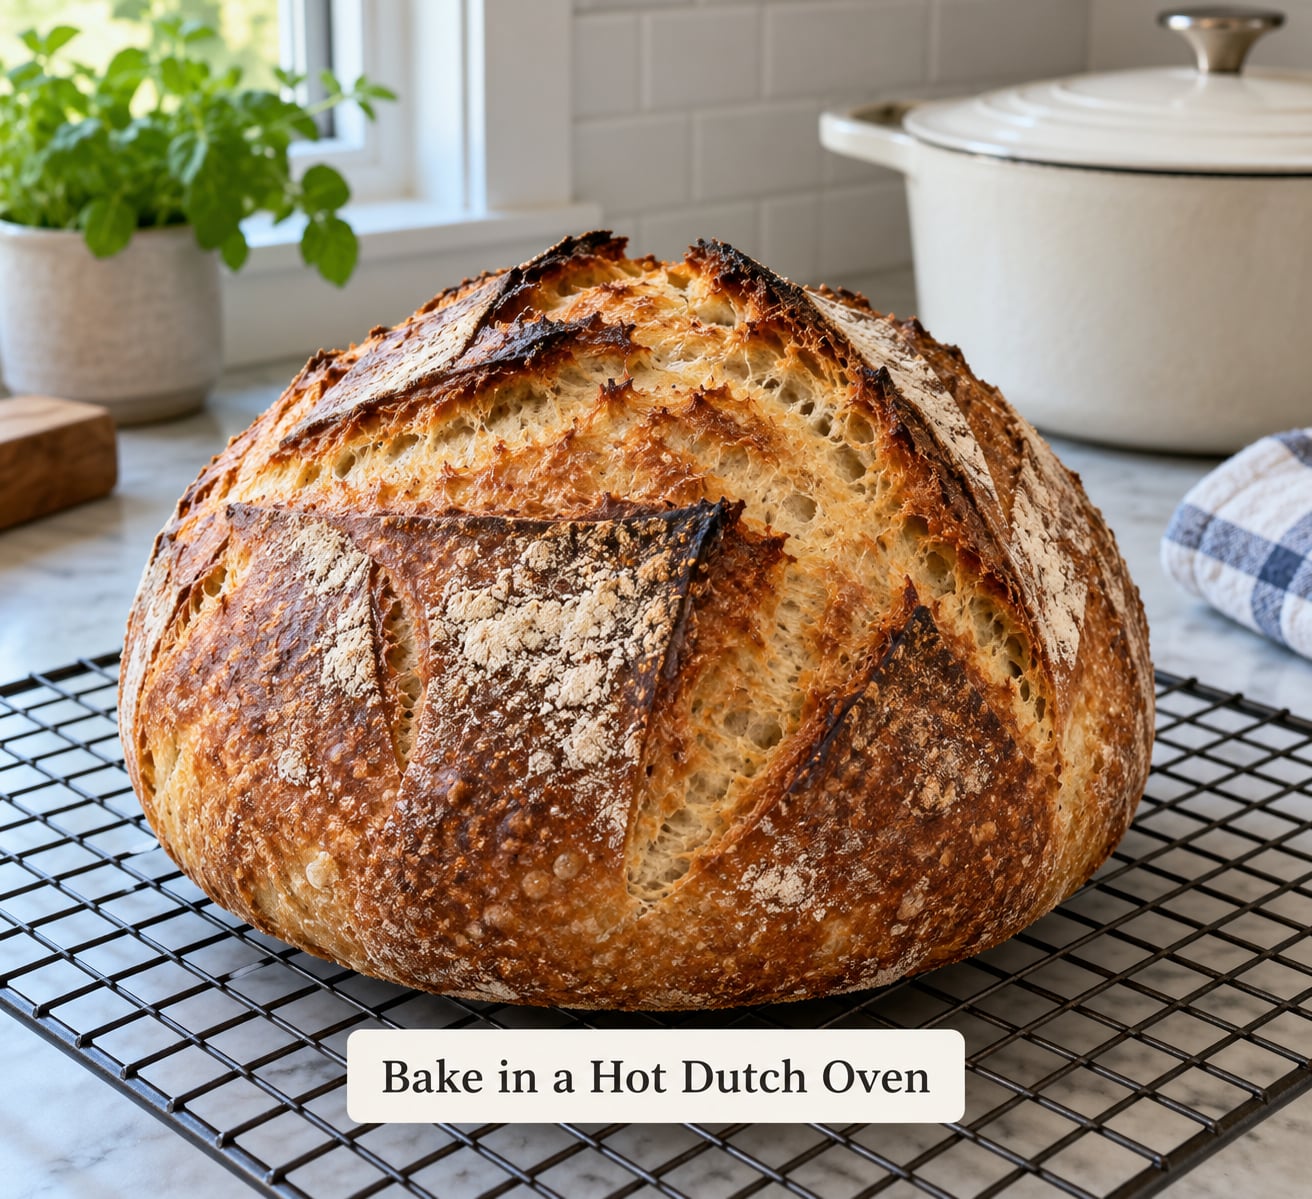
Put an empty heavy pot with its lid into the oven and set it to 450°F (230°C). Preheat for a full 30 minutes — a pot that starts cold drops the oven temperature and slows the crust before it colors.
While the pot heats, score the loaf once, about half an inch deep, in a long slash across the top or a cross. Then lower the dough into the hot pot as parchment paper or a floured silicone sling, put the lid on, and bake for 30 minutes.
The covered phase traps steam from the dough itself. That moisture keeps the crust flexible while the loaf expands, so you get oven spring and a tender crumb, and the top stays pale and soft long enough to blister rather than burn.
Take the lid off, drop the oven to 425°F (220°C), and bake 15 to 20 minutes more until the crust is deep mahogany. Aim for an internal temperature of 195°F (91°C) at minimum, 205°F (96°C) for a well-set crumb — this wet dough holds a lot of moisture, and it finishes setting as the loaf cools.
No Dutch oven? A small casserole dish or cloche with a lid works at the same times. An inverted sheet pan over the loaf traps less steam, so check it at 20 minutes uncovered and give it up to 25 minutes covered, plus 20 uncovered.
7. Cool the Bread Fully
Turn the loaf onto a wire rack and wait at least 1 hour before cutting, longer for a large round. The crumb is still setting as it cools, and a knife through a warm loaf feels gummy because the starches have not finished firming up.
Cutting early is the reason so many first loaves seem underdone. Wait it out. If you want to eat a slice sooner, cut the heel end — the heel has already set the most.
Common Mistakes
Nearly every no knead failure traces back to one of six things. Work down the list until you find the symptom you recognize.
- Flat, squat loaf. Usually overproofed, over-hydrated, or handled without surface tension. Shrink the yeast to 1/8 oz, shorten the rise by 3 to 4 hours, and shape with firmer tension before the final proof.
- Dense, tight crumb. Under-fermented, often a cold kitchen, or extra flour worked in while shaping. Give it 2 to 4 more hours at room temperature next time, and never dust flour into the dough to handle it.
- Gummy or pale bottom. Baked without trapped steam. Use a preheated lidded pot, add a cup of water to a pan below for the last 20 minutes, and cool the loaf a full hour.
- Pale, flat crust. Oven not fully preheated, or the lid left on too long. Preheat the empty pot 30 minutes, then uncover for the last 15 to 20 minutes.
- Overproofed loaf with a sour smell and collapsed sides. The rise ran well past doubling, often from a very warm kitchen. Bake within a few hours of shaping, or refrigerate the shaped loaf for an overnight proof.
- Burst seam or blowout. Scored too deep, or scored while the dough was underproofed and tight-skinned. Score about half an inch deep on a well-risen loaf, and let the boule relax after shaping so the skin relaxes with it.
A few habits that help more than anything else. Weigh your flour if you own a scale; volume measures are the hidden source of a surprising number of failures. Buy yeast that is fresh and dated — expired dry yeast is the quiet reason doughs never rise. And write down your kitchen temperature next to your rise time each bake, because after two loaves you will have a personal rule that beats any published recipe.
Frequently Asked Questions
Do I need instant yeast or can I use active dry yeast?
Active dry yeast works fine, with one adjustment. Pour your 355 ml of water into the bowl first, sprinkle the 7 g of active dry yeast over it, and wait 5 to 10 minutes until the surface turns foamy. If it does not foam, the yeast is dead or the water is too hot, so start over. Instant yeast needs no activation and can go straight into the flour. Use the same 7 g either way, and reduce active dry yeast by a third if your kitchen is very warm.
Can I make no knead bread with whole wheat flour?
You can, but start with a blend. Replace no more than half the flour with whole wheat, so 2 cups bread flour plus 2 cups whole wheat. Whole wheat absorbs more liquid and bran cuts into gluten strands, so a 100 percent whole wheat version needs 2 to 3 tablespoons extra water and a longer rise. The result is denser, nuttier and faster to stale, which is why sandwich loaves and sop-up rounds are a better use for it than a tall boule.
How do I know when the dough has risen enough?
Judge by the dough, not the clock. It is ready when it has roughly doubled in volume, the surface is covered in large bubbles, and it looks domed and slack in the bowl. Tilt the bowl and you should see bubbles clinging to the sides. If it has only crept up 20 percent with few bubbles, it needs more hours. If it has tripled and smells sharp and boozy, it has gone past the point you want.
Why does my no knead bread come out flat?
Flat loaves almost always mean one of three things. The dough fermented too long, the yeast dose is too high for a warm kitchen, or the shaping never built surface tension. Reduce yeast to 1/8 oz, pull the rise 3 to 4 hours shorter, and shape with firmer tension so the top of the ball feels taut. Also check that the dough was properly floured before it touched the pan, because a sticky loaf spreads.
How should I store and freeze no knead bread?
Keep it cut-side down on a board or in a paper bag and eat it within two days; the crust softens in a sealed plastic bag but the crumb stays moist. For longer storage, slice the cooled loaf, lay the slices in a single layer, freeze them flat, then bag them for up to three months. Refresh a slice at 350°F (175°C) for 5 to 8 minutes, or 10 to 12 minutes from frozen, until the crust crackles again.
Conclusion
The whole method comes down to three verbs: mix, cover, wait. Stir flour, water, salt and yeast until it looks shaggy, put a cover on, and stop touching it until it has roughly doubled and is covered in bubbles.
Everything after that is a cue, not a calendar. Doubled and bubbly means the mix time is done. Taut skin means shaping is done. A slow springback from the poke means it is ready to bake. 195°F inside and a deep mahogany crust mean it is finished, and an hour on the rack means it is safe to slice.
Write your kitchen temperature and your rise time on the back of the recipe card after this loaf. Your third bake will be better than your first because of that note, not because of anything new you learned. If you want to make how to make no knead bread part of your week rather than a weekend project, remember that the dough will happily wait three days in the fridge, and that version tastes the best of all.