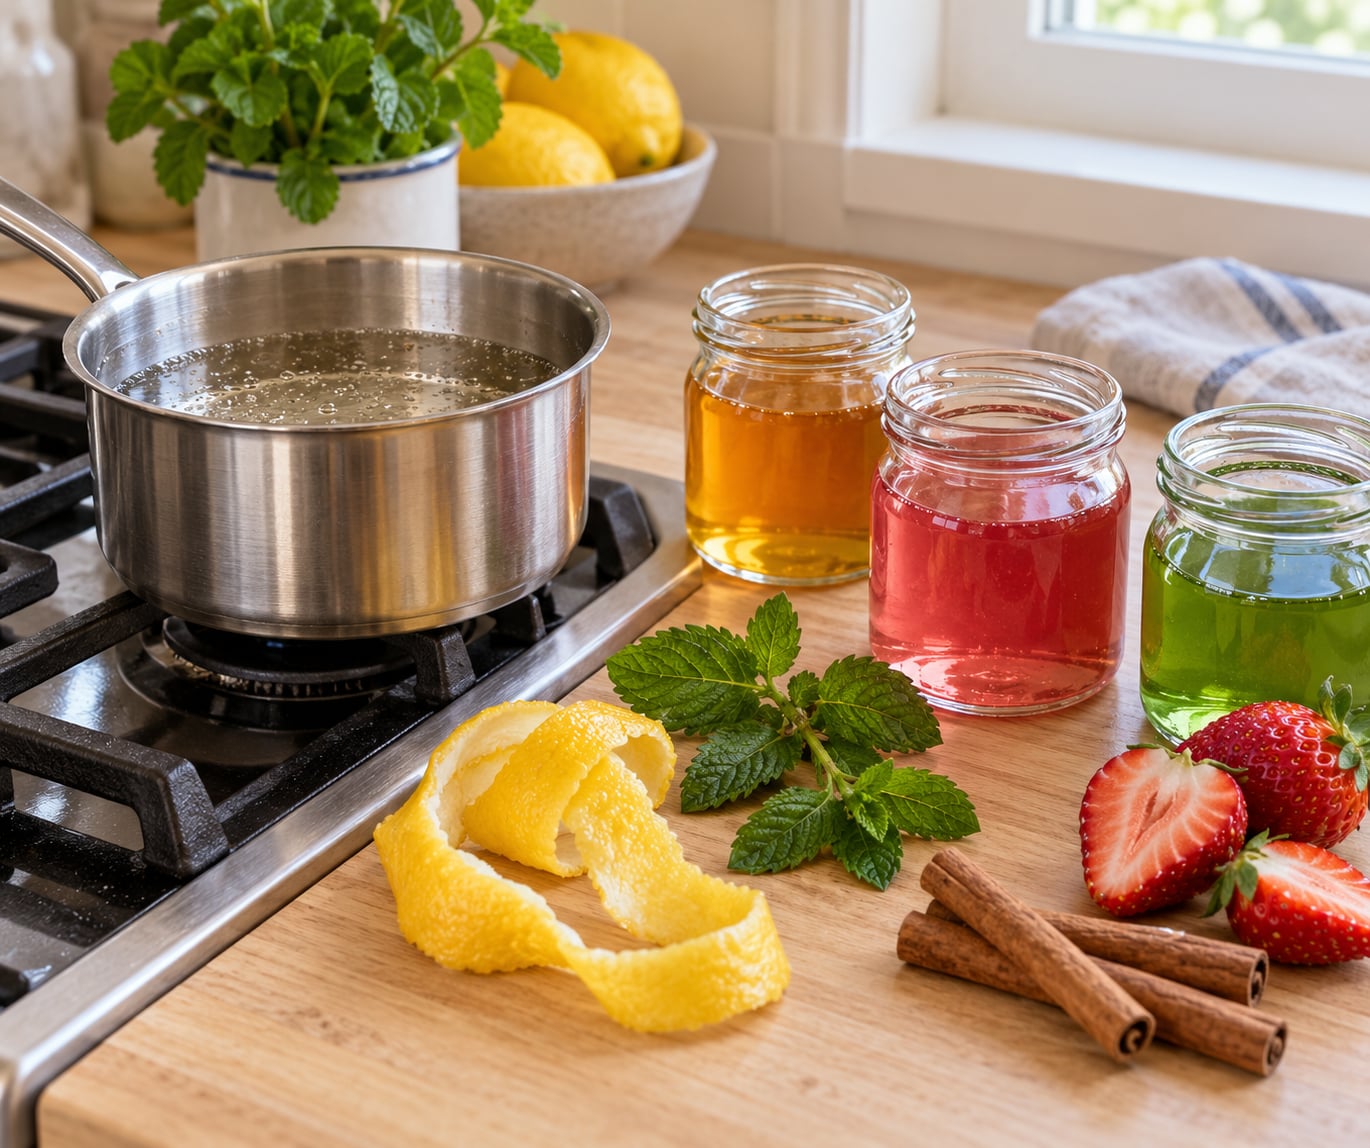
Simple syrup is equal parts sugar and water, stirred over low heat until every crystal dissolves — a 1:1 ratio, then cooled and stored. Learning how to make simple syrup and flavor it takes about 15 minutes of active work plus cooling time, and the whole thing is about as difficult as stirring powder into warm water. Once the base is right, the same pot gives you mint, strawberry, cinnamon, lavender, and coffee syrups.
Cold drinks are the reason this syrup exists. Sugar dumped into iced tea or a shaken cocktail sinks to the bottom and leaves a gritty layer at the base of the glass, because cold liquid barely dissolves crystals. A pre-dissolved syrup pours clear all the way down.
It is also the easiest place to put overripe fruit. A bag of softening strawberries or a handful of lemon peels that would otherwise turn to compost becomes a flavored syrup in the same pot, one step ahead of the trash.
Here is the base method, the five flavoring routes that work best with it, and how to fix the two things that go wrong most often: sugar that crystallizes in the fridge and herbs that turn bitter.
Table of Contents
- What You Need
- Optional flavorings for one small batch
- How to Make Simple Syrup: Step-by-Step
- How to tell the syrup is ready
- Sugar-to-water ratios at a glance
- The cold, no-heat method
- How to Store Simple Syrup and How Long It Lasts
- How to Make Simple Syrup and Flavor It
- Flavor Variations and Adjustments
- Common Mistakes When Making Simple Syrup
- How to fix crystallized syrup
- How to know it has gone bad
- Ways to Use Your Homemade Simple Syrup
- Frequently Asked Questions
- What is the best sugar-to-water ratio for simple syrup?
- Can I flavor simple syrup without simmering it?
- How long does homemade simple syrup last in the refrigerator?
- Should I strain fruit or herb syrup?
- Can I use simple syrup in coffee, tea, and desserts?
- Why is my simple syrup crystallizing or tasting too sweet?
What You Need
The base recipe needs two ingredients and about ten minutes. Everything else is optional flavoring.
- 1 cup (about 200 g) granulated white sugar
- 1 cup (240 ml) water
- A small saucepan with a heavy bottom
- A wooden spoon or silicone spatula
- A fine-mesh strainer
- A clean glass jar with a tight lid
- Masking tape or a label maker for dating the jar
Granulated white sugar dissolves fastest and stays neutral in flavor. Superfine works too, and it dissolves a little quicker because the crystals are smaller.
Measure the sugar and water separately. Sugar has airspace between the granules, so a cup filled with sugar and then topped with water gives you noticeably less water than a full cup of water, and your syrup ends up heavy and syrupy instead of clean. Fill the sugar cup first, level it, empty it into the pan, then measure the water.
Optional flavorings for one small batch
Add these to the pan with the base, or steep them in the finished syrup. Quantities are for the 1:1 cup-to-cup batch above.
- Fresh fruit: 1 to 2 cups, halved or chopped — strawberries, raspberries, pineapple, rhubarb
- Citrus: peel from 3 to 4 lemons, limes, oranges, or grapefruit, pith scraped off
- Fresh herbs: 1 packed cup of leaves — mint, basil, rosemary, thyme, tarragon
- Dried spices: 4 to 6 whole pieces — cinnamon sticks, star anise, cardamom pods, cloves
- Coffee: 1 to 2 tablespoons of coarsely ground coffee, or one shot of espresso cooled to room temperature
- Vanilla: 1 split pod, or 1 to 2 teaspoons of extract stirred in off the heat
Special equipment is not the point here. A clean saucepan, a measuring cup, a strainer, and an airtight container do everything the job requires.
How to Make Simple Syrup: Step-by-Step
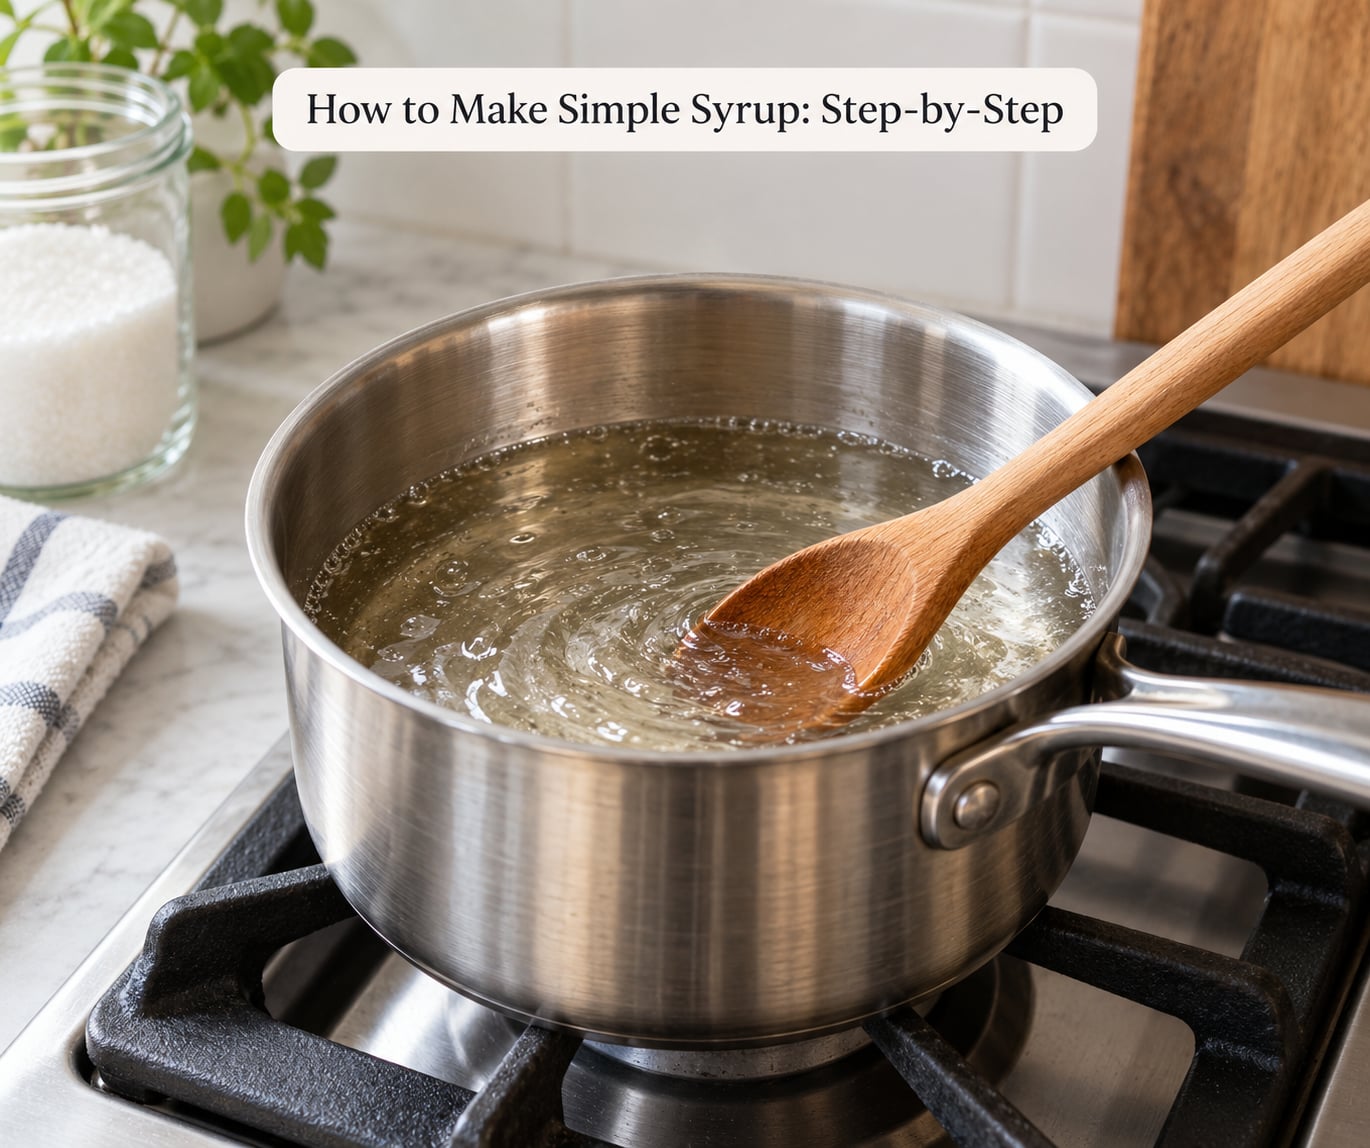
This is the method that works every time, whether you are making plain syrup or adding fruit.
- Combine. Put 1 cup of sugar and 1 cup of water in the saucepan. Give it a quick stir so the sugar settles into the water instead of clumping.
- Heat gently. Set it over medium-low heat. You want steam and the first lazy bubbles around the edge of the pan, not a rolling boil.
- Stir until clear. Stir every 30 seconds or so. The liquid turns from cloudy to transparent as the crystals dissolve, usually in 6 to 8 minutes.
- Add flavorings on schedule. Whole spices and coffee go in with the sugar. Fruit and herbs go in during step 5, timed to the method you are using.
- Stop before it boils. Once the sugar is gone, pull the pan off the heat. A hard boil cooks off water and pulls the syrup toward caramel, and it is very hard to walk that back.
- Cool. Let the pan sit on the burner or a trivet for 20 to 30 minutes. Hot syrup poured into a jar condenses against the lid and can seed mold in the headspace.
- Strain if you added solids. Pour through a fine-mesh strainer for a clear syrup, or leave the fruit in for a rustic, textured version. Press the solids gently; do not squeeze them or you get pulp.
- Store. Pour into a clean jar, seal it, and date it with masking tape.
How to tell the syrup is ready
Three signals line up: the liquid is fully transparent, the sugar granules at the bottom of the pan are gone, and it coats the back of a spoon rather than running off clean like water. If you lift a spoon and can see a thin, continuous film before it drips, the dissolve is finished.
One cup of finished syrup is roughly 12 to 15 two-ounce cocktails, or about 20 small servings of lemonade and iced tea. A 10 ml measure — the amount a recipe sheet usually calls for — is about two teaspoons.
Sugar-to-water ratios at a glance
| Ratio | Sugar to water | Result | Best for |
|---|---|---|---|
| 1:1 simple syrup | 1 cup sugar, 1 cup water | Light, clean, medium viscosity | Everyday cocktails, iced tea, cold brew |
| 2:1 rich simple | 2 cups sugar, 1 cup water | Thick, syrupy, noticeably sweeter | Cold brew, lattes, baking, keeps far longer |
| 1:2 thin syrup | 1 cup sugar, 2 cups water | Light and fluid | Spritzes, sorrel drinks, pouring over ice |
| Honey syrup | 3 parts honey, 2 parts water | Floral, rounded sweetness | Hot drinks, autumn cocktails, tea |
| Maple or agave | 1 part syrup, 2 parts water | Pourable, faintly flavored | Hot coffee, oatmeal, glazes |
A 2:1 rich simple syrup uses twice the sugar, so it is denser, sweeter, and far more stable in storage. When you swap in honey, maple, or agave, add water and heat them together — those sugars do not dissolve into plain water the way granulated sugar does.
Brown sugar works, with one caveat: it contains molasses, so the syrup comes out darker and more caramel-flavored, and the sediment settles at the bottom. Shake the jar before pouring, or make a second pass through a strainer. Do not expect a clear white syrup from it.
The cold, no-heat method
Sugar does not need heat to dissolve. It needs agitation and time. For a small batch in a warm kitchen, or for flavoring a syrup with something delicate like lavender, the cold route works well.
- Combine equal parts sugar and water in a jar and screw the lid on loosely.
- Shake for 20 to 30 seconds, then every so often over the next 30 to 60 minutes until the liquid is clear.
- Wait. Full dissolution takes 30 to 60 minutes at room temperature, faster in warm water and slower in a cold kitchen. Warm the sealed jar in a mug of hot water to speed it up without cooking the mixture.
The cold method gives you a thinner, less cooked-tasting syrup with brighter fruit and floral notes. The trade-off is that it takes longer and it does not concentrate, so the flavor sits closer to fresh fruit rather than cooked fruit.
How to Store Simple Syrup and How Long It Lasts
Sugar syrup is one of the more forgiving things in a refrigerator because the high sugar concentration leaves very little room for microbes to grow. It still needs to be sealed, dated, and refrigerated.
| Syrup type | In the fridge | In the freezer |
|---|---|---|
| Plain 1:1 simple syrup | 2 to 4 weeks | 6 months |
| Rich 2:1 simple syrup | 3 to 6 months | 6 months |
| Fruit syrup, fresh fruit | 5 to 7 days | 3 months |
| Herb or citrus syrup | 1 to 2 weeks | 3 months |
| Extract or vanilla syrup | 3 to 4 weeks | 6 months |
Two to four weeks is the realistic window for a clean-bottled 1:1 batch, and that is what most home cooks in bar and food-science communities report. Fresh fruit syrups are the exception, because the fruit brings its own water and enzymes with it.
Never seal a warm jar. Condensation forms under a tight lid on hot syrup and pools in the headspace, which is exactly where mold likes to start. Let the syrup cool on the counter with the lid off, then seal and refrigerate.
Freezing works well and is the easiest way to keep fruit syrups past their short fridge window. Pour the cooled syrup into an ice cube tray, freeze until solid, then move the cubes to a bag. One cube is roughly one ounce, about two tablespoons.
How to Make Simple Syrup and Flavor It
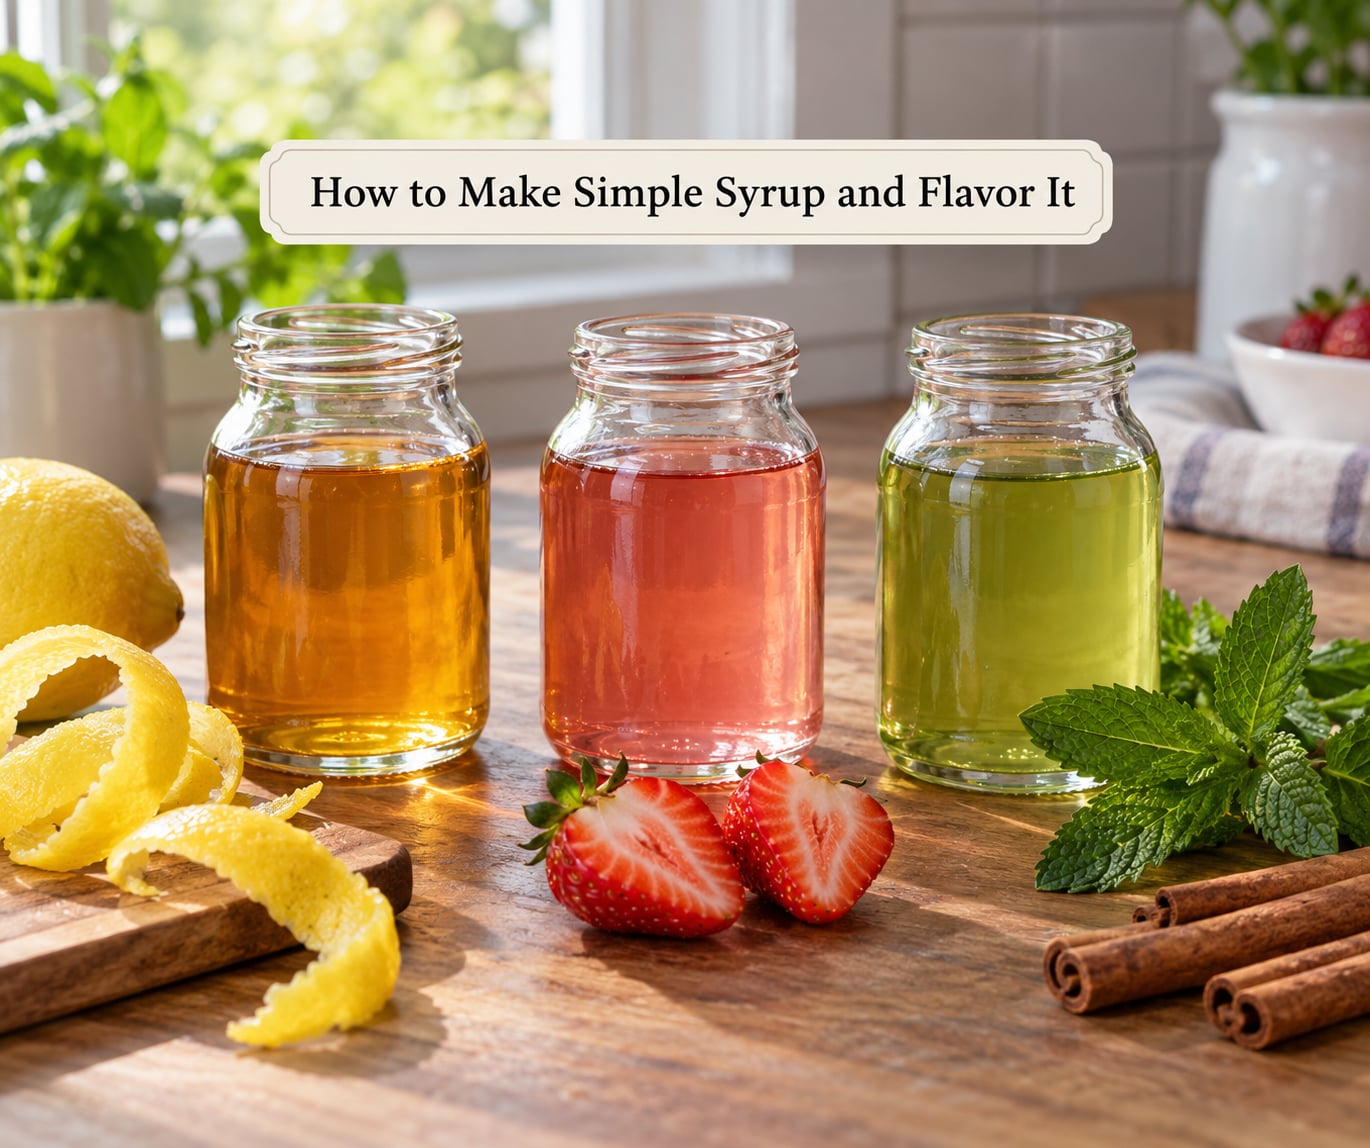
Every flavored syrup starts from the same 1:1 base. What changes is when the flavoring goes in, how long it stays, and whether you heat it or not. Use this matrix to pick the route for whatever is in your fridge.
| Ingredient | Best method | Time | Expected strength |
|---|---|---|---|
| Fresh berries, pineapple | Simmer in the base | 15 to 20 min | Medium, cooked-jammy |
| Overripe fruit | Macerate, then simmer | 30 min + 10 min | Deep and jammy |
| Citrus peel | Simmer, no juice | 10 to 15 min | Bright and fragrant |
| Fresh herbs, delicate (mint, basil, tarragon) | Cold steep | 30 to 60 min | Bright and green |
| Woody herbs (rosemary, thyme) | Steep in warm syrup | 20 to 30 min | Deep and piney |
| Dried spices, whole | Simmer in the base | 20 to 30 min | Rounded and warm |
| Ground spice | Stir in off heat | Instant | Sharp and volatile |
| Whole spices, long steep | Steep off heat | 1 to 4 hr | Strong, clean spice |
| Coffee grounds | Steep off heat | 30 min | Roasted and bitter |
| Espresso or coffee concentrate | Stir in cold | Instant | Strong, no heat |
| Vanilla extract, citrus oil | Stir in off heat | Instant | Concentrated aroma |
1. Fresh fruit — simmer for 15 to 20 minutes. Add 1 to 2 cups of halved strawberries, raspberries, or pineapple when the sugar dissolves and keep the pan at a gentle simmer until the fruit softens and the syrup smells like fruit rather than sugar. Strain out the solids for a clear syrup. The smell should shift from cooked sugar to ripe fruit as it goes.
2. Citrus peel — simmer for 10 to 15 minutes. Add the peel of three or four lemons at the start of the simmer and keep the pith off, since it turns bitter. Take the pan off after fifteen minutes and let the peel steep in the warm syrup for another fifteen off the heat. The finished syrup should smell clean and sharp, not sour, because the juice goes in after cooling.
3. Fresh herbs — cold steep for 30 to 60 minutes. Make the plain syrup first, cool it to warm, drop in a packed cup of mint, basil, rosemary, or tarragon, and let it stand. Covered at room temperature for an hour, or refrigerated overnight. Delicate herbs like mint and tarragon keep their character this way; simmering them dulls them. You want the syrup to smell like the herb, with no color change beyond a faint green or amber tint.
4. Warm spices — simmer for 20 to 30 minutes. Put four cinnamon sticks, three star anise, six cloves, or a few cardamom pods in with the sugar and water and hold a gentle simmer. Whole spices are forgiving because their flavor comes out slowly. Ground spice goes in off the heat, because heat drives off the volatile oils that make it smell like spice at all.
5. Coffee and vanilla — steep off heat, then finish cold. For coffee syrup, add two tablespoons of coarsely ground coffee to the warm syrup, steep 30 minutes, and strain through a paper filter or a fine mesh lined with a coffee filter. Stir one to two teaspoons of vanilla extract into the cooled syrup at the end rather than cooking it, since heat flattens vanilla into a woody note. If you have espresso concentrate or a cold brew concentrate, skip the steeping entirely and stir it into the finished syrup cold.
For each finished syrup, pour off the solids, cool fully, seal, and refrigerate. Fresh fruit and citrus syrups keep the shortest; spiced and coffee syrups keep the longest.
Flavor Variations and Adjustments
Once the base is down, the syrup becomes a canvas. A few adjustments cover most of what you will want.
Lighter fruit syrup. Use frozen fruit instead of fresh. Frozen berries release less water into the pan during the simmer, so you hit your flavor without diluting the ratio, and the result tastes brighter. If your syrup still tastes thin, let it simmer uncovered for five extra minutes so some water leaves.
Balanced herb syrup. Make the base with lemon peel instead of plain, then steep the herb. Citrus peel sharpens herbs that read flat on their own, and basil in particular comes alive with lemon. A tablespoon of lemon juice stirred into a cooled herb syrup does the same thing.
Rich vanilla-coffee syrup. Cook a 2:1 ratio rather than 1:1, steep two tablespoons of coffee in the hot syrup, and finish with vanilla extract off the heat. The double strength dissolves more readily in cold milk and iced coffee, where a thin 1:1 syrup can water down the drink instead of sweetening it.
Spicy syrup. Simmer the base with cinnamon, star anise, and cloves for 25 minutes, then let the spices sit in the finished syrup for an hour before straining. The extended steep gives depth without the sharpness of a 30-minute simmer.
Reduce the sweetness. Make the base with two parts water to one part sugar, or use a non-sugar sweetener such as monk fruit or allulose in place of some or all of the sugar. Syrup made with these behaves differently, so add them to the warm base rather than trying to dissolve them cold. They do not preserve the syrup the way sugar does, so refrigerate anything made with them and use it within a week.
Strengthen the flavor. Double the flavoring rather than extending the cook time. Two cups of berries in a 1:1 batch gives more fruit character than one cup simmering twice as long, and it avoids the cooked, syrupy flavor that over-long simmering produces.
Combine infusions. Two light flavors beat one heavy one. Lemon plus lavender, strawberry plus basil, or rosemary plus grapefruit peel all work. Blend them at the end rather than layering two full-strength batches, which usually tips into soap or perfume territory.
Label it. Write the flavor, the date, and the ratio on masking tape. Fruit syrups look nearly identical two weeks apart, and a dated jar tells you at a glance whether it is still worth opening.
Common Mistakes When Making Simple Syrup
Boiling too hard. A rolling boil evaporates water, which raises the sugar concentration without your noticing, and long boiling pushes the syrup toward caramel. Keep the heat low enough that you see steam and occasional bubbles at the pan edge. If you boil by accident, add a splash of water and take it off the heat.
Too little water. This is the most common failure, and it usually traces back to measuring sugar and water in the same cup. Granulated sugar has air between the crystals, so a filled cup of sugar topped with water is short on water by an ounce or two. Measure the sugar first, empty it, then measure the water.
Too much water. A 1:2 ratio is a thin syrup that pours like water. It works for spritzes but dilutes cocktails and never quite feels right in a drink. Stick to 1:1 unless you deliberately want thin.
Adding delicate herbs too early. Mint, basil, tarragon, and cilantro lose their top notes within minutes of simmering. Anything green or leafy gets a hot base and then a cold steep, not a hot cook.
Steeping fruit for too little time. Five minutes in a barely-warm pan gives you flavored water with fruit sitting in it. Fruit needs a real simmer for 15 to 20 minutes to release its flavor into the syrup, and it needs enough of its own mass for the flavor to have something to hang on to.
Over-reducing. Boiling the syrup down to a thicker consistency concentrates the flavors and raises the risk of bitterness and crystallization. If you want a thicker syrup, double the sugar at the start instead of boiling longer.
Storing warm syrup. Pouring hot syrup into a sealed jar and refrigerating it traps condensation in the headspace. Let the jar cool uncovered first, every time.
Confusing simple syrup with honey or caramel. Simple syrup is a neutral, unsweetened-by-anything base. Honey syrup, maple, and caramel are cooked sugar products with their own flavor, thicker body, and longer shelf life. Nothing is wrong with using them, but they are not substitutes in a drink where you want the added ingredient to be the only flavor.
How to fix crystallized syrup
Crystallization happens when a syrup holds more dissolved sugar than it can comfortably keep in solution and something gives the sugar a rough surface to grab onto. In practice that something is usually a scratch, a bubble, or a bit of dried sugar on the inside of the jar. Stone fruit syrups do it more often than plain.
- Warm it. Heat the jar in a bowl of hot water or pour the syrup into a pan over low heat until the crystals disappear.
- Add a splash of water — a teaspoon per cup is usually enough — and stir until the syrup runs freely again. A teaspoon of lemon juice works too, since the acid helps keep the sugar in solution.
- Strain it through a fine mesh if grit remains, then pour into a clean jar and refrigerate.
Prevention is easier than the fix. Keep syrups slightly under the concentration that makes them uncomfortably sweet, and pour into smooth containers rather than scratched mason jars, which is a recurring complaint from home syrup makers who lose batches to crystallization.
How to know it has gone bad
Turn the bottle. Cloudiness, a film on the surface, visible fuzz at the lid, or a fizzy, faintly alcoholic smell all mean the batch is contaminated. Discard it rather than trying to boil it back. A jar of syrup that has been sitting sealed in a pantry for three years is not something to taste-test. The sugar may still be chemically fine, but the risk is not worth a spoonful.
Two to four weeks in the refrigerator is the realistic window for a clean 1:1 batch. Use a rich 2:1 syrup if you want something that stays useful for months, and use the freezer for fresh fruit syrups that would otherwise expire in a week.
Ways to Use Your Homemade Simple Syrup
Simple syrup is not just a cocktail ingredient, even though that is where it usually starts. Anywhere you use sugar in a cold drink, syrup does the job better and clearer.
- Iced tea and cold brew coffee. One or two ounces per glass dissolves instantly and holds up in a full cup of ice, which granulated sugar never manages.
- Lattes and iced coffee. Use a 2:1 syrup so it mixes into cold milk without pooling on the bottom.
- Lemonade and shrub sodas. Combine one part syrup with three to four parts soda water and a squeeze of citrus.
- Homemade soda. A 1:2 thin syrup carbonates well in a seltzer bottle. Leave headspace, and chill the syrup before it goes in.
- Cake layers. Warm a 1:1 syrup and brush it over a cooled sponge cake to keep it moist.
- Pancakes, waffles, and French toast. Thicken a small amount into a pourable glaze rather than a thin drizzle.
- Ice cream, yogurt, and granola. A tablespoon stirred through warm yogurt or drizzled over frozen desserts behaves like a flavoring syrup from a coffee bar.
- Savory glazes. Thyme, rosemary, or black pepper syrup brushed on roasted carrots, tofu, or ham adds sweetness without a candy glaze.
Flavored versions work in the same places. A lavender syrup in lemonade, a rosemary syrup over roast vegetables, or a cinnamon syrup brushed on a cake all start from the same cup of sugar and water. Make one small batch and use it for iced coffee every morning, and the cost works out to almost nothing per glass compared with a bottled version.
Frequently Asked Questions
What is the best sugar-to-water ratio for simple syrup?
One to one is the standard: 1 cup of granulated sugar to 1 cup of water by volume, or 200 g to 200 ml by weight. Measure them separately, because sugar has air between the crystals and topping a sugar cup with water leaves you short on liquid. Two parts sugar to one part water makes a rich syrup that is thicker, sweeter, and lasts several months in the fridge.
Can I flavor simple syrup without simmering it?
Yes. Make the plain 1:1 syrup first, let it cool to warm, then add mint, basil, tarragon, citrus peel, whole spices, or coffee grounds and steep it off the heat. Thirty to sixty minutes covered at room temperature gives a bright, uncooked flavor that simmering would dull. Stirring in vanilla extract or cold espresso concentrate needs no steep at all.
How long does homemade simple syrup last in the refrigerator?
Two to four weeks for a clean-bottled 1:1 batch, stored sealed and dated. Rich 2:1 syrup keeps three to six months, because the higher sugar concentration leaves microbes no room to grow. Fruit syrups made with fresh fruit last about five to seven days, and herb or citrus syrups one to two weeks. Freezing in ice cube trays extends every one of them.
Should I strain fruit or herb syrup?
Strain if you want a clear syrup that pours fast and does not clog an ice cube tray or a fine strainer. Leave the solids in if you like a textured, rustic syrup for pancakes or oatmeal, and press them gently rather than squeezing, since squeezing pushes pulp through and makes the syrup cloudy. Coffee syrup is the one worth straining twice for a clean finish.
Can I use simple syrup in coffee, tea, and desserts?
Yes, and that is where most home cooks get the most use out of a batch. Add one or two ounces to iced tea, cold brew, or lattes, where granulated sugar sinks and stays gritty. Use a 2:1 rich syrup in cold milk so it mixes evenly. Warm a 1:1 syrup and brush it over cake layers, or reduce it slightly for a pancake glaze.
Why is my simple syrup crystallizing or tasting too sweet?
Crystallization means the syrup holds more dissolved sugar than it can keep in solution, and a scratch, bubble, or dried sugar grain gave the crystals somewhere to start. Warm it gently, add a teaspoon of water or a squeeze of lemon per cup, stir until clear, and strain. For syrup that simply tastes too sweet, remake it with more water or a non-sugar sweetener instead of stirring extra sugar into the finished batch.
Start with the plain 1:1 batch this week and get the timing right on that. Once you can do it without watching the clock, flavoring is just a matter of deciding which ingredient goes in early and which one waits for a cold steep.