The Starbucks-style version is a strong concentrate brewed with a coffee-to-water ratio of about 1:8 by weight, steeped cold for 12 to 18 hours, then diluted and poured over ice. Add a sweetened vanilla cream on top and you get the drink people queue for, made in your kitchen for the cost of a few cups of coffee.
Total time is roughly 15 minutes of active work plus one overnight wait. You need a jar, some coarse grounds, filtered water, and a strainer. That is the whole list.
Below is the method I use, with gram measurements, a ratio table, and fixes for the five problems that come up most: bitter, weak, gritty, cloudy, and sour.
Table of Contents
- What You Need
- Step-by-Step: How to Make Starbucks Style Cold Brew at Home
- 1. Measure the coffee and water
- 2. Grind the beans coarsely
- 3. Combine the coffee and water
- 4. Steep the coffee for 12 to 18 hours
- 5. Strain, serve, and store the cold brew
- The Vanilla Sweet Cream Finish
- Common Mistakes
- Frequently Asked Questions
- What type of coffee is best for Starbucks style cold brew?
- How long should I steep cold brew at home?
- Can I use regular coffee grounds instead of coarse grounds?
- Why is my homemade cold brew bitter or watery?
- Do I need to refrigerate cold brew while it steeps?
- How long does homemade cold brew keep in the refrigerator?
- Start Tonight
What You Need
Cold brew is an immersion brew. The coffee sits in cool water with no heat and no pressure, which is why it extracts sugars and aroma without pulling out as much of the harsh, bitter compounds that hot water drags out.
- Coffee: whole beans in a light-to-medium roast, or pre-ground coffee that is still coarse. Around 100 grams for a 32 oz batch.
- Water: cold filtered water. Tap water works in a pinch, but chlorine and mineral taste come through more clearly when nothing is masking them.
- Container: a 1-quart glass mason jar, a pitcher, or a French press. Anything with a lid that holds 800 ml or more.
- Strainer: a fine-mesh sieve, a paper coffee filter, a nut bag, or clean cheesecloth.
- Ice: plenty of it, plus cold filtered water for diluting the concentrate.
- To finish: milk or a dairy-free cream, vanilla extract, and a sweetener if you want the sweet cream style.
A burr grinder is nice but not required. What matters is the texture of the grounds, not the machine that made them.
Step-by-Step: How to Make Starbucks Style Cold Brew at Home
1. Measure the coffee and water
Start at 100 grams of coarse ground coffee to 800 grams (roughly 800 ml) of cold filtered water. That is the standard 1:8 ratio and the one most home brewers land on because it splits cleanly into concentrate and serving liquid.
Weight beats volume here. Cups vary in size and ground coffee density shifts with roast, so weighing once means every batch tastes like the last one. If you have no scale, a quarter cup of grounds for every two cups of water lands close to 1:8.
| Ratio tier | Coffee to water | Example | How to serve it |
|---|---|---|---|
| Heavy concentrate | 1:4 | 100 g to 400 ml | Equal parts concentrate and water or milk. Very strong, closest to a straight cold brew order. |
| Balanced concentrate | 1:5 | 100 g to 500 ml | Dilute roughly half and half. Some specialty shops describe this as the sweet spot. |
| Standard concentrate | 1:8 | 100 g to 800 ml | Dilute 1:1 with water or milk for a 16 oz cup. |
| Ready-to-drink | 1:12 | 100 g to 1200 ml | Pour over ice as is. Milder, closer to a classic iced coffee. |
For a bigger batch, scale the grams and keep the ratio fixed. Doubling to 200 g of coffee and 1600 ml of water gives you two quarts of concentrate and roughly eight servings. Scaling by volume instead, a half gallon container takes about 250 g of coffee and 2 litres of water.
The most-asked question on home coffee forums is how much water to add after brewing, and how much ice. Here is the arithmetic for a 16 oz cup, the size most people order:
| Step | Amount | Why |
|---|---|---|
| Ice | 8 oz | Fills the cup and chills the drink fast |
| Concentrate | 4 oz | Your 1:8 brew, undiluted |
| Cold water or milk | 4 oz | Drops the strength to drinkable |
| Sweet cream top | 2 tbsp, floated | The Starbucks-style finish |
2. Grind the beans coarsely
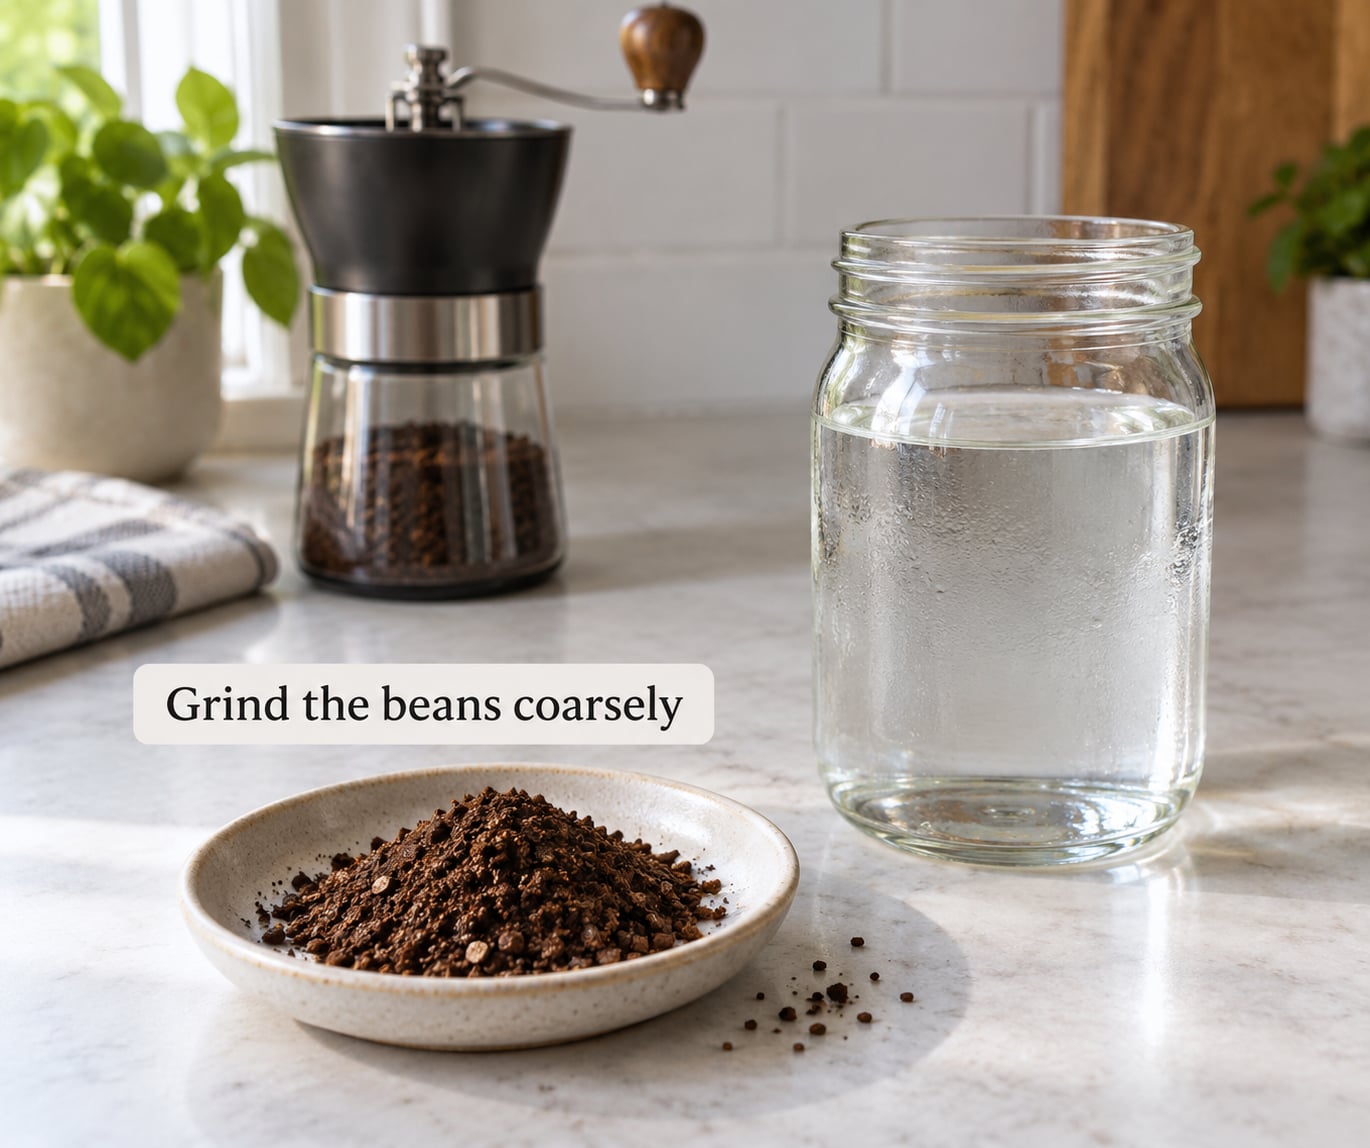
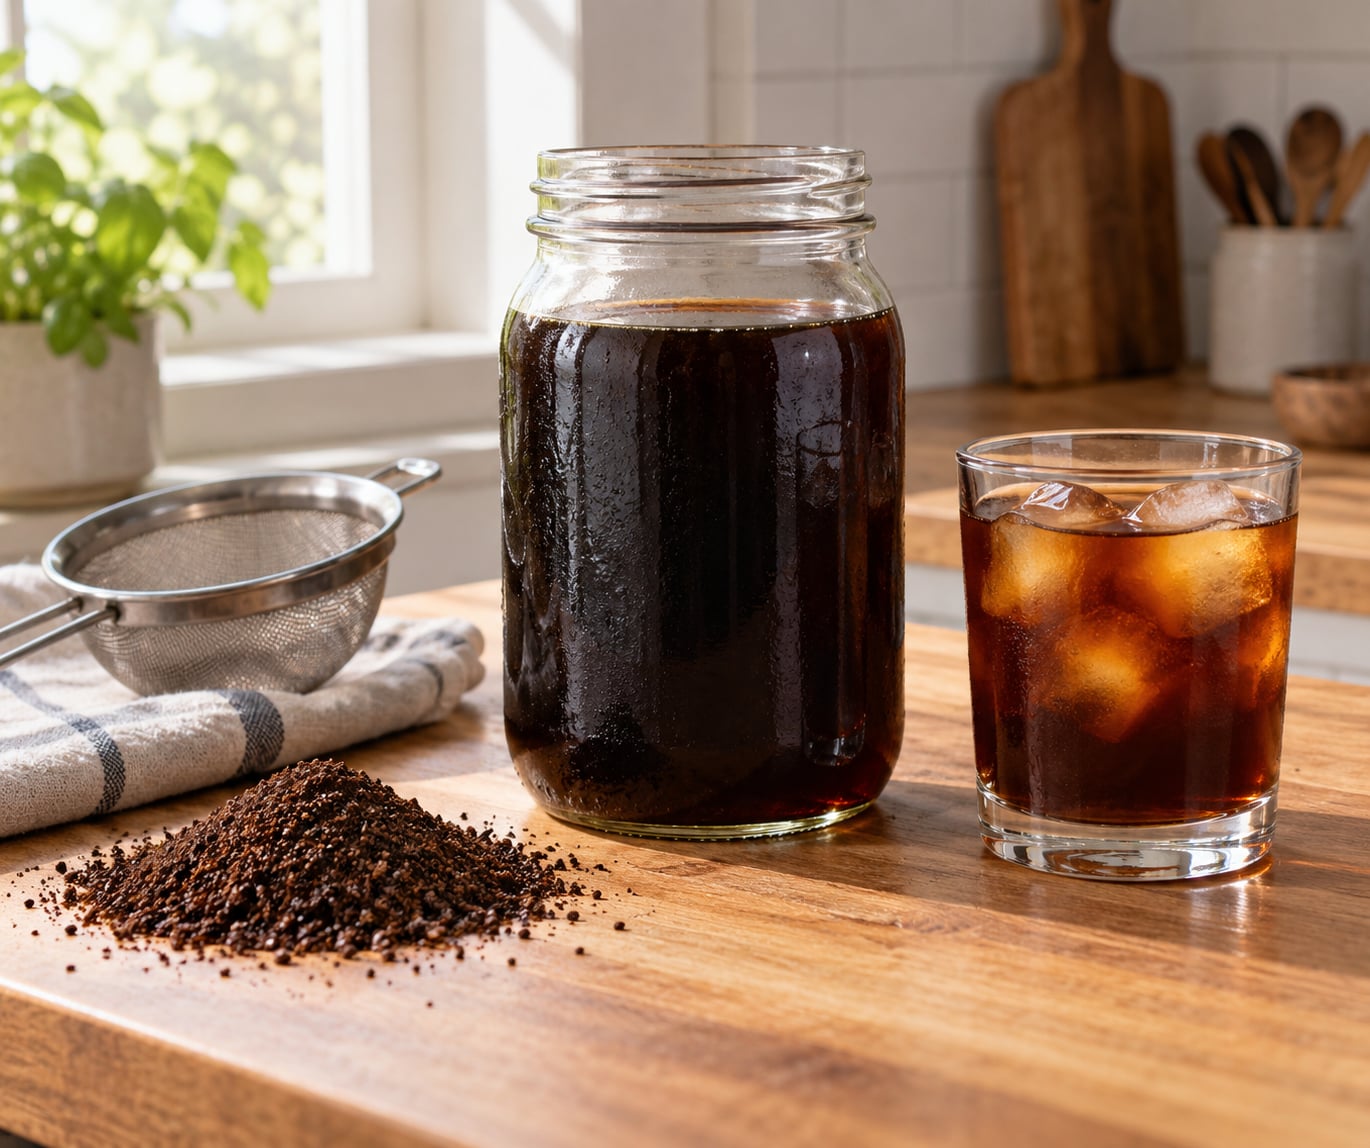
Grind until the grounds look and feel like coarse sea salt or Kosher salt. Not powdered, not sandy. You should be able to see individual particles and feel a slight grittiness between your fingers.
Fine grounds are the number one reason homemade cold brew turns bitter and silty. With more surface area, water moves through the bed faster and pulls out more of the astringent compounds, and the small particles slip straight through your strainer.
Grind size also changes the steep. Coarse grounds need longer contact, so if you go really coarse, push toward 18 hours rather than 12. A French press setting is usually the right starting point.
3. Combine the coffee and water
Put the grounds in your jar first, then pour the cold water over them. This order matters. Water poured onto grounds first can blow a cloud of fine dust up the sides of the jar and leave dry pockets that never wet down.
Stir gently with a spoon or a butter knife until every ground is submerged and there are no dry clumps floating on top. Twenty slow circles is enough. Then lid the jar.
A quick optional move: add just half the water, stir, let it sit for 20 minutes, then top up with the rest. That half-and-half bloom gives the grounds a head start and pulls the most sweetness out of the beans.
4. Steep the coffee for 12 to 18 hours
Put the jar in the refrigerator and leave it alone until tomorrow morning. Twelve hours is the light end and gives you a brighter, fruitier cup. Eighteen hours gives a rounder, heavier body. Past 24 hours the brew starts turning over-extracted and tastes bitter and astringent, which is the most common complaint on home brewing forums.
Room temperature steeping works and takes about 8 to 10 hours, but refrigeration is the safer and more reliable choice. Warm water sitting on grounds for hours is a good environment for bacteria, and cold water plus a fridge keeps the brew sweet and clean. If you go the counter route, use a lid, keep it out of sunlight, and do not go beyond 10 hours.
How do you know it is ready? The color. A finished brew is a deep ruby brown, nearly opaque in the jar. If you can still see light through the middle, give it another few hours.
5. Strain, serve, and store the cold brew
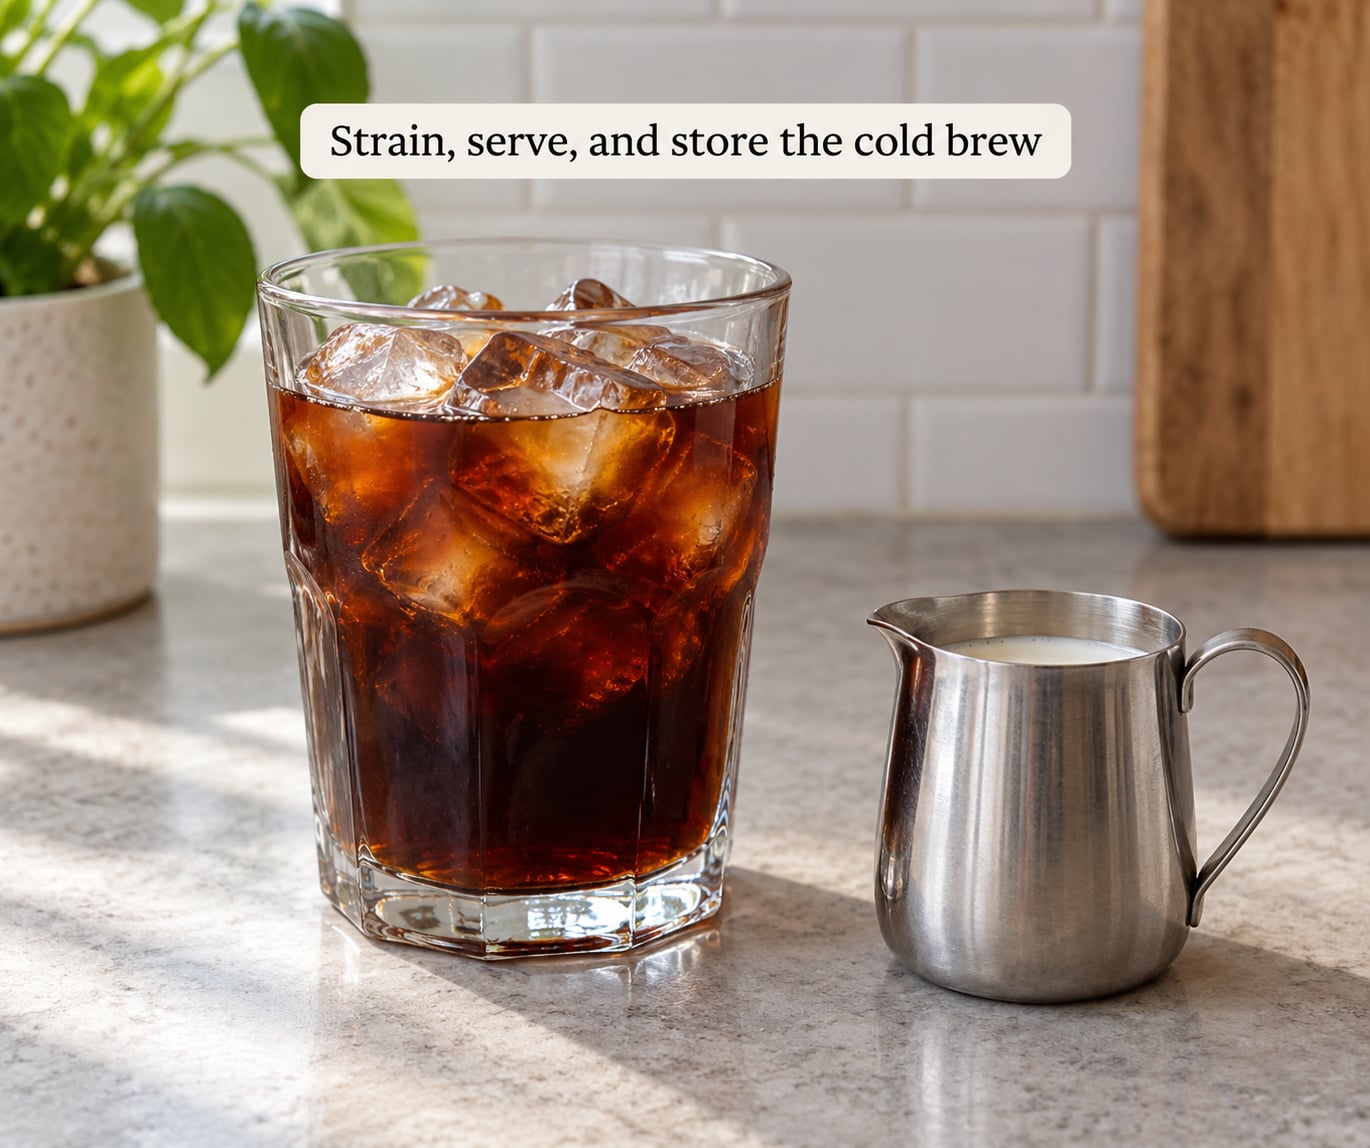
Set your fine-mesh sieve or paper filter over a second container and pour the coffee through slowly, letting the grounds drain rather than pushing them. Pouring rather than pressing is what keeps the cup clear of silt. Pushing the plunger on a French press is the exception, since the mesh is there to hold the bed back.
For a noticeably cleaner cup, strain twice. Pour the first pass through the filter, then run it through a paper coffee filter. It takes two extra minutes and pulls out most of the remaining fines.
Now dilute and serve. Fill a 16 oz glass with 8 oz of ice, add 4 oz of concentrate, then 4 oz of cold water or milk. Taste before adding more; concentrate strength varies with your beans and your patience.
Store the leftover concentrate in the fridge in a sealed jar or bottle. It keeps its best flavor for about five days and stays drinkable to roughly a week. After that it goes flat and slightly stale, so pour it over ice as a cooking liquid or make a second batch.
One thing to skip: freezing leftover concentrate into ice cubes. It works, but the ice dilutes unpredictably as it melts and makes the drink weaker by the last third. If you want a stronger cup, use less water at serve time instead.
The Vanilla Sweet Cream Finish
The Starbucks order is not really about the coffee alone. It is coffee plus a sweetened cold foam poured over the top, which is what gives the drink its sweet, creamy layer and hides the sharper edges of the concentrate.
Whisk together 4 ounces of heavy whipping cream, 2 tablespoons of simple syrup, and half a teaspoon of vanilla extract. If you have no simple syrup, dissolve 2 tablespoons of sugar in a tablespoon of warm water first and let it cool.
Stir until the mixture is loose and pourable, not stiff peaks. It should run slowly off the spoon. If it holds peaks, thin it with a splash of cold milk or water.
Pour the concentrate and dilution first, then float about 2 tablespoons of the sweet cream over the back of a spoon so it sits in a layer on top. Swirling it in completely just makes a sweetened cold brew, which is fine but is not the copycat.
For a dairy-free version, use a barista-style oat or soy cream and the same syrup ratios. It holds the layer better than almond and tastes closer to the original.
Common Mistakes
Almost every bad batch of home cold brew comes down to grind size, steep time, or ratio. Here is what each taste problem means and what to change.
| What you taste | Likely cause | Fix |
|---|---|---|
| Bitter and astringent | Grounds too fine, or steeped too long | Grind one step coarser and cut the steep by 4 hours |
| Weak or watery | Ratio too lean, or over-diluted at serve time | Add another 25 g of coffee per litre of water, or pour less water in |
| Gritty or silty | Fine particles through the strainer | Strain a second time through a paper filter |
| Cloudy and milky | Fines suspended in the brew | Let the strained concentrate rest in the fridge for an hour, then lift off the top |
| Sour or sharp | Under-extracted, or water too hard | Extend the steep to 16 hours and switch to filtered water |
| Thin after storage | Oxidation past a few days | Make fresh; dilute more heavily to stretch it |
A few more habits worth building in. Buy whole beans and grind right before brewing, since bagged pre-ground coffee sits exposed to air and is almost always too fine. Do not skip the lid on the jar. And make enough to drink several glasses from one batch, because the whole point of concentrate is that one jar covers the week.
On cost, a 100 g bag of decent coffee makes roughly 800 ml of concentrate, which is about five 16 oz servings after dilution. One batch covers most of a workweek of iced coffee for a few dollars of beans, against the daily drive-thru run it replaces.
Frequently Asked Questions
What type of coffee is best for Starbucks style cold brew?
A light-to-medium roast with chocolate, caramel, or nutty notes is the closest home match to a Starbucks cold brew, because those flavors survive cold water extraction without turning sharp. Dark roasts get muddy and light roasts can taste grassy if you over-steep. Whole beans ground right before brewing give the best result, since pre-ground coffee has already lost aroma and is usually too fine.
How long should I steep cold brew at home?
Twelve to 18 hours in the refrigerator is the range that works for most beans and most grinds. Under 12 hours leaves the brew thin and sour, while going past 24 hours extracts bitter compounds and makes the coffee astringent. Coarser grounds need the longer end of the range, finer ones need the shorter end.
Can I use regular coffee grounds instead of coarse grounds?
You can, but expect a different drink. Bagged pre-ground coffee is milled fine for drip brewing, so water moves through it faster and pulls out more bitterness, and the small particles will make the finished brew silty unless you double strain it. If coarse grounds are not an option, brew it half the normal length and dilute harder to soften the result.
Why is my homemade cold brew bitter or watery?
Bitter almost always means grounds too fine or a steep that ran too long, so grind coarser or cut hours off the steep. Watery means the ratio was too lean or you diluted too heavily at serve time. Check the color: a finished brew is deep ruby brown and nearly opaque. If you can still see light through the middle of the jar, it is under-extracted.
Do I need to refrigerate cold brew while it steeps?
Yes, refrigeration is the safer choice. Cold water plus a fridge slows extraction into something sweet and smooth and keeps bacterial growth down. Room temperature steeping takes about 8 to 10 hours instead, but it should be covered, kept out of sunlight, and not left beyond 10 hours, which is where safety and flavor problems both start.
How long does homemade cold brew keep in the refrigerator?
Sealed in the fridge, cold brew concentrate tastes its best within about five days and stays drinkable for up to a week. Cold water extraction leaves very little behind for microbes to feed on, so it lasts far longer than iced coffee made from brewed coffee. If it smells flat or slightly sour on day six, make a fresh batch.
Start Tonight
Grind 100 grams coarse, pour 800 ml of cold filtered water over them, stir, and put the jar in the fridge before you go to bed. By morning you have a concentrate that turns into roughly five drinks once you dilute it with water and finish it with the vanilla sweet cream.
Tomorrow, start with 4 ounces of concentrate over ice and add water or milk a splash at a time until the strength feels right. Adjust the grind and steep time from there. That is the whole method, and after two batches you will have it dialed in permanently.