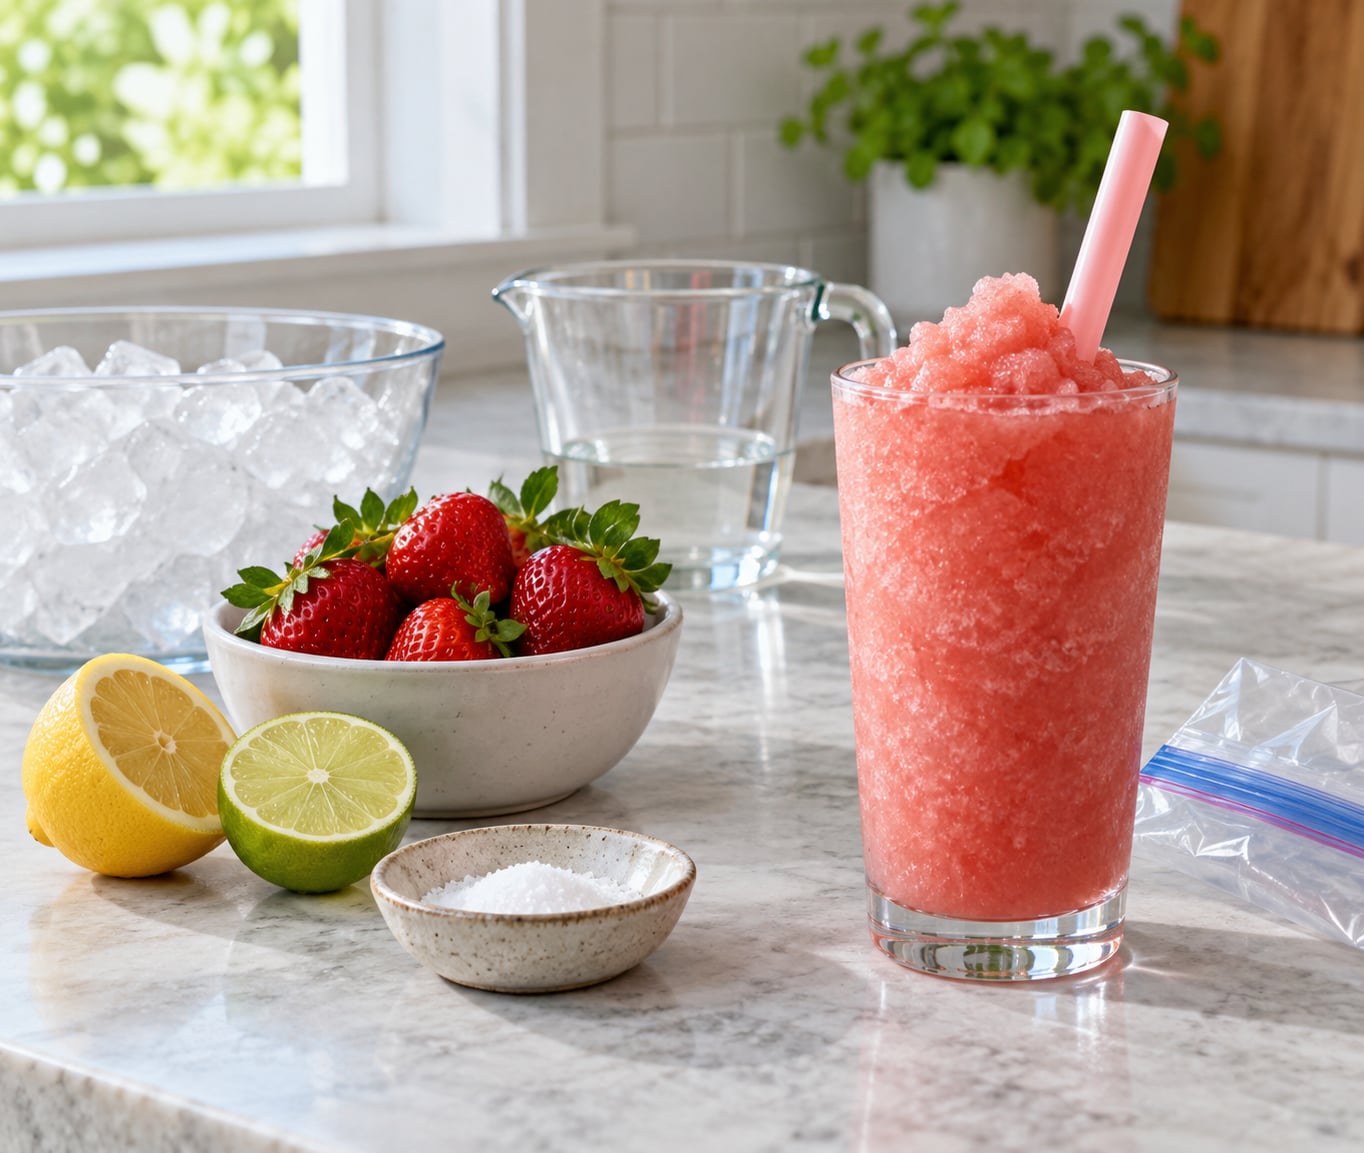
You can absolutely make a slushie without a blender, and the two methods worth knowing are the bag-and-salt shake and the freeze-and-scrape trick. The bag method takes about five minutes and turns ice into a soft, snow-like slush using salt, a sealed zip-top bag and a dish towel. The freeze-and-scrape method needs a few hours in the freezer but hands you the fluffiest result using nothing more than a shallow container and an ice cream scoop.
Most slushie recipes quietly assume a blender, which is why so many searches end in a dead end. Plenty of people simply do not own one, or own a low-powered one that stalls halfway through a cup of ice. Here is how to make a slushie without a blender, using tools that are already in your kitchen.
Table of Contents
- What You Need
- Which tool to use when
- The ice-to-liquid ratio that actually works
- Step-by-Step: How to Make a Slushie Without a Blender
- Step 1: Choose the Fruit and Liquid
- Step 2: Crush or Break Down the Ice
- Step 3: Combine and Blend the Slushie
- Step 4: Taste, Pour, and Serve Immediately
- Common Mistakes
- Frequently Asked Questions
- What can I use instead of a blender to make a slushie?
- Can I make a slushie with a regular jar?
- What is the best fruit for a slushie without a blender?
- Why is my slushie too watery?
- How much liquid should I add to a blender-free slushie?
- Can I prepare a slushie ahead of time?
- Conclusion
What You Need
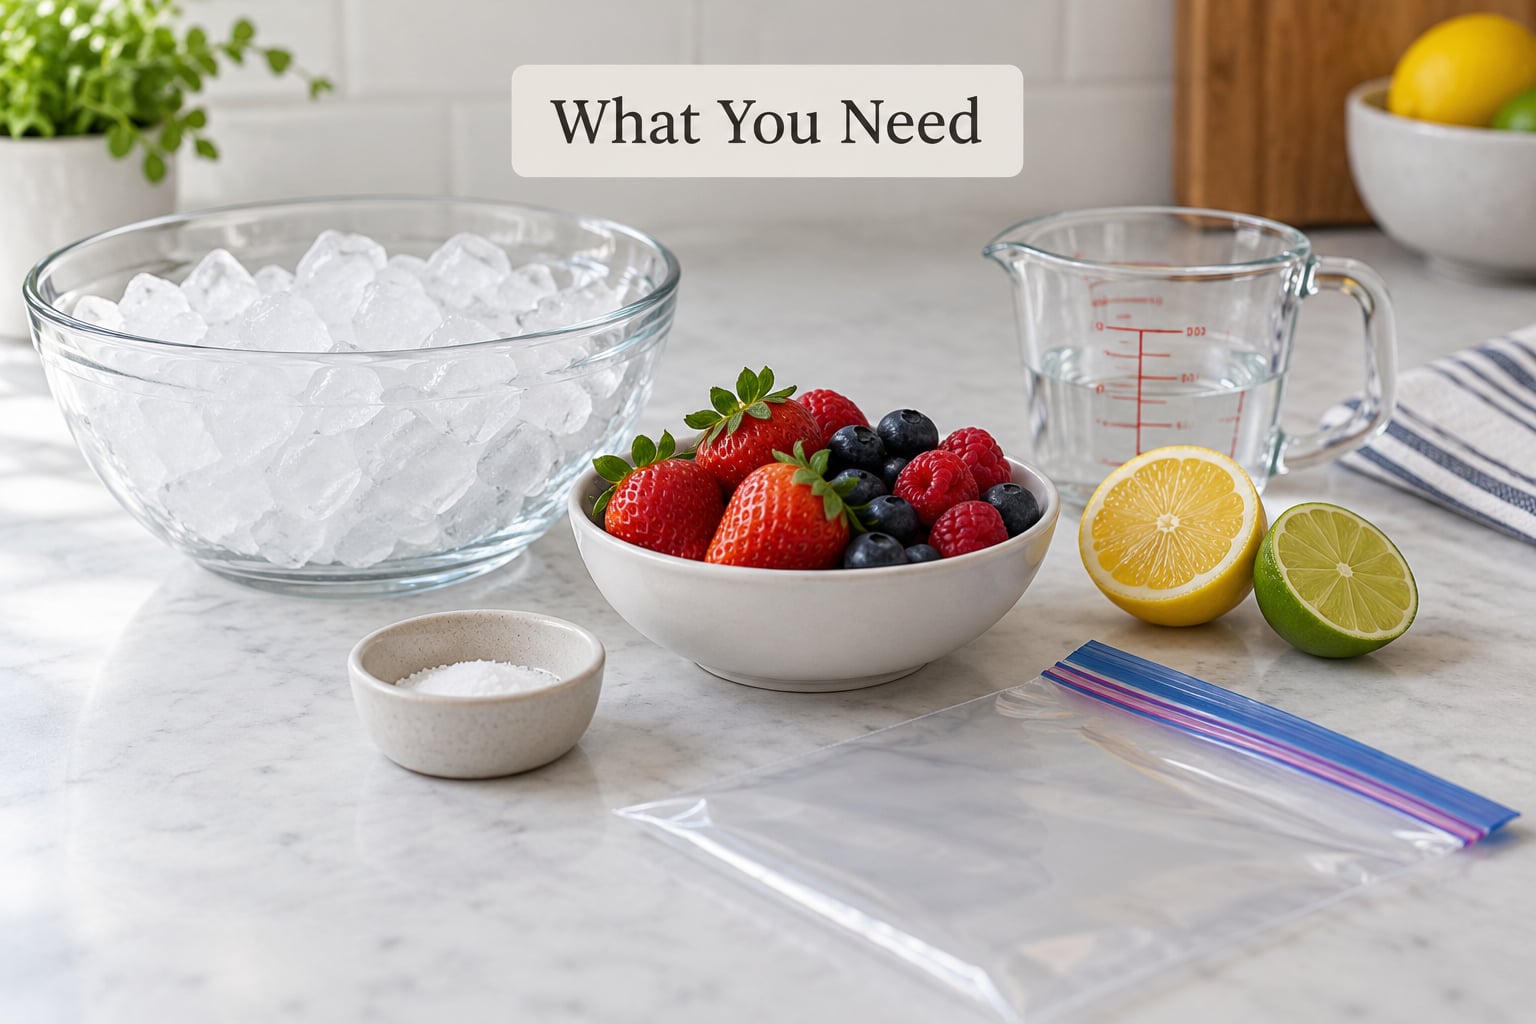
Everything here is either a tool you already own or a bag of ice. Nothing needs power.
- Ice cubes or crushed ice — about 2 cups for a serving-size slushie
- A zip-top bag — a sandwich bag works, a gallon bag works better because you have room to shake it
- Salt — table salt, kosher salt or rock salt
- Your liquid base — soda, juice, coconut water, drink mix diluted with water, or lemonade
- Fruit — fresh, or frozen in cubes ahead of time
- A dish towel or winter gloves — not optional, more on that below
- A shallow freezer-safe container — a pie plate, a loaf pan or a flat lid
- An ice cream scoop or a sturdy fork — for the freeze-and-scrape method
If you have no zip-top bag, a clean towel wrapped around a sealed glass jar works surprisingly well. If you have a food processor or an immersion blender sitting in a cupboard, skip the bag entirely and use those.
Which tool to use when
| Tool you have | How it works | Time to a slushie | Texture you get |
|---|---|---|---|
| Zip-top bag and salt | Ice is crushed and chilled by agitation until it slushes | 5 minutes | Soft, light, closest to a machine slush |
| Food processor | Ice is pulsed with the fruit and liquid | 3 minutes | Smooth and even |
| Immersion blender | Blends directly in a tall glass or pot | 3 minutes | Smooth, no container transfer |
| Rolling pin and jar | Ice is crushed by force, then stirred | 6 minutes | Coarser, with small ice pieces |
| Freezer and an ice cream scoop | Liquid is frozen solid, then shaved into flakes | 3 to 4 hours | Fluffy shaved-ice style |
| Fork and a bowl | Fruit is mashed by hand, ice is finely crushed | 5 minutes | Chunky, more like a snow cone |
The ice-to-liquid ratio that actually works
Most watery slushies come from too much liquid. Start at roughly two cups of ice to three-quarters of a cup of liquid for a 12-ounce glass, and hold back a splash of liquid to add at the end if the mix looks stiff.
| Liquid base | Ice to liquid | Sweetness note | Watch out for |
|---|---|---|---|
| Regular soda | 2 cups ice to 3/4 cup soda | Already sweet, skip extra sugar | Fizz is lost once it slushes |
| Orange or apple juice | 2 cups ice to 1 cup juice | Sweeten only after tasting | Freezes hard, crush ice first |
| Drink mix and water | 2 cups ice to 1 cup mixed drink | Taste sweetest once cold | Sugar-free mix gives shaved ice, not slush |
| Coconut water | 2 cups ice to 3/4 cup | Mild, add lime and a sweetener | Freezes flatter than soda |
| Lemonade | 2 cups ice to 1 cup | Balance sour against sweet | Acid thins out, add more ice |
| Alcoholic base | 2 cups ice to 3/4 cup | Lime or grapefruit pairs well | Alcohol lowers the freezing point, so it slushes faster and melts sooner |
Step-by-Step: How to Make a Slushie Without a Blender
Step 1: Choose the Fruit and Liquid
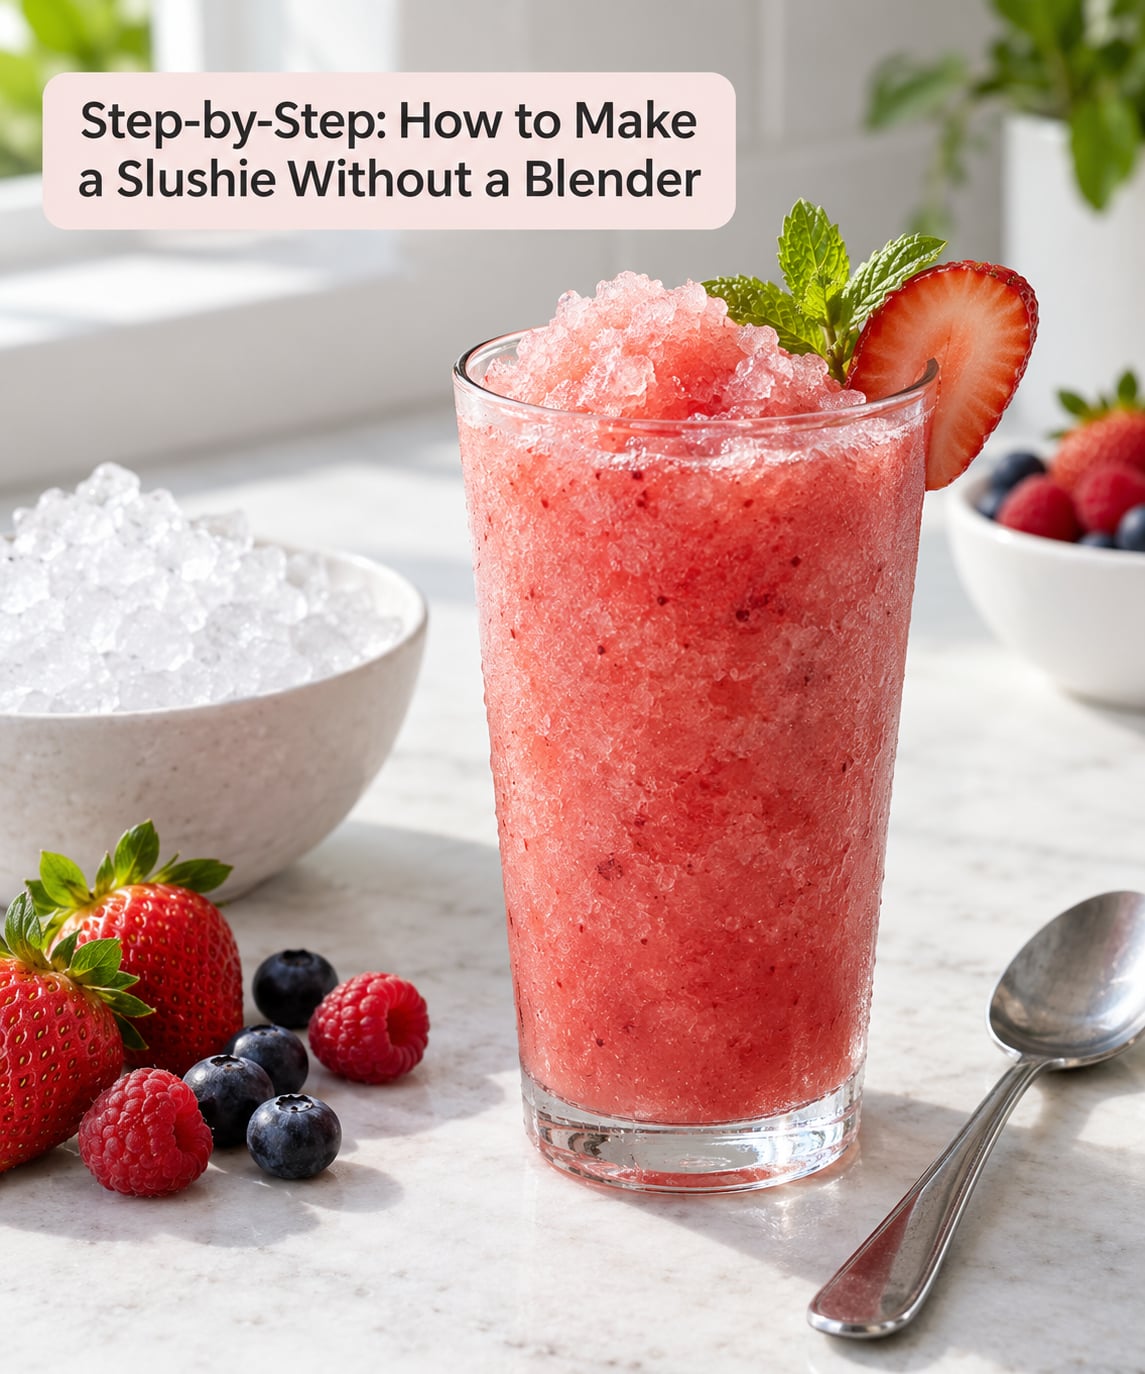
Fruit is what separates a good blender-free slushie from a cup of flavored water, and soft fruit works far better than hard. Berries, peeled bananas, mango and pineapple crush easily by fork or spoon and release their juice as they go. Melons such as watermelon and honeydew need almost no crushing at all, which makes them the fastest option on a hot day.
Skip apples, pears and anything with pits. They hold their shape, break into hard shards around the ice, and leave you chewing on fruit instead of drinking it.
For the liquid, pour about three-quarters of a cup into the bag or glass first. Keep a little extra nearby and add it at the end, because you can always thin a thick slush but you cannot thicken a watery one. Citrus gets a squeeze of lime or lemon to sharpen it, and creamy bases like coconut milk need more liquid than soda does to stay drinkable.
You can tell the ratio is right before you start when the ice sits in a mound above the liquid rather than floating away from it.
Step 2: Crush or Break Down the Ice
Large cubes are the enemy here. They take forever to break down and they are the main reason people end up with an icy block instead of a slush. Whatever tool you use, aim for pieces about the size of a pea.
In a food processor, add the ice and a splash of the liquid, then pulse in short bursts of five to ten seconds. Pulse rather than run the motor continuously, since a food processor that runs straight can weld the blade to the ice and the motor will start to whine.
An immersion blender does the same job in a tall glass or saucepan. Keep the blade submerged and move it slowly up and down, or you will spray half the mixture over the counter.
With no machine at all, put the ice in a zip-top bag, seal it, and beat it with a rolling pin or a heavy wooden spoon until it cracks down. Rolling pin over a folded kitchen towel works better than you would expect and keeps the bag from sliding around. A sturdy glass jar with a few ice cubes and a long spoon gives you the same result in a couple of minutes, just with slightly larger pieces.
Step 3: Combine and Blend the Slushie
For the bag method, add three-quarters of a cup of liquid to the crushed ice in the bag, press out the air, seal it tight, and add two to three tablespoons of salt. Wrap the bag in a dish towel immediately. That towel is not optional — the bag gets cold enough to burn bare skin within a minute, and a leak means flavored salt water across your counter.
Hold the bag by the sealed top and shake it hard for four to six minutes. Massage it between shakes so the ice keeps tumbling instead of pressing against one wall. The mixture goes from watery to cloudy to slushy over that span, and you will feel the texture change from loose liquid to something soft and scoopable.
Salt is doing real physics here. Dissolved salt lowers the freezing point of the water, which is the same reason roads get salted in winter. Ice inside the bag now melts instead of sitting there waiting to turn to solid, and the agitation keeps those melting crystals small. That is the slush.
With a jar or glass, stir the fruit into the crushed ice first, then pour the liquid over the top and stir hard with a long spoon until it slushes. Add the reserved liquid a splash at a time if the mix will not move freely.
If it turns out too thick, a tablespoon of liquid fixes it. If it is too watery, spoon more crushed ice in and mix again.
Step 4: Taste, Pour, and Serve Immediately
Do the sweetness and acidity check while it is still in the container. Cold drinks taste sweeter than warm ones, so hold back the honey or sugar and taste again after it has been out for two minutes. A slushie that tastes flat when cold usually needs citrus, not sugar.
Scrape or pour it into the glass right away, pack the top with more crushed ice, and push a wide straw or a spoon handle down through the middle so it reaches the slushy base and not just the floating ice.
Serve it in a wide glass with a thick straw. Wide matters because a slushie is a texture, and a narrow glass turns it into a drinking problem. A short spoon is more useful than you would think for scraping the bottom.
What you do with the leftovers depends on the base. A soda, juice or coconut water slushie keeps in the fridge for about a day, though the texture softens. Anything with fresh fruit, dairy or alcohol goes in the fridge the same day and gets used within a day. Do not leave any of it sitting out for more than two hours, and use a clean spoon each time rather than the one that was in the drink.
Common Mistakes
The drink is watery instead of slushy. Almost always too much liquid, or ice that was too large. Add a half cup more crushed ice and shake for another minute. Sugar does the opposite work here, which is why a sugar-free drink mix ends up as flavored shaved ice rather than a slush — there is not enough dissolved sugar holding the texture together.
The result is a solid block of ice. The liquid froze before it was scraped or shaken, usually because the container was too deep. Freezing in a shallow layer two or three centimeters thick is the whole trick to the freeze-and-scrape method. If you have already made the block, let it sit at room temperature for five minutes, then scrape it with the back of a spoon and see where it breaks.
The texture is grainy with hard pieces. Two causes. Either the ice was never crushed below pea size, or the bag leaked and you got salt in with it. Crush harder next time, and if the drink tastes faintly of salt, add more liquid and fruit to dilute it.
The slushie melts before you finish it. Pour it into a pre-chilled glass, pack the top with ice, and use a wide straw so you drink it faster. Slushies made with alcohol or coconut water melt quickest because both lower the freezing point of the mix. For a party, make small batches rather than one big jug.
It tastes flat or watery-sour. Acid thins the texture and flattens the flavor at the same time. A squeeze of lime or lemon plus a small scoop of ice fixes both, and it works faster than reaching for more sugar.
The bag broke. Fill ice only a third to a half of the way up the bag so there is room to shake it. Double-bag it if you are using a thin sandwich bag, and never use one you have scuffed with a knife or fork.
Frequently Asked Questions
What can I use instead of a blender to make a slushie?
The three tools that replace a blender best are a food processor, an immersion blender and a sealed zip-top bag with salt. Pulse ice in a food processor for the smoothest result, blend directly in a glass with an immersion blender, or shake crushed ice, liquid and salt in a bag for the fastest slushie of all. A rolling pin and a sturdy jar also work when you need to crush ice and have nothing else.
Can I make a slushie with a regular jar?
Yes, as long as the jar is sturdy and tall enough for a spoon to reach the bottom. Add ice, fruit and liquid, then crush the ice with a long spoon or a fork before stirring everything together. It will not be as smooth as a machine slush, and you get small ice pieces rather than snow, but the drink still works and it takes about five minutes.
What is the best fruit for a slushie without a blender?
Soft, watery fruit wins: strawberries, raspberries, bananas, mango, pineapple, watermelon and honeydew. They break apart with a spoon or fork and release juice as they soften, which does the blending for you. Avoid apples, pears and stone fruit, since they stay firm and turn into hard shards around the ice instead of mixing into it.
Why is my slushie too watery?
Two reasons cover almost every case. You used too much liquid, or your ice was too large to break down in the time you gave it. Start with roughly three-quarters of a cup of liquid per two cups of ice, add more liquid only if the mix is stiff, and crush the ice until every piece is about the size of a pea before it goes in.
How much liquid should I add to a blender-free slushie?
About three-quarters of a cup of liquid per two cups of ice for soda, coconut water or an alcoholic base. Juice, lemonade and drink mixes run closer to a full cup per two cups of ice because you want the flavor strong enough to read through the ice. Keep a little extra aside and add it a spoonful at a time, since you cannot thicken a drink once it is watery.
Can I prepare a slushie ahead of time?
You can, with the freeze-and-scrape method. Pour your liquid into a shallow freezer-safe container, freeze it for three to four hours until solid, then scrape it with an ice cream scoop straight into a glass and top with fresh liquid. A bag-made slushie does not travel well because it melts in minutes, so shake those the moment you are ready to drink one.
Conclusion
Start with the one change that fixes most failed slushies: small ice pieces and less liquid than you think you need. If you want it in five minutes, shake crushed ice, three-quarters of a cup of soda or juice and two tablespoons of salt in a wrapped bag for four to six minutes. If you can plan ahead, freeze a shallow layer of your favorite drink and scrape it with an ice cream scoop for a result no bag method quite matches.