Dry chicken breast is almost always one of three mistakes: the breast is uneven, the heat was too aggressive, or it sat on the heat past 165°F. Pound the breast to an even thickness, season it, cook it over moderate heat, pull it at 160°F / 71°C so carryover heat finishes the job, then let it rest before slicing. Twenty minutes of work, no thermometer anxiety.
I cook chicken breast several times a week, and the difference between a dry one and a good one is rarely the recipe. It is the thickness of the raw meat and the moment I take it off the heat. My first dozen attempts were all ruined by the oven door: I opened it constantly to peek, and every peek cost me moisture and added cooking time.
This guide covers the pan, oven, grill, air fryer, poaching and sous vide methods with the temperatures and times for each, plus what to do when the breast is woody, uneven, or already overcooked.
Table of Contents
- What You Need
- Step-by-Step
- Step 1: Prepare the Chicken Breast
- Step 2: Choose the Right Cooking Method
- Step 3: Cook Gently and Control the Heat
- Step 4: Check for Doneness Without Overcooking
- Step 5: Rest and Slice the Chicken
- Common Mistakes: Why Chicken Breast Ends Up Dry and Rubbery
- Frequently Asked Questions
- How do I keep chicken breast from drying out when cooking it?
- What is the safest internal temperature for chicken breast?
- Should I brine chicken breast before cooking?
- Should you pound chicken before or after brining?
- How long should I cook a chicken breast in the oven?
- How do I reheat chicken breast so it is not rubbery?
- Conclusion: What to Do First
What You Need
None of this is specialist equipment, and none of it is optional if you want repeatable results.
- Boneless skinless chicken breasts, ideally 6 to 8 ounces each. Very large breasts are the single biggest reason home cooks fail; they were bred to be big, not tender.
- An instant-read digital thermometer. This is the only tool that turns guesswork into a number. Cooks in r/KitchenPro and r/cookingforbeginners name it again and again as the single biggest change they made.
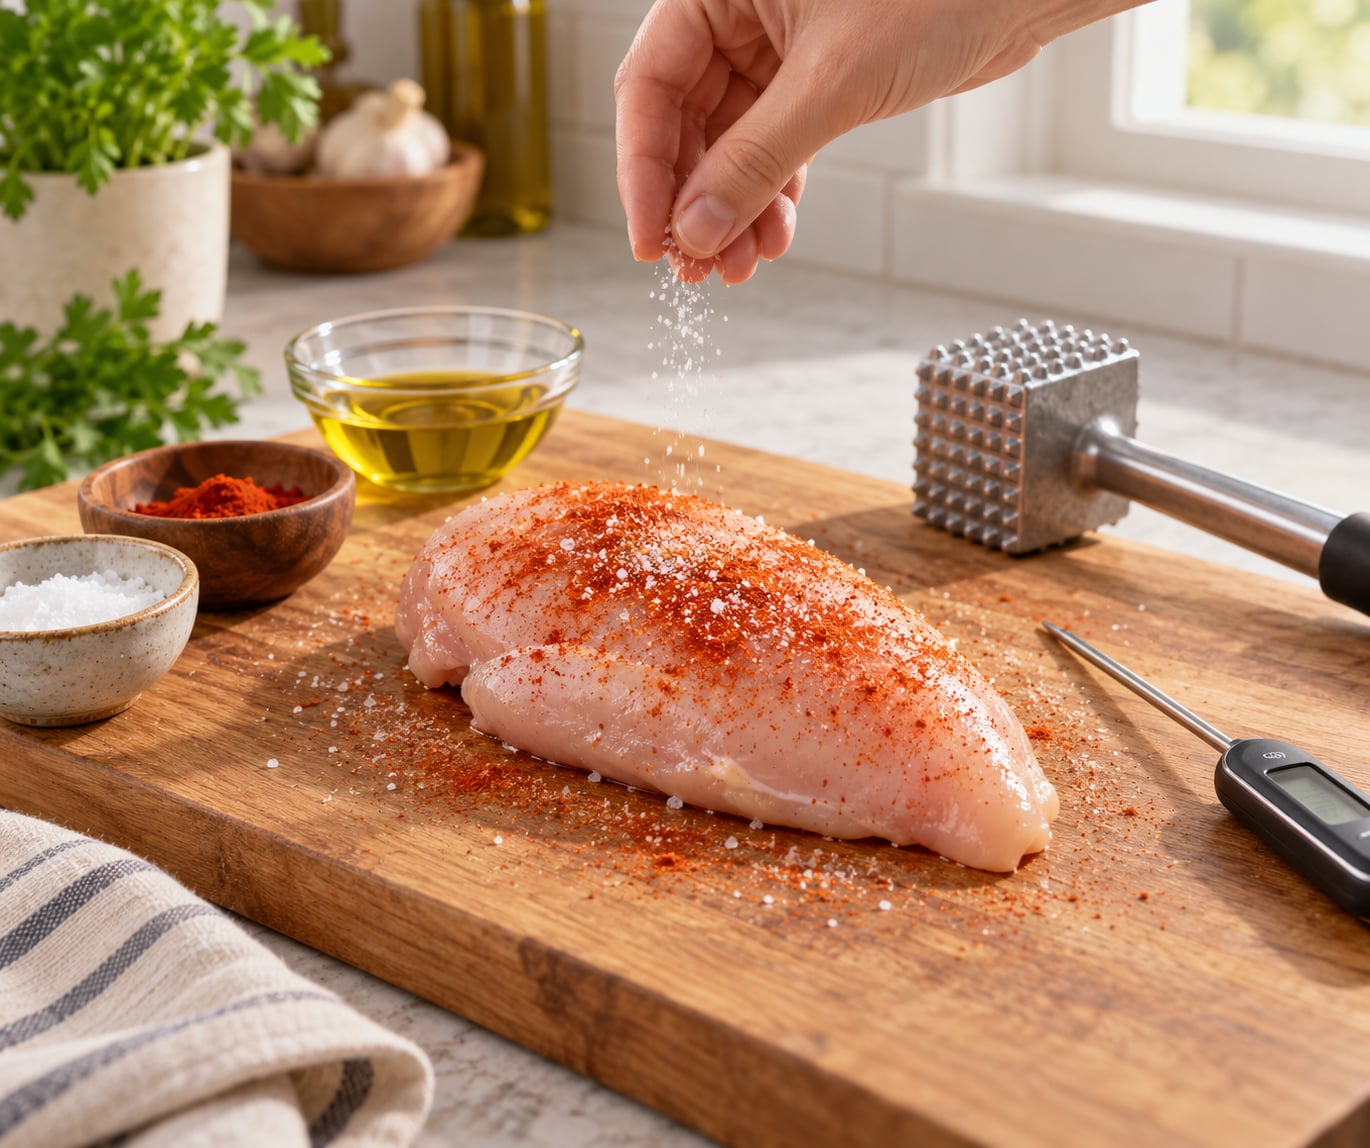
- A meat mallet or the flat side of a cleaver for evening the thickness. A rolling pin works in a pinch.
- A heavy skillet with a rim deep enough to hold a lid, or a rimmed sheet pan for the oven.
- Kosher salt (Diamond Crystal or similar), a tablespoon of sugar, and smoked or sweet paprika if you want color.
- Olive oil and a knob of butter for finishing.
- Broth, water or dry white wine to add to the pan. A spoonful of liquid in the pan or under the foil is the cheapest insurance against a dry breast.
Step-by-Step
Step 1: Prepare the Chicken Breast
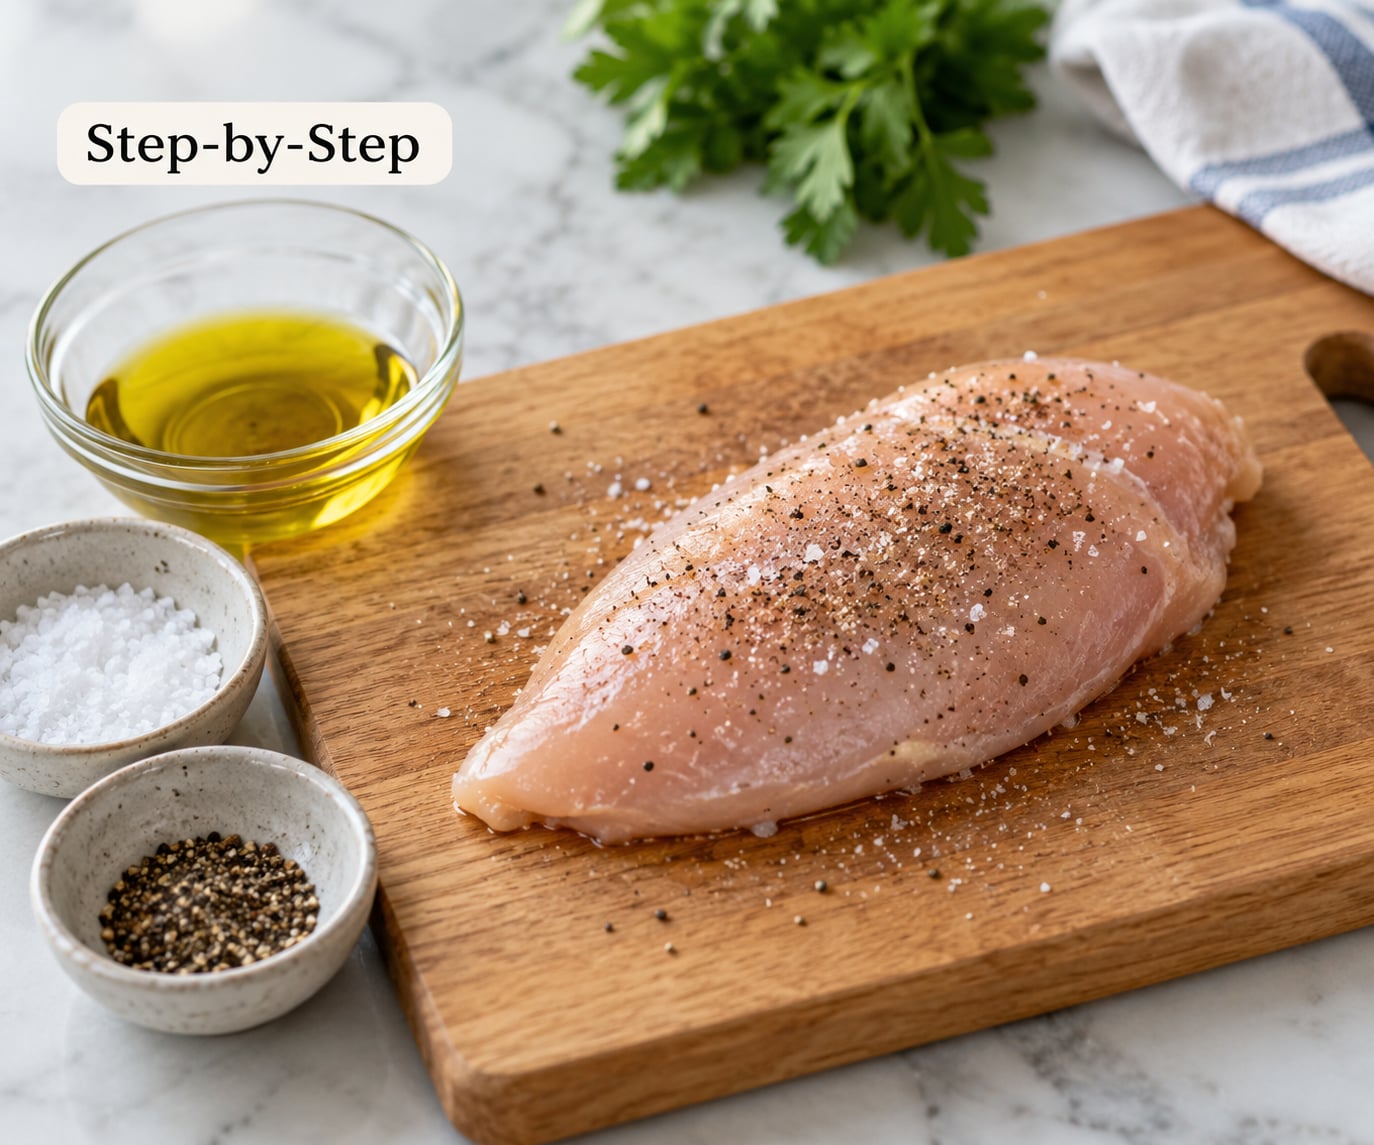
Trim the breast, then compare its thickness at the thick end and the thin end. If the difference is more than a quarter inch, pound it to an even three-quarter-inch-thick slab across the whole surface. Cooks who skip this step end up with a dry thin end and a raw thick end at the same moment, which is why breast feels like it has no right answer on timing.
Other ways to even things out: butterfly the breast by slicing horizontally through the thickest part without cutting all the way through, or cut it crosswise into three thin cutlets, which cook in a fraction of the time and are hard to ruin.
Pat the surface dry with paper towels. Wet skin and wet breast will not brown, and a pale breast that never gets color tends to be a breast you overcook while chasing a sear.
Season generously on both sides with salt. If you want better browning without blasting the heat, mix a teaspoon of paprika with a pinch of sugar and oil it onto the breast. The sugar browns at a lower temperature than plain chicken will.
Brining is the single most effective moisture move, and nearly every reader complaint about dry chicken comes down to never having tried one. For a wet brine, dissolve about 2 tablespoons of kosher salt per quart of cold water, add a tablespoon of sugar if you like, submerge the breast, and refrigerate for 30 minutes minimum and up to 24 hours. A quick-salting option is to salt the breasts and leave them on a rack in the fridge for an hour before cooking, which seasons deeply without any water.
Step 2: Choose the Right Cooking Method
Here is how to cook chicken breast without drying it out across the methods people actually use, with pull temperature, rough time and rest.
| Method | Heat | Pull at | Time for an even 3/4-inch breast | Rest |
|---|---|---|---|---|
| Pan-seared | Medium | 160°F / 71°C | 4 to 5 minutes per side | 5 to 8 minutes |
| Oven-baked | 400°F / 205°C | 160°F / 71°C | 20 to 25 minutes | 5 to 10 minutes |
| Grilled, lid closed | Medium-high indirect, lid closed | 160°F / 71°C | 8 to 12 minutes total | 5 minutes |
| Air fryer | 380°F / 195°C | 160°F / 71°C | 9 to 12 minutes, flipped once | 5 minutes |
| Poached | Barely simmering liquid, 165°F / 74°C | 160°F / 71°C | 8 to 12 minutes, then off heat | 5 minutes |
| Sous vide then sear | 150°F / 66°C bath, 45 to 90 minutes | 150°F / 66°C | 2 to 3 minutes per side in the pan | 5 minutes |
The table is a starting point, not a schedule. The thermometer is what ends the cooking, and the time only tells you roughly when to start checking.
Two of these are worth a sentence each. Air fryers cook breast noticeably faster than an oven and dry it out faster too, because the fan blasts it, so check it early and pull at 160°F. Sous vide is the opposite trade: a low, precise bath makes overcooking nearly impossible, and the only work left is a hard sear at the end.
Step 3: Cook Gently and Control the Heat
How to cook chicken breast without drying it out comes down to this: moderate heat, a lid or liquid at the finish, and no flipping more than necessary.
For the stovetop, heat a tablespoon of olive oil in a heavy skillet over medium heat, lay the breast away from you, and leave it alone for about 4 minutes. Resist pressing it, and resist the urge to move it. Then turn once, add a knob of butter, a splash of broth or wine, and a pinch more salt, and cover. After 2 more minutes, start checking the temperature in the thickest part. Each lift of the lid drops the pan temperature and slows the cooking, which is fine, but frequent poking at a breast while it sears also lets moisture escape.
For the oven, preheat to 400°F / 205°C and do not put the breast in a cold oven, which throws off timing and dries the outside. Give the breast a quick sear in a hot pan first if you have time, then finish it in the oven. Add a couple of tablespoons of broth to the pan, not sprayed over the meat, and tent loosely with foil for the last part of the cook if you are worried about the surface drying out.
For the grill, use indirect heat with the lid closed and cook to temperature rather than to char. A breast that sears hard on both sides early on is managing its own overcooking. Finish it away from the flame, lid shut, until the thermometer reads 160°F.
For poaching, keep the liquid at a bare tremble rather than a rolling boil. Bubbles cook the outside of the breast harder than the inside, which is the fast track to a chalky center. Hold it at around 10 minutes, kill the heat, and let it sit in the warm liquid for another 10 to 15.
Step 4: Check for Doneness Without Overcooking
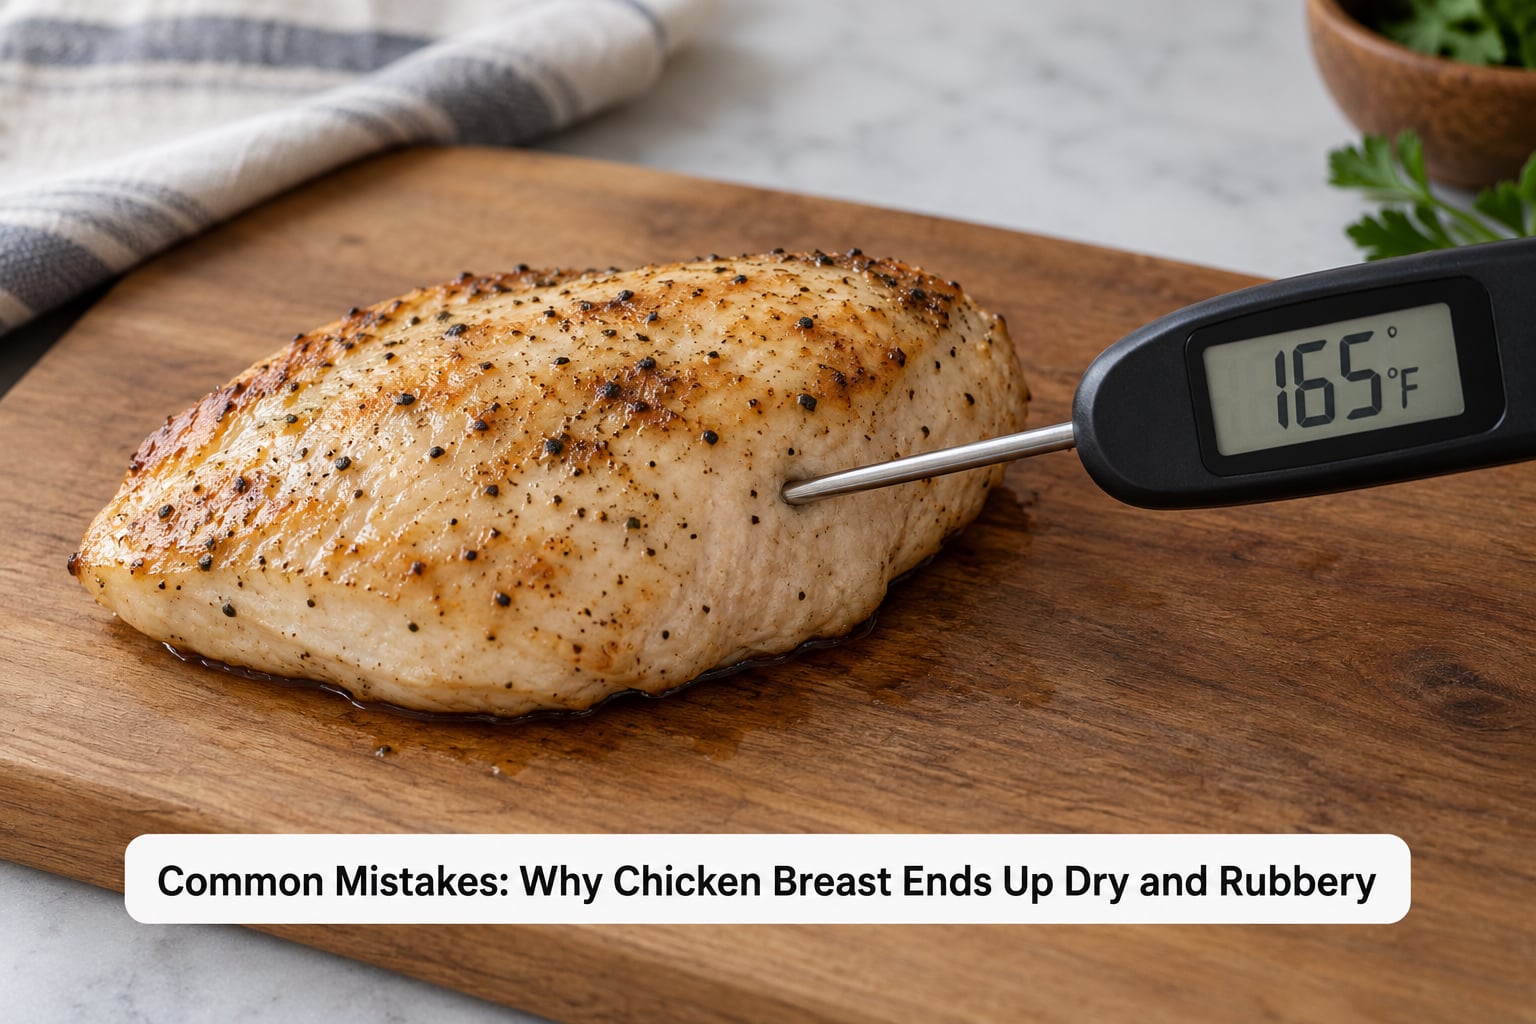
Push the instant-read thermometer into the thickest part of the breast, aiming for the center, and read it. You are looking for 160°F / 71°C.
The USDA recommends 165°F / 74°C as the safe internal temperature for chicken, and that guideline has not changed as of 2026. Here is the nuance most dry-chicken guides skip: cooking carries on after you pull the meat, because residual heat keeps moving inward. A breast pulled at 160°F will finish climbing toward the safe temperature while it rests. Many cooks and food researchers point to a shorter dwell at lower temperatures being safe in practice, but for a general home kitchen the simple and defensible rule is to confirm you have reached 165°F / 74°C, either on the thermometer or after carryover.
What the color argument misses is that the outside browns and dries long before the center finishes, so a golden breast is not evidence of a safe one. The thermometer is. Cutting into the breast to check releases juice and lengthens the cook, which is the opposite of what you want.
Step 5: Rest and Slice the Chicken
Move the breast to a plate or a board and wait 5 to 10 minutes. Thighs are fine sliced straight away; breast is not, because the fibers need a few minutes to stop squeezing and let the juice redistribute instead of running onto the board.
Loosely tent the breast with foil while it rests, and if you cooked it in a pan, spoon the collected pan juices over the top. Home cooks consistently report this as the biggest perceived difference for the least effort.
Slice across the grain with a sharp knife. Cutting against the fibers shortens them, which is what makes a tender breast feel tender in the mouth, and it stops the rest of the meat from being wasted on a toughness problem that slicing could have solved.
Common Mistakes: Why Chicken Breast Ends Up Dry and Rubbery
Here are the causes I see most often, and what each one looks like in the pan.
Cooking on high heat the whole way through. A screaming-hot pan produces a dark crust and a tough, shrunken interior. Medium heat gives the heat time to travel inward before the surface burns off moisture.
Leaving it until it looks done, with no thermometer. Breast passes through a wide window where it is juicy and a narrow window where it is dry, and the window is minutes wide, not degrees.
Uneven thickness. If the thick end is still translucent when the thin end is already firm, there is no way to satisfy both ends. This is why pounding to an even thickness comes before everything else.
Skipping the rest. Slicing straight off the heat drains what juice is left onto the cutting board.
A grey ring or white stripe near the edge. That pale band is usually a cooked-out fat and connective tissue layer near the surface, not a sign of undercooking. Check the thermometer in the thickest part, not next to that line, and not at the thin tip.
A tough, almost woody breast even when it is properly cooked. This one surprises people. Modern broilers grow fast and their breast meat develops denser muscle, a condition often called woody breast or white striping. Pounding to an even thickness and brining both help break it down, and a wet brine or a 24-hour salt cure does more than a quick seasoning. A pressure cooker with a natural release sidesteps the problem entirely, and for woody breasts that is a legitimate tool, not a shortcut.
Salting at the wrong time, or brining past the point. Salting a few minutes before cooking seasons the surface. Salting 30 minutes to a few hours ahead seasons all the way through and helps the meat hold water. A brine left for two full days pushes some pieces into the spongy, wet-sponge texture people complain about online.
Long acidic marinades. Citrus, vinegar and wine denature proteins on the surface. Two hours is fine for flavor, and 8 to 12 hours can leave a boneless breast soft and mushy. Use acid for short marinades and let salt and time do the tenderizing.
Overcrowding the pan or the sheet pan. Breast needs space. Touching pieces steam instead of browning and take longer to cook, which is a recipe for dry meat.
Reheating leftovers badly. Dry heat on already-dry meat is a bad combination. Reheat slices in a covered pan with a splash of broth over low heat for a few minutes, or microwave in short bursts with a damp paper towel, and stop while the chicken is still slightly cool in the middle.
Cooked breast bought in an odd shape. If the breast is thicker than 1.5 inches in the center, no pan will save it without either butterflying or cutting it into thinner pieces.
Frequently Asked Questions
How do I keep chicken breast from drying out when cooking it?
Pound the breast to an even thickness so every part cooks at the same rate, then cook it over medium heat rather than aggressive high heat. Season it with salt at least 30 minutes ahead if you can, and add a spoonful of liquid to the pan or under the foil while it cooks. Pull the breast at 160°F / 71°C and rest it 5 to 10 minutes before slicing.
What is the safest internal temperature for chicken breast?
The USDA recommends 165°F / 74°C, measured in the thickest part with an instant-read thermometer. Many cooks pull at 155°F to 160°F and let carryover heat finish the job during the rest, which keeps the meat juicy. Either way, use the thermometer rather than the color of the outside, and confirm the safe temperature has been reached.
Should I brine chicken breast before cooking?
Yes, especially for large or lean breasts. Use about 2 tablespoons of kosher salt per quart of cold water, submerge the breast, and refrigerate for 30 minutes to 24 hours. Under 30 minutes does little; past 24 hours the texture can turn spongy. A quick alternative is salting the breasts on a rack in the fridge for an hour.
Should you pound chicken before or after brining?
Pound after brining. Brining works by osmosis, which needs time and an unbroken surface, and pounding tears the surface. Take the breast out of the brine, dry it, then pound it to an even three-quarter-inch thickness and season it right before cooking. If you brined for less than 30 minutes, the order matters less.
How long should I cook a chicken breast in the oven?
At 400°F / 205°C, an evenly thick boneless breast takes about 20 to 25 minutes. Thicker, unstuffed breasts run longer, and a butterflied or stuffed breast runs shorter. Start checking the temperature at 18 minutes and pull at 160°F / 71°C, then let carryover heat finish the cook while the breast rests.
How do I reheat chicken breast so it is not rubbery?
Add moisture and use gentle heat. Warm slices in a covered skillet over low heat with a splash of broth for 4 to 6 minutes, or microwave in 30-second bursts with a damp paper towel alongside. Covering the pan limits evaporation, and stopping while the chicken is still slightly cool in the middle keeps it from drying out further.
Conclusion: What to Do First
Start with the raw breast, not the pan. Take ten minutes to pound it to an even three-quarter-inch thickness, salt it or give it a 30-minute brine, and preheat the pan or oven properly. Then cook it over medium heat, pull it at 160°F / 71°C, and wait 5 to 10 minutes before slicing across the grain.
None of that needs a special recipe or a restaurant kitchen. It needs a thermometer, a little patience and the willingness to stop cooking while the meat still looks slightly underdone in the center. That is the whole trick, and it works on a Tuesday night the same as it does on a weekend.