To make pan gravy from drippings, strain the liquid out of your roasting pan, cook an equal-parts roux of fat and flour in a saucepan, then whisk the pan juices in a little at a time until the sauce coats a spoon. It takes about fifteen minutes, needs four ingredients, and the whole thing hinges on measured amounts rather than guesswork.
Most people who struggle with gravy are not cooking bad meat. They are pouring in stock by feel, adding it too fast, and then trying to fix thin sauce with more heat. Fix the ratio and the technique follows almost on its own.
Below is the method restaurants actually use, the numbers behind it, and a rescue path for gravy that has already gone wrong. No equipment beyond a whisk, a strainer, and a saucepan.
Table of Contents
- What You Need to Make Pan Gravy from Drippings
- Key ratios at a glance
- Step-by-Step
- 1. Measure and Strain the Drippings
- 2. Choose Between a Roux and a Slurry
- 3. How to Make Pan Gravy from Drippings
- 4. Season and Finish the Gravy
- 5. Check the Consistency and Safe Storage
- Common Mistakes
- Frequently Asked Questions
- Do I have to make gravy in the same pan used to cook the meat?
- Why is my pan gravy lumpy, and how do I fix it?
- How much liquid and flour should I use for the amount of drippings?
- Can I make pan gravy without flour?
- Should I add gravy while the meat is resting?
- How long can homemade gravy made from drippings stay refrigerated?
- Conclusion
What You Need to Make Pan Gravy from Drippings
Here is the short list, with each item’s job in the sauce and the amount to start from for a standard roast.
- Rendered fat from the pan, about 1/4 cup. The fat carries flavor and cooks the flour into a roux. Measure it rather than pour it freehand.
- All-purpose flour, 1/4 cup (about 30 grams). Equal weight to the fat. This is the thickener, and the single biggest cause of lumpy gravy is pouring it in after the liquid instead of before.
- Liquid, about 2 cups. The deglazed pan juices first, then stock or water to finish. Two cups per 1/4 cup of fat is the reliable starting point.
- Kosher salt and cracked black pepper. Season in layers, at the end, after the sauce is where you want it.
- Optional: unsalted butter, 1 tablespoon, and a squeeze of lemon. Butter off the heat adds gloss, and lemon cuts the flatness that salty drippings leave behind.
You also want a whisk, a fine-mesh strainer, a silicone spatula for scraping the fond, and a saucepan a little wider than your whisk. Wide pans reduce faster and give you more surface for stirring, which is where lumps either die or are born.
Substitutions are easy. If you skimmed all the fat and have nothing to show for it, use 2 tablespoons butter plus 2 tablespoons of oil, and drop the flour to 2 tablespoons so the ratio holds. For gluten-free, cornstarch works as a slurry at 1 tablespoon per cup of liquid, added off the heat. Potato starch and arrowroot behave the same way and stay smoother than flour.
Key ratios at a glance
The rule most cooks never get written down is simple: for every 1/4 cup of fat, use 1/4 cup of flour and about 2 cups of liquid. Some people call it the 3:2:1 rule, counting fat, flour, and liquid. Scale it by the fat you actually have, because that is the number you cannot change after roasting.
| Rendered fat | All-purpose flour | Liquid | Yield |
|---|---|---|---|
| 2 tablespoons | 2 tablespoons | 3/4 cup | Enough to pour over 2 to 3 servings |
| 1/4 cup | 1/4 cup | 2 cups | A full dinner’s worth, about 6 servings |
| 1/2 cup | 1/2 cup | 4 cups | Holiday batch for a large table |
| 1 cup | 1 cup | 8 cups | Roast a second bird |
If you are short on liquid, add it in stages. If you are short on fat, use what you have and add butter to make up the difference, then cut flour to match.
Step-by-Step
1. Measure and Strain the Drippings
Pour the roasting pan’s liquid through a fine-mesh strainer set over a measuring cup or jar, and let it sit for a few minutes so the fat rises to the top and clears.
Skim off the fat from the top but keep the browned bits underneath. Those bits are fond, and they are the most flavorful thing in the pan. A common mistake is throwing the whole pan contents down the drain; instead, keep the strained liquid and the bits together.
You need roughly 2 cups of liquid for every 1/4 cup of fat. Measure what you actually got. If it looks thin and watery, that is normal, and stock or water will fix it. If you have less than a cup of liquid, that is also workable; make a smaller roux and use more fat, or make a concentrate and thin it later.
What you want to strain out is the black, burnt, carbonized material. That is not fond, it is char, and it will make the gravy bitter no matter how much stock you add.
2. Choose Between a Roux and a Slurry
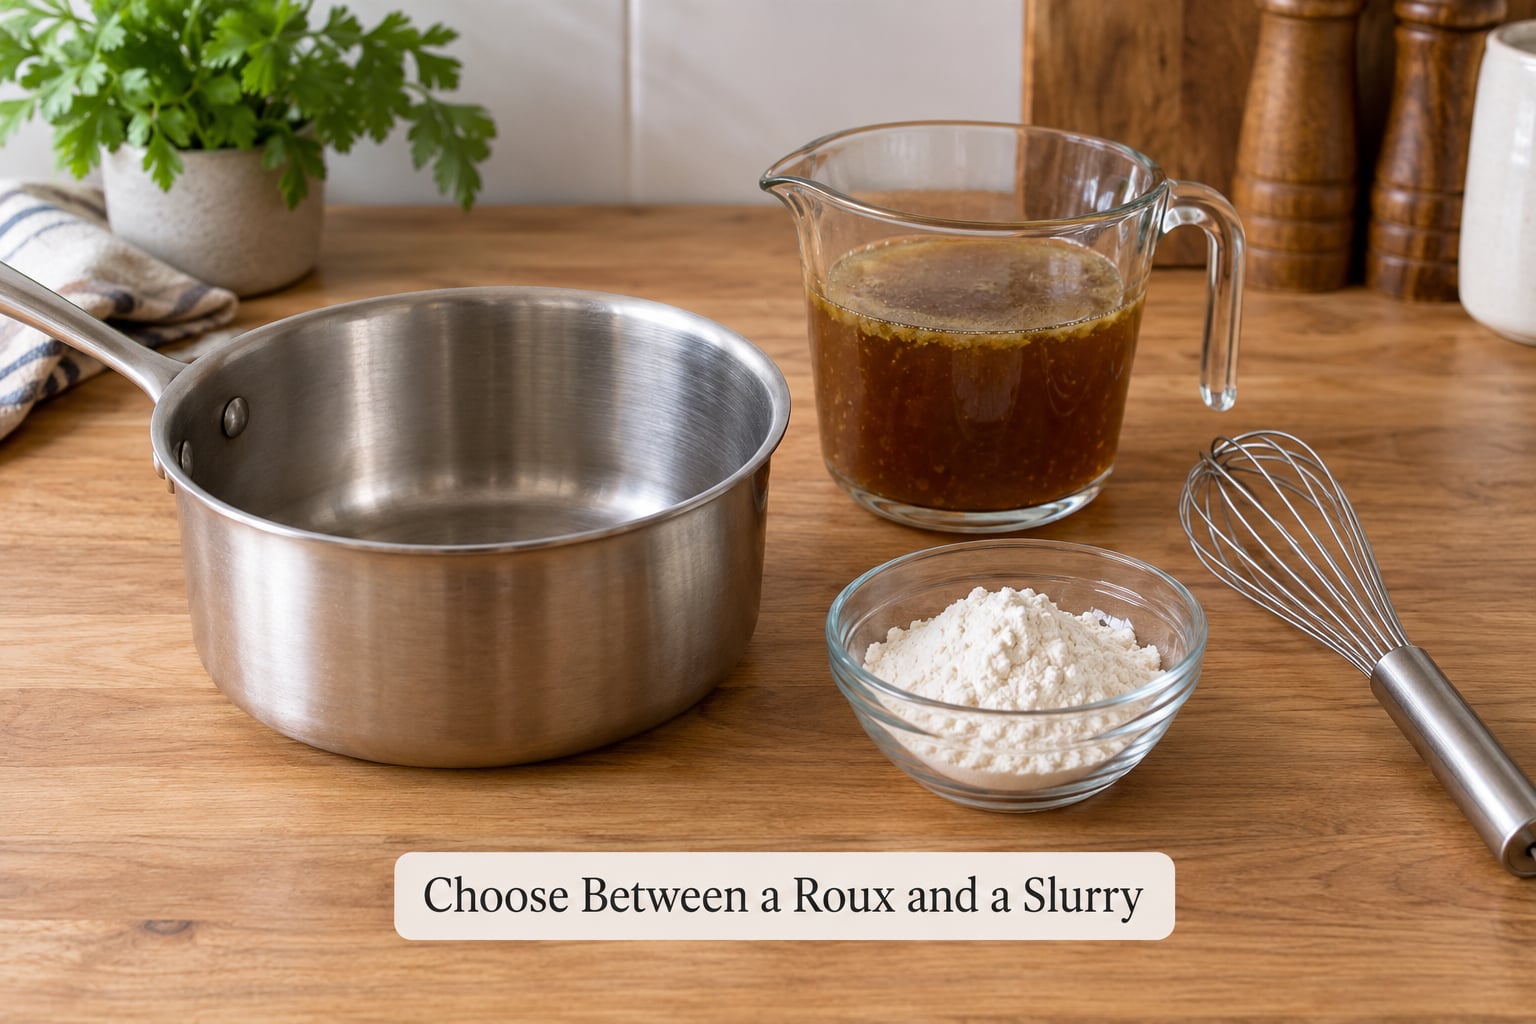
A roux is the right choice for almost every home cook. You cook equal parts fat and flour first, which browns the flour for a nutty flavor and cooks out the raw taste, and then you whisk liquid into the paste gradually.
A slurry is the fast rescue. You whisk cornstarch or arrowroot into cold stock, then stir that mixture into hot liquid at the very end. It thickens in about a minute and never tastes floury, but it gives a glossier, slightly thinner result and does not brown.
Beginners should use the roux. It is more forgiving of timing because you can see the color, and the flavor ceiling is higher.
3. How to Make Pan Gravy from Drippings
Put 1/4 cup of the measured fat in a saucepan over medium heat and let it warm until it shimmers. Do not let it smoke, or it will taste acrid and spatter.
Sprinkle in 1/4 cup of flour and whisk immediately. Keep whisking for about a minute, until the mixture looks like wet sand. This is the step that prevents lumps, because the flour is dispersed in fat before any water arrives.
Now pour in the strained pan juices, about half a cup at a time, whisking constantly between each addition. Wait until the sauce comes back to a simmer before adding the next half cup. That pause is what people skip, and it is the reason gravy goes past smooth into gluey.
Once the liquid is in, bring the pan to a full boil and boil for one full minute, whisking, so the raw flour taste disappears. That minute of boiling is not optional. Skim any foam or fat that rises and remove it; grease on top of finished gravy is the number-one complaint in cooking forums.
Taste for salt now, not before. If it is thinner than you want, simmer uncovered and stir often. Reduction thickens it without adding anything, and about 3 to 5 minutes is usually enough.
4. Season and Finish the Gravy
Season in layers rather than all at once. Salt after the liquid is in and reduced, taste, then add more if needed. Salting early is a common mistake because the sauce keeps concentrating as it cooks, and one early pinch can become oversalted.
Watch your stock choice. Store-bought broth brings a lot of sodium, and drippings are already seasoned, so the sauce can oversalt quickly. If it tastes too salty, add unsalted stock a little at a time, or brighten it with a small squeeze of lemon, which reads as balance rather than acid.
For a restaurant finish, add 1 tablespoon of cold unsalted butter and whisk it in off the heat just before serving. It melts into a light emulsion and gives the sauce a shine and a rounder mouthfeel. A splash of white wine cooked into the roux, or 1 to 2 tablespoons added with the liquid, also works and pairs well with pork and poultry.
Add chopped herbs at the very end, off the heat, so they stay fresh. Thyme, rosemary, or a little chopped parsley are the usual suspects.
5. Check the Consistency and Safe Storage
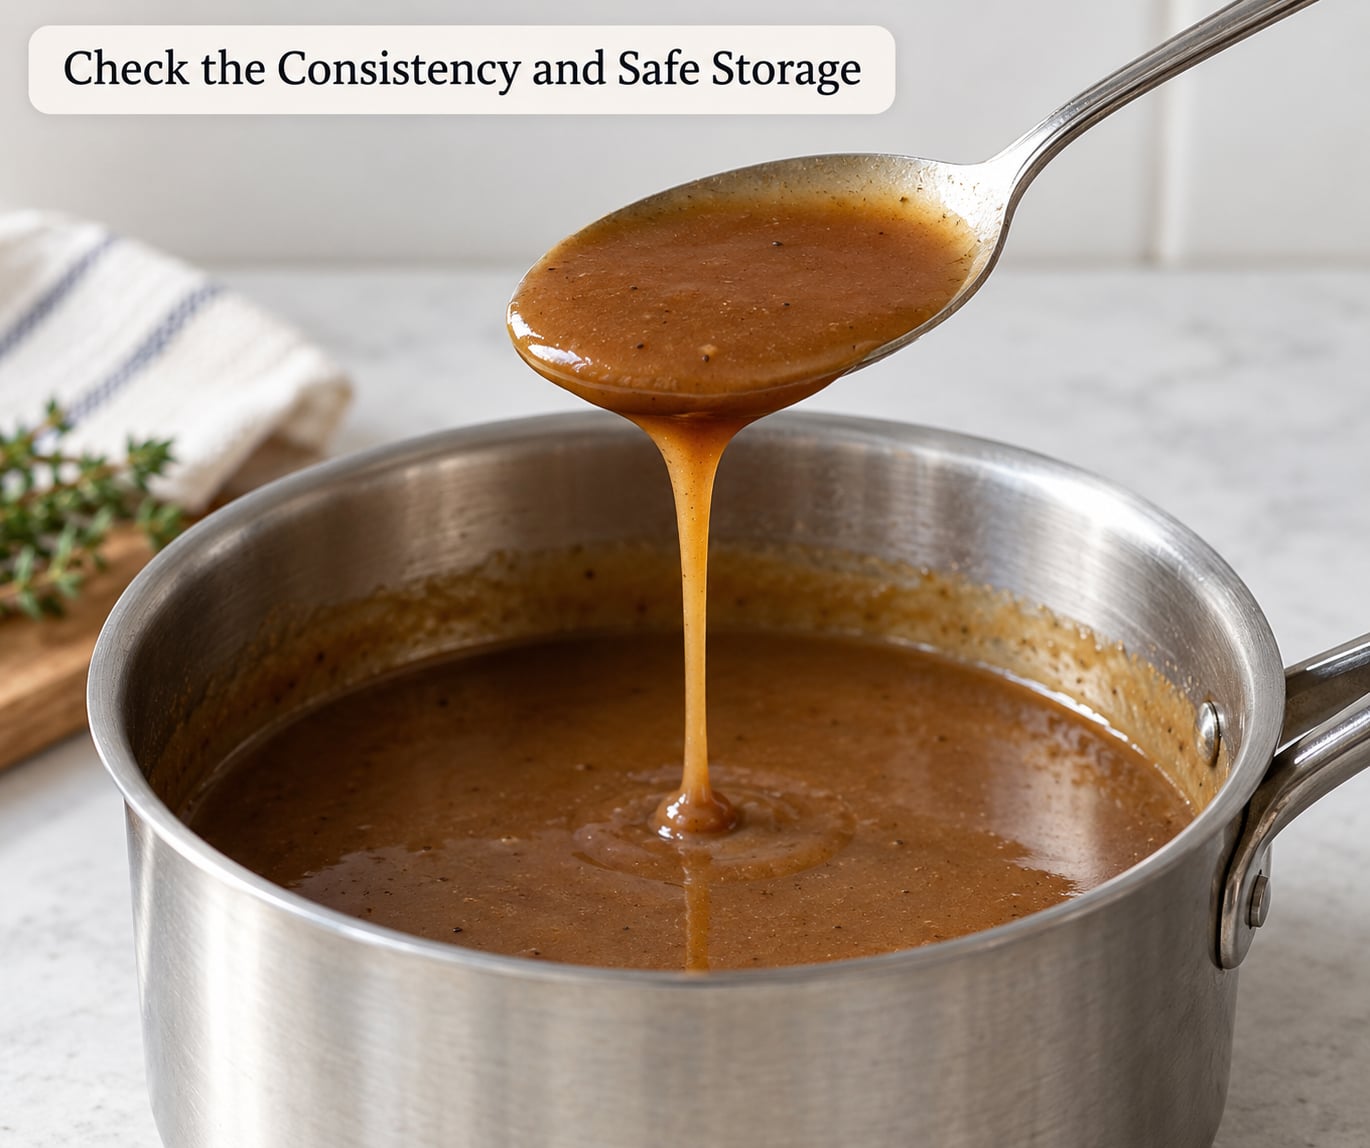
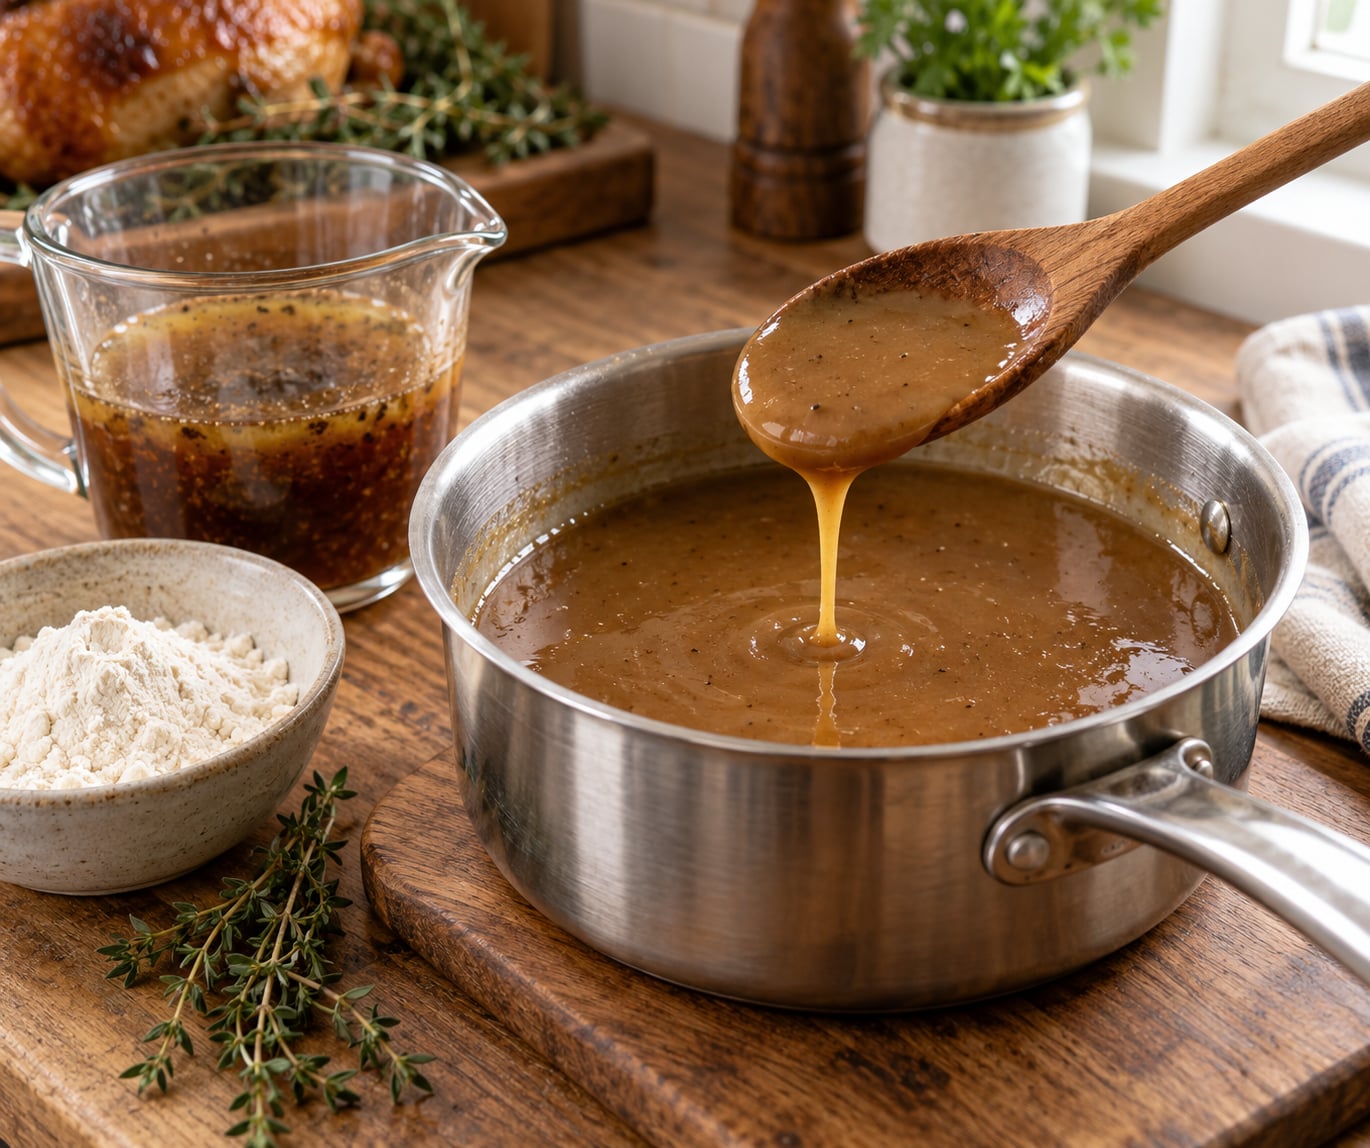
Good pan gravy from drippings coats the back of a spoon in a thin, even layer. Lift the spoon and the trail should hold for a second or two before the sauce drips off. That is the spoon-coat test, and it is the only reliable way to judge thickness rather than guessing.
Should gravy be thick or runny? Thicker than runny for a roast, thinner for a sauce you are pouring. The test is the same either way; the target is a visible coat, not a glaze.
Remember that gravy thickens as it cools, since the starch continues to set. Stop just shy of your target on the stove.
To fix thin gravy, simmer it down first. If that is not enough, whisk 1 tablespoon of cornstarch into 2 tablespoons of cold stock, stir that in, and let it bubble for a minute. Add a slurry in small stages, checking each time.
To fix thick gravy, whisk in hot stock or water a quarter cup at a time, over low heat, until the right looseness returns. It is faster to add liquid than to add thickener.
For storage, cool the gravy quickly and refrigerate it in an airtight container for up to three to four days. Reheat on the stove over low heat with a splash of water and whisk often, since reheated starch goes flat and lumpy. It thickens further, so you will likely need more liquid than you expect. Gravy also freezes well for up to three months; freeze it flat in a freezer bag or in an ice cube tray for portions.
Common Mistakes
Almost every bad batch of gravy comes down to one of the same handful of errors. Each has a fix.
Clumpy gravy. Liquid went in too fast, or flour went in after the liquid. Whisk it hard, then pass the whole batch through a fine-mesh strainer, or blend it with an immersion blender for a few seconds. The strainer removes lumps but keeps a slightly grainy texture, so the blender gives the smoother result.
Raw flour taste. The roux did not get time to cook, or the sauce did not reach a full boil. Boil the finished gravy for a full minute, whisking, and the taste goes away.
Gravy that is too thick. You have the ratio right but cooked it down too far. Whisk in hot stock or water a quarter cup at a time. It is always easier to loosen than to thicken.
Thin, watery gravy. Usually too much liquid for too little fat and flour, or not enough reduction. Simmer it down first; if it stays thin, add a cornstarch slurry, one tablespoon of starch to two tablespoons of cold liquid, in stages.
Bland gravy. Usually under-salted or short on acid. Salt in layers at the end, then brighten with a squeeze of lemon. A spoonful of the meat juices you set aside during resting fixes this too.
Greasy gravy. You skimmed nothing, or you skimmed the wrong layer. Fat rises, so spoon it off the top before you pour. A little fat is fine and adds richness; a visible slick on top is not.
Scorched gravy or a burnt taste. The fond was burnt before you started, or the fat was heated too hot. Pull the pan from the heat, discard anything black and carbonized, and start again with a lighter roast. Undercooked fond is flavor; burned fond is bitterness.
Lumps after reheating. Starch retrogrades as the sauce cools. Reheat slowly with a splash of liquid and whisk constantly, or microwave in short bursts, stirring between each. Never reheat a sealed thick container of thick gravy, and take the lid off so steam can escape.
Two habits do more for consistency than any other trick. Start the gravy during the rest window so the meat is not getting cold while you cook, and pour extra stock into the roasting pan partway through cooking so the drippings do not burn onto the pan in the oven.
One more: if you have a very large roasting pan, deglaze it with broth, pour that mixture into a jar, and work in a saucepan. Controlling a small amount of liquid is far easier than controlling liquid spread across a roasting pan.
Frequently Asked Questions
Do I have to make gravy in the same pan used to cook the meat?
No. A roasting pan is usually too wide to control and hard to whisk, and it splatters on a burner. Set the pan over low heat, add a cup of broth or water, scrape up the browned bits with a spatula, then pour that mixture into a saucepan and finish it there. You get the same flavor with far better control over how fast the liquid reduces.
Why is my pan gravy lumpy, and how do I fix it?
Lumps form when liquid hits dry flour all at once, or when liquid evaporates into the fat during browning and leaves clumps behind. Whisk the fat and flour into a paste before any liquid goes in, then add it half a cup at a time. To rescue a batch already made, whisk hard, then pass it through a fine-mesh strainer or blend it briefly with an immersion blender.
How much liquid and flour should I use for the amount of drippings?
Use roughly 2 cups of liquid for every 1/4 cup of rendered fat, with 1/4 cup of all-purpose flour. That gives about six servings of pan gravy. If you skimmed the fat and have none, use 2 tablespoons of butter and 2 tablespoons of flour with 3/4 cup of liquid. Measure the fat before starting, since that is the one number you cannot change later.
Can I make pan gravy without flour?
Yes, in two ways. Deglaze the pan with broth, then reduce it over medium heat until it coats a spoon, which gives you a clean pan sauce without any thickener. Or whisk 1 tablespoon of cornstarch or arrowroot into 2 tablespoons of cold stock and stir that slurry into hot liquid at the end. A slurry is lump-free and ready in about a minute.
Should I add gravy while the meat is resting?
Yes, that rest window is the ideal time. A roast usually needs 15 to 30 minutes to rest, and the gravy takes about that long. The meat stays hot, the drippings are still fluid, and the fat is easy to skim. Make it while the meat rests and everything reaches the table at the same time.
How long can homemade gravy made from drippings stay refrigerated?
Three to four days in an airtight container, refrigerated promptly. Cool it on the stove first, stirring, so it does not stay warm for long, then cover and chill. Reheat on the stove over low heat with a splash of water and whisk often, since starch-thickened gravy thickens further and goes lumpy if it boils hard.
Conclusion
The whole method is a ratio, a whisk, and patience. Measure your fat, use an equal amount of flour, add the pan juices half a cup at a time, boil a full minute, and stop while the sauce still coats a spoon.
Start by straining the drippings and measuring what you got. Learn that ratio once and how to make pan gravy from drippings stops being a guessing game; everything after that is arithmetic, and arithmetic is the part you can trust.