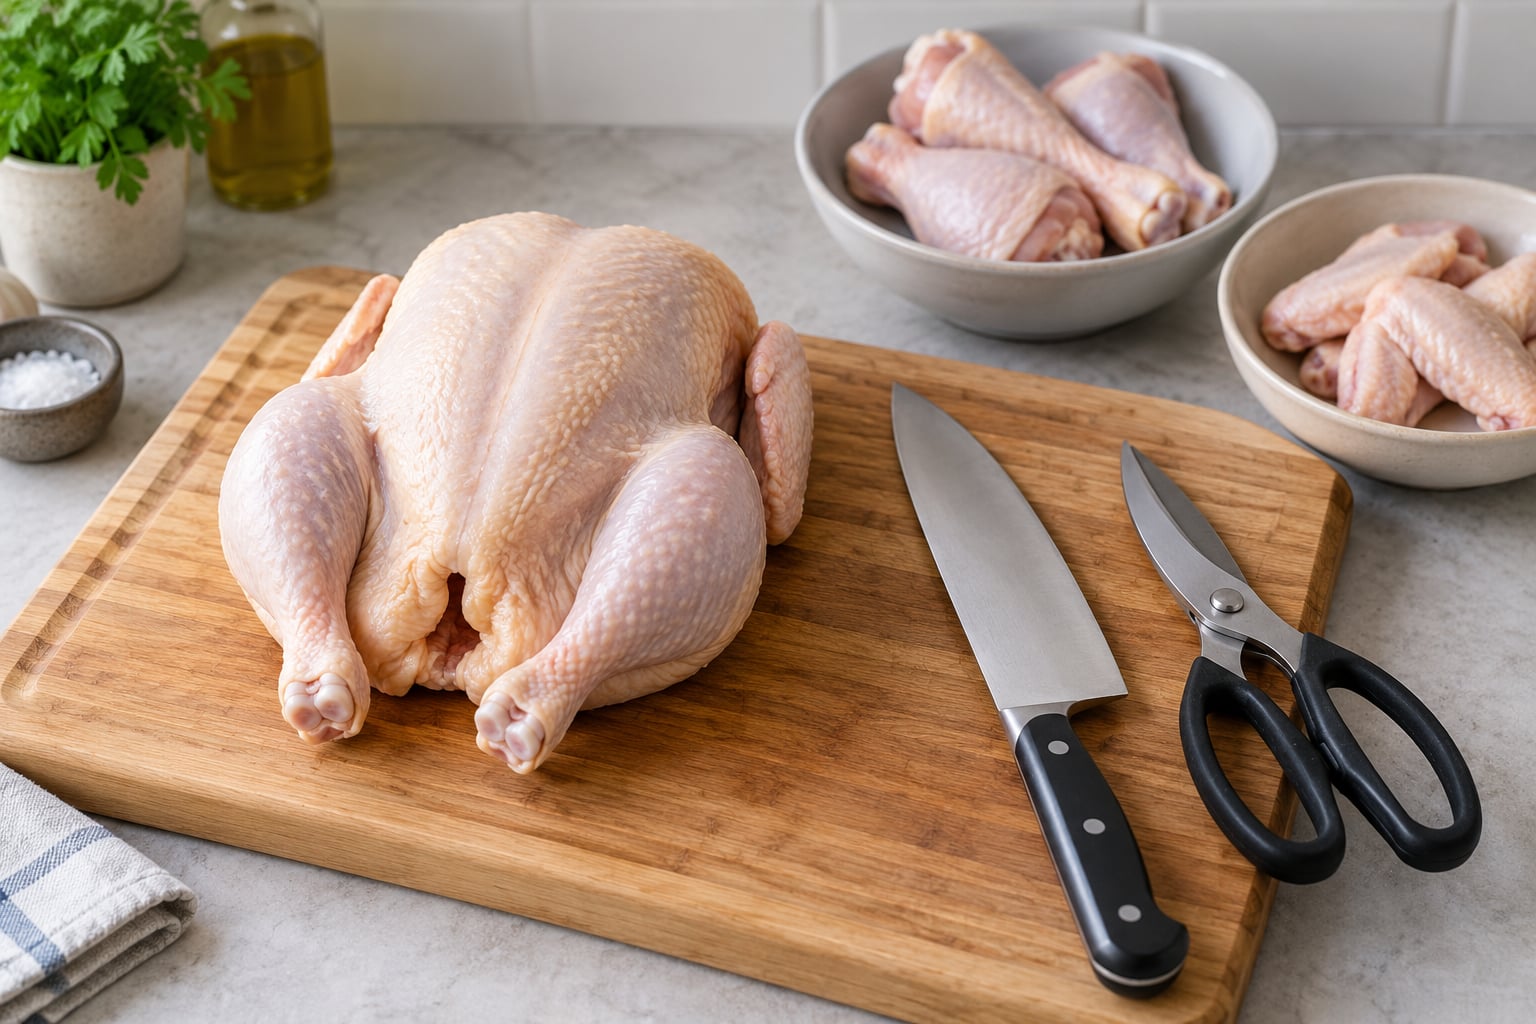
Breaking down a whole chicken into parts means cutting through the natural joints that hold the bird together — ball joint, hip, shoulder, breast bone — rather than sawing through bone. Find the seam, bend it open, slice the soft cartilage and tendon, and the bird comes apart cleanly into two breasts, two thighs, two drumsticks, wings, and a carcass for broth. A first attempt takes about 20 minutes. The tenth takes five.
The reason to do it is simple: a whole bird gives you every piece, including the parts a butcher often keeps back. You also get the oyster, the tender muscle along the spine, which most people have never tasted because they never see it in a wrapped package.
One honest warning before you start. Raw poultry is slippery, and a wet bird on a smooth board is how people hurt themselves. Pat it dry, use a board with a groove or a damp towel underneath, and wipe the blade between cuts.
Table of Contents
- What You Need
- Step-by-Step: How to Break Down a Whole Chicken into Parts
- How to Break Down a Whole Chicken into Parts: Set Up and First Cuts
- Remove the Legs and Thighs
- Remove the Wings
- Separate the Breast from the Backbone
- Cut the Backbone into Serving Pieces
- Common Mistakes and How to Fix Them
- Frequently Asked Questions
- What should I do with the giblets when breaking down a chicken?
- Do I need poultry shears to break down a whole chicken?
- How long can I keep chicken after breaking it down?
- How do I know the chicken is cooked safely after using the parts separately?
- Should I remove the skin before breaking down a chicken?
What You Need
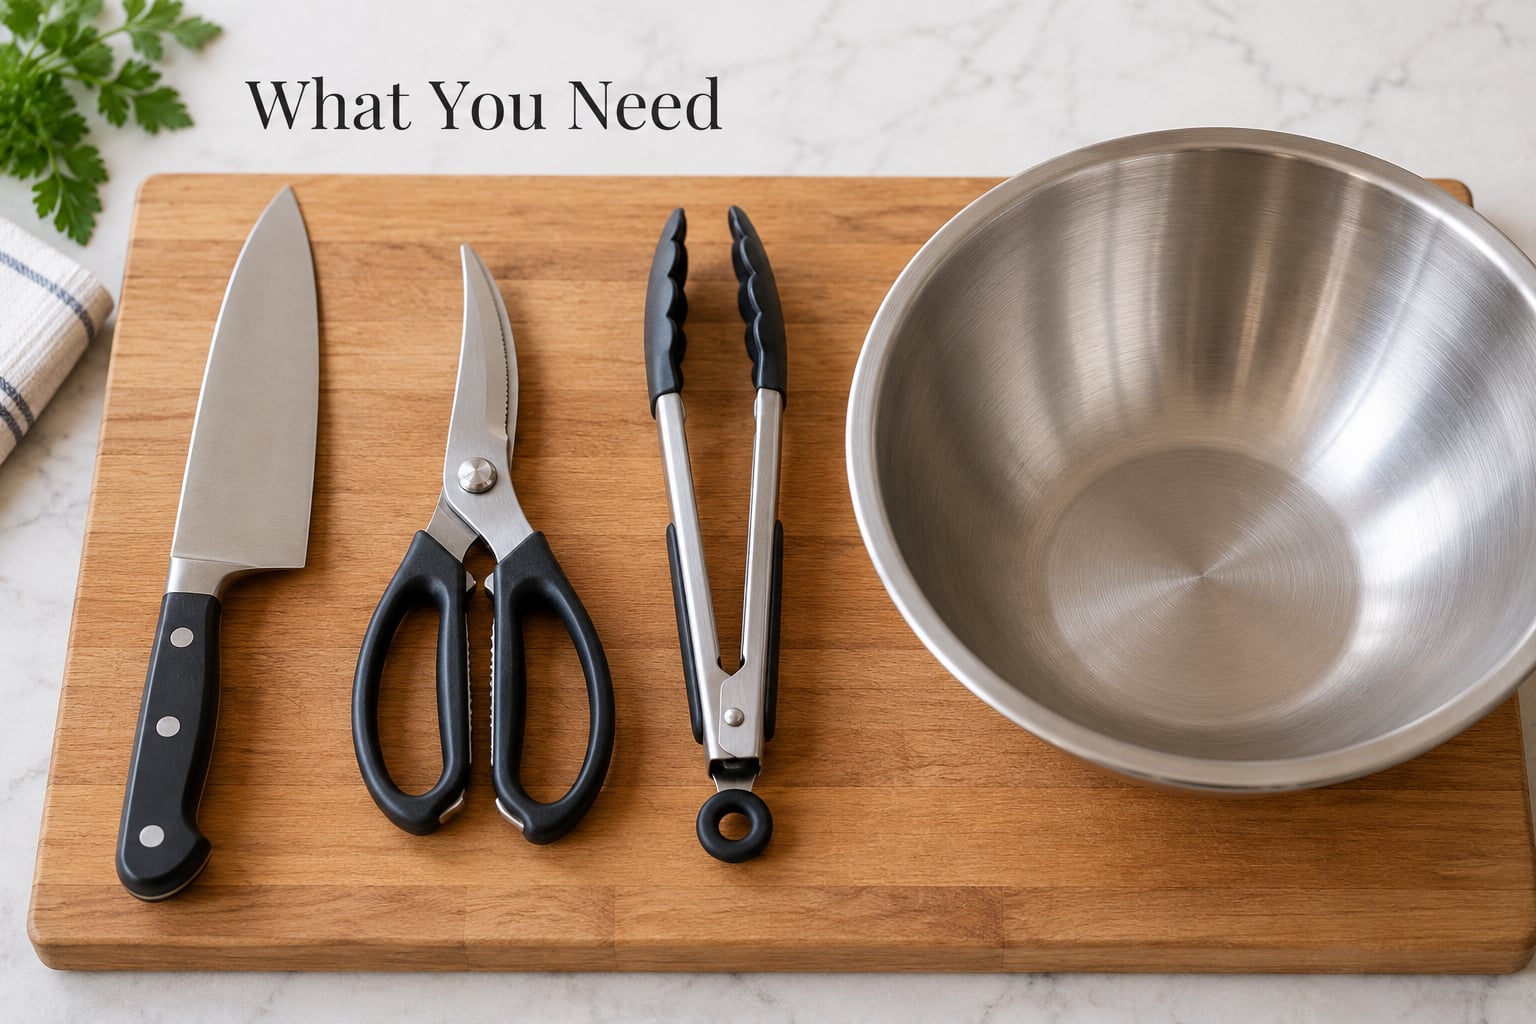
A short list, and only one item on it matters more than the rest.
- A sharp knife. A chef’s knife or santoku handles almost every cut here. A boning knife with a flexible blade makes the backbone work easier, but a dull chef’s knife makes every step dangerous. A dull blade needs pressure, and pressure on a wet chicken is how fingers get cut.
- Poultry shears for the backbone, ribs, and wing tips. You can do the whole job with a knife if you want, but the shears make the rib cage noticeably less frustrating.
- A large cutting board, ideally grooved or with a handle. Wood is fine if it is well maintained; a non-porous plastic board is easier to sanitize after.
- A wide bowl for the pieces and a second bowl for the carcass, neck, and wing tips destined for broth.
- Clean tongs so your hands stay out of the raw meat.
- Paper towels for drying the bird and for grabbing a slick section.
- A container or bag for giblets, and a freezer bag if you are breaking the bird down for storage.
Set the carcass bowl on one side and the pieces bowl on the other before you cut a single thing. Deciding in advance where each piece goes is most of what keeps a breakdown from turning into a mess.
The word joint gets thrown around a lot, so here is what the ones you will handle actually are. Knowing these names is what lets you read a recipe or watch a video and know which cut is being shown.
| Term | Where it is | What it feels like |
|---|---|---|
| Ball joint | Hip, where the whole leg attaches to the body | A hard round knuckle; the leg pulls straight out of it |
| Hip joint | Inside the ball joint, holding thigh to drumstick | A deep bend halfway down the leg |
| Shoulder joint / scapula | Where the wing meets the breast | Flat blade of bone under the skin |
| Keel / breast bone | The ridge running down the center of the breast | Runs the length of the breast, point toward the tail |
| Wishbone (furcula) | Front of the breast, under the skin | A V-shaped bone you can feel with your fingers |
| Oyster | Along the spine, on either side of the backbone | A small dark strip of meat beside the ribs |
| Drumette | Upper wing, single bone | Thickest wing section |
| Wingette | Flat middle wing, two bones | The flat section |
| Wing tip | End of the wing | Narrow, mostly skin and cartilage |
| Natural seam | The line of fat and connective tissue between muscles | Visible before you cut, sometimes |
Step-by-Step: How to Break Down a Whole Chicken into Parts
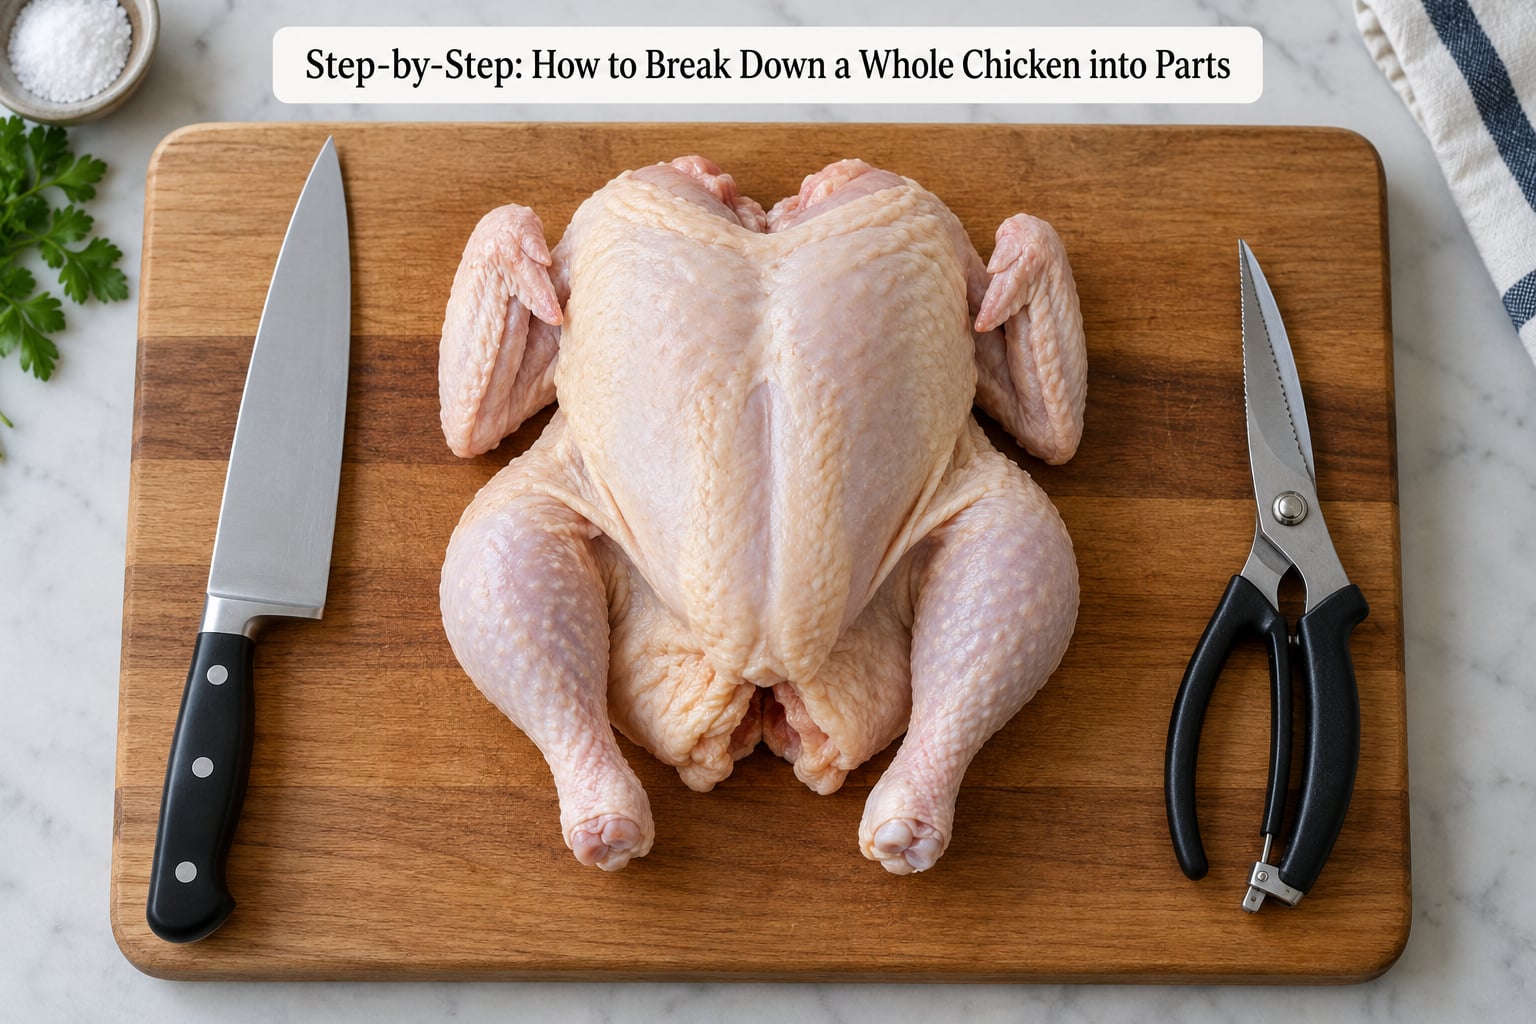
If you only need the shape of this, here it is in one block: remove the giblets, dry the bird, cut off the wing tips, take out the wishbone, remove the backbone, split the breast, take off the wings, pull the legs from the hip joints, pop out the oyster, and split the thigh from the drumstick. The details for each are below.
Guides disagree on the order — some start with the legs, some with the back — and that is the single biggest source of confusion for beginners. Pick one and stick to it. Back first, then breast, then wings, then legs works well because the backbone keeps the bird stable while you do the delicate cuts, and the breast comes off whole while the bird is still flat.
How to Break Down a Whole Chicken into Parts: Set Up and First Cuts
Open the bag over the sink or trash can, not the counter. Pull out the giblets — heart, liver, and gizzard — and put them in a container for later.
Pat the bird dry inside and out with paper towels. Dry skin is dry grip, and dry grip is the whole safety story here. Tuck the drumsticks into the cavity if you like, or leave them out; both work.
Turn the bird breast-side up and lay it with the legs pointing toward you. Run your hand down the outside of the first thigh and you will feel the ball joint, the round knuckle where the leg meets the body. Press and wiggle the leg; you should feel it move inside the socket.
Remove the Legs and Thighs
Bend the leg back sharply at the hip until the thigh rotates up and the joint opens. Cut down into the crease with the tip of the knife, blade angled toward the bone, and slice through the skin, the thin connective tissue, and the joint capsule. Keep the blade close to the socket and moving downward — you are trimming around a cup shape, not cutting a straight line.
Here is the test that makes the rest of this easy: no resistance means you are in the right joint. If the knife suddenly meets hard, flat resistance, you have found bone. Back up, move the tip a few millimeters, and try again. Expect to cut through cartilage, tendon, and ligament — that gives a little give and a slightly rubbery feel, which is normal and needs no force.
Twist the whole leg out of the socket once it is free. Repeat on the other side. Do not cut past the joint toward the backbone; that is how you end up with a scrap of breast meat attached to the leg.
To make leg quarters, stop there — thigh plus drumstick is a quarter. To make eight pieces, separate each leg. Find the midpoint of the leg where the drumstick bends under the thigh, bend it back, and cut through the joint. The drumstick comes away with a clean round end at the top of its bone, and the thigh keeps a matching knuckle.
While the breast is still attached, you can also pull the oyster. It sits against the spine on either side of the backbone, and you will find it as you cut the back away from the body. Set it aside; it is tender, it marinates fast, and it is usually the piece people end up requesting by name once they have tasted it.
Remove the Wings
Find the shoulder joint: press the wing and feel for the flat blade of the scapula under the skin near the body. Lift the wing away from the breast so the skin tents, then cut down through the joint along that flat blade.
You are cutting across two bones meeting in a hinge, so approach it the way you would a clamshell — find the hinge and work the blade around it rather than pushing straight through. A wing comes away in one piece if the shoulder joint was freed fully; a wing that leaves a flap of breast skin behind usually means you cut through the joint but left part of the scapula attached.
Optional, and worth it if you fry or grill wings: cut the wing into its three segments. Snip the tip off at the joint between the small bones at the end, discard it or save it for broth. Then cut between the drumette and the wingette. Many people leave the tip attached to the wingette because it crisps better there.
Separate the Breast from the Backbone
Flip the bird so the back faces up and lift it by the legs. Cut along either side of the backbone with the knife or shears, working from the tail end toward the neck, staying as close to the spine as you can. The backbone sits inside a shallow trough between the rib cage and the breast.
Work from both ends rather than one hard push through the middle; the center of the spine is the thickest part and the easiest place to skid the knife sideways.
Flip the bird back over, breast-side up, and cut straight down the center of the keel to divide the breast into two halves. A shallow angle, blade tilted maybe 30 to 40 degrees and following the ridge, keeps more breast meat attached to the piece instead of leaving a ragged strip by the bone. If you want one whole breast for slicing, cut down one side of the keel only and follow the curve of the rib cage.
If the wishbone is going to the breast, remove it now or at the table. Feel for the V at the front of the breast under the skin, push the meat down away from it, and cut the wishbone out. Leaving it in means a hard little fork poking through the meat when someone carves the breast.
Cut the Backbone into Serving Pieces
Split the backbone lengthwise with heavy shears, then cut it crosswise into two or three pieces that fit in a pot. Work along the natural gaps between ribs, and turn the shears as you squeeze so the blades stay aligned.
The point of cutting with the grain of the bone rather than straight across is splinter resistance — crosswise cuts tend to leave shards. When a cut does start to splinter, change your angle slightly and finish from the other side.
The back and neck go into a bag in the freezer. When it is full, cover it with cold water, bring it to a bare simmer, and skim the foam; two to three hours gives you a decent pot of broth. A useful ratio by weight is roughly one part carcass to four parts water, though the finished liquid varies by bird.
Common Mistakes and How to Fix Them
Hitting bone and assuming something is wrong. Most beginners cut through the middle of a joint instead of through its middle, and the knife stalls. When you feel resistance, back the blade out, lift the part to change the angle, and re-find the seam.
Pulling instead of cutting. Tearing a leg out with your hands rips skin and leaves cartilage behind. Bend and twist to open the joint, then let the knife do the separating.
Tearing skin on the breast. Pull the skin taut with one hand while you cut underneath it. Let the skin slacken and it drags the knife off line.
Losing meat along the backbone. Slice shallow and follow the curve of the spine instead of cutting a straight line past it. The thin layer you are protecting is exactly what the oyster is attached to.
Confusing the wishbone and the keel. The keel is the long breast bone running toward the tail; the wishbone is the small V-shaped one at the front of the cavity. They get swapped in instructions all the time, so trust what you feel under your fingers rather than the word.
Forcing a blade through cartilage. Joint cartilage is not meant to be cut straight through. Bend the joint to open it and the blade passes with almost no effort.
Three habits prevent most of this. Use a damp towel or a groove board so the bird cannot slide. Do one clean cut per joint rather than several sawing strokes. And wipe the knife on a paper towel between pieces — a clean blade grips, a smeared one does not.
On food safety: raw poultry keeps in the refrigerator one to two days. Wash hands with soap after handling, use a separate cutting board from produce, and scrub the board, knife, and counter with hot soapy water before they touch anything else. Cooked chicken keeps three to four days, and frozen pieces stay at their best for three to four months. Cook every part — breasts, thighs, drumsticks — to 165°F / 74°C measured in the thickest part, with the thermometer not touching bone.
Frequently Asked Questions
What should I do with the giblets when breaking down a chicken?
Keep them. The heart, liver, and gizzard go in a container and cook alongside the bird, or into the broth bag. Many cooks salt the gizzard overnight for tenderness. Giblets keep one to two days refrigerated alongside the raw bird, and cook like any other poultry part to 165°F / 74°C. If the bird has none, some packers remove them already, which is common with air-chilled birds.
Do I need poultry shears to break down a whole chicken?
No, a sharp chef’s knife handles the entire job. Shears make the backbone and rib cage noticeably easier because you can cut between ribs with a squeezing motion instead of rocking a heavy blade. If you buy one pair, heavy poultry shears that separate into two pieces are more comfortable than spring-loaded kitchen shears, since you can lift a rib and place the blade exactly where you want it.
How long can I keep chicken after breaking it down?
Raw pieces keep one to two days in the refrigerator, cooked pieces three to four days. For longer storage, freeze each piece in its own bag laid flat, press the air out, seal, and label with the date; flat packages stack and freeze faster than bulky whole birds. Frozen raw poultry is best used within three to four months. Thaw in the refrigerator, not on the counter.
How do I know the chicken is cooked safely after using the parts separately?
Every part needs to reach 165°F / 74°C in its thickest part, measured with an instant-read thermometer that does not touch bone. Because breasts, thighs, and drumsticks cook at different rates once separated, check them separately and pull each one the moment it hits temperature rather than cooking the whole batch to the slowest piece. Rest the meat a few minutes before slicing so the juices settle.
Should I remove the skin before breaking down a chicken?
Usually not. Leaving skin on during the breakdown keeps the meat moist and gives you the option of crisping it later. It does make the bird slippery, so dry it well first. Some cooks strip the skin first when they plan to render the fat or when a recipe calls for skinless portions, and that works fine too; just move the removed skin straight to the pan or the broth bag rather than leaving it on the counter.
Start with a thawed bird, a dry board, and the ball joint on your thigh. Find that first joint, cut through it, and the remaining cuts are all smaller versions of the same move.