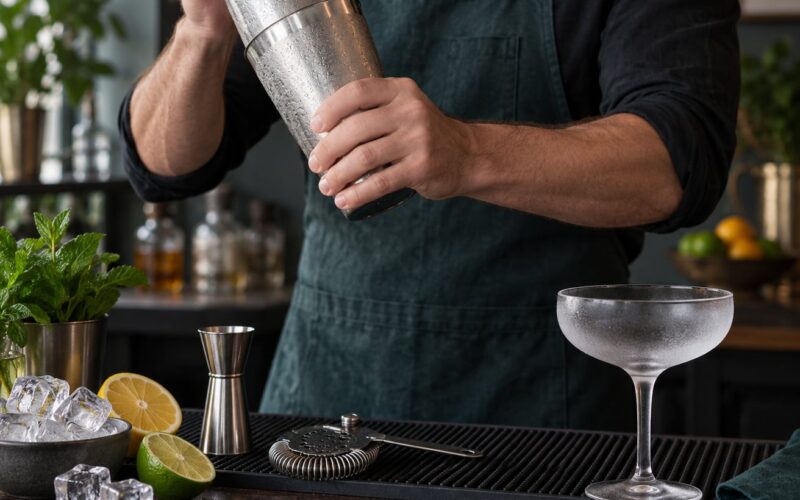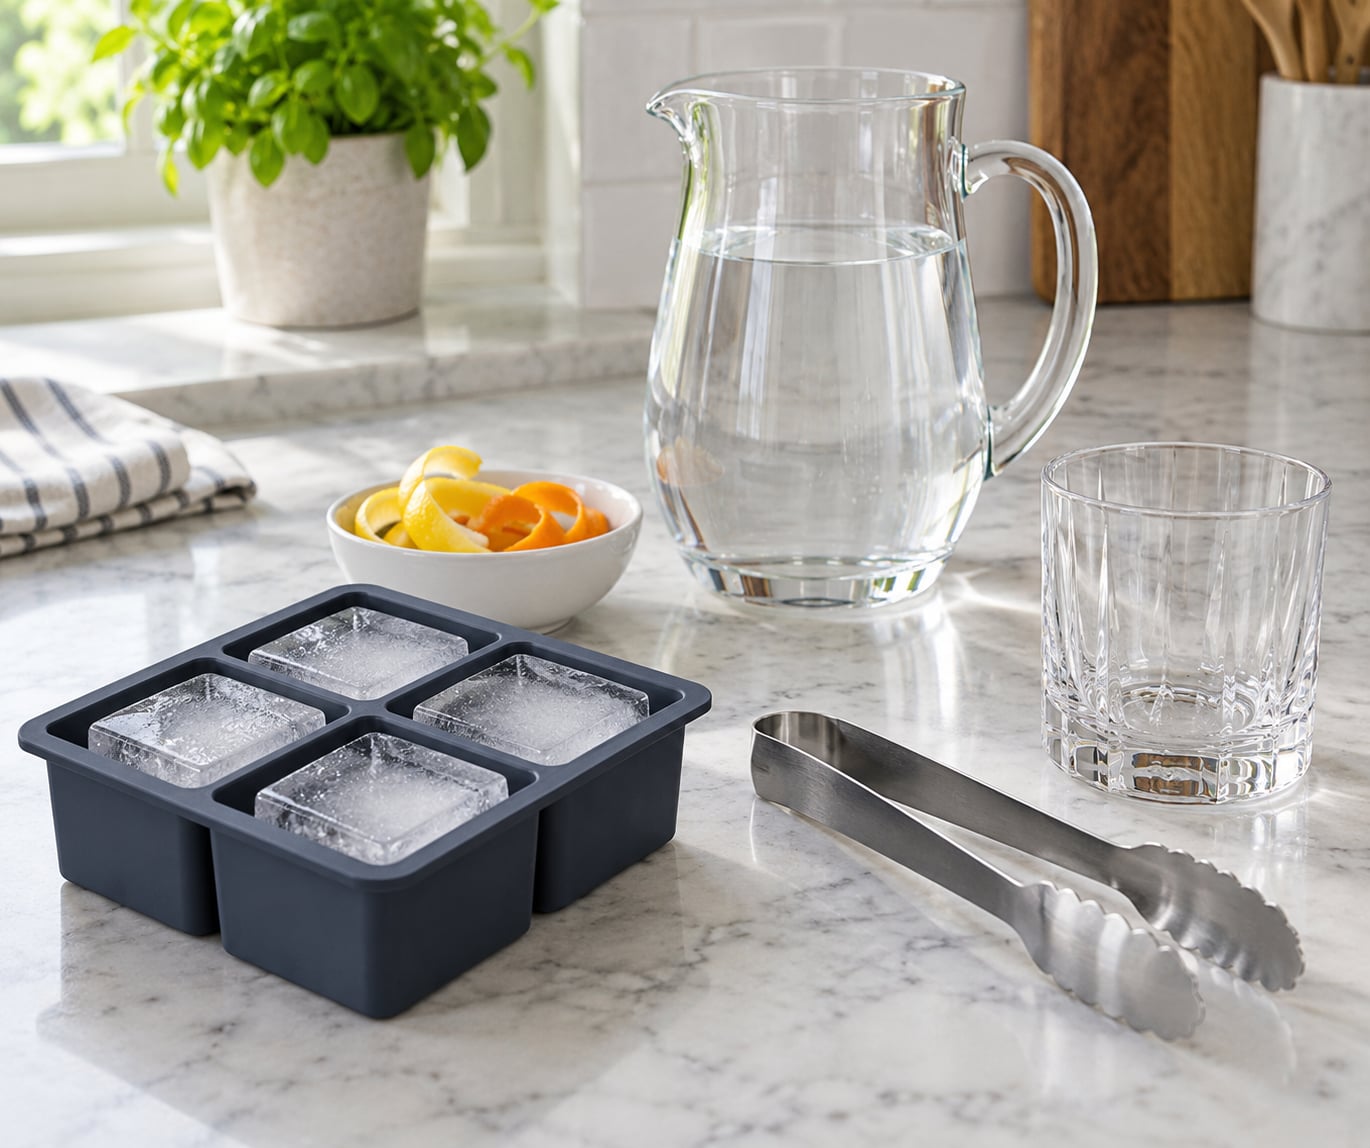
To make large format ice cubes for drinks, you freeze water in something bigger than a standard tray: a silicone king-cube mold, a small mold sitting in an ice-water bath, an insulated cooler, or a loaf pan you cut into blocks later. A 2 inch cube needs roughly 6 to 8 hours in a home freezer and dilutes a drink far more slowly than a tray cube. Clear ice takes more work than big ice, so below I spell out which methods actually give you each one.
The reason people bother with 2 inch cubes is surface area. A tray cube chills a drink quickly and then melts just as quickly, watering down a neat bourbon after three sips. A large cube has far less surface for its volume, so it chills just as fast but lasts for the whole drink.
Everything here works with a normal chest or upright freezer. You do not need a countertop ice maker, and for the clearest results you do not need one either, since most of those machines make hollow bullet ice rather than solid blocks.
Table of Contents
- What You Need
- Methods at a glance
- Step-by-Step
- How to Make Large Format Ice Cubes for Drinks
- Fill the Molds Without Trapping Air
- Freeze Until Completely Solid
- Release and Store the Large Cubes
- Common Mistakes
- Frequently Asked Questions
- What size should a large-format ice cube be for drinks?
- How long does it take to freeze large ice cubes?
- Can I make flavored large ice cubes at home?
- Why are my large ice cubes cloudy or stuck to the tray?
- How should I store large ice cubes so they do not stick together?
- Which drinks work best with large-format ice cubes?
- What To Do First
What You Need
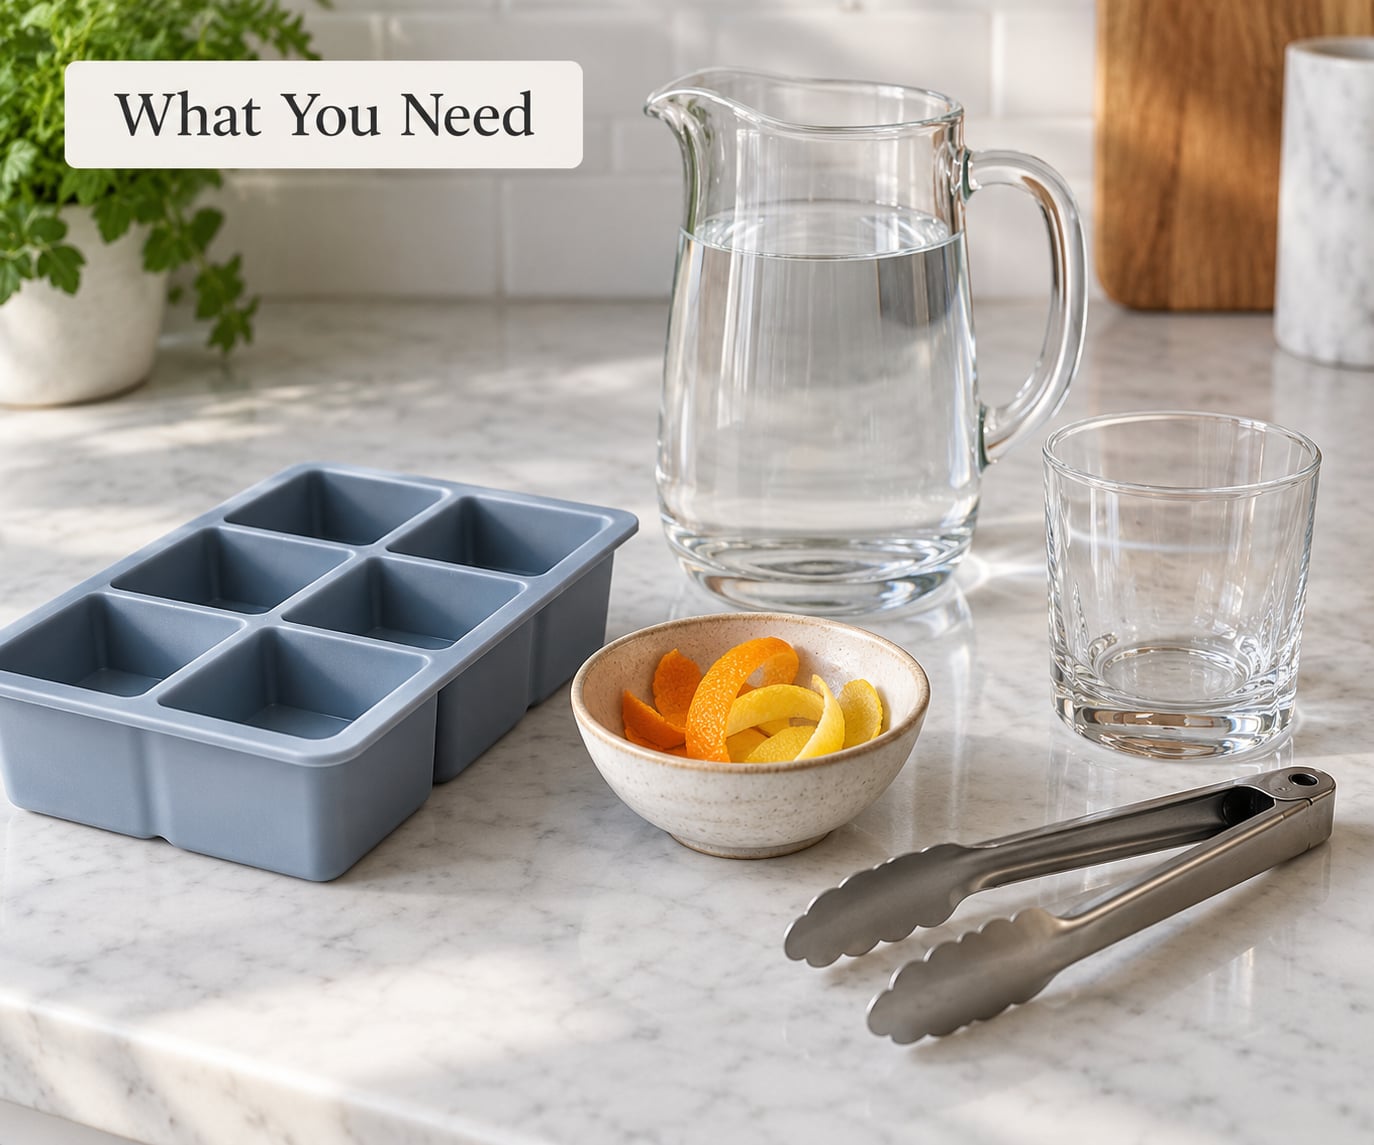
Pick your mold first, because it decides the size you get. A 2 inch square cavity is the standard large-format cube and the right size for rocks glasses. Cavities from 2.5 to 3 inches suit highballs and lowballs, while a sphere mold makes the round ice ball used for stemmed glassware.
The material matters more than people expect. Soft, floppy silicone peels away easily but can flex enough to distort a big cube or chip the corner on release. Stiffer silicone or rigid plastic molds hold a cleaner shape and need a quick warm rinse before the ice comes out.
For water, tap is fine for big cloudy cubes. For clear cubes use one of these, in order of how well they work: distilled water, water run through a good filter, or tap water boiled for a full minute and then cooled uncovered. Boiling drives off dissolved gases that would otherwise freeze into little white bubbles.
- A large-cube silicone mold, sphere mold, loaf pan, or a food-safe tub for block ice
- Filtered or distilled water, or tap water boiled and cooled
- A filtered-water pitcher if your tap water tastes strongly of chlorine or minerals
- An ice scoop or clean tongs, never bare hands on finished cubes
- Airtight storage bags or a lidded container for finished cubes
- A small towel, and an insulated cooler if you plan to try directional freezing
Freezer space is the underrated requirement. One 2 inch mold with four cavities needs a shelf roughly the size of a baking sheet, and a loaf pan block needs about a third of a full shelf. Plan batches a day apart rather than stacking four half-frozen trays on top of each other.
Methods at a glance
| Method | Typical cube size | Time to freeze solid | Clarity | Equipment |
|---|---|---|---|---|
| Silicone large-cube mold | 2 inch square | 6 to 8 hours | Fair to good | Mold tray only |
| Mold sunk in an ice-water bath | 2 inch or smaller | 5 to 7 hours | Good | Tub, mold, loose ice |
| Loaf pan or tub block, cut later | 3 inch or larger blocks | 10 to 14 hours | Cloudy unless slow-frozen | Loaf pan and knife |
| Insulated cooler or thermos directional freeze | Slab you cut yourself | 10 to 14 hours | Clearest | Cooler plus filtered water |
| Countertop ice maker, left running | Hollow bullet ice | 3 to 4 hours per batch | Clear but hollow | Ice maker |
Step-by-Step
How to Make Large Format Ice Cubes for Drinks
Start with the mold and the position of it, because that is where most batches go wrong. Choose a cavity size that matches your glasses, wash the mold with hot soapy water, and dry it completely since a drop of leftover soap leaves a streak across the finished cube.
Set the tray on a flat shelf and level it with a small shim under one edge if your freezer floor is sloped. A tilted tray freezes unevenly, which means a thin section that cracks and a thick section that stays slushy in the middle.
Leave the tray in the freezer to chill while you handle the water. A cold tray means the water starts setting at the surface right away, which slows the freeze and reduces the internal cracking that makes big cubes shatter.
Fill the Molds Without Trapping Air
Pour the water in slowly from one corner so it flows across the cavity instead of dropping in and folding air into itself. If you have a syringe or a small pitcher with a narrow spout, use it, and stop a few millimeters below the rim.
Water expands as it freezes, so an overfilled cavity pushes outward and cracks the mold or splits the cube. Filling to about 80 percent leaves the expansion room it needs.
For flavored cubes, add fruit, herbs, or citrus peel after the water is in, and press each piece down so it sits inside the ice rather than floating at the top where it blocks the release point. Small items work best: a thin lemon wheel, a few mint leaves, or a coffee pod-sized piece of dark chocolate.
Push the tray straight back into the freezer and close the door. Every time you open it you push warm, moist air into the box, and that moisture settles on the ice as a faint fuzzy coating that picks up smells later.
Freeze Until Completely Solid
A 2 inch cube typically needs 6 to 8 hours in a typical home freezer, and larger blocks need 10 to 14. Freezing at 0 degrees Fahrenheit or colder helps, but your freezer’s normal operating range of 0 to minus 10 is usually enough if the cube is not being disturbed.
Larger cubes take longer because the freeze front has to travel further, and the middle of a thick block stays near freezing temperature long enough for crystals and impurities to collect there. That is the white cloudy core you see when you cut into an over-fast-frozen cube.
To test whether the center is done, lift the tray level with the shelf edge and press one finger straight down into a cavity. Solid ice resists and feels hard; slushy ice gives and feels wet. If in doubt, give it another two hours rather than guessing.
Skip the cycle where you leave the tray on the counter to soften it before checking. That warms the whole cube and softens the surface right when you want it firm.
Release and Store the Large Cubes
Loosen the cubes by running the closed tray under warm tap water for 20 to 30 seconds, or dip it in a bowl of warm water. Then flex the silicone and push from underneath with a thumb rather than levering at the edge, which is what snaps a corner off.
On rigid molds, tap the back of the tray against the edge of the counter to break the seal, then push the cubes out from behind. If one refuses, wait five more minutes. Forcing it is how people end up with a tray full of half-cubes and crumbs.
Drop each cube into a clean airtight bag or a lidded container lined with a towel. Separate the layers with parchment or a sheet of wax paper so they do not fuse into one block, and get them into storage the same hour you take them out.
Store them in the coldest part of the freezer, which is usually the back rather than the door. A towel absorbs the moisture that makes cubes stick together, and a sealed bag keeps them from absorbing odors from whatever is stored nearby.
Common Mistakes
Cloudy cubes with a white core. The center froze too fast, pushing air and dissolved minerals into the middle. Slow the freeze with a lid, an insulated container, or an ice-water bath around the mold, and switch to boiled, filtered, or distilled water. You can also freeze in layers, adding about a quarter inch of water every hour, which gives the freeze front time to work evenly.
Cubes stuck to the mold. The mold was probably warm and wet, or the cubes were flexed rather than pushed out. Chill the tray first, dry it before filling, and rinse the finished tray in warm water for half a minute before flexing.
A cube that cracked into pieces. Either overfilling, or the freeze happened too fast and the expanding ice split itself. Leave headroom in each cavity and insulate the tray with a second layer, and on very large blocks freeze in layers rather than all at once.
Cubes that freeze unevenly or lopsided. The tray was tilted, or something resting on top of it pressed down during the freeze. Level the tray and give it its own shelf with nothing stacked above it.
Cubes that still melt too fast. Either the cube was smaller than you thought, or it spent time in a warm glass before you drank it. Chill the glass first, fill it with the spirit before adding ice, and use a 2 inch cube as the floor rather than the ceiling.
Ice that smells like the freezer. There is no fixing it after the fact, only preventing it. Keep finished cubes in sealed bags away from open containers of onions, raw fish, or chili, and if your freezer already stinks, freeze the cubes uncovered on a tray for an hour so the surface odor off-gasses before you bag them.
Frequently Asked Questions
What size should a large-format ice cube be for drinks?
A 2 inch square cube is the standard for rocks glasses, old fashioneds, and whiskey on the rocks, since it chills a 2 ounce pour in about a minute and lasts through the drink. Highballs and lowballs work well with 2.5 to 3 inch cubes or spheres, which hold cold in a taller glass. Avoid going bigger than 3 inches unless you are serving a room, because one cube can swamp a small glass.
How long does it take to freeze large ice cubes?
A 2 inch cube takes about 6 to 8 hours in a typical home freezer, and a loaf pan block needs 10 to 14. Freezing directionally in an insulated cooler is the slowest route at the same 10 to 14 hours, because the insulation deliberately slows the process down. Setting the freezer colder shortens it a little. Freezing overnight and using the cubes the next evening is the safest plan.
Can I make flavored large ice cubes at home?
Yes, and it is the easiest way to make big cubes feel intentional. Citrus wheels, herb sprigs, coffee, tea, and juice all freeze well into 2 inch cavities, provided each piece is small enough to sit fully inside the water rather than at the surface. Keep flavorings mild, since a strong cube will carry into the second and third sip and can overwhelm a delicate spirit.
Why are my large ice cubes cloudy or stuck to the tray?
Cloudiness comes from freezing too fast, which traps air bubbles and pushes minerals into the center, so slow the freeze with a lid or an ice-water bath and use filtered or boiled water. Sticking happens when a warm, wet tray was filled, or when cubes were levered out at the edge instead of pushed from behind. Chill and dry the mold before filling, then rinse it in warm water for 30 seconds before removing the ice.
How should I store large ice cubes so they do not stick together?
Move them into an airtight bag or a lidded container within the hour they come out of the mold, since cubes left on a tray fuse together as lingering surface moisture refreezes. Separate layers with parchment or a sheet of wax paper, and keep the container in the coldest part of the freezer rather than the door. A towel inside the container absorbs the extra moisture that causes clumping.
Which drinks work best with large-format ice cubes?
Large cubes suit anything served neat or over a few cubes where dilution ruins the drink: old fashioneds, whiskey or bourbon on the rocks, a gin and tonic, a margarita on the rocks, and clear cocktails where you can see through the ice. For highballs and tall pours, one 2.5 to 3 inch cube works because smaller tray ice melts too fast in a narrow glass. Layered drinks and iced coffee are the exception, since those look better with many small pieces.
What To Do First
Fill one 2 inch silicone mold tonight with filtered water, level the shelf, and leave it until tomorrow. That single batch tells you whether your freezer keeps its shape and its smell, and once you have four good cubes you can decide whether the slower cooler method is worth adding to your routine for clear ice.
Updated for 2026.