To reverse sear a steak at home, cook it gently in a 250°F oven until an instant-read thermometer reads about 10°F below your target doneness, rest it 10 to 15 minutes, then finish it in a screaming-hot cast iron skillet for 45 to 60 seconds per side. The low-and-slow phase cooks the interior evenly without a gray band; the short high-heat sear builds the crust after the meat is already almost done. It takes 45 to 90 minutes start to finish depending on thickness, and it works best on cuts at least 1.5 inches thick.
The reason I stopped searing first is simple: a thick steak in a hot pan spends its whole life trading blows between a burning crust and a raw center. Two zones, one steak, no good outcome. Reverse searing flips the order, and the oven does the slow part while the steak is still cool enough to absorb heat instead of fighting it.
You can do this with a normal oven and one heavy skillet. No grill, no smoker, no water bath. Here is exactly what to gather and how the four phases fit together.
Table of Contents
- What You Need
- Step-by-Step: How to Reverse Sear a Steak at Home
- 1. Choose the Steak and Season It
- 2. Bring the Steak to a Low Internal Temperature
- 3. Heat the Skillet and Sear the Steak
- 4. Check Doneness and Let the Steak Rest
- Common Mistakes and How to Fix Them
- Frequently Asked Questions
- How long should I reverse sear a steak at 225°F?
- What is the 3-3-3 rule for searing steak?
- When should I pull the steak out of the oven for a reverse sear?
- Do you need to rest a steak before reverse searing it?
- Why is my reverse seared steak gray instead of crusty?
- Can you reverse sear a frozen steak?
- Conclusion
What You Need
None of this is exotic, and most of it you already own.
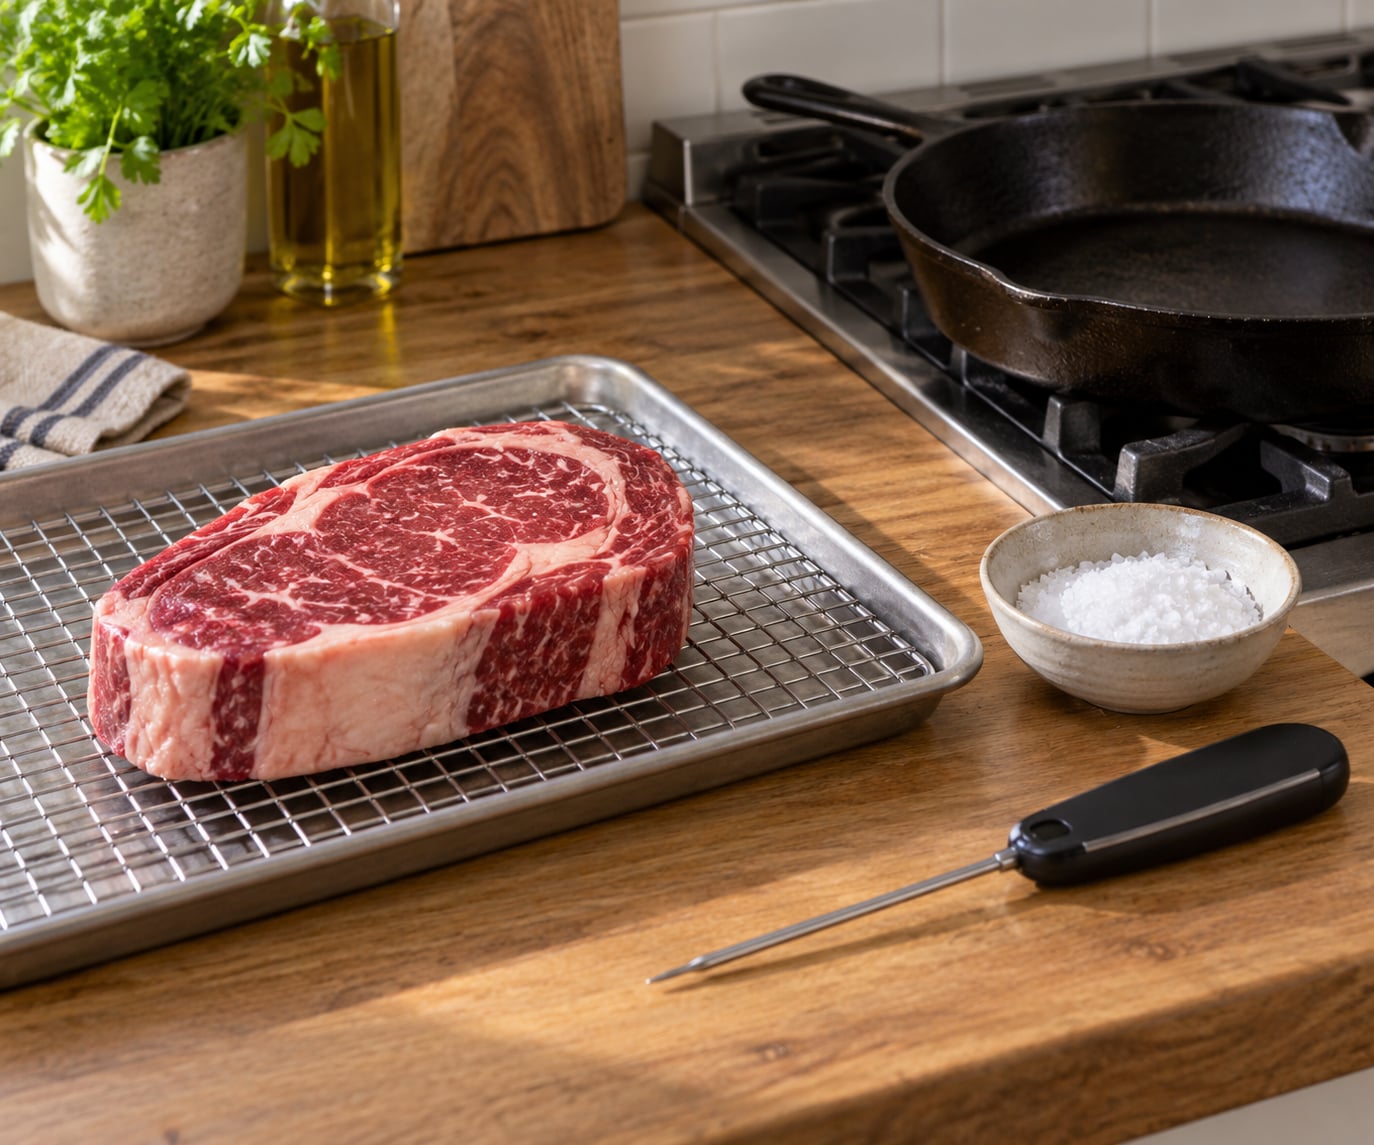
- A thick steak. Ribeye, New York strip, porterhouse, T-bone, or filet mignon all work. Aim for 1.5 inches at minimum, 2 inches if you can. Thin steaks cook through before they brown, which is the one problem this method cannot fix.
- An instant-read thermometer. This is the only non-optional tool. Push and pull cooking is guesswork with a wide margin of error, and the entire method is built on hitting a pull temperature.
- A rimmed baking sheet and a wire rack. The rack lifts the steak off the metal so air moves underneath it. Steam trapped under a flat pan is the quiet reason a “reverse seared” steak comes out gray.
- Coarse salt and whatever else you like. Kosher salt, pepper, garlic powder, a little butter or ghee for basting.
- A high smoke point oil. Avocado, canola, or ghee. Olive oil works but bitter on a very hot pan; butter burns, so it goes in at the end.
- A cast iron skillet or heavy stainless pan. Cast iron heats fastest and holds it. Carbon steel and stainless work too.
On handling: wash your hands, use a clean board, and keep raw beef away from anything you plan to eat raw. Refrigerate the steak until you season it, and let it come to room temperature before the oven.
Step-by-Step: How to Reverse Sear a Steak at Home
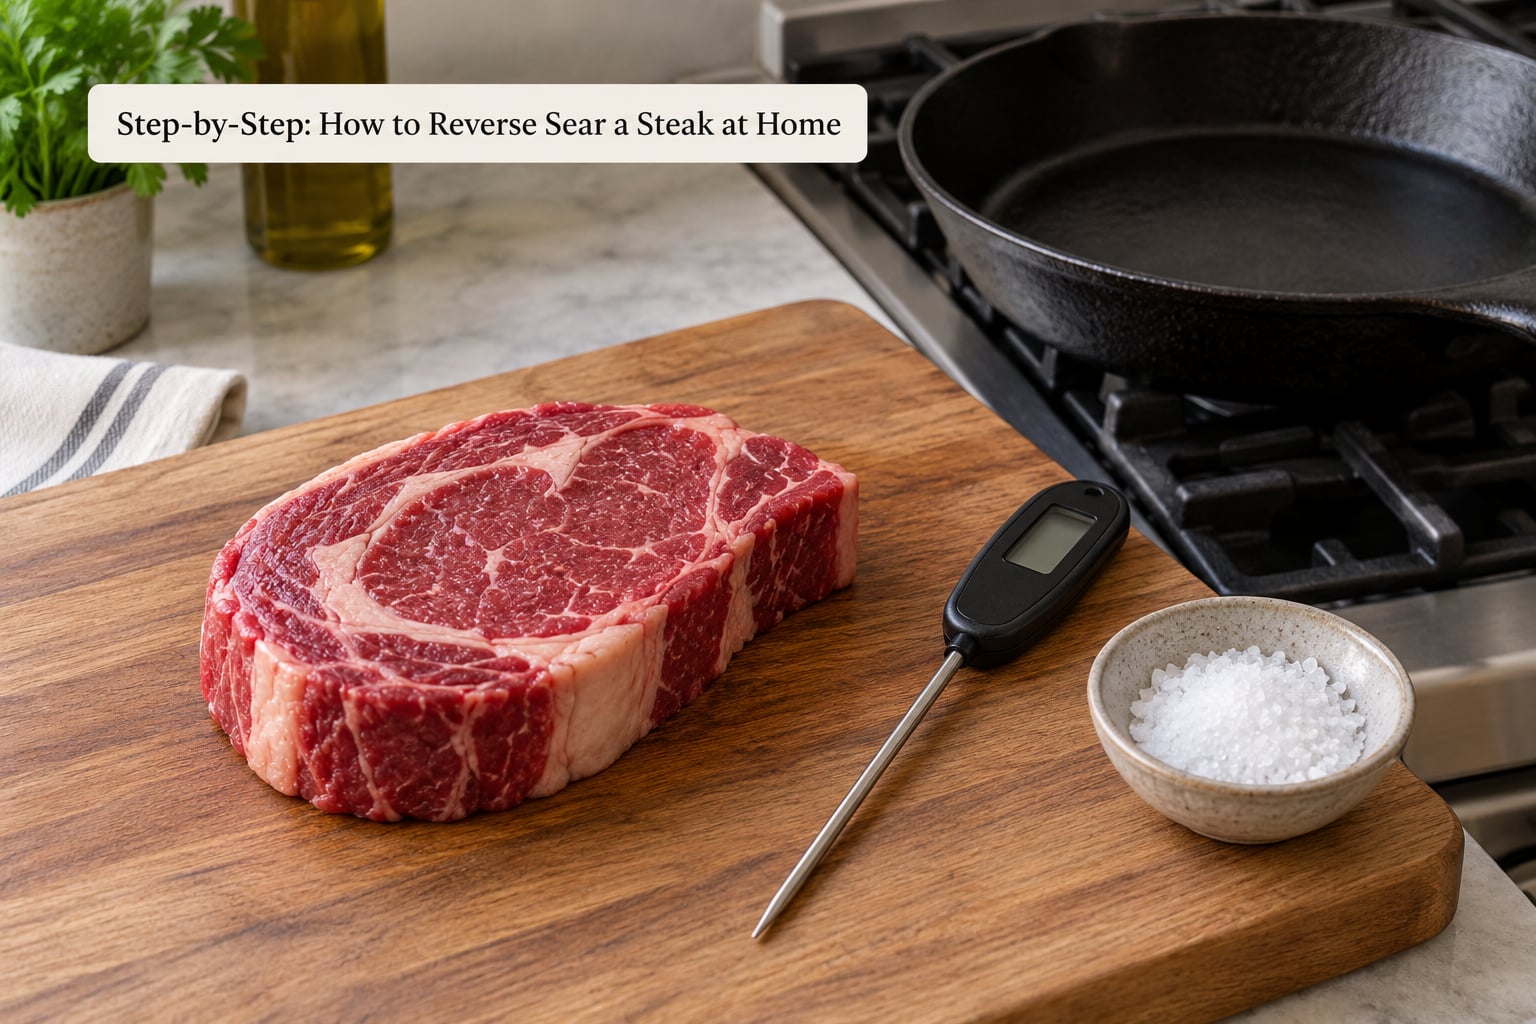
The method breaks into four phases: prep, gentle cook, rest, sear. Skipping the rest is the most common mistake, and it is the easiest to fix.
1. Choose the Steak and Season It
Thickness matters more than price or cut. A 1.25-inch sirloin strip is going to overcook in the skillet no matter what you do; a 2-inch ribeye has enough depth for the oven to work with.
Pat the surface dry with paper towels. Surface moisture is the enemy of browning, and a steak straight from the packaging carries a surprising amount of it. Salting alone will not fix wet meat.
Salt generously on all sides, about 1 teaspoon per pound, and let it sit. Thirty minutes is the minimum. Overnight in the fridge, uncovered on the rack, is better: the salt draws moisture out, and that moisture reabsorbs into the muscle while the surface dries out. You end up with seasoned meat that is seasoned all the way through instead of salty on the outside and bland inside.
Finish with black pepper and any seasoning you like. Pull the steak out 30 to 45 minutes before cooking so it warms evenly instead of having a cold center.
2. Bring the Steak to a Low Internal Temperature
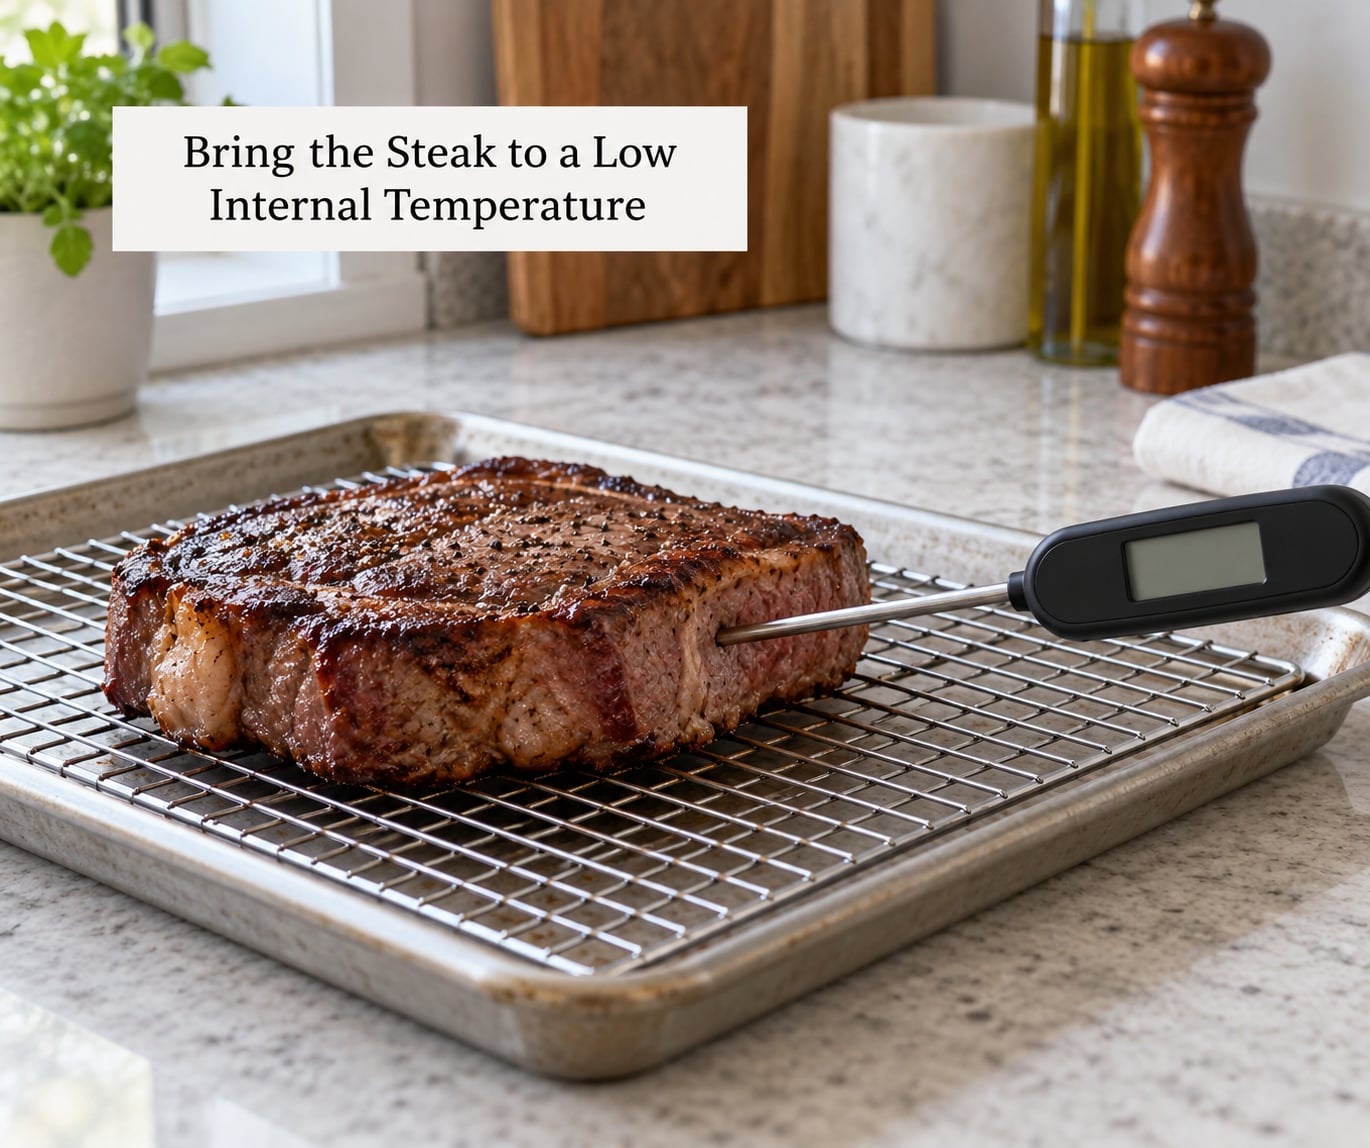
Set the oven to 250°F. That is the number most people land on, and it is a good default. 225°F gives you more time and a gentler gradient. 275°F moves faster and is fine on a thin side of a porterhouse. Pick one and stop adjusting.
Cook on the rack, uncovered, until the thermometer reads your pull temperature. Do not start a timer and walk away. These are temperature targets, not time targets, because a marbled ribeye and a lean strip of similar thickness will not finish together.
Rough starting points, all with the caveat that the thermometer has the final say:
| Steak thickness | At 225°F | At 250°F | At 275°F |
|---|---|---|---|
| 1.5 inch | 18 to 24 minutes | 14 to 20 minutes | 12 to 17 minutes |
| 2 inch | 26 to 34 minutes | 22 to 28 minutes | 18 to 24 minutes |
| 2.5 inch | 36 to 46 minutes | 30 to 38 minutes | 25 to 32 minutes |
Take the steak out when it is 10°F below where you want it to land. That gap is carryover cooking, heat already inside the steak finishing the job as it rests.
3. Heat the Skillet and Sear the Steak
Put the empty skillet in the oven during the last 10 minutes so it comes out hot with the steak. A cold pan drops the surface temperature and you get a pale, lazy crust. If your pan is too big for the oven, heat it on the stovetop while the steak rests.
Add a thin layer of high smoke point oil. Lay the steak away from the heat for about 30 seconds so the pan is not shocked by cold meat, then move it onto the hot zone.
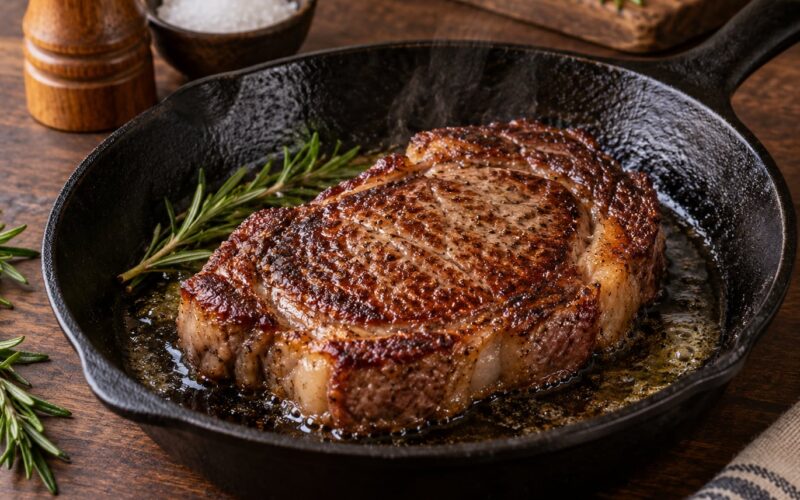
Leave it alone for 45 to 60 seconds per side on a thick cut. Resist flipping early. You are looking for a deep golden-brown crust that comes off the pan with the meat rather than tearing away in strips. If it sticks hard, it needs another 15 seconds, not a yank.
Add a knob of butter, garlic, and thyme if you like, tilt the pan, and baste for the last 30 seconds per side. Butter goes in late for a reason. Spoon the foaming butter over the top as the steak sits.
Sear the edges for 10 to 15 seconds each. People skip this and then wonder why the crust stops short of the sides.
4. Check Doneness and Let the Steak Rest
Take a final reading. The carryover gap you left is supposed to close now. If you landed on target, you are done; if you are still short, give the pan another 15 to 20 seconds per side.
| Doneness | Pull from oven | Final temperature after sear |
|---|---|---|
| Rare | 115°F / 46°C | 120°F / 49°C |
| Medium-rare | 120°F / 49°C | 125°F / 52°C |
| Medium | 130°F / 54°C | 135°F / 57°C |
| Medium-well | 140°F / 60°C | 145°F / 63°C |
| Well done | 145°F / 63°C | 150°F / 65°C |
Rest 5 to 10 minutes on the rack. Because the steak already rested before the sear, it does not need the 15 minutes a traditionally seared steak gets, but a few minutes keeps the juice in the meat instead of on the board.
Slice against the grain and serve. Identify the grain by looking at the cut face, then slice perpendicular to the muscle fibers running through it. On a tri-tip the grain changes direction, so check a couple of spots.
One safety note, since it comes up every time: whole cuts of beef should reach at least 145°F / 63°C internal temperature to be safe, whatever your preference for doneness.
Common Mistakes and How to Fix Them
A gray band under the crust. The steak spent too long too hot, or it went past its pull temperature in the oven. Fix: pull earlier and check every five minutes in the last stretch. A gray band is also what you get when the steak sits on a flat pan and steams instead of moving air.
No crust at all, just a pale surface. Almost always moisture. The steak was wet, salted too recently, or the pan was not hot enough. Fix: pat it dry again right before it goes in, and heat the skillet until a drop of water skitters and evaporates in a couple of seconds.
A bitter, acrid crust. Olive oil or butter went in too early at full heat. Fix: use avocado, canola, or ghee for the sear and add butter only at the end during basting.
Overcooked edges with a raw center. The steak was thin, or it was pushed onto the heat immediately with a cold pan. Fix: 1.5 inches minimum, and 30 seconds away from the heat before moving it to the hot zone.
Slicing straight out of the skillet. The juice runs out onto the board. Fix: rest it, even briefly.
Cooking by the clock. Two steaks of the same thickness, one marbled and one lean, will not finish together. The thermometer is the only reliable clock.
A couple of variations worth knowing. On a grill, run the slow phase over indirect heat with the lid closed, then move the steak to a screaming hot zone for the sear. On a smoker at 225°F, budget 40 to 60 minutes depending on thickness and add smoke flavor along the way. A frozen steak can be done this way too: thaw overnight if you can, or cook from frozen at 250°F and roughly double the oven time, about 50 minutes for a typical steak.
One last thing about sauces. Reverse searing produces less fond than a traditional sear, because the crust happens at the end rather than over a long cook. Skip the pan sauce ambition and go with a compound butter stirred with herbs, a mustard and Worcestershire mix, or a quick reduction made separately.
Frequently Asked Questions
How long should I reverse sear a steak at 225°F?
At 225°F, expect roughly 18 to 24 minutes for a 1.5 inch steak, 26 to 34 minutes for a 2 inch steak, and 36 to 46 minutes for a 2.5 inch steak. Treat those as a starting range only. A marbled ribeye and a lean strip cook at different speeds, so check the instant-read thermometer and pull when it reads 10°F below your target doneness.
What is the 3-3-3 rule for searing steak?
It is a rough rule of thumb that circulates on steak forums, and people read it slightly different ways. The most common version is about three minutes per side in the pan, three minutes rest, and roughly three minutes of cooking per half inch of thickness. Treat it as a starting point for a traditional sear, not as a rule for reverse searing, where the oven phase is measured by temperature instead of time.
When should I pull the steak out of the oven for a reverse sear?
Pull it when the thermometer reads 10°F below your final target. For medium-rare that means pulling at about 120°F, and the center will climb to roughly 125°F during the sear and rest. Pulling at full temperature is the most common reason reverse seared steak comes out dry, because you then cook it twice more in the skillet.
Do you need to rest a steak before reverse searing it?
Yes, and this is the step most people skip. Resting for 10 to 15 minutes lets the outer edges and fat cap cool down, so the intense skillet heat does not immediately blast the center. Skip it and you end up with a charred outside and a cooler middle. After the sear you only need another 5 to 10 minutes, since the pre-sear rest has already done most of the work.
Why is my reverse seared steak gray instead of crusty?
Gray means moisture, not heat. The surface was wet when it hit the pan, the skillet was not hot enough, or the steak sat on a flat pan and steamed instead of searing. Pat the steak dry right before the sear, preheat the skillet in the oven for the last 10 minutes, and use a wire rack over a rimmed sheet so air circulates underneath.
Can you reverse sear a frozen steak?
Yes, but thaw overnight in the fridge if you can. From frozen works too, at 250°F with roughly double the oven time, around 50 minutes for a standard thick steak. A frozen steak sears better than one thawed on the counter because the surface stays drier, so pat off any ice and sear as normal.
Conclusion
The whole method is one sentence: cook the steak gently to 10°F below your target, rest it 10 to 15 minutes, sear it 45 to 60 seconds per side in a hot skillet, then rest briefly and slice against the grain. Start with a 2-inch steak, salt it an hour ahead, and pull it when the thermometer says so rather than when the timer does.