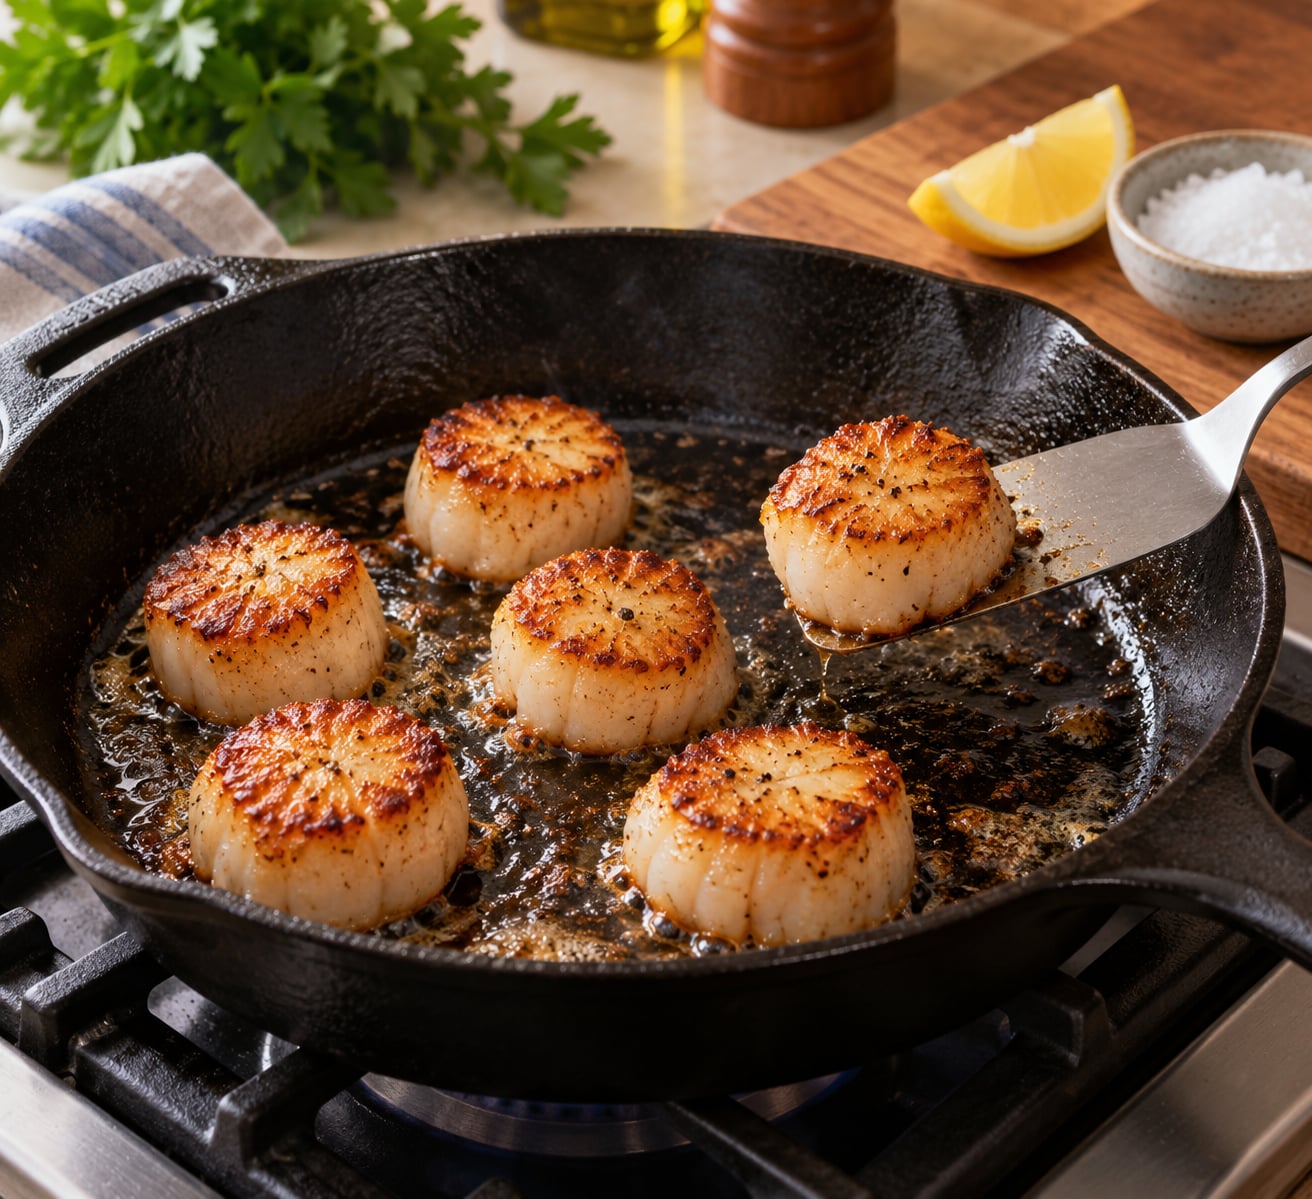
To sear scallops so they get a golden crust, dry the surface completely, preheat a heavy skillet until the oil shimmers, and leave each scallop untouched for 90 seconds to 2 minutes on the first side. The crust is browning from the scallop itself, not the pan, so moisture is the enemy. From prep to plate it takes about 10 minutes.
The whole thing runs on three levers working together: surface moisture removed, pan hot, timing untouched. Get one wrong and scallops steam, stick, tear, or turn grey and rubbery. None of that is bad luck. It is what wet scallops in a cool pan do.
A scallop goes from translucent to overcooked fast, so a thermometer and a timer earn their keep here. Most home cooks never learn to read the release cue, which is the single most useful signal that a crust has formed.
What You Need
Scallops are the only real requirement. Everything else is small, but each piece matters for the crust.
- Dry-packed sea scallops, roughly 1 inch thick. Buy them labelled dry-packed or dry scallops, never wet-packed.
- A heavy skillet — cast iron or stainless steel, 10 to 12 inch. Heavy metal holds heat; thin nonstick pans let the temperature drop the moment food hits.
- A high smoke point oil such as grapeseed, canola, or avocado, enough for a thin film.
- Unsalted butter and a spoon for the last 30 seconds of the second side.
- Kosher or flaky salt and black pepper, patted on just before the scallops go in.
- Paper towels and a plate for drying, plus a thin metal spatula or tongs.
- Optional: lemon wedges, fresh parsley or chives, and a splash of white wine or stock for a quick pan sauce.
Dry scallops and a heavy pan do most of the work here. The pan supplies a fast burst of heat, and the dry surface is the only thing that will brown.
Step-by-Step: How to Sear Scallops
Prepare the Scallops for a Better Sear
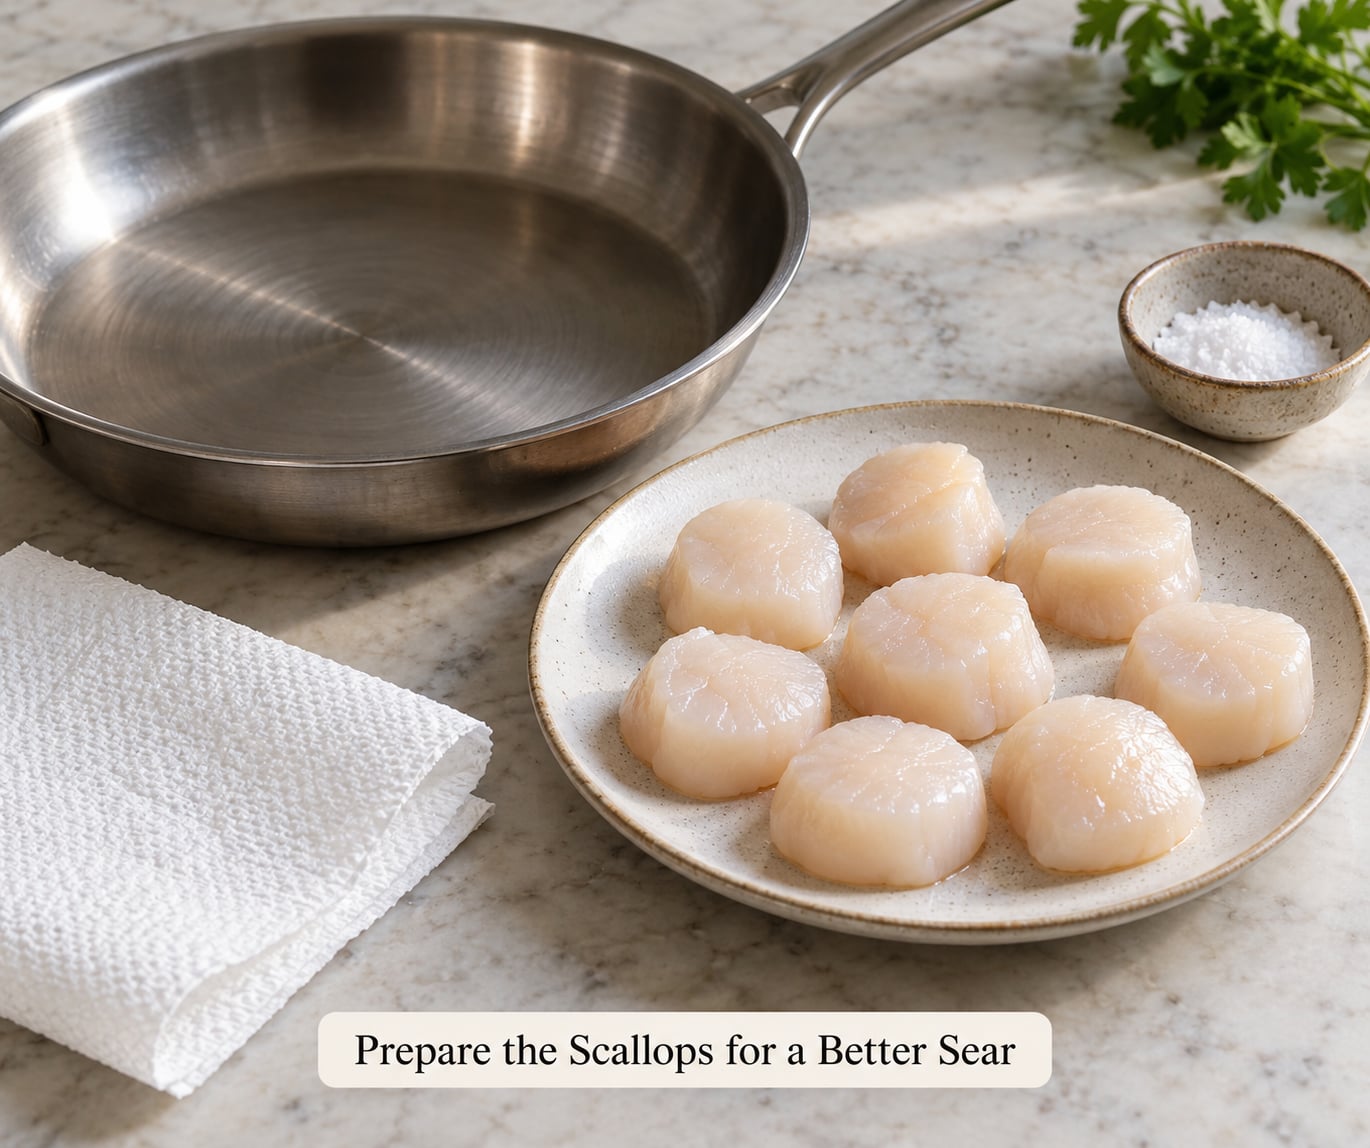
Lay the scallops on a paper towel and blot the flat sides firmly dry. Then put them on a fresh paper-towel-lined plate and leave them in the fridge uncovered for 10 to 30 minutes. That extra chill time firms up the surface, and a firmer surface browns rather than weeps.
Season right before they go in the pan, not before they dry. Salting early pulls water out of the scallop and undoes your work. The same reasoning applies to oil: a light coat is fine, a heavy one steams.
If the scallops were sitting in a puddle at the fish counter, you can rescue them. A Well Seasoned Studio reader soaked wet scallops for 30 minutes in 1 quart of water with 2 tablespoons of salt and half a cup of lemon juice, pressed them dry, and got a usable sear. The texture stays a bit softer than dry-packed, but it beats a grey, steamed scallop.
Heat the Skillet and Oil
Set the skillet over medium-high heat and let it heat empty for 2 to 3 minutes. Add a thin layer of oil and wait for it to shimmer and just begin to flow like water. That shimmer is the temperature cue most people are missing.
If the oil smokes heavily or turns dark, the pan is past the point you want. Pull it off the heat for a minute and start again with fresh oil. A little smoke is normal at this stage; a cloud of it is not.
Tilt the pan back and forth so the oil coats the whole base. It should cover the surface in a shallow film. Work in batches if you have more scallops than will fit flat with room between them, because crowding drops the pan temperature and traps steam around the crust.
How to Sear Scallops Without Moving Them
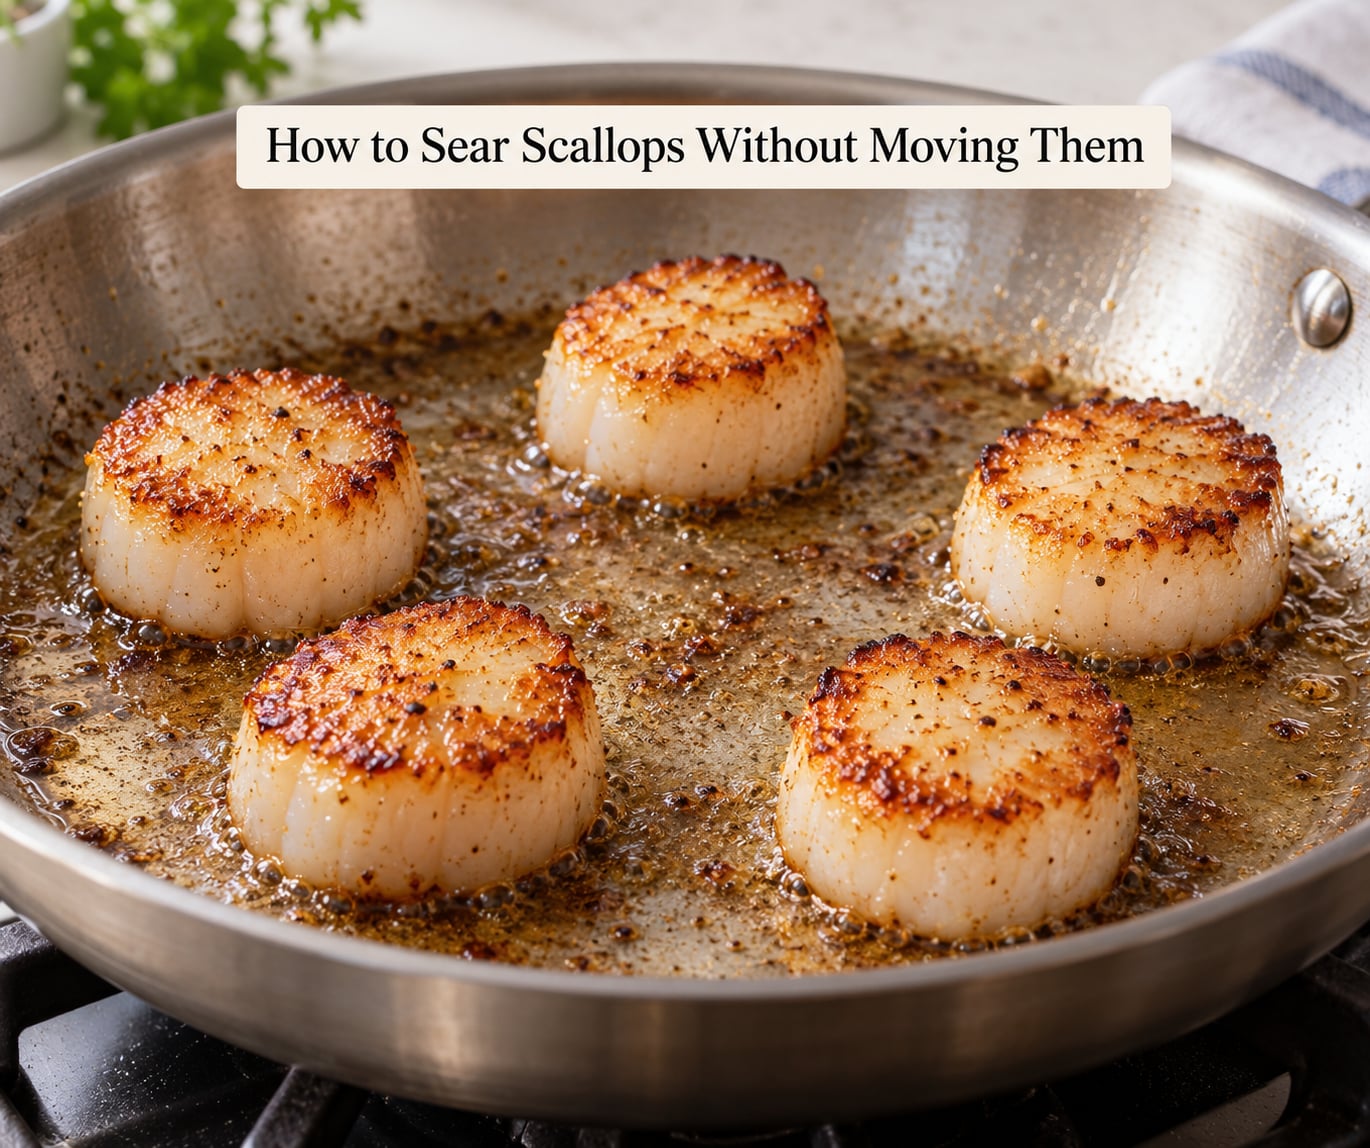
Lower each scallop away from you, laying it flat with about an inch of space between pieces. Listen for the contact sound. A proper hit on hot metal is a firm sizzle, not a splat. Season now if you have not already.
Do not touch them, nudge them, or slide the spatula underneath to check. Leave the pan alone and let the crust build for 90 seconds to 2 minutes depending on thickness. Scallops that sear well develop a deep golden-brown crust roughly 1/4 inch deep and stop sticking to the pan on their own.
That natural release is the cue. When the crust is ready, a spatula slides under with almost no resistance, and the scallop moves without tugging. If you have to scrape, the crust is not set yet, so give it another 20 seconds.
Cook time scales with size, so measure before you start:
- Bay scallops, about 3/4 inch thick: 60 to 75 seconds per side.
- Small sea scallops, about 1 inch thick: 90 seconds to 2 minutes per side.
- Jumbo sea scallops, 1.5 inch thick: 2 to 2.5 minutes per side.
Turn with a thin metal spatula rather than tongs. Scoop underneath, lift a few inches, and roll the scallop onto its other side. Pinching with tongs tears the crust you just built.
Finish and Serve the Scallops
The second side needs far less heat and much less time. Cook 30 to 60 seconds, just until the second face turns pale gold. The centre should look opaque all the way through with no translucent ring left in the middle.
For doneness by temperature, pull the scallops when the centre reads 115 to 120°F (46 to 49°C). Carryover cooking keeps moving after the pan comes off the heat, so a short rest finishes them toward 125 to 130°F (52 to 54°C). That is the window that gives you a tender centre with a cooked exterior.
Seafood guidance is to cook to an internal temperature of 145°F (63°C). If you prefer scallops cooked gently all the way through, give the second side another 20 to 30 seconds and expect a firmer texture.
Then add a tablespoon of butter and a squeeze of lemon, and tilt the pan so the foaming butter runs over the scallops for about 20 seconds. A splash of white wine or stock lifts the browned bits off the pan for a two-minute sauce to spoon underneath.
Season with flaky salt and pepper and serve straight away, on their own or over polenta, mashed potatoes, or risotto.
Common Mistakes
Almost every disappointing scallop traces back to one of five problems.
- Steaming instead of searing. Surface moisture turned the pan into a steamer. Fix: pat the scallops dry again right before placement, and skip the oil coat or keep it very thin.
- A pale, grey crust. The pan was not hot enough or the scallops sat too close together. Fix: preheat empty for 2 to 3 minutes, then add scallops with a full inch of space.
- Sticking and tearing. The crust had not set, or the sugar in wet scallops burned onto the pan. Fix: wait for the natural release cue before sliding a spatula under, and clean the pan between batches.
- Chewy, rubbery texture. Thirty extra seconds is all it takes. Fix: time the first side, and stop the cook the moment the sides turn opaque.
- An uneven crust. Salt sprinkled from above falls unevenly and caramelises in patches. For a bronze, even crust, some cooks press each scallop into a thin bed of flaky sea salt before searing.
A few habits keep the crust consistent. Tilt the pan during the first side so hot oil moves across the surface and under the scallops, a trick that comes up often on cooking forums. Cook in two batches rather than crowding. And wipe the pan between batches so old fond does not taste the next batch.
Frequently Asked Questions
How long should scallops be seared on each side?
Give the first side 90 seconds to 2 minutes for a scallop about 1 inch thick, and cook the second side only 30 to 60 seconds. Bay scallops need 60 to 75 seconds per side, while jumbo scallops over 1.5 inch thick need 2 to 2.5 minutes. Watch the colour rather than the clock alone: a deep golden crust that releases from the pan without resistance means the first side is done.
Why are my scallops not getting golden?
Three things cause a grey or pale scallop: moisture on the surface, a pan that was not hot enough, and too many scallops in the pan at once. Moisture steams instead of browns. A cool pan browns slowly and drops below the temperature needed for good colour. Crowding traps steam around each piece. Dry the scallops, preheat the empty pan 2 to 3 minutes, and space pieces an inch apart.
Should scallops be dried before searing?
Yes, and drying is the single step that most changes the result. Blot scallops on paper towels, then chill them uncovered on a paper-towel-lined plate in the fridge for 10 to 30 minutes. The surface firms up and the exterior moisture disappears, so the scallop browns instead of releasing water into the pan. Salting before drying reverses the process by pulling new water to the surface.
How do I stop scallops from sticking to the pan?
Sticking usually means the crust is not finished, not that the pan is faulty. Let the scallop sit untouched for the full first-side time, then test with a thin metal spatula. If it slides under easily and the scallop moves without tugging, the crust has set and it will release naturally. Scraping a stuck scallop tears away the crust you just built, which is why waiting beats forcing.
Can I sear frozen scallops?
You can, but thaw them first for the best crust. Thaw in the fridge overnight, or under cold running water for about 15 minutes, then dry them thoroughly. Frozen scallops release water the moment they hit a hot pan, so they sear unevenly and steam on the surface while the centre stays cold. Seared from frozen, expect a pale result and a longer cook to reach 145°F (63°C) at the centre.
How can I tell when scallops are cooked through?
Look at the side profile first. A cooked scallop is opaque all the way through, with no translucent ring left in the middle, and it firms slightly when pressed. For certainty, use a thermometer and pull at 115 to 120°F (46 to 49°C), since carryover cooking finishes them toward 125 to 130°F. Seafood guidance is 145°F (63°C) fully cooked, so keep cooking if you want no translucency at all.
Start with the boring part, because it is the part that decides everything: blot the scallops dry, give them 10 minutes in the fridge, and preheat the empty skillet until the oil shimmers. Sear one scallop undisturbed for 90 seconds, then slide a spatula under it. If it releases on its own, the crust is right and the rest of the batch will follow the same path.