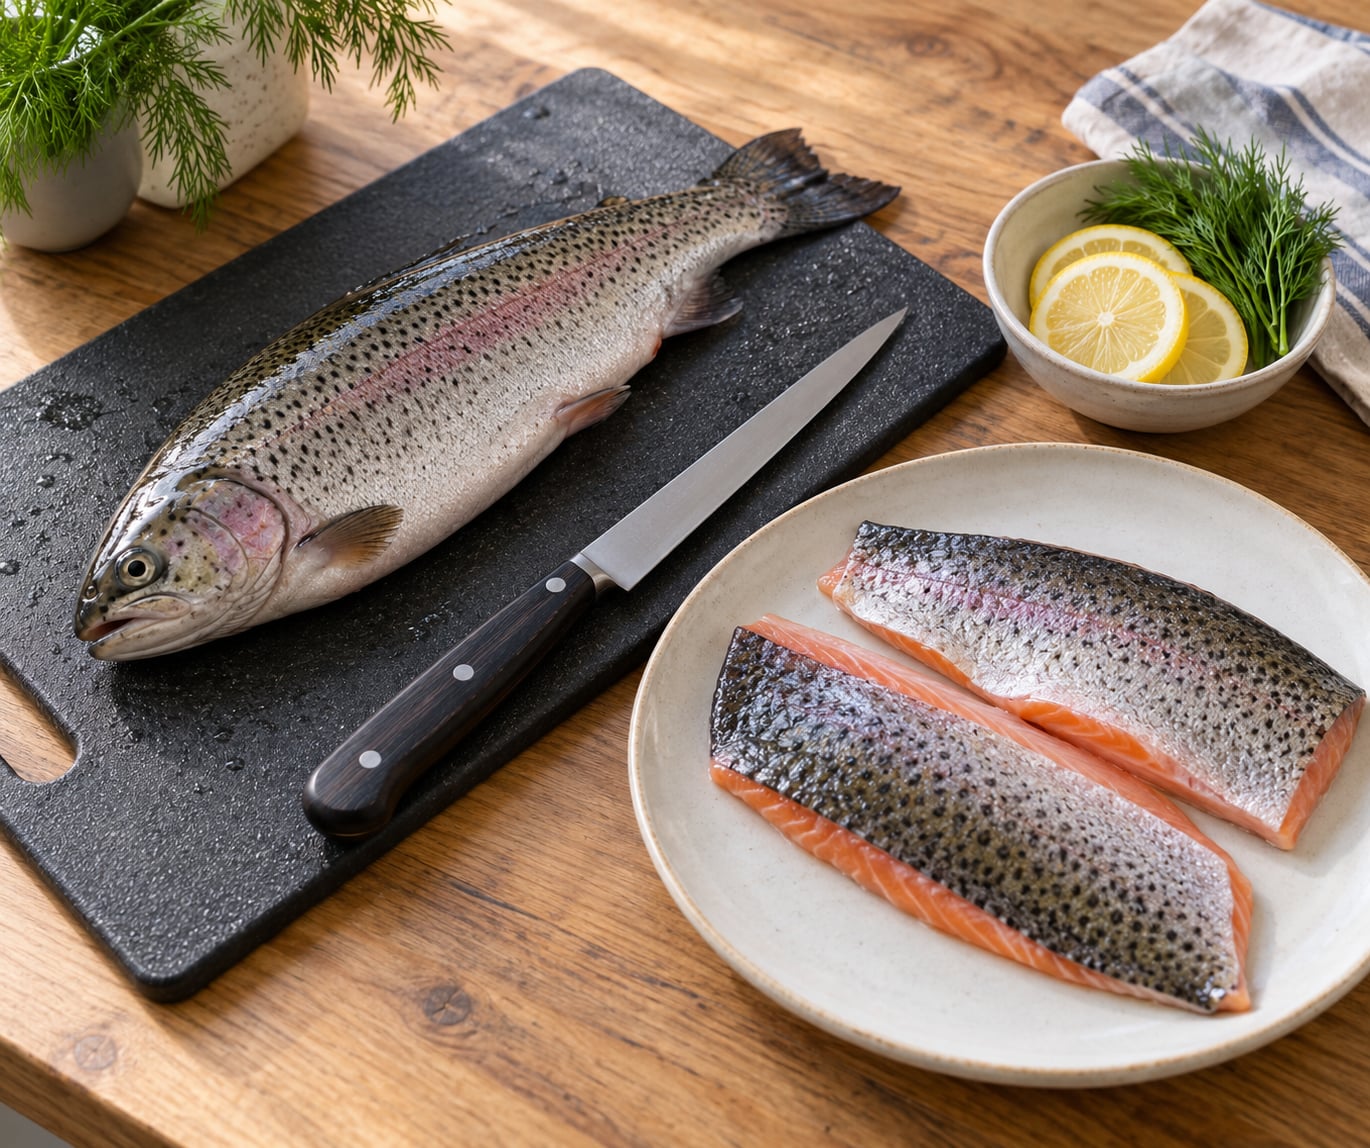
Fillet a trout by cutting down to the backbone just behind the gill plate, then running a sharp, flexible knife flat along the spine toward the tail until the fillet lifts off. Repeat on the other side. A 1 to 2 pound trout takes about 10 minutes from board to tray.
No, you do not have to gut the fish first. The filleting cut runs down past the belly cavity, so the guts come away with the frame and head. Gutting only matters if you plan to keep the frame for broth, and even then you can do it afterward without much extra work.
Trout are more forgiving than they look. The flesh is soft and the bones give easily, which means a dull knife is the only real thing standing between you and a clean fillet. Here is what to set up, what to look for, and the seven cuts that get you two skin-on fillets.
What You Need
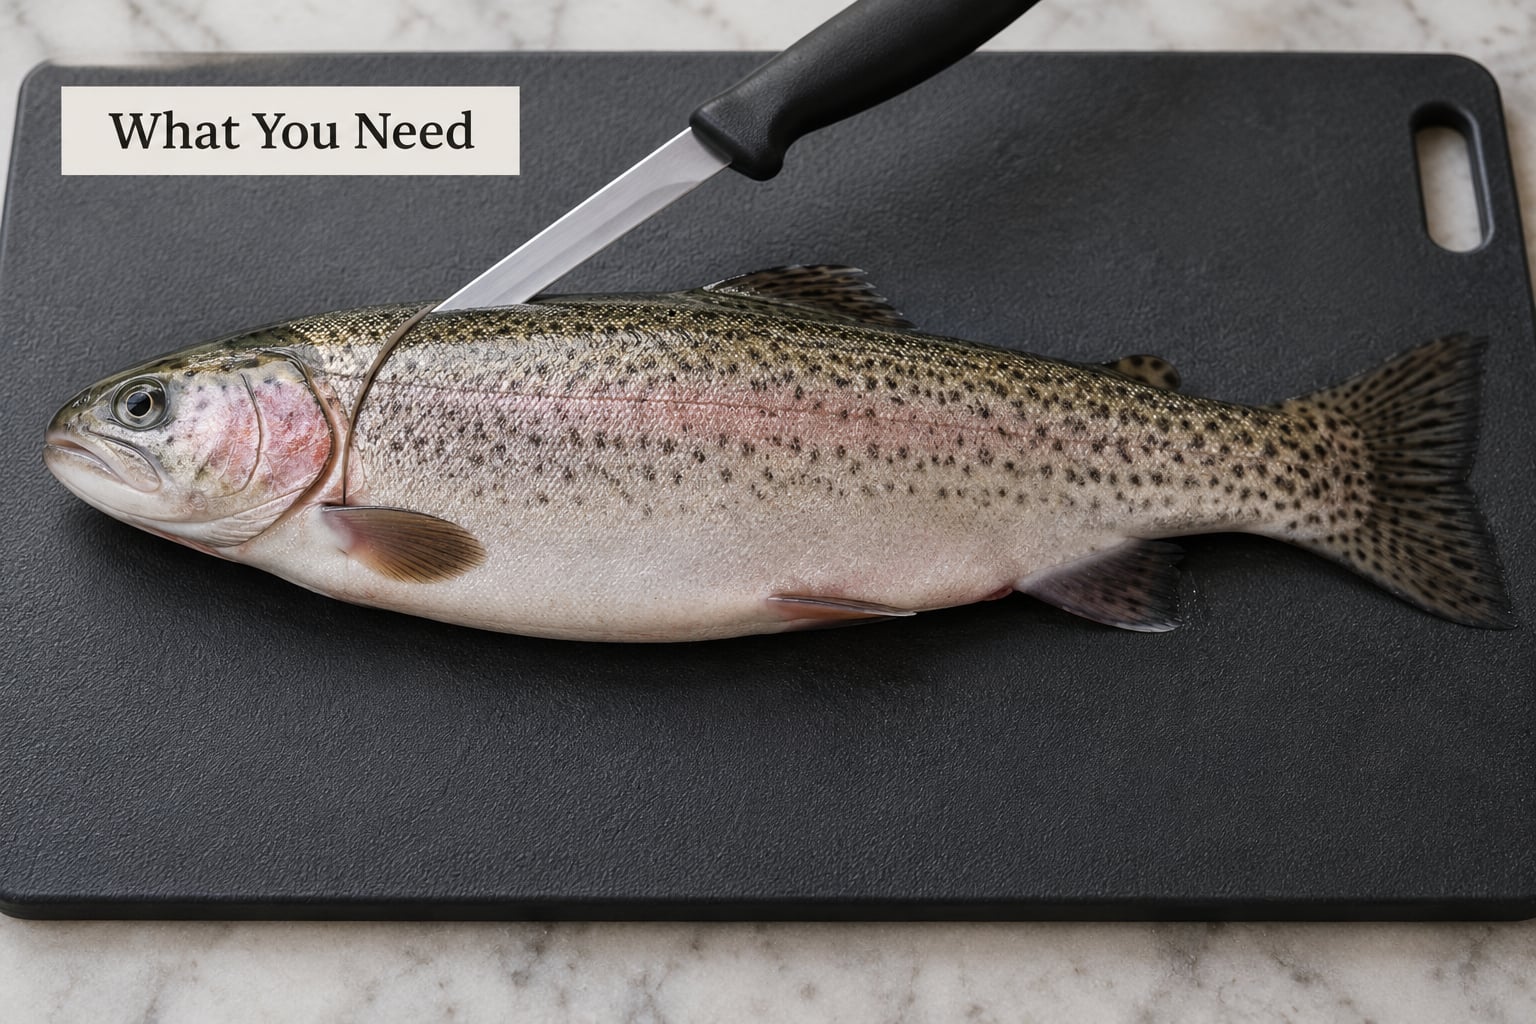
A short, flexible fillet knife does the work. Look for one with a thin blade around 6 to 8 inches long and a handle that stays comfortable when your hand is wet. A heavy chef’s knife or a cleaver will work in a pinch, but it is thick enough that you will saw instead of slice, and sawing is how beginners tear flesh.
A fillet glove is the other item worth owning. It is a glove with cut-resistant fingertips that you hook into the fish’s head so the hand holding the blade stays well away from the moving edge. If you do not have one, wrap a damp kitchen towel around the head and keep your fingers curled under.
Everything else is basic:
- A cutting board with a non-slip surface, or a damp towel folded underneath your board
- Paper towels for drying the fish and your hands
- A shallow bowl or tray to throw bones, skin and the head into, so you are not juggling scraps mid-cut
- Kitchen shears, optional, for snipping fins before you start
- Tweezers or small needle-nose pliers for pin bones
- A fish scaler, optional, if you plan to keep the skin on
- Cold running water within reach
On the fish itself: fresh is nicest, but a correctly frozen trout fillets fine. Thaw it overnight in the refrigerator inside a sealed bag, not on the counter, and fillet it while it is still firm and cold rather than rock hard or fully soft.
For a fresh one, check the eyes before anything else. They should be clear and domed, not sunken and milky. The gills should be red to deep red, the skin bright and slippery, and the flesh firm enough that it springs back when you press it. A fish that smells ammonia-sour or sits in a pool of liquid has been sitting too long.
Set up your lighting before you pick up the knife. Most botched first fillets I have seen came from cutting by feel in a dim kitchen. Bright, even light lets you see the pale rib bones against the pink flesh, and that contrast is the whole trick.
Step-by-Step
The method below takes about 10 minutes and is beginner-friendly, but you need to know what four landmarks look like before you start.
- The backbone is the thick pale ridge running the length of the fish, from the head to the narrow wrist at the tail.
- The lateral line is the faint darker strip running along the middle of the side. You leave it on unless you want a milder flavor.
- The rib cage is the fan of thin bones hanging off the backbone into the belly. Cutting into it turns a clean fillet into a ragged one.
- The pin bones are small Y-shaped bones buried in the upper meat near the backbone. They survive the fillet cut and have to be found and pulled separately.
1. Prepare and Identify the Fish’s Landmarks
Lay the trout on its side and pat the whole fish dry, inside and out, with paper towels. A wet fish slides on the board, and every cut you make on a sliding fish is a cut you did not intend.
Decide which side goes down first. Start with the side where the pectoral fin sits slightly lower on the belly, because the fillet from that side tends to come off cleaner. On the side facing up, find the gill cover, the flat plate of bone behind the head, and find the notch of the backbone right behind it. That notch is where your first cut starts.
2. Remove the Head, Gut, and Rib Cage
Cut through the gills behind the head, through the spine included, and the head comes off. Snip the pectoral fins if they get in your way. Then make a short cut from the vent, just in front of the tail, up the belly, and pull the viscera out with your fingers.
Many people skip all of this, and that is fine for the fillet itself. If you skipped it, pull the loose guts away from the flesh with your fingers after the head comes off so they do not smear across the meat. Take the frame out afterward for a pot of broth, and compost or bury the scraps rather than leaving them in a warm-weather bin.
3. Make the First Cut Behind the Gill
Slide the blade in behind the frontmost rib bones and cut down to the backbone, angling slightly toward it. Stop when the knife hits bone. You are aiming for the notch behind the gill cover, and the cut should follow the curve of the shoulder rather than running straight down.
If the knife is sharp, that first cut goes in with almost no pressure. If you are leaning on the handle and muscling through, stop and sharpen or change knives. You will know the cut is right because the fillet edge lifts away from the frame slightly as you finish.
4. How to Fillet a Trout at Home Along the Backbone
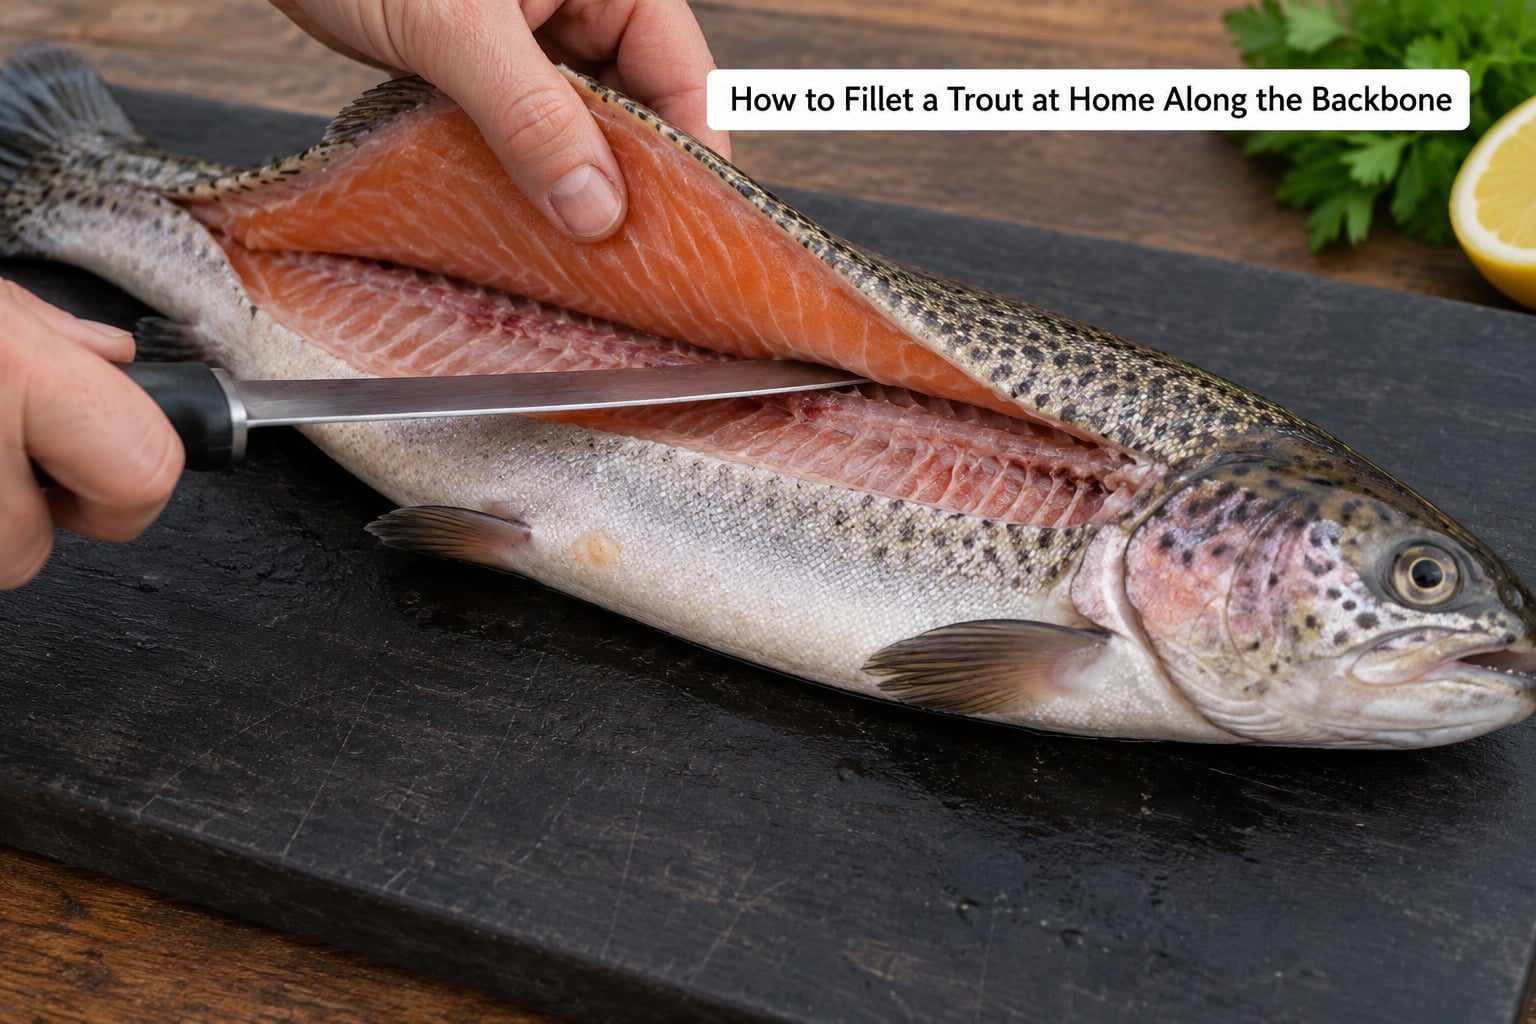
Turn the blade so it lies almost flat against the bones, edge angled slightly downward toward the spine, and begin shallow cuts from the head end toward the tail. Think of the motion anglers describe as sawing wood: short, controlled strokes along the frame, never pressing straight down.
Keep the knife between flesh and bone the entire run. Once you pass the rib cage it becomes smooth work and the fillet will gradually hang off the frame like a door opening. Stop at the wrist near the tail, where the fish narrows to almost nothing. Do not force the blade through that thin section; lift the fillet off by hand instead.
5. Release the Fillet from the Ribs and Belly
Flip the fish over and lay the filleted frame skin-side down. Now slice the belly side free: run the blade in shallow sweeping strokes along the rib bones, moving the blade toward the flesh rather than into the bones, and follow the curve of the belly toward the tail.
Leave the belly flap attached unless it is ragged. That flap is thin, and it is the first part to tear when beginners cut too eagerly. Lift the fillet away as the last strokes finish, and you have one side done. Flip the fish back over and repeat steps 3 and 4 for the second fillet.
6. Trim the Skirt and Check the Fillet
Lay the fillet skin-side down and slice off the thin, dark belly flap and any ragged edge left near the wrist. Leave the skin on. Skin-on trout crisps in a pan, holds together when you turn it, and keeps the fillet from drying out.
Then find the pin bones. Run your fingertips slowly along the flesh from the head end toward the tail, pressing lightly; you will feel a small hard point that stops the finger. Pull it out with tweezers, or pinch and draw it out by hand if it is already at the surface. Trout have roughly a dozen pin bones per fillet on a larger fish, and they are worth every minute of checking.
Compare your result to a rough benchmark: a good trout fillet is two pieces, most of the belly meat still attached, and about a third of the dressed weight of the whole fish. If you are holding a thin strip over the ribs, the first cut behind the gill was probably too deep. If you are holding half a fish, you cut too high along the backbone.
7. Rinse, Pat Dry, and Store or Cook
Rinse the fillets briefly under cold running water and pat them dry. Do not soak them; the flesh turns waterlogged and falls apart in the pan.
Cook trout to an internal temperature of 145°F (63°C), the USDA recommendation for fish, and check the thickest part with an instant-read thermometer rather than guessing. Butterflied fillets cook in about 4 to 5 minutes a side in a hot skillet, skin-side down first.
Refrigerate raw fillets on ice or below 40°F and use them within 1 to 2 days. For longer storage, lay them flat in a single layer so they freeze fast, seal out the air, and use them within 3 months at 0°F for the best texture.
Common Mistakes
The easiest way to fillet a fish is the slow version: good light, a sharp knife, and no hurry at the end. Anglers who cut rushed after a long day on the water are the ones who lose meat off the frame.
Cutting too deep behind the gill. You are aiming at the notch, not stabbing toward the spine. Stop the first cut the instant the knife meets bone, then raise the handle and lay the blade flat.
Sawing through the rib cage. That happens when the blade is held perpendicular instead of flat. Rotate your wrist until the edge is nearly parallel to the backbone and the ribs pass under the knife rather than in front of it.
Tearing the skin while skinning. Pinch the skin near the tail end, pull it taut, and slide the blade almost flat underneath. The skin should move under a stationary blade rather than the blade moving through the skin.
Leaving meat on the frame. Scrape the ribs with the blade held perpendicular at the end, like scraping meat off a bone, and pick off the two or three strips that gather near the shoulder.
Missing pin bones. Checking only near the backbone is not enough. Feel the whole upper half of the fillet in three passes, because bones hide in the shoulder meat where the fillet is thickest.
Pulling at the tail wrist. That narrow section tears instead of cutting. Lift the fillet off the wrist with your fingers, then trim the wrist with the knife afterward.
To waste less on the second fillet, use the first as your calibration. Note where the blade caught a rib and where the belly tore, then slow down at that same spot on the second side. And skip the tail wrist entirely if it is thin enough to see light through; there is almost nothing there worth fighting over.
Frequently Asked Questions
Can you fillet a trout from frozen?
Yes, but only after thawing it properly. Move the frozen trout to the refrigerator the night before and leave it in a sealed bag so it thaws slowly. Filleting a rock-hard fish is unsafe and produces shattered flesh, while a fully thawed fish slips around the board. Partially frozen is the sweet spot: firm enough to handle, soft enough that the blade glides. Never thaw it on the counter.
Do you need to scale a trout before filleting it?
Not required if you plan to skin the fillets afterward, and most home cooks do. Scaling first gives you a straighter, cleaner knife run and keeps loose scales off the board and out of your sink. Run a scaler or the back of a spoon from tail to head, rinse, then fillet. If you are keeping the skin on to pan-fry, scale it first. If you are boneless and skinless, skip scaling and pull the skin off afterward.
What knife is best for filleting a trout?
A short, sharp fillet knife with a thin, flexible blade, roughly 6 to 8 inches long. The thin edge is what lets you slice between flesh and bone instead of sawing through it, and the flexibility lets the blade follow the curve of the rib cage. A heavy chef’s knife works in a pinch but is harder to control on small fish. Whatever you use, sharpen it first; a dull blade is the main reason first fillets go badly.
How do you remove pin bones from trout?
Lay the fillet skin-side down and run your fingertips from the head end toward the tail, pressing lightly to feel for small hard points that stop the finger. Pull each one out with tweezers, working the same direction the bones point. Check the thick shoulder area twice, since bones hide there most often. Pin bones are small and soft, and they are not the same thing as the rib bones the knife already removed.
How long can raw trout fillets be refrigerated?
One to two days, kept at 40°F or below and preferably on ice. Beyond that the flesh starts to soften and lose its sheen, and the risk climbs. If you are not cooking within a day, freeze the fillets instead: lay them flat in a single layer until solid, then seal out the air and use within 3 months for the best texture. Thaw in the refrigerator overnight, never on the counter.
Conclusion
To fillet a trout at home, dry the fish, find the notch of the backbone just behind the gill plate, cut down to that bone, then lay the blade flat and work toward the tail in short strokes until the fillet lifts off.
Repeat on the other side, feel for pin bones before cooking, and pan-fry it skin-side down for four or five minutes a side. Your first one will not be perfect. The second will be close.