To make cinnamon rolls the night before, assemble the filled and cut rolls in a greased pan, seal the pan tightly with plastic wrap and foil, and refrigerate it for 8 to 24 hours. In the morning, take the pan out, let the dough finish its rise at room temperature for 1 to 3 hours, then unwrap and bake at 350°F to 375°F.
This is the difference between setting an alarm for 5 a.m. and pouring coffee while the house is still quiet. The cold overnight rise also happens to develop deeper flavor than a hurried countertop proof, because the yeast works slowly and steadily instead of racing.
Yes, you can leave unbaked cinnamon rolls in the fridge overnight. Just cover the pan tightly so the dough does not dry out, and take it out of the fridge well before you want to bake so the cold dough has time to come to room temperature and rise properly.
Table of Contents
- What You Need
- How long the night-before method takes
- Step-by-Step: Preparing the Dough Overnight
- How to Make Cinnamon Rolls the Night Before: Mix and Chill the Dough
- Fill, Roll, and Cut the Cinnamon Rolls
- Chill the Shaped Rolls Without Overproofing Them
- Proof and Bake Them Fresh in the Morning
- When the morning does not go to plan
- Freezing instead of refrigerating
- Common Mistakes and How to Fix Them
- Frequently Asked Questions
- Can I make cinnamon rolls two nights before baking?
- What if my overnight cinnamon rolls do not rise enough in the morning?
- Does the yeast stay active after chilling cinnamon-roll dough overnight?
- Can I bake cinnamon rolls the night before and reheat them?
- Can I freeze unbaked cinnamon rolls instead of refrigerating them?
- Bake Them Fresh: What to Do First
What You Need
Nothing here is specialized equipment. A large mixing bowl, a rolling pin, and a 9×13-inch metal pan cover the whole job.
For the dough: bread flour or all-purpose flour, active dry yeast or instant yeast, granulated sugar, salt, milk, butter, one egg, and a pinch of vanilla if you like.
For the filling: softened butter, brown sugar, granulated sugar, ground cinnamon, and a small pinch of salt. The salt is not optional in my kitchen — it sharpens the cinnamon and keeps the sweetness from flattening out.
For the frosting: cream cheese, unsalted butter, powdered sugar, vanilla, and a splash of milk or heavy cream to soften it.
Tools: a large bowl, a rolling pin, a sharp knife or unflavored dental floss for cutting, a pastry brush, a 9×13-inch pan, parchment paper or butter for greasing, and plastic wrap plus foil for sealing.
Standard dough yields 9 to 12 rolls in a 9×13-inch pan. A jelly roll pan gives you 10 to 15 and bakes faster because of the shallow sides.
How long the night-before method takes
This is the whole timeline in one place. Add your own buffer for guests arriving late.
| Stage | Time | Notes |
|---|---|---|
| Mixing and kneading the dough | 10 to 15 minutes | By hand or with a stand mixer on low |
| First rise in the fridge (bulk ferment) | 8 to 24 hours | Do not let it double in the fridge |
| Filling, rolling and cutting | 20 minutes | Work in 8-inch increments so the dough stays cold |
| Cold proof in the pan | 8 to 18 hours | Sealed with wrap and foil, back of the fridge |
| Room-temperature rise | 1 to 3 hours | Until the rolls look puffy and roughly doubled |
| Baking | 20 to 30 minutes | 350°F for 25 to 30, or 375°F for 18 to 22 |
| Cooling before frosting | 10 to 15 minutes | Frosting melts on a hot roll |
Active work is roughly 45 minutes. Everything else happens while you sleep.
Step-by-Step: Preparing the Dough Overnight
There are two places to stop for the night, and which one you pick depends on how much time you have.
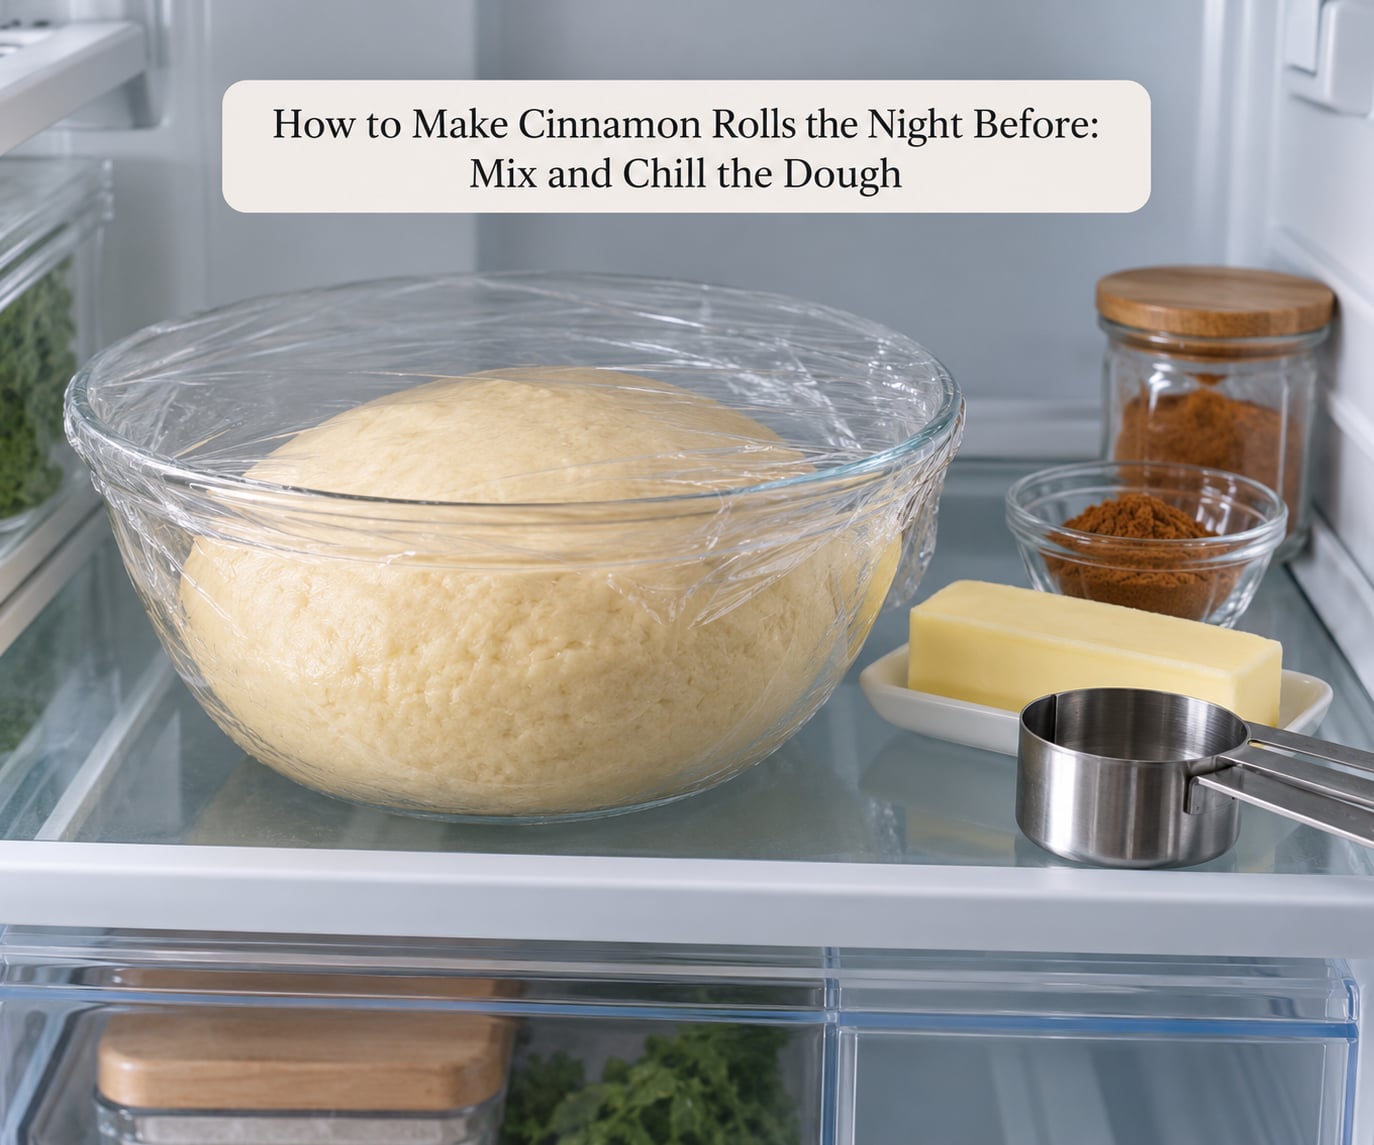
How to Make Cinnamon Rolls the Night Before: Mix and Chill the Dough
Warm the milk to about 100°F. If you use active dry yeast, stir a spoonful into the milk with a pinch of sugar and wait five minutes before adding the rest. A foamy, slightly domed surface means the yeast is alive. Instant yeast skips this step entirely.
Mix in the flour, remaining sugar, salt, egg, and softened butter. Knead for 8 to 10 minutes by hand, or about 6 minutes on low speed in a stand mixer with the dough hook. Enriched sweet dough is sticky, so judge it by feel rather than by how tacky the bowl looks: it should come away from your hand in a stretchy, satin sheet.
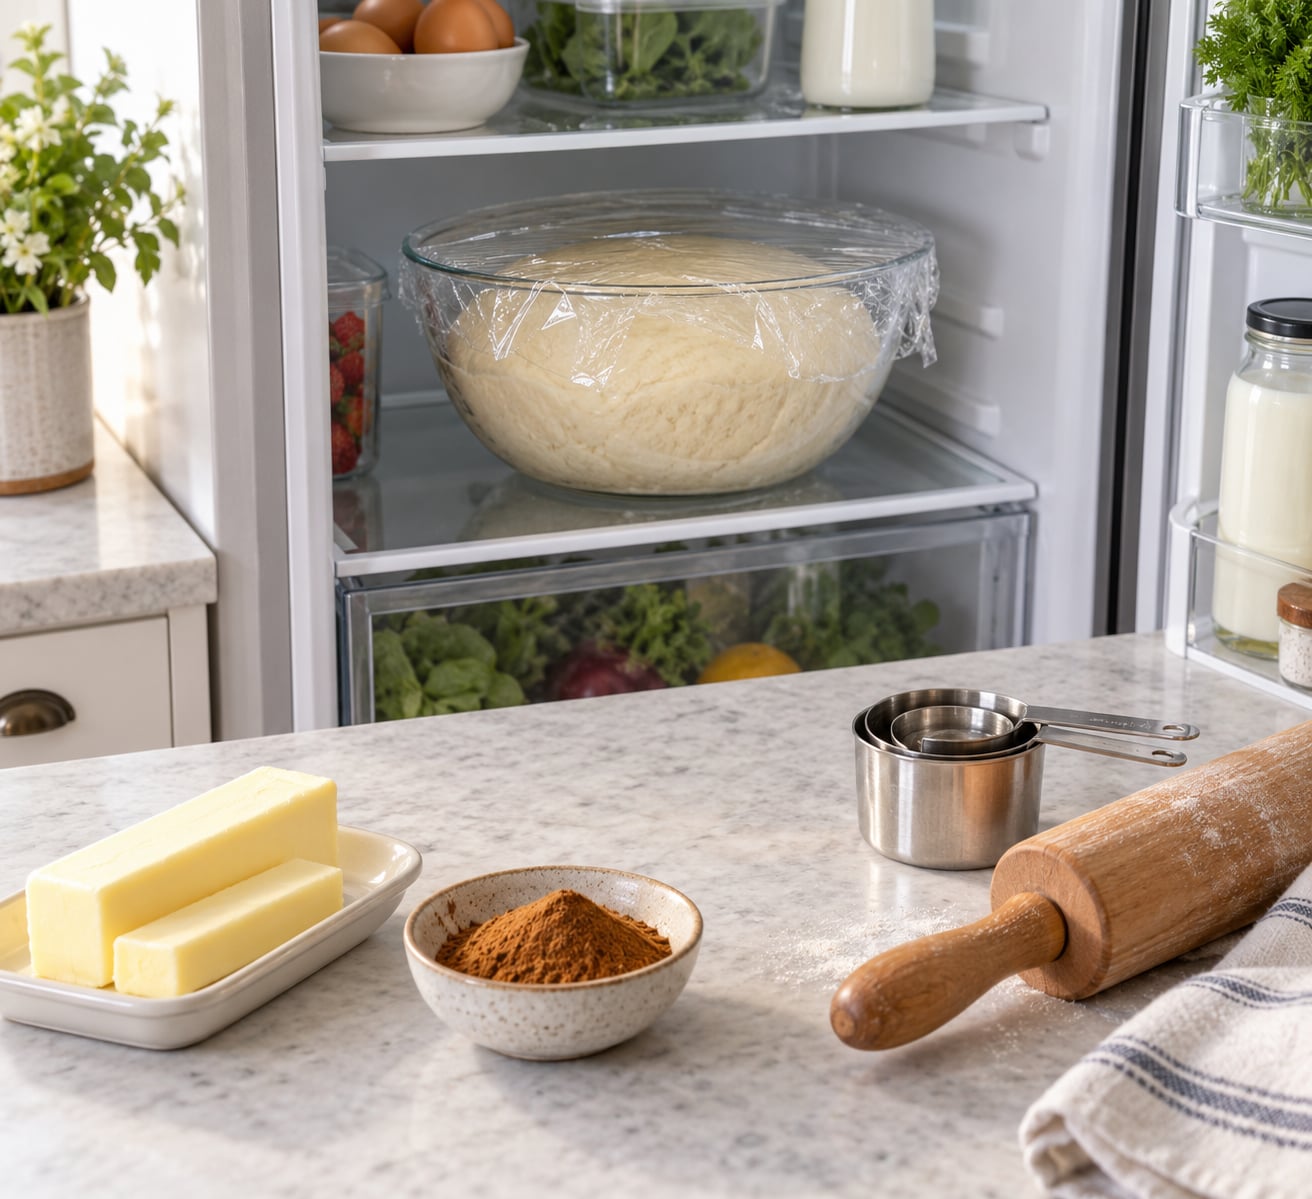
Scrape it into a lightly buttered bowl, turn it once so the whole surface is coated, and cover with plastic wrap pulled right down to the rim. Chill it for 8 to 24 hours.
How do you know cold dough is ready to roll? Press a knuckle into it and it should dent without springing straight back, and the surface will show a faint line where the skin stretched. A dough that is rock hard needs 20 to 30 minutes on the counter first. One that feels fragile and tears when you pull it also needs a warm-up, but a shorter one.
Cold-proofing the first rise slows fermentation enough that you can safely go up to 24 hours. Two nights is pushing it — beyond that the dough gets noticeably acidic and the filling starts to weep — but a sturdy yeasted dough will still hold for 48 hours if that is your only option.
Shape the rolls before the first rise or after? After. Rolling dough that has already doubled in the fridge tears easily, and you lose the even thickness that makes the spirals bake at the same rate. If you want a different overnight flavor, a starter-fed dough cold-proofs far more happily than a commercial-yeast one.
Fill, Roll, and Cut the Cinnamon Rolls
Turn the chilled dough onto a lightly floured surface and press it flat with your hands before you touch the rolling pin. This deflates the big bubbles from the bulk ferment and keeps the layer thickness honest.
Roll it into a rectangle about 12 inches by 8 inches. Check the thickness by lifting an edge: if you can see your hand through it, it is ready. Anything thicker bakes dense in the middle.
Spread 3 tablespoons of softened butter over the whole surface, then scatter the cinnamon sugar and pat it down gently with your palm. Patting rather than smearing keeps the filling in an even layer without tearing the dough.
Starting from a long edge, roll the dough into a tight log. The seam goes seam-side down in the pan, so the roll holds its coil instead of springing open.
Cut with unflavored dental floss for the cleanest spirals: slide the floss under the log, cross the ends over the top, and pull in opposite directions. A serrated knife compresses and squashes the cut instead.
Arrange the pieces in a greased 9×13-inch pan, spiraling up if the gaps look obvious. Leave the outer edges unfilled — a butter and sugar border spreads into a puddle that makes the bottom soggy.
Chill the Shaped Rolls Without Overproofing Them
Cover the pan with plastic wrap pressed onto the dough surface so no air sits against it, then wrap foil over the top and crimp it around the rim. A loose cover is the single most common reason overnight rolls come out grey and leathery.
Put the pan at the back of the refrigerator, away from the crisper drawer and out of the airflow from the door. The back stays a few degrees colder, which is exactly what you want.
Realistically you have 8 to 18 hours here. Past 24 hours the cinnamon sugar liquefies and starts pooling in the corners of the pan, the dough picks up a faint tang, and the rolls deflate rather than spring back in the oven.
Chilling is not the same as proofing. A countertop proof warms the dough and wakes the yeast quickly; a fridge hold keeps everything nearly dormant so the yeast eats slowly. Room-temperature proofs on a warm morning run 45 to 75 minutes. Cold-overnight proofing takes 1 to 3 hours and gives a better-flavored crumb because the gluten had all night to relax.
Test the rolls in the morning by pressing a fingertip gently into the side. Raw dough springs back fast; chilled dough that is ready to bake stays dented and looks puffy, with visible air between the coils.
Proof and Bake Them Fresh in the Morning
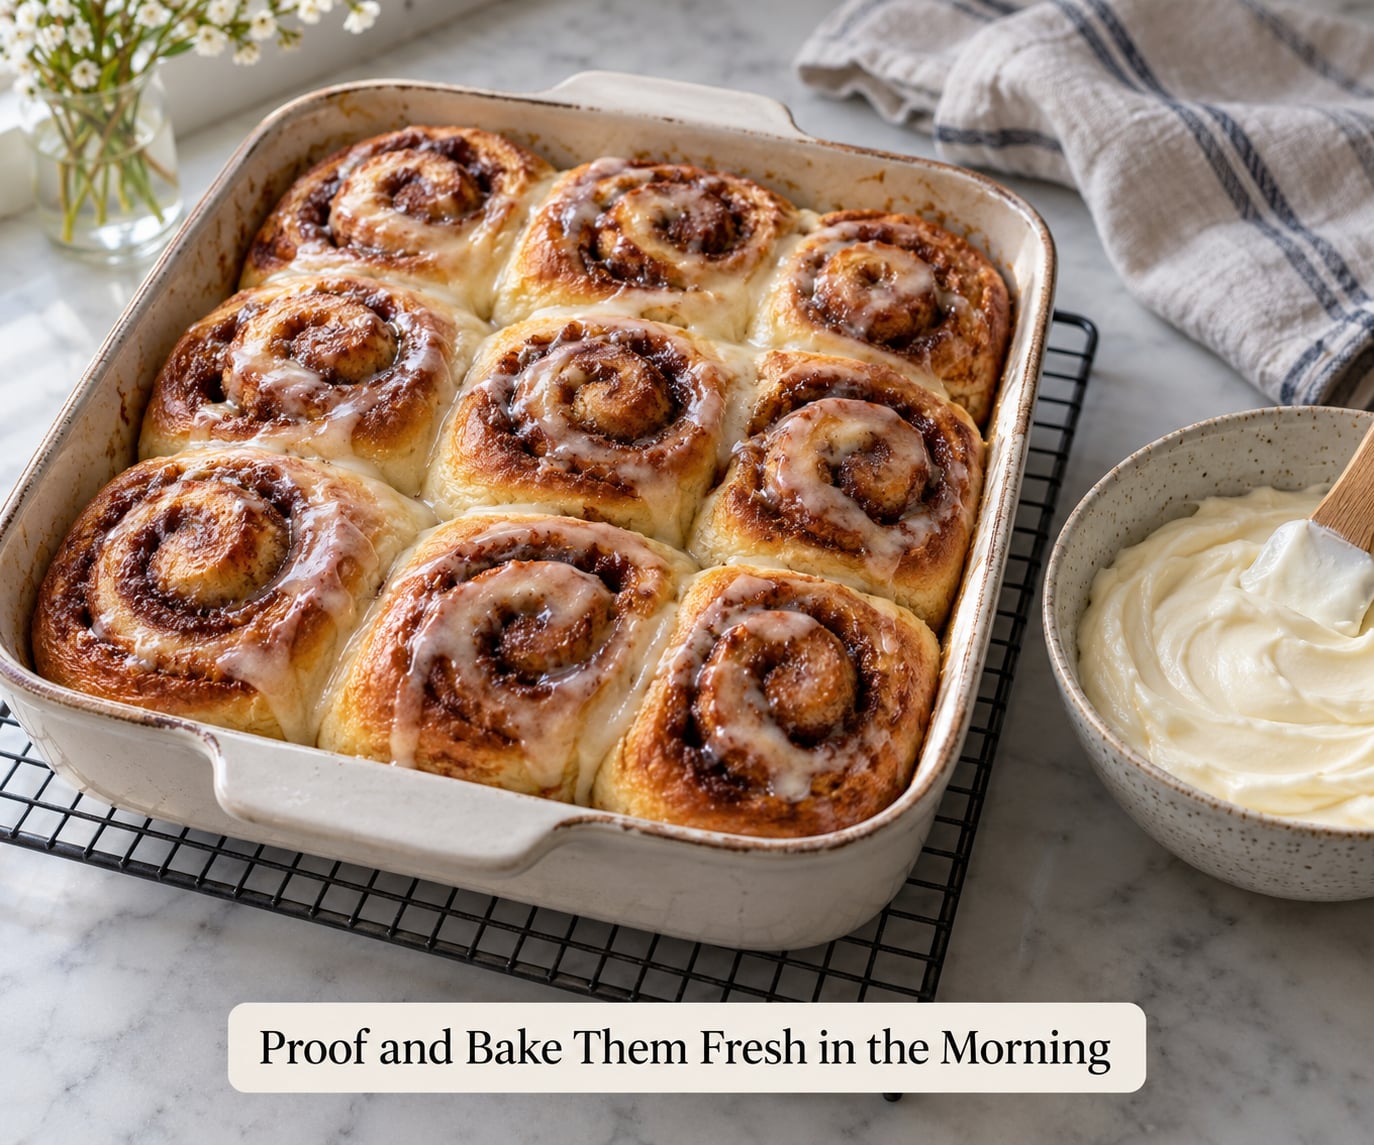
Pull the pan out and leave the wrap on for the first part of the rise. The wrap holds moisture in; peeling it off immediately leaves the surface tacky and prone to tearing. Once the rolls look close to doubled, 1 to 3 hours depending on your kitchen, strip off the foil and plastic wrap.
Turn the oven to 350°F and give it 15 minutes to heat. The oven is finishing the job while the last of the rise happens.
350°F or 375°F? For dough that has spent the night in the fridge, 350°F wins. It gives the cold, denser crumb time to set in the center before the outside colors, and you get about 25 to 30 minutes. At 375°F you get 18 to 22 minutes, better caramelized edges and a crisper top, but you accept a real chance of a gummy middle.
Bake on the middle rack. The rolls are done when the center of the top roll reads about 190°F on an instant-read thermometer, or when the top is deep golden and the edges of the spiral have pulled slightly from the pan. Pull them at the first sign of golden — the carryover heat darkens the top while they cool.
Rest in the pan for 10 to 15 minutes. Frosting a roll that is still steaming runs straight off the top and into a puddle in the bottom of the pan.
If you made the cream cheese frosting the night before too, it will be stiff. Beat in a tablespoon of milk or heavy cream at a time until it spreads without tearing. Cold frosting on a warm roll spreads like a glaze, which honestly looks better than a thick swipe anyway.
When the morning does not go to plan
For a 9 a.m. bake with everyone arriving at 9:30, start the dough at 9:30 p.m. the night before. Cover it by 10:30, have it proofing in the pan by 11, set it out at 6:45, and turn the oven on at 7:30. That leaves about 90 minutes of rise and a comfortable bake.
If the rolls need more time than you have, bake from cold. Unwrap them, put the pan straight into a preheated 350°F oven, and add 10 to 15 minutes to the bake. The top will be a little paler, but the centers will be properly set.
Freezing instead of refrigerating
You can also freeze cinnamon rolls ahead of time and freeze them unbaked. Shape the rolls, place them in the pan, then freeze the whole pan uncovered until solid. Wrap it tightly in two layers of plastic wrap plus foil, or transfer the frozen rolls to an airtight container with parchment between the layers, and freeze for up to 6 to 8 weeks.
Do not thaw them at room temperature. Move the pan to the refrigerator the night before, let the rolls rise until doubled, and bake as normal. Airtight matters here — an uncovered roll in a leaky freezer bag dries out around the edges long before the center freezes.
Baked versus unbaked depends on how far out you are. Unbaked frozen rolls keep the yeast quality and bake up fluffier, which makes them the better option for a holiday two to eight weeks out. Baked rolls frozen without frosting keep well for about a month; thaw them in the refrigerator overnight, warm for 10 minutes at 350°F, and frost after they come out of the oven.
Common Mistakes and How to Fix Them
Almost every overnight roll failure traces back to one of four things: an unsealed pan, a skipped morning rise, too much time in the fridge, or dough that sat on the counter instead.
The table below pairs each symptom with the cause and the fix.
| What went wrong | Why it happened | How to fix it next time |
|---|---|---|
| Dough is dense and tight | The morning rise was cut short, or the dough was shaped before the bulk ferment doubled | Give the full 1 to 3 hours, and only judge by the dent test rather than the clock |
| Rolls collapsed or flattened | Left at room temperature overnight, so they overproofed and the structure collapsed in the oven | Refrigerate right after cutting, sealed, every time |
| Dough is grey, dry or rubbery | The pan was covered loosely, so the surface dried out in the cold air | Press plastic wrap directly onto the rolls, then crimp foil around the rim |
| Filling pooled in the pan | More than 24 hours chilled, or the outer edge was overfilled | Stay under 24 hours and leave a one-inch unfilled border |
| Bottom is soggy | Baked too soon after the rise, or the pan was overloaded with butter | Wait for the puffy, dented look, and use just enough butter to coat |
| Spirals are uneven | The dough was rolled too thin or too thick in places before filling | Lift an edge and check you can see light through it before filling |
| Top stayed pale | Pan crowded or the oven running cool | Bake on the middle rack and check with an oven thermometer; 375°F for the last 5 minutes helps |
| Yeasty sour smell, raw center | Overproofed before baking, or unbaked rolls left out | Cold storage only, and go straight to a fully preheated oven |
| Frosting went hard and slid off | Frosting spread straight from the fridge onto warm rolls | Beat in a little milk until spreadable, and wait 15 minutes for the rolls to cool |
| Cuts are squashed and ragged | Slicing the log with a serrated knife | Use unflavored dental floss for clean spirals |
Two tricks do more than the rest. Pouring a quarter cup of heavy cream over the cold rolls before they go in the oven dissolves the sugar at the seams into something close to caramel. And baking with the pan on a preheated sheet or a stone gives the bottom a head start, which is where most soggy-bread problems start.
For a softer center, pull the rolls at the lighter end of the time range and rest them uncovered for 10 minutes. For crisper edges, bake at 375°F and let them run 2 minutes past golden.
Almost everyone who bakes overnight ends up doing the same thing: refrigerating the cut rolls right after they go in the pan and skipping the countertop second rise entirely. That single decision is what keeps the dough from over-proofing before you ever open the fridge door.
Frequently Asked Questions
Can I make cinnamon rolls two nights before baking?
Usually not, unless the dough is a sturdy yeasted one. Two nights is 48 hours of cold fermentation, which works for a high-yeast dough but leaves most sweet enriched dough faintly acidic and makes the cinnamon sugar weep into the corners of the pan. One night is the sweet spot. If two nights is your only option, bump the yeast slightly, keep the pan at the back of the fridge, and seal it twice.
What if my overnight cinnamon rolls do not rise enough in the morning?
Cold dough rises slowly, and a cool kitchen makes it slower still. Leave the wrap on during the rise, set the pan somewhere warm but not next to the oven, and wait the full 1 to 3 hours. The roll is ready when pressing a fingertip leaves a dent that stays. If you are out of time, unwrap and bake at 350°F anyway, adding 5 to 10 minutes, since a slightly under-risen roll beats a dense one.
Does the yeast stay active after chilling cinnamon-roll dough overnight?
Yes, it slows down rather than switching off. Refrigeration holds yeast metabolism at a fraction of its room-temperature rate, which is the whole point of a cold proof. The yeast wakes up fully once the pan hits the counter, and the rise gets going again within 30 to 60 minutes. What does kill yeast is baking it straight from the fridge without any rise time, or leaving the rolls at room temperature overnight where they overproof and collapse.
Can I bake cinnamon rolls the night before and reheat them?
You can, but you lose the reason you started. Rolls baked the night before and rewarmed in the morning come back drier and flatter, since the structure has already set and then absorbed moisture twice. Refrigerate baked rolls in a sealed container for up to three days and reheat at 350°F for about 10 minutes, or 15 from frozen. If you want warm rolls at breakfast, the unbaked fridge method is the better trade.
Can I freeze unbaked cinnamon rolls instead of refrigerating them?
Yes, and it is the better option when you are more than a couple of days out. Shape the rolls, freeze the pan uncovered until solid, then wrap it airtight in plastic wrap and foil, or move the frozen pieces to an airtight container with parchment between layers. Keep them frozen for 6 to 8 weeks. Thaw in the refrigerator overnight, let them finish rising at room temperature until doubled, then bake as normal.
Bake Them Fresh: What to Do First
Start with the dough. Mix it, cover the bowl tightly, and refrigerate it overnight. Shape and cut the rolls after that first chill, not before, and get them into a greased pan so the active work is over before bed.
Seal the pan properly, since plastic wrap pressed onto the rolls plus foil crimped around the rim is the whole difference between dough that stays supple and dough that turns grey overnight.
In the morning, check the rolls at room temperature rather than trusting the clock. Press one, and when the dent stays and the coils look puffy, preheat the oven, bake at 350°F, and let them rest 15 minutes before the frosting goes on.