Quinoa goes mushy when it takes on more water than it can cook off, so how you cook it so it is not mushy comes down to one number most bags get wrong: 1.5 cups of water for every 1 cup of dry quinoa, not two. Simmer it gently, leave the pot alone, rest it covered off the heat, then fluff it with a fork. About 20 minutes start to finish, and no special equipment beyond a saucepan with a lid.
Mushy quinoa is the single most common complaint I hear about this grain, and the frustrating part is that people follow the package instructions exactly and still end up with porridge. The instructions work for some pots and not others, because the printed 2:1 ratio assumes a wide, uncovered simmer that most home burners never deliver quietly.
Here is the method, plus a way to rescue a soggy batch you already have and a table of ratios for rice cookers, pressure cookers, ovens and microwaves.
Table of Contents
- What You Need
- Step-by-Step: How to Cook Quinoa So It Is Not Mushy
- Rinse the Quinoa Thoroughly
- Use the Right Water Ratio
- Keep the Heat Gentle
- Let It Steam and Fluff
- Common Mistakes When Cooking Quinoa
- Frequently Asked Questions
- Why is my quinoa so mushy?
- How can I fix mushy quinoa that I already cooked?
- Do you need to rinse quinoa before cooking?
- Is it okay if quinoa is a little crunchy?
- What water ratio should I use in a rice cooker or pressure cooker?
- Can I reheat quinoa without it going mushy?
- How to Keep Quinoa Fluffy
What You Need
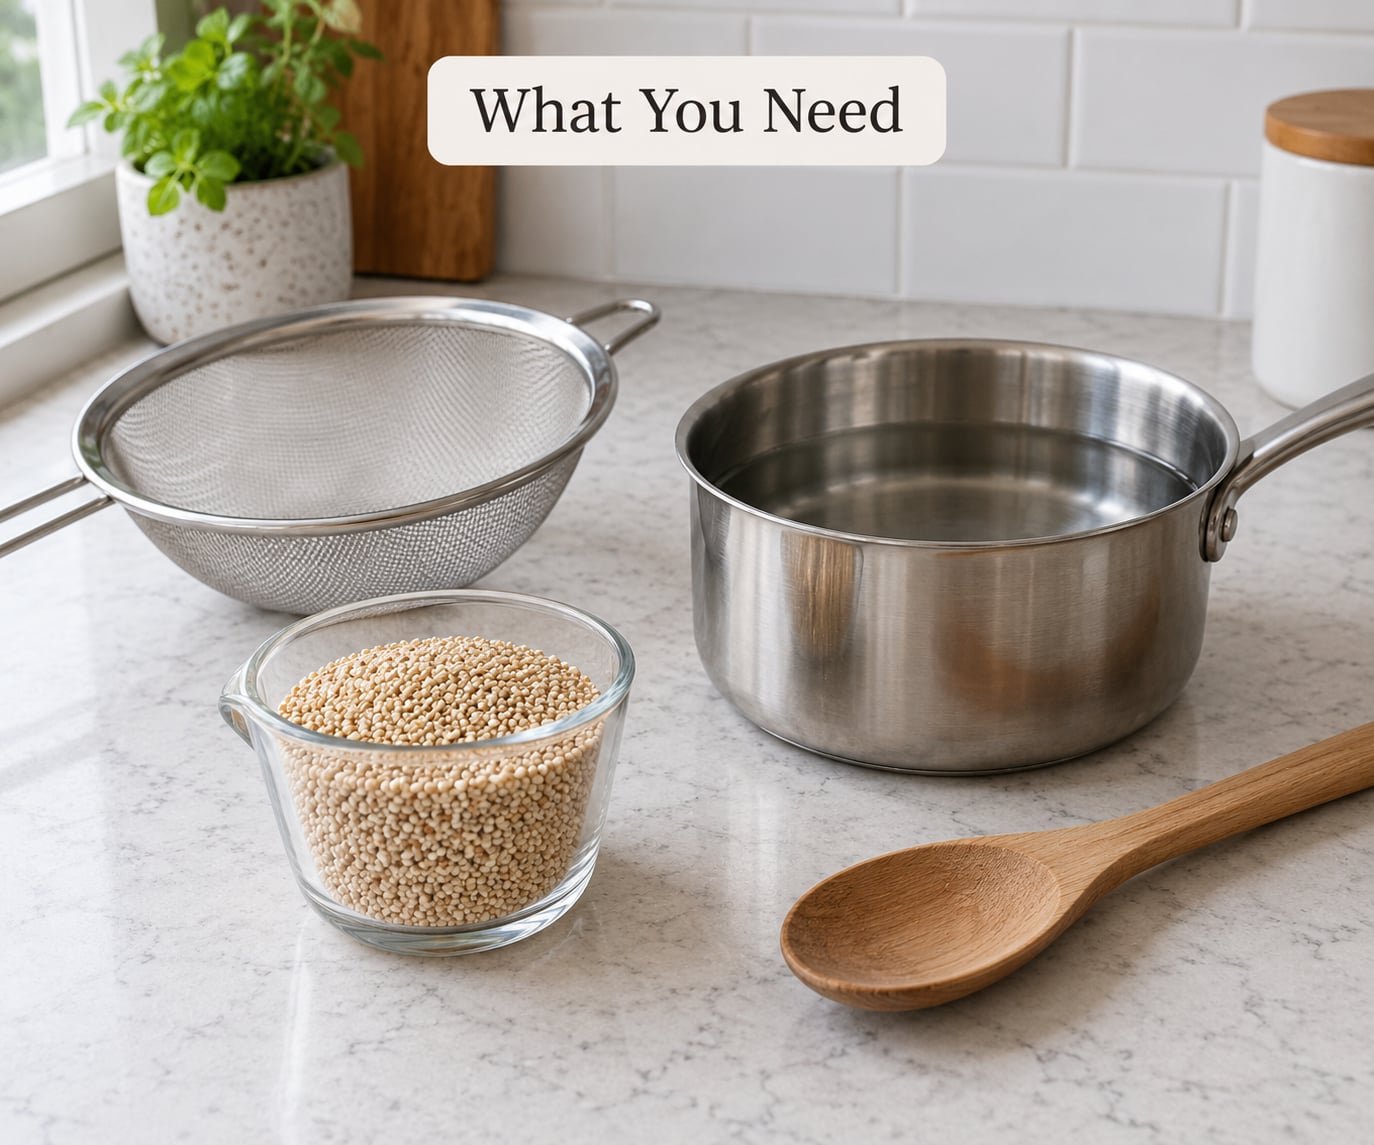
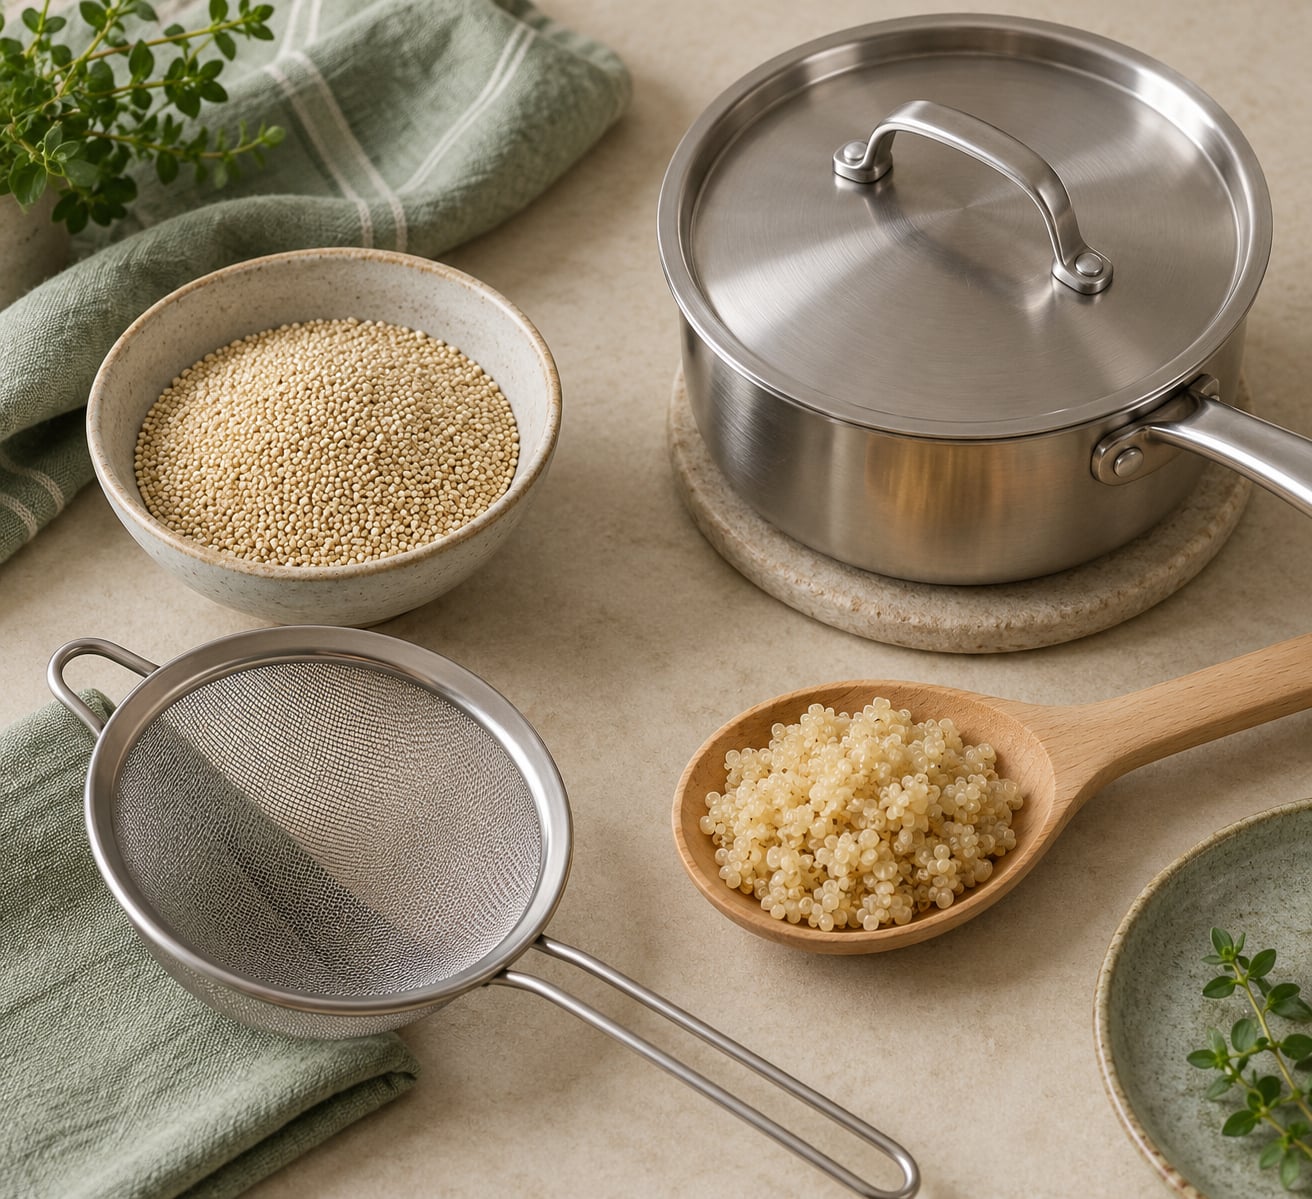
You need three things and the rest is optional. The water ratio is the piece that decides your texture, so measure it rather than eyeballing it.
- Dry quinoa: 1 cup white or tricolor quinoa for the method below. Red and black quinoa need slightly more liquid and a few extra minutes.
- Water: 1.5 cups, measured. Use a proper measuring cup; a generous pour is how batches turn to paste.
- Saucepan with a tight-fitting lid: the lid matters as much as the pan. Steam has to stay trapped for the grains to finish cooking evenly.
- Fine-mesh strainer: a regular colander has holes big enough to lose some quinoa down the drain.
- Wooden spoon or fork: the fork is what actually separates the grains.
Optional but useful: a digital thermometer or your judgement for the simmer, a small splash of oil if you like, and a sheet pan for cooling cooked quinoa fast when you are batch cooking for the week.
Step-by-Step: How to Cook Quinoa So It Is Not Mushy
Rinse the Quinoa Thoroughly
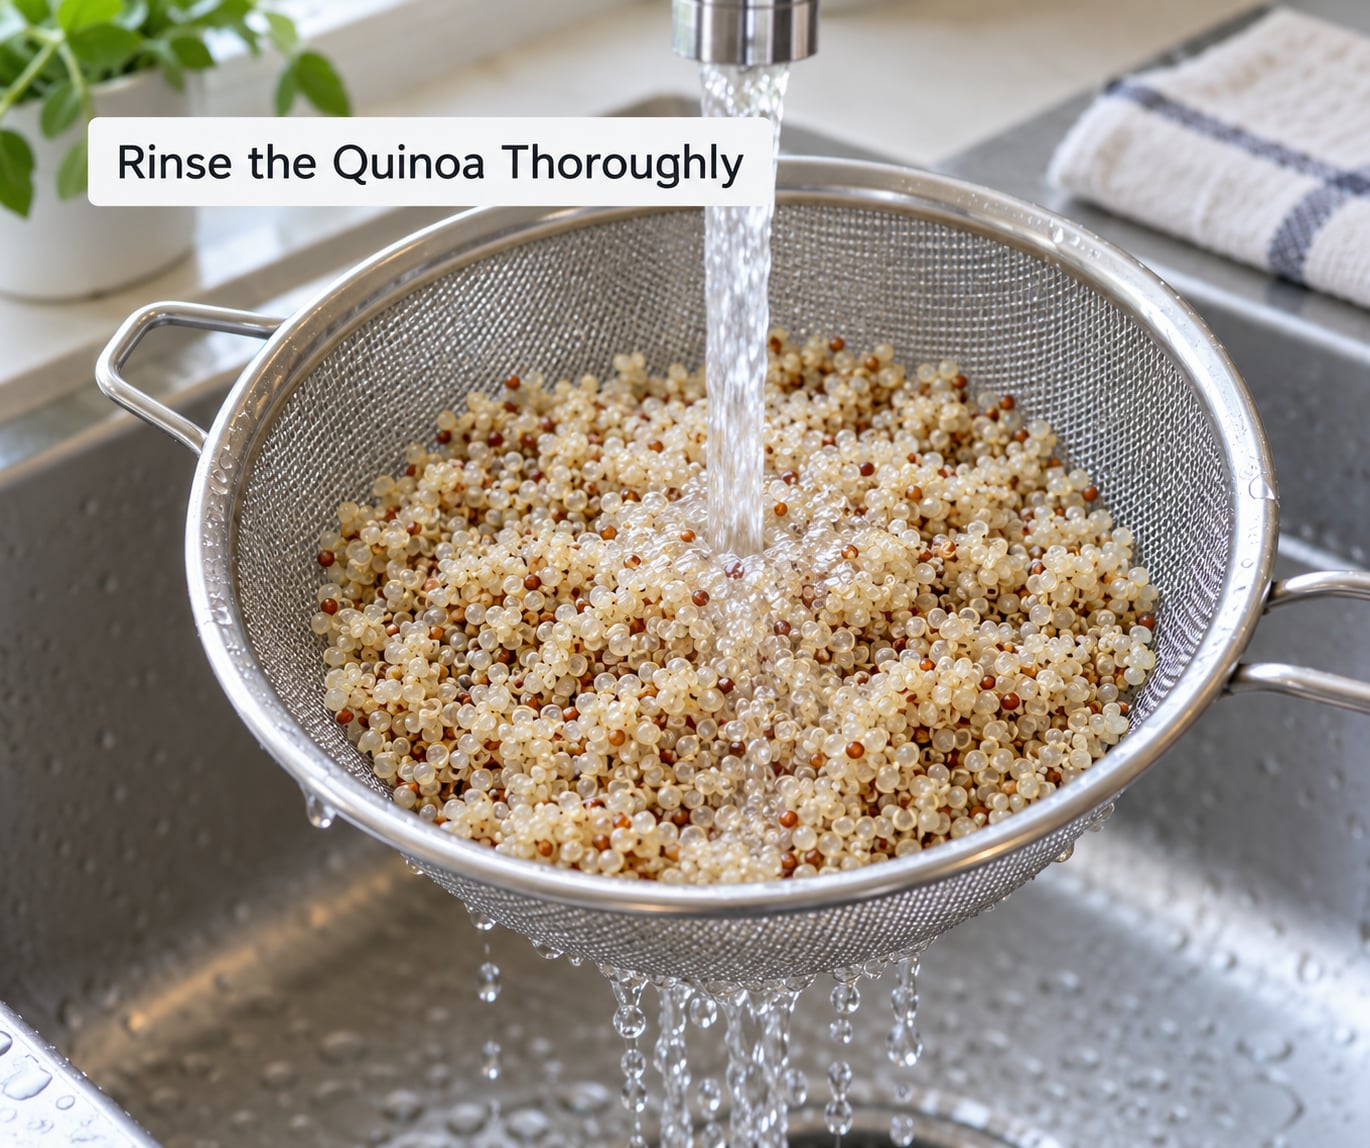
Rinse for 30 to 60 seconds until the water runs noticeably clearer, swishing the grains with your fingers. That rinse washes off saponins, the bitter coating that naturally sits on the outside of the grain.
Rinsing is not what fixes mushiness, and it is worth being clear about that. It solves flavor. If your quinoa tastes bitter or soapy and you skipped it, that is the saponin, not undercooking. If your quinoa is soft and clumped, you need the ratio and the heat handled differently.
Use the Right Water Ratio
Measure 1.5 cups of water for every 1 cup of dry quinoa, and put it in the pan with the rinsed grains before the heat goes on. The ratio printed on most bags is closer to 2:1, which gives the grains plenty of liquid to drink and then keeps cooking past the point where steam can escape. That leftover liquid is what turns quinoa gummy.
The ratio does shift by method, because some methods vent steam and some do not:
| Method | Water per 1 cup dry quinoa | Cook time | Rest |
|---|---|---|---|
| Stovetop, covered | 1.5 cups | 10-15 minutes at the lowest simmer | 5-10 minutes covered |
| Rice cooker | 1.5 to 1.75 cups | About 15-20 minutes, or the quinoa setting | 10 minutes covered |
| Pressure cooker | 1 to 1.25 cups | 6 minutes at high pressure | 10 minutes natural release |
| Oven, 350F / 175C | 1.5 cups | 25-30 minutes covered | 5 minutes covered |
| Microwave | 1.5 cups in a deep bowl | 6-8 minutes on high | 2 minutes standing |
Pressure cookers need the least water because none of it can evaporate. Everything else needs roughly the same 1.5 cups, since a normal pot loses a little liquid to the air even with the lid on.
Keep the Heat Gentle
Bring the pan to a boil over medium-high heat, then drop it to the lowest heat your stove has and cover it. You want one lazy bubble every second or two, not a rolling boil and not a heavy steam escaping at the lid seam.
A hard boil for fifteen minutes boils the water out from under the grain, then keeps cooking what is left in the pan, which is how the outside turns soft and the middle stays chalky at the same time. If your burner runs hot, put the burner on low and lift the pot a half-inch off the grate, or move it to a smaller burner. An electric coil that cycles hard will do more damage than a gas flame you can tame.
Let It Steam and Fluff
When the water has been absorbed and the grains look opaque-white, kill the heat and leave the pot covered and undisturbed for 5 to 10 minutes. Residual heat and trapped steam finish the cook during this rest, and it is also the step people skip, so they pull the pot early, open the grains in a rush of steam, and end up with a dense, wet mass.
To check doneness, look at a grain rather than the clock. You should see the little white tail, the germ ring, curled and translucent, and the grain should still break apart when you press it. Then fluff with a fork, lifting from the bottom and turning outward in short strokes until the grains are separate and springy. Taste before you serve; a slight resistance in the center is fine and actually better for salads and grain bowls than a uniformly soft grain.
Common Mistakes When Cooking Quinoa
Almost every soggy batch traces back to one of these. Each one has a fix, so read down and find the one that matches what happened in your pot.
- Too much water. This is the big one. Cut back to 1.5 cups per cup of quinoa and let the grains absorb rather than soak.
- Boiling instead of simmering. A rolling boil keeps the grains moving and the water escaping at once. Lowest heat, lid on, and no stirring at all once you cover the pan.
- Skipping the covered rest. The pot keeps cooking after you turn it off. Take it off the heat and leave it alone for 5-10 minutes.
- Stirring while it cooks. Every stir breaks more grains and releases more starch into the water, which is what makes it gluey. Fluff once, at the end, with a fork.
- Not toasting. Toasting is optional for texture but it does dry the surface, deepen the nutty flavor, and give you a couple of extra minutes before the grains start absorbing.
- Wrong ratio for the method. A rice cooker and a pressure cooker are not interchangeable with the stovetop numbers. Check the table above before you start.
Two more worth knowing: a brand switch can change the texture because grain size and coating thickness vary between varieties, so if you suddenly start getting mush from a method that used to work, change one variable at a time rather than the whole recipe. And quinoa keeps cooking from residual heat even in the fridge, so storing it slightly drier than you think you want is the safer place to start.
For leftovers, spread cooked quinoa in a single layer on a tray to cool quickly, then move it to an airtight container in the fridge for up to 3-4 days. To reheat without re-mushing it, add a teaspoon of water per cup, cover loosely, and microwave on short bursts, stirring only between them, or warm it in a dry skillet over low heat with a drop of oil. Salt it after reheating rather than before, and dress it at the last moment with lemon, oil, or vinegar so the grains don’t drink the dressing and collapse.
Frequently Asked Questions
Why is my quinoa so mushy?
Mushy quinoa is almost always excess water plus heat or agitation. The 2:1 ratio printed on most bags gives the grains more liquid than they need, a boiling simmer keeps them moving while it evaporates, and stirring or pressing releases starch that makes everything gluey. Fix it by using 1.5 cups of water per cup of quinoa, holding the heat at its lowest simmer, leaving the pot alone, and fluffing once with a fork after a covered rest.
How can I fix mushy quinoa that I already cooked?
You can save it, but not back to fluffy. Spread it on a sheet pan and let the surface moisture evaporate for 10-15 minutes, or warm it in a dry skillet over low heat until the grains tighten up, stirring gently with a fork. Then use it where moisture is already expected: a soup, a casserole, breakfast porridge, veggie patties, or fried rice. Cooling and reheating it flat on a tray recovers more texture than stirring it in the pot.
Do you need to rinse quinoa before cooking?
Yes, run it under cold water for 30-60 seconds in a fine-mesh strainer until the water runs much clearer. Quinoa has a bitter outer coating called saponin, and rinsing takes most of it off along with some of the dusty residue from milling. Rinsing is about flavor, not texture. If you skip it, your quinoa may taste soapy or bitter, but it will not be the reason it turns mushy.
Is it okay if quinoa is a little crunchy?
Yes, a faint bite in the center is the sign you pulled it at the right time, not too early. Look for the little white germ ring, or tail, on each grain and check that it has turned translucent and curled. If the grain breaks apart with a little resistance and no chalky core, it is done. Restaurants actually aim for slightly drier than most home cooks do, and that drier grain holds its shape in salads.
What water ratio should I use in a rice cooker or pressure cooker?
In a rice cooker, use 1.5 to 1.75 cups of water per cup of quinoa and run the quinoa setting if your machine has one. In a pressure cooker, use only 1 to 1.25 cups, because none of that water can evaporate while the pot is sealed. Six minutes at high pressure followed by a ten-minute natural release gives separate grains. Much more water than this, and the grain steams in a sealed bath and turns soft.
Can I reheat quinoa without it going mushy?
Keep it on the dry side and reheat gently. Microwave with a teaspoon of water per cup of quinoa, covered loosely, in 30-second bursts rather than one long cycle, and stir only between bursts. Warming it in a dry skillet over low heat with a small drizzle of oil works well too. Skip reheating it more than once, and dress salads or bowls with dressing only after the grain is hot.
How to Keep Quinoa Fluffy
If you only change one thing, cut the water to 1.5 cups per cup of quinoa and measure it properly. That single number solves most of the mushiness people report, because everything else in the method is a matter of degree.
Then rinse for 30-60 seconds, keep the heat at its lowest simmer, do not stir while it cooks, and leave the pot covered off the heat for 5-10 minutes. Fluff with a fork once, taste, and stop while the germ ring is still translucent. That is the whole method, and once you can see the water number in your head, you can cook it so it is not mushy in any pot you own.