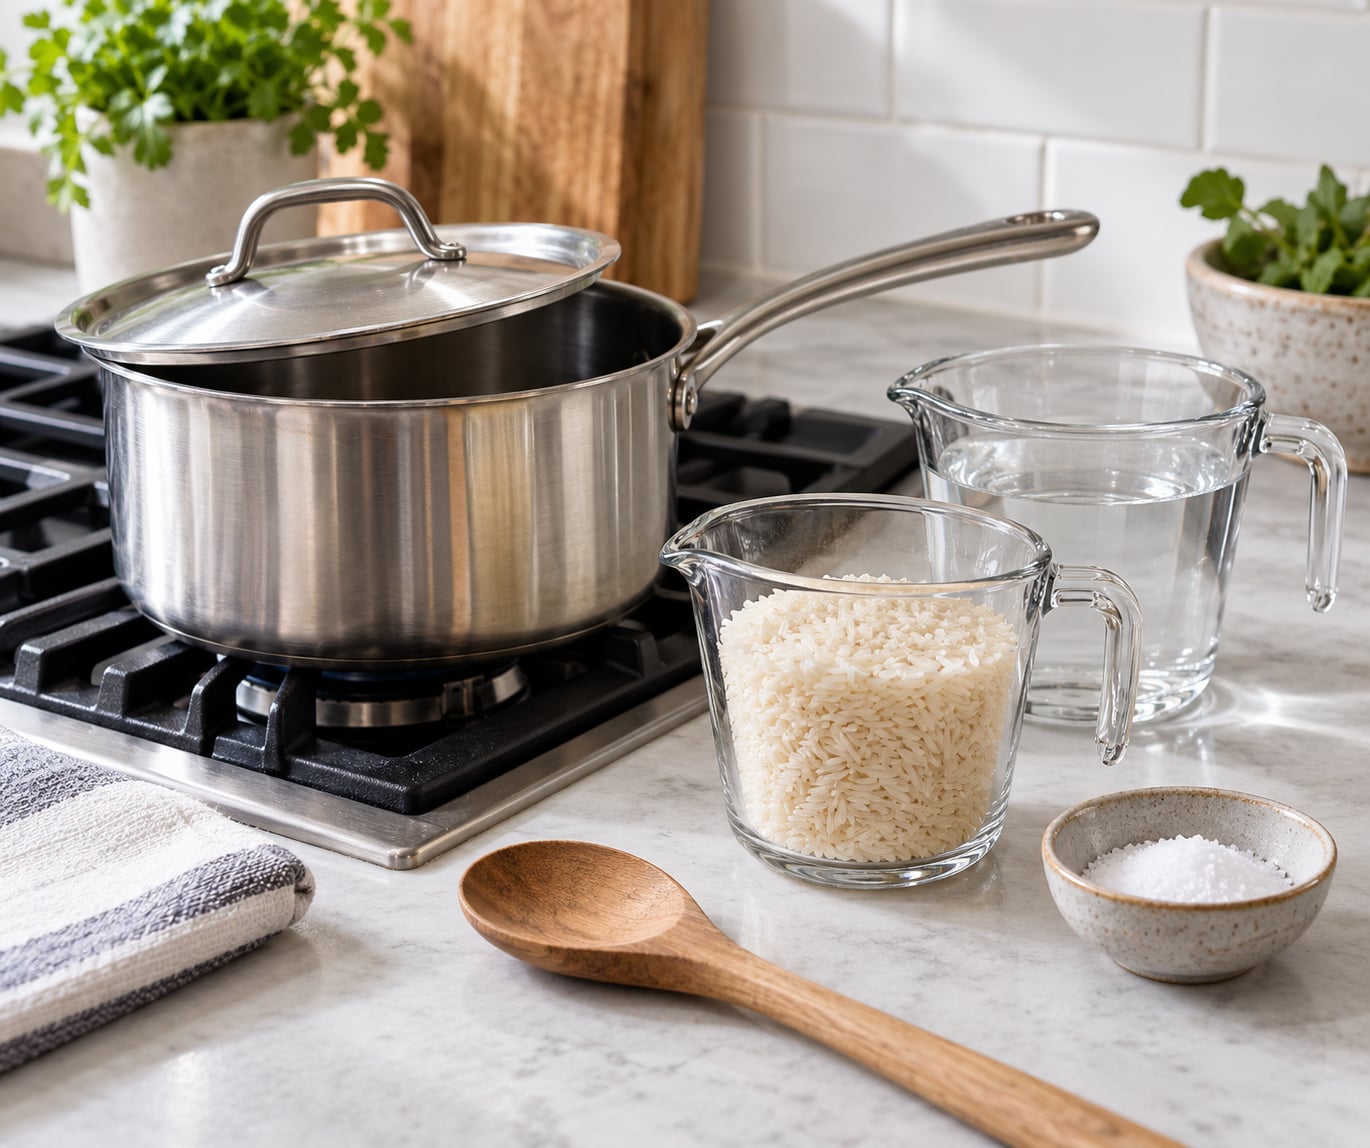
To cook rice on the stovetop perfectly, measure 1 cup of long-grain white rice, rinse it until the water runs mostly clear, and add 1.5 to 2 cups of water depending on the grain. Bring it to a boil, cover tightly, drop the heat to a gentle simmer, and cook undisturbed until the liquid disappears. Then leave it on the heat, lid on, for 5 to 10 minutes before you fluff it. The whole job takes about 20 minutes, most of it unattended.
That last sentence is where most home cooks go wrong. The rest is not a formality, and neither is the moment you drop the heat. Get those two right and the rice does most of the work on its own.
Table of Contents
- What You Need
- Step-by-Step: How to Cook Rice on the Stovetop Perfectly
- 1. Choose the Rice and Measure It Correctly
- 2. Rinse the Rice Until the Water Runs Mostly Clear
- 3. Bring the Water to a Boil
- 4. Add the Rice, Cover, and Simmer
- 5. Let the Rice Rest, Then Fluff and Serve
- Common Mistakes
- Mushy, gluey, gummy rice
- Crunchy bottom, soft top
- Hard, crunchy centers
- Sandy, dry grains that separate too much
- Grains welded into a solid block
- Uneven texture: crunchy outside, raw middle
- Water boiling over the sides
- Rice stuck to the pot
- Frequently Asked Questions
- Is it 3 cups of water for 2 cups of rice?
- Do you put rice in when the water is boiling or before?
- Should I leave the lid on or off when cooking rice on the stovetop?
- What to do when rice is tough?
- How long should you cook parboiled rice on the stove?
- Conclusion
What You Need
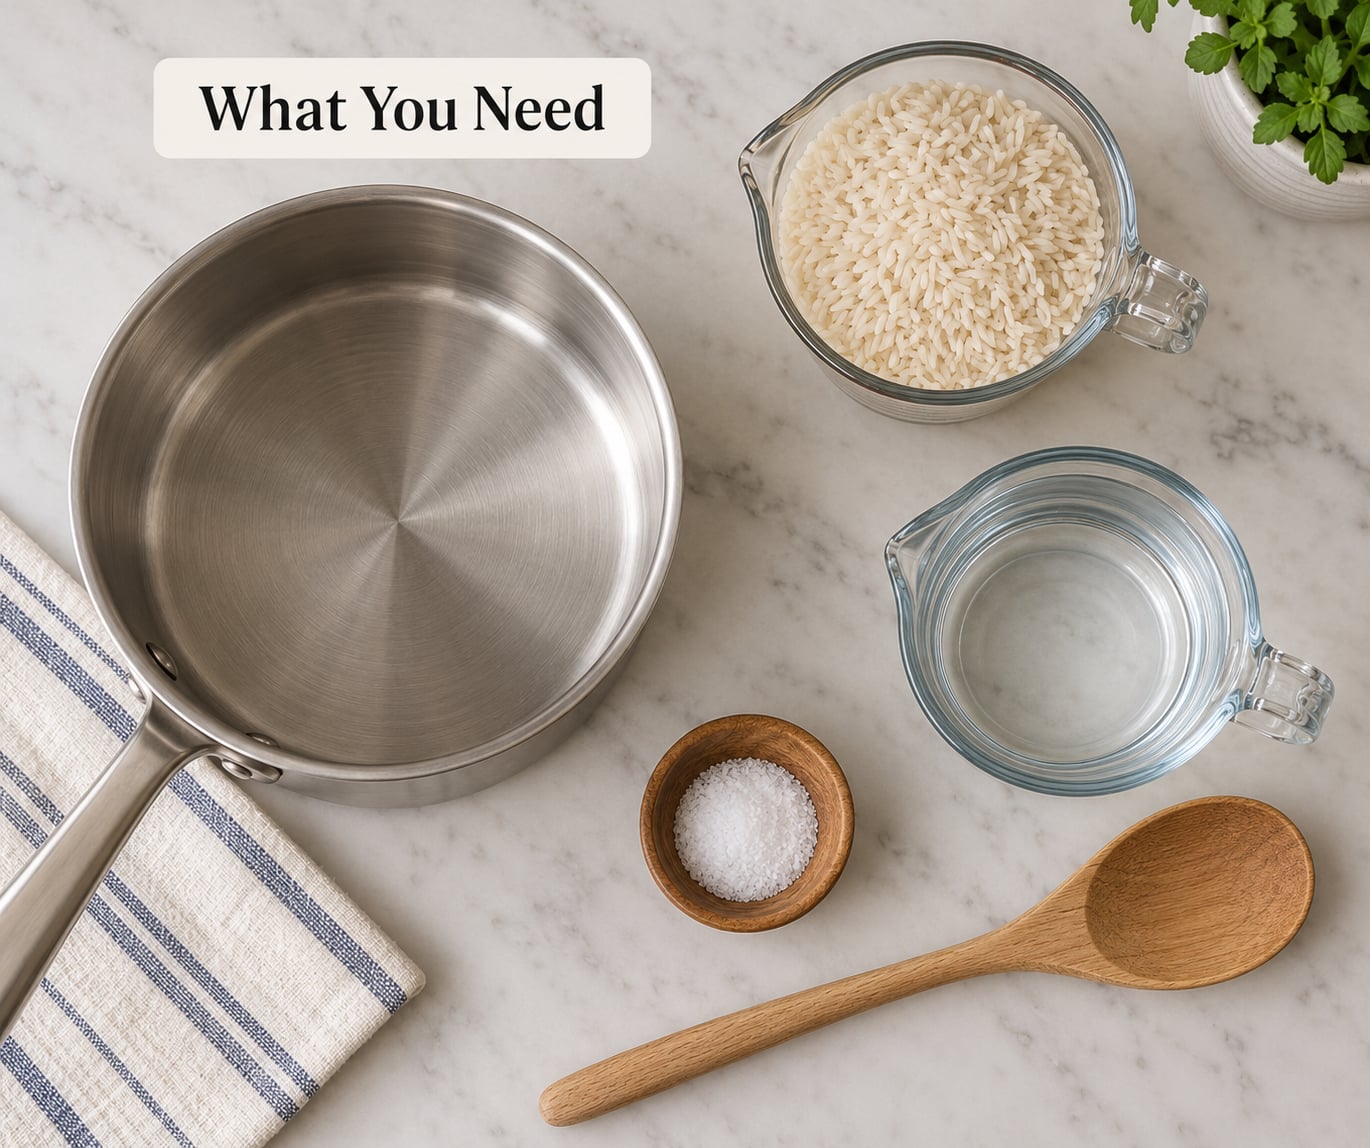
You need very little: rice, water, a pot with a lid that fits, and something to measure with. That’s the whole recipe.
The pot matters more than anything else. A heavy-bottomed saucepan spreads heat across the base instead of concentrating it in a ring at the centre, which is the usual reason for a scorched layer under perfectly fine rice. A thin pot also reacts to a burner faster, so it’s harder to hold a simmer. If your pot is thin or dented, expect to check the rice a minute early and use a little more water.
Lid fit is the second thing. It needs to seat flat and stay put, ideally with a ring or lip that catches the steam. A glass lid from a different pot that rocks when you press it down will let steam escape, and steam leaving is the same as heat leaving.
For measuring, a proper 1-cup dry measure beats a liquid cup because it gives you a consistent, unbaked level. Scoop, level with the back of a knife or a straight edge, and don’t press the rice down. A packed cup can hold a noticeably larger amount than a loosely filled one, and that’s a free mistake baked into the start of your cook.
A fork for fluffing, a fine-mesh strainer or bowl for rinsing, and a spoon for tasting water are the rest of it. Salt goes in with the water, not after.
Step-by-Step: How to Cook Rice on the Stovetop Perfectly
This is the method I use, tested on a heavy 3-quart saucepan with a tight-fitting lid, ordinary long-grain white rice from the grocery shelf, and a gas burner set to medium-high. Times shift with your rice, your pot and your stove, so treat the clock as a guide and the pot as the truth.
1. Choose the Rice and Measure It Correctly
Long grain cooks drier and keeps grains separate. Medium grain is plumper and slightly stickier. Short grain is meant to be sticky, and using long-grain water ratios for it is a fast route to glue.
Start at 1 cup of rice to 1.5 cups of water for long-grain white rice, jasmine and basmati after rinsing, and go to about 1.25 cups for short-grain and medium-grain. Brown rice lives somewhere else entirely: roughly 2.25 to 2.5 cups of water per cup, plus 10 extra minutes of cooking.
Measure by scooping and leveling. Don’t pack the cup, and don’t use the grains that spilled onto the counter as your serving size. A level cup of rice expands to roughly three cups cooked, which is worth remembering for meal prep.
2. Rinse the Rice Until the Water Runs Mostly Clear
Rinsing washes off surface starch, the powdery coating that turns to glue when it cooks. That’s the whole reason to do it. Three or four changes of water is the usual advice and it’s close to right.
Swirl the grains gently with your fingers for about 20 seconds, then drain. Repeat until the water is cloudy but no longer opaque. You’ll never get a truly clear rinse, and you don’t need to. Ten minutes of swirling on an arborio batch is more starch removal than anyone needs and starts breaking the grains down.
Basmati is the one that genuinely rewards a soak. Twenty to 30 minutes in cool water lets the long grains absorb moisture evenly, which is the fix for crunchy centers in basmati. Long-grain white rice and parboiled rice don’t need it. Brown rice doesn’t need it either, and soaking it makes the bran soften unevenly.
3. Bring the Water to a Boil
Heat the measured water in the pot on medium-high until it hits a full rolling boil. Adding rice to cold water gives you an even re-hydration, and it’s the method I prefer for texture, but it costs you 8 to 10 minutes and gives you no visual cue for when to drop the heat.
Adding rice to boiling water gets you to a covered simmer faster, which is why most recipes and most Asian home cooks do it that way. Both work. Pick one and stay with it, because switching between methods is a big part of why the same pot gives different results for different people.
Watch for boil-over. Foaming happens in the first two minutes after the rice goes in, before the starch has hydrated. If you’re cooking over a gas flame, slide the pot to a smaller burner or lower the flame, and leave the lid on with the heat still high.
4. Add the Rice, Cover, and Simmer
Add the rice, stir once so the grains are in an even layer rather than a mound in the middle, then cover. Boil without the lid for about a minute to bring everything back to temperature if you added cold rice, then cover and drop the heat.
The heat change is the step with the most room to go wrong. You want a gentle simmer: small bubbles breaking the surface every second or two, not a rolling boil. On most gas stoves that’s the lowest or second-lowest setting with the flame licking the outside of the pot base. On electric, drop to about a third. On induction, start lower than you think — it ramps fast and it’s easy to overshoot straight past simmer into boil.
A useful visual cue: when the water level drops to the level of the rice in the pot, drop the heat. You can see the grains through the bubbling water at that point, and it’s the earliest reliable signal you get.
Now leave it. Lid on, heat low, no stirring, no peeking. Cook until the liquid is gone, roughly 12 to 15 minutes for long-grain white rice on a gentle simmer. Then move straight to the rest.
5. Let the Rice Rest, Then Fluff and Serve
Keep the pot on the burner with the lid on for 5 to 10 more minutes, heat off. The rice is still cooking, which is the part people miss: the liquid it absorbed is steaming between the grains and finishing them at the same temperature. Turn the burner fully off rather than to warm.
Long-grain white rice needs 5 to 10 minutes. Short grain and medium grain need about 10. Brown rice gets 10 to 15.
Lift the lid and run a fork through the rice from the bottom up, turning it over in loose sections. Fork rather than stir with a spoon, and stop while the grains still feel slightly firm — they finish cooking on the plate. Taste one before serving. If it’s still hard in the middle, put the lid back on for another 3 minutes rather than adding water, which only makes a new problem.
Salt and butter go in now, while it’s hot and steamy. Leftovers cool fast and dry out fast, so spread rice on a tray to cool before you cover it.
Common Mistakes
Almost every bad batch of stovetop rice traces back to a short list of things: water volume, heat level, lid seal, rest time, or stirring when you shouldn’t have. Here is what each one looks like and what corrects it.
Mushy, gluey, gummy rice
Too much water, or a simmer vigorous enough to keep the grains moving in liquid. Cut water by a quarter cup per cup of rice, hold the heat at a true simmer, and time the cook rather than cooking until it looks done.
Crunchy bottom, soft top
Heat concentrated on the base of the pot, or a pot bottom thinner than the water above it. Use a heavier pot, drop to a lower setting once it simmers, and try a wider base. Never scrape a burnt layer back into the pot.
Hard, crunchy centers
Not enough water to steam all the way to the middle of the grain, or a rest that was skipped. Add water and lengthen the rest. For basmati, soak 20 to 30 minutes first.
Sandy, dry grains that separate too much
Under-hydrated, often from a lid that didn’t seal or a pot that boiled dry. Add a couple of tablespoons of water and give it 4 minutes back on low, then rest again.
Grains welded into a solid block
Stirring early, or lifting the lid while the rice cooked. Fluff with a fork the moment the rest is over and serve straight away.
Uneven texture: crunchy outside, raw middle
A mound of rice rather than an even layer, so the center cooked last. Stir once after adding the rice so the bed is one grain deep across the pot.
Water boiling over the sides
Rice added to boiling water foams before the starch hydrates. Lower the heat a notch and leave the lid on through the first two minutes.
Rice stuck to the pot
Heat too high, or the pot bottom was disturbed while the water was still moving. Use a nonstick or heavy pot, drop the heat earlier, and don’t scrape.
The 1:2 ratio you see on most boxes and websites is a safe ceiling, not a target. Cooked at 1:2 with a full simmer for 20 minutes, rice often ends up heavy; the same rice at 1.5 with a gentle simmer for 13 to 14 minutes and a 5-minute rest separates cleanly. That’s the method behind a lot of Asian home cooking, and it’s why the same recipe behaves differently for different households.
Adjust for altitude too. Above roughly 3,000 feet, water boils below 212°F and steam pressure drops, so add about a quarter cup of water per cup of rice and expect a few extra minutes. If your pot is much wider than the standard 3-quart, use a bit more water, since more surface area means faster evaporation.
Toasting the rice in a little oil before the water goes in has a real effect on flavor, giving nutty, toasted notes and slightly firmer grains that hold up better in fried rice. It isn’t a fix for mushy rice, and it adds a step you don’t need on a weeknight.
On leftovers: cool rice in shallow containers, refrigerate within two hours, and use it within three to four days. Reheat with a splash of water in a covered pot on the stove or a damp paper towel in the microwave, and take it to a steaming 165°F throughout. Refrigerated rice also cools and sets into resistant starch, which is why cold rice from the fridge behaves differently in a grain bowl than rice you just cooked.
Frequently Asked Questions
Is it 3 cups of water for 2 cups of rice?
For long-grain white rice, 3 cups of water to 2 cups of rice is the classic ratio and it works, but it sits at the wet end. Two cups of water to 2 cups of rice, cooked on a gentle simmer rather than a boil, gives grains that separate more cleanly. Adjust for your grain: brown rice needs closer to 2.25 to 2.5 cups per cup, and short-grain rice takes about 1.25.
Do you put rice in when the water is boiling or before?
Both work. Rice added to boiling water reaches a simmer quickly and gives you a clear visual cue for when to drop the heat, which makes it easier for beginners. Rice added to cold water re-hydrates more evenly and cooks a little faster on the burner, but it takes longer to reach the boil and gives you less to look at. Pick one method and stick with it.
Should I leave the lid on or off when cooking rice on the stovetop?
Lid on from the moment you start the simmer until you fluff the rice. The lid traps steam, and that steam is what re-hydrates the center of each grain. Lifting it lets heat and moisture escape, slows the cook, and is the usual reason for a crunchy middle under a soft surface. If you need to check, lift once, quickly.
What to do when rice is tough?
Put the lid back on and give it another 3 to 5 minutes on low heat. Tough rice is almost always under-hydrated rather than overcooked, so add a couple of tablespoons of water before covering again. If it stays hard, the water ratio was too low for that grain or the rest was cut short, so add roughly a quarter cup of water per cup of rice next time.
How long should you cook parboiled rice on the stove?
Parboiled rice has already been steamed and dried once, so it needs less water than white rice: about 1.25 to 1.5 cups per cup. Skip the rinse, since the processing has already removed most surface starch. Bring to a boil, cover, drop to a low simmer, and cook 15 to 20 minutes, then rest 5 minutes before fluffing.
Conclusion
Four things decide whether your rice comes out right, and none of them are complicated. Measure with a level cup instead of a packed one, use 1.5 cups of water per cup of long-grain white rice, drop to a true gentle simmer the moment the water level falls to the rice, and leave the pot on the heat with the lid on for 5 to 10 minutes before you touch it.
Rinse until the water is mostly clear, keep the lid on from simmer to serve, and fluff with a fork. Get those four right and how to cook rice on the stovetop perfectly stops being a question you search for.