Learning how to bake at high altitude is mostly a matter of adjusting five things: leavening, liquids, sugar, flour, and oven temperature. Above about 3,000 feet, lower air pressure makes baking gases expand faster and pulls moisture out of batters and doughs faster, so a sea-level recipe produces sunken cakes, thin cookies, and bread that bakes dry. The good news is that the adjustments are small, numeric, and repeatable once you know your elevation.
It does take a little practice. The three failures that catch almost everyone are a cake that collapses in the middle within minutes of leaving the oven, cookies that spread into wafer-thin rounds, and yeast dough that goes from room temperature to over-proofed in a fraction of the time the recipe claims. None of those are your technique. All three are the air.
What follows is a repeatable process rather than a rewritten recipe. Identify the bake, look up your elevation, make the documented adjustment, and check doneness instead of trusting the timer. Change one variable per attempt and write down what happened, because the same adjustments that fix a cake at 5,000 feet are not quite right at 9,000.
Table of Contents
- What You Need
- Step-by-Step: How to Bake at High Altitude
- How to Adjust Flour and Liquids
- How to Change Oven Temperature
- How to Extend Baking Time and Check Doneness
- How to Prevent Flat Cookies, Dense Cakes, and Rising Problems
- Common Mistakes
- Tips
- Frequently Asked Questions
- Should I increase flour when baking at high altitude?
- How much should I increase the oven temperature for high-altitude baking?
- Do high-altitude cakes and cookies take longer to bake?
- Why do my cookies spread too much at high altitude?
- What baking pans work best at high altitude?
- Can I bake at high altitude without changing the recipe?
- Conclusion
What You Need
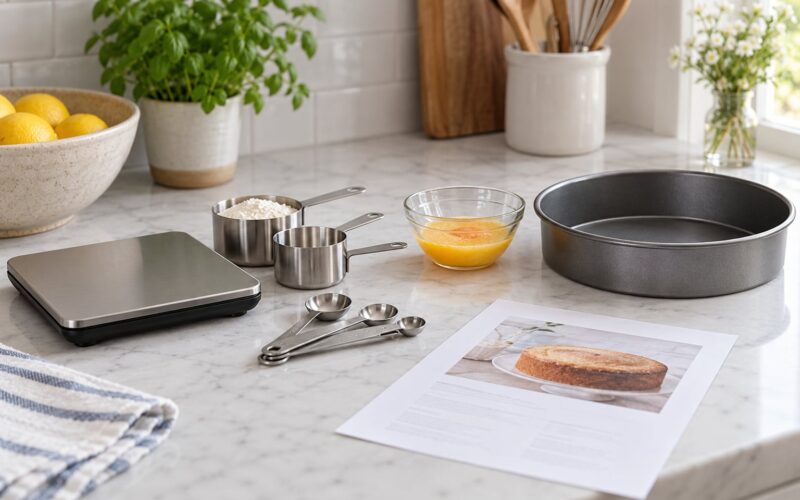
You do not need specialty altitude equipment. You do need an accurate oven, accurate measurements, and pans that will not burn the bottom of your bake before the center sets.
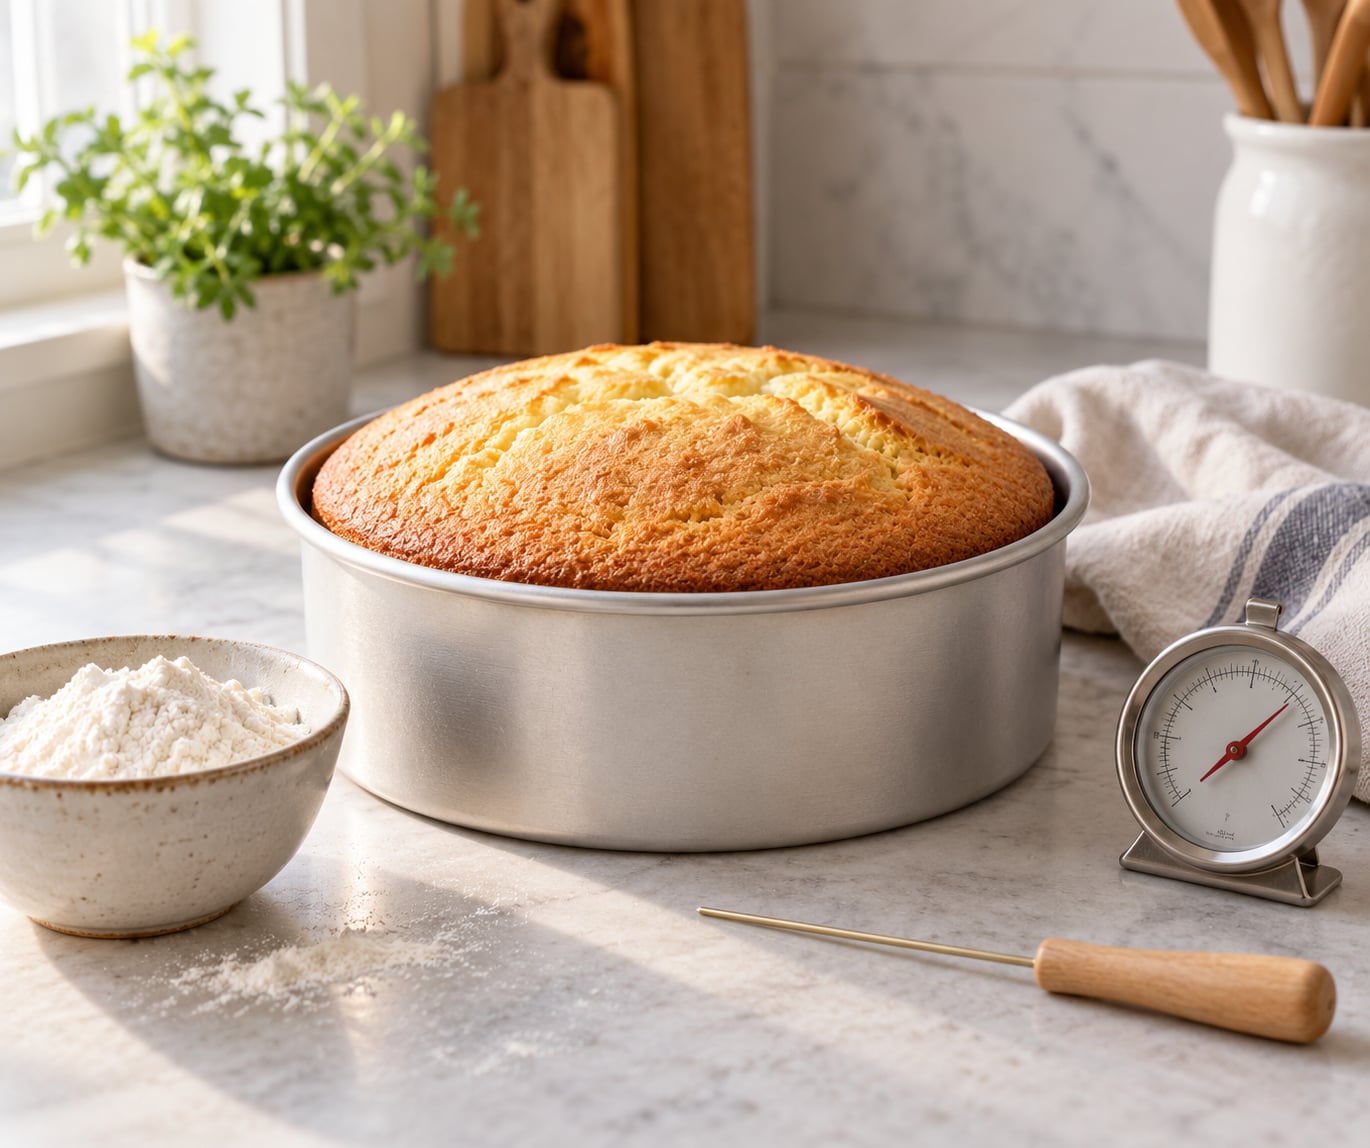
Start with an oven thermometer. This is the single most useful item on the list, and it matters more at altitude than at sea level because a 25-degree error compounds a bake that is already running fast. A toaster oven or wood cookstove deserves even more suspicion than a built-in range, since neither is calibrated for the thin, dry air up high.
Next, measurements you can trust. A kitchen scale is ideal because volume measures drift when flour is dry and when you are scooping rather than spooning, and mountain air makes both problems worse. Keep measuring cups as a backup, but weigh whenever the recipe gives grams or ounces.
Flour stored airtight is not a minor detail. In dry climates, flour on an open shelf absorbs moisture from the air until the dough feels stiff and unyielding and the finished loaf bakes out dense. A sealed container or a large freezer bag is the fix, and the dough should feel closer to tacky than to dry when you start.
For pans, choose light-colored aluminum over dark metal, and have a second identical pan on hand for the double-pan method described below. Add an instant-read thermometer, which is the only reliable way to judge a thick cake or a loaf without cutting into it.
Finally, know your elevation and write it down. Published adjustment charts are useless without a number attached. Common reference points: Salt Lake City sits at 4,226 feet, Denver at 5,280, Albuquerque at 5,312, Flagstaff at 7,000, Santa Fe at 7,199, Mexico City at 7,350, Aspen at 7,908, and Telluride at 8,750. If you are above 9,000 feet, treat yourself as a 10,000-foot baker.
| Elevation | Leavening (powder and soda) | Liquid | Sugar | Flour | Oven temperature | Bake time |
|---|---|---|---|---|---|---|
| 3,000–5,000 ft | Reduce 10–15% (about 1/8 tsp per tsp of baking powder) | Add 1–2 tbsp more | Reduce 1 tbsp | Add 1 tbsp | Raise 15°F for cakes, cookies, brownies; lower 25°F for yeast breads | Start checking 5 min early |
| 5,000–7,000 ft | Reduce 15–25% (about 1/4 tsp per tsp of baking powder) | Add 2 tbsp more | Reduce 1–2 tbsp | Add 2–3 tbsp | Raise 15–25°F for cakes and cookies; lower 25°F for yeast breads | Start checking 5–8 min early |
| 7,000–10,000 ft | Reduce 25% (yeast: cut 1/2 tsp per tbsp of yeast) | Add 2–3 tbsp more | Reduce 1–2 tbsp | Add 3–4 tbsp | Raise 25°F for cakes and cookies; lower 25°F for yeast breads | Check 8 min early; do not walk away |
These are starting points, not laws. Bakers working in the same city rarely land on identical numbers, which is exactly why the log in the tips section matters more than memorizing this table.
Step-by-Step: How to Bake at High Altitude
The process has four parts: decide what you are baking, adjust the formula, set the oven, and judge doneness by evidence instead of by clock. Here is how to bake at high altitude without rewriting the recipe from scratch every time.
First, name the category. A chocolate chip cookie, a pound cake, a sourdough loaf, and a meringue behave nothing alike in thin air, and a rule meant for one will actively hurt another. Cakes and cookies need structure set fast, so heat goes up. Yeast breads need the opposite, because their problem is rising too quickly before the oven even starts.
Second, adjust the formula. The five levers below are ordered by how much they change the outcome at most mountain elevations, with leavening first because an unadjusted cake simply cannot be rescued by anything else.
Third, set the oven before the batter goes in, and let the oven come to temperature with the pans already inside if you are working in a cold climate. A mountain kitchen warms up slowly, and a cake that enters a 200°F oven is behind schedule before it starts.
Fourth, watch the bake rather than the timer. The single biggest change in how to bake at high altitude is that the recipe’s stated time becomes a starting point for checking, not a promise about when to pull.
How to Adjust Flour and Liquids
Add a little more liquid and, for most bakes, a little more flour — then stop. Dry baked goods spread because the dough or batter cannot hold itself, and cookies are the worst offenders since they have very little structure to begin with. Meanwhile, high-altitude crumb can go two ways: tight and dense if there is not enough moisture for the starch to gelatinize, or gummy and under-set in the middle if the center dries unevenly.
The liquid adjustment is the simplest and the most reliable. Per cup of flour, add 1 to 2 tablespoons more at 3,000 to 5,000 feet, 2 tablespoons at 5,000 to 7,000 feet, and 2 to 3 tablespoons above 7,000 feet. That is where most altitude baking guides land, and it is the change that most reliably rescues a dry loaf.
Flour is trickier, and it is where a lot of home recipes go wrong twice. The guidance that circulates most often is roughly 1 tablespoon extra flour per cup at 3,500 feet, plus another tablespoon for each additional 1,500 feet of elevation. That puts you near 2 to 3 tablespoons per cup in the Denver and Santa Fe range, and 3 to 4 tablespoons per cup in the high mountain towns.
Do not apply the flour increase to cakes and quick breads without checking first. A cake that sank at altitude usually sank from too much leavening and too little structure, so more flour helps, but adding flour to a batter that was already too loose makes it cakelike and heavy. And never add flour by feel to compensate for dough that feels stiff — that stiffness is usually dry flour on the shelf, which needs water or a fresh bag, not more powder.
If your dough is unyielding and dry, add water a tablespoon at a time during mixing and wet your hands between folds rather than dumping liquid in at once. Working that way gives a better texture than trying to fix stiffness with extra flour alone.
How to Change Oven Temperature
Raise the oven 15 to 25°F for cakes, cookies, brownies, and other structurally-driven bakes, and lower it about 25°F for yeast breads. That split is the decision rule most high altitude bakers use, and it resolves the contradiction you will find between sources, because both camps are answering for a different food.
The logic on the raise side is speed. At altitude, gas expands faster, so a cake builds its volume early and then waits while the crumb slowly sets. More initial heat means the starch sets the cell walls while the structure is still standing, so the cake holds its shape instead of sagging in the last ten minutes.
The logic on the lower side is the opposite. Yeast breads suffer from oven spring, the rapid rise in the first minutes of the bake, and heat is what triggers it. Turn the temperature up and a loaf that already over-proofed on the counter inflates, the walls over-stretch, and the crumb comes out dense and tight with a torn or shelled surface. Dropping the temperature slows the spring so the loaf sets before it goes too far.
That is why one baker at 5,500 feet finds a 25-degree reduction fixes their cakes while the yeast bread stays the persistent problem, and why another baker two towns over reaches for the opposite fix. Neither is wrong about their own oven. They are describing different bakes.
Whichever direction you go, move in steps. Verify your actual oven temperature with a thermometer at your elevation before assuming the dial is accurate, and if you lower temperature for a loaf, extend the bake rather than trusting the shortened time.
How to Extend Baking Time and Check Doneness
Do not simply add minutes to the timer, and do not simply subtract them. Some widely cited baking guidance suggests shortening bake time by 5 to 8 minutes for every 30 minutes of recipe time at altitude, because a hotter, drier oven sets the outside of a bake quickly. Bakers with ovens that run cool or pans that absorb heat report the opposite experience, where the same recipe needs longer.
Both are describing a real effect, and the reconciliation is straightforward: the outer edges set early, the center lags. So treat the shortened time as your cue to start looking, not as a finish line.
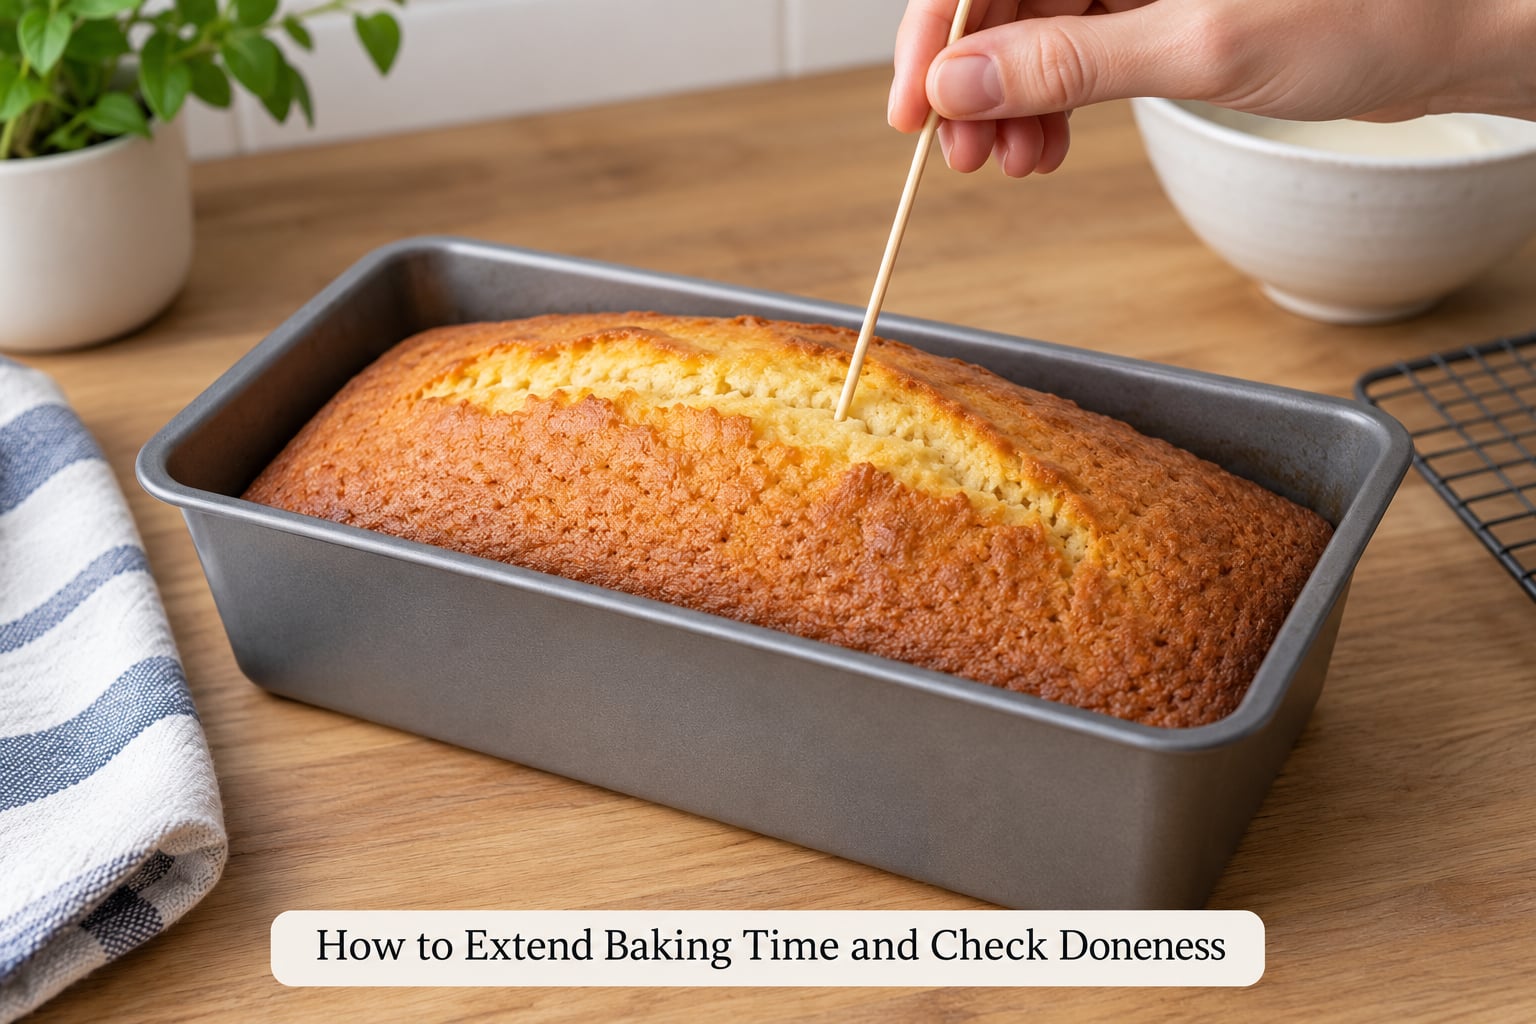
Start checking five minutes earlier than the recipe states, and check every three minutes after that. Here is what to look for, by bake type.
For cakes, insert a thin toothpick into the center, avoiding the sides where moisture always lingers. Come out clean or with a few moist crumbs and the cake is done. Wet, thick batter on the toothpick means give it more time even if the top is well browned. A spring-back test helps too: press the center gently and if the surface springs and the crumb feels set, it is finished.
For cookies, the edges should be set and lightly colored while the center still looks underdone when the tray comes out, because they continue to firm on the sheet. If they are crisp and pale at the scheduled time, they were baked too cool for too long and will taste dry.
For bread and yeast rolls, an instant-read thermometer is worth more than any other tool. Aim for 190 to 200°F in the center of the loaf for a fully baked crumb, and take the loaf out when the crust is deeply browned and the bottom sounds hollow when tapped.
For pies and custard-based bakes, the filling should not slosh when the pan is nudged, and an inserted thermometer should read about 165°F for a fruit pie filling. Custards and cheesecakes need a water bath or a lower temperature more than anything else on this list, because they are the most sensitive to fast evaporation.
Whatever the bake, do not open the oven door for the first 20 minutes of a yeast bread or the first 15 of a cake. A drop in temperature at altitude costs you structure, because the temperature recovery is slower in thin air and the batter may never return to where it was.
How to Prevent Flat Cookies, Dense Cakes, and Rising Problems
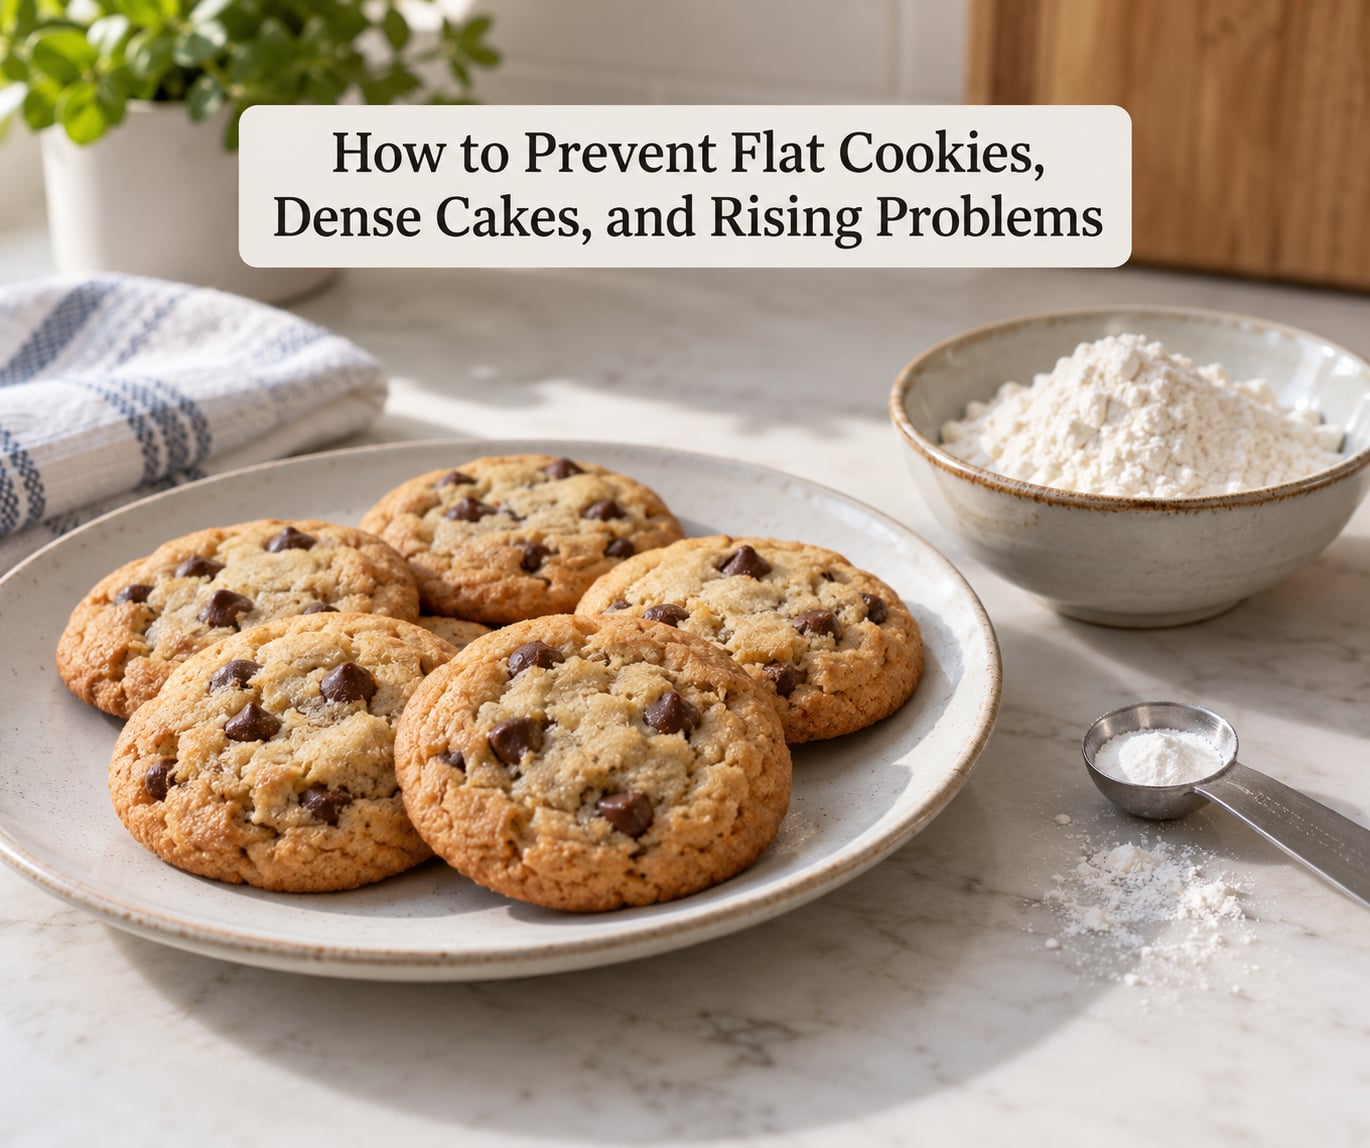
Match the symptom to the cause and the fix, because almost every altitude failure has a short list of causes behind it.
Cookies spread into thin, hard rounds. Almost always too much leavening plus too much sugar plus not enough structure. Reduce baking powder by about 1/8 to 1/4 teaspoon for every teaspoon in the recipe, cut sugar by a tablespoon per cup of flour, chill the dough for 30 minutes before scooping, and add a tablespoon or two of flour per cup. Chilling is the single fastest fix, because cold fat and cold sugar hold the spread in check while the reduced leavening stops the gas from pushing hard.
Cake sinks in the middle. Too much leavening is the usual culprit: the gas outruns the structure, and the middle drops as the bake finishes. Cut leavening by 10 to 25% depending on your elevation, raise the oven 15 to 25°F so the crumb sets sooner, use a light-colored pan, and double-pan it so the center receives heat before the moisture is gone.
Bread comes out dense and cakelike. Two causes, often both present. The dough may have over-proofed because fermentation is faster in thin air, or the oven may have been too cool, producing a loaf that set slowly into a tight crumb. Reduce yeast by 1/2 teaspoon for every tablespoon called for, halve or shorten the proofing times, lower the oven about 25°F, and check the internal temperature instead of the clock.
The top browns while the center stays raw. The edges and surface dried out before heat reached the middle. Double-pan, tent loosely with foil for the first half of the bake, and rotate the pan once if your oven has a hot spot. On a toaster oven, which is far more prone to this at altitude, wrap the pan sides in foil to slow the drying.
Goods stick to the pan more than usual. Dry air and dry pans pull moisture out of the batter’s surface, and the problem gets worse the longer a bake runs. Grease more generously than the recipe says, line the bottom with parchment, and consider a light-colored pan with a slightly larger base.
Batter overflows the pan. It rises faster and more vigorously at altitude. Fill pans no more than two-thirds full rather than the usual three-quarters, reduce leavening as above, and set the pan on a lower rack or the floor of the oven if your oven has a hot top element.
Frosting, royal icing, or meringue fails. Egg whites at altitude whip to a stiff, gritty foam and royal icing dries out and cracks. Add a small amount of water to royal icing to keep it workable, beat meringue to soft peaks rather than stiff, and consider adding a teaspoon of water or a little extra sugar if it tears too easily.
Common Mistakes
Most altitude baking fails for reasons that have nothing to do with altitude itself. Here are the mistakes worth naming, each with the fix.
Changing every variable at once. If you cut leavening, add flour, raise the temperature, and shorten the time in the same attempt, you cannot tell which change worked. Adjust one lever per bake and record it.
Cutting liquid across the board. More moisture is not the answer to a spread cookie or a collapsing cake. It is the right answer for a dry crumb and a stiff dough, and adding it to everything gives you a gummy center.
Trusting the oven dial. Without a thermometer you are guessing, and a 25-degree error at 7,000 feet is enough to sink a cake on its own. Check the real temperature in the oven you actually use, at the elevation you actually use it.
Opening the door too soon. Every peek is a temperature drop, and recovery is slower up high. Give a cake 15 minutes and a loaf 20 to 25 before you look, and use the oven light instead of the door.
Overmixing. At altitude, dough stiffens from ambient dryness as well as from mixing, so the instinct to add more mixing or more flour to reach a soft dough is a trap. Mix until the dough comes together, then use gentler handling and more rest time.
Cutting yeast but not proofing time. Nearly every discussion of this topic lands on the same conclusion: reducing yeast alone does not fix mountain bread. The rise time is the bigger variable, and proofing somewhere cooler in the house is the most consistently recommended fix.
Using dark pans without insulation. Dark metal pulls heat hard from the bottom of a bake in dry air, which is how you get burnt bottoms and raw centers. Use light pans, double them, or wrap them in foil.
Ignoring dry flour. If your flour has been sitting open in mountain air, the dough is starting from behind before you adjust anything. Store it airtight and buy a fresh bag before you start blaming the recipe.
Tips
Weigh your ingredients whenever you can, and treat volume measures as a fallback rather than the default.
Chill cookie dough and cake batter before baking, and let pans sit out so a cold pan does not shock the batter on contact.
Leave space between pans on the rack. Air circulates differently in thin, dry air, and a crowded oven bakes the outer pans faster than the center one.
Keep your flour sealed, and keep a spare bag in the freezer. It is the cheapest fix on this page.
Proof dough in the coolest room you have, and expect fermentation to run faster than the recipe’s timing suggests.
Write a one-line log after every bake: elevation, bake type, what you changed, and how it turned out. Over a handful of bakes you will have a personal adjustment ratio that beats any published table, because it is tuned to your oven, your flour, and your kitchen.
When a recipe genuinely does not work at your elevation, such as a tall layer cake or a meringue-based dessert, reduce the batch or the dimensions rather than fighting the physics.
Frequently Asked Questions
Should I increase flour when baking at high altitude?
For most bakes, yes, modestly. The common starting point is about 1 extra tablespoon per cup of flour at 3,500 feet, plus 1 more tablespoon for every additional 1,500 feet, so 2 to 4 tablespoons per cup in most mountain towns. Skip it in cakes that are already loose, and never use extra flour to fix dough that feels stiff, since that stiffness usually means dry flour rather than too little structure.
How much should I increase the oven temperature for high-altitude baking?
Raise it 15 to 25°F for cakes, cookies, brownies, and pastries so the crumb structure sets before moisture escapes. Yeast breads are the exception: lower the temperature about 25°F to slow oven spring, which is the fast rise in the first minutes of the bake that over-expands a loaf already proofed quickly in thin air.
Do high-altitude cakes and cookies take longer to bake?
Neither exactly. Many baking sources suggest shortening the time by 5 to 8 minutes for every 30 minutes of recipe time, because the surface sets quickly in dry air, while bakers with cool-running ovens report needing longer. The reliable move is to start checking five minutes early and judge by toothpick, color, and spring-back rather than by the timer.
Why do my cookies spread too much at high altitude?
Three things combine: leavening gas expands faster in low pressure, the dough has less structure to hold it, and dry air strips moisture from the surface. Reduce baking powder by 1/8 to 1/4 teaspoon per teaspoon in the recipe, cut sugar by about a tablespoon per cup of flour, add a tablespoon or two of flour per cup, and chill the dough for 30 minutes before scooping.
What baking pans work best at high altitude?
Light-colored aluminum is the safest choice, and a second identical pan lets you use the double-pan method, where two pans are nested and the outer one is wrapped in foil. That insulates the bottom so it does not burn before the center sets. Line the base with parchment, grease more generously than usual, and keep pans at room temperature rather than straight from a cold cupboard.
Can I bake at high altitude without changing the recipe?
Below about 3,000 feet, usually yes. Above that, cookies and thin batters will almost always spread, and cakes larger than two layers will often sink in the center. A small, single-layer bake has the best chance of working unadjusted. For anything else, at minimum reduce leavening by about 10 to 15% and check doneness early.
Conclusion
The first thing to do is name the bake and find your elevation. Everything after that follows from those two facts: reduce leavening by 10 to 25% depending on height, add 1 to 3 tablespoons of liquid per cup of flour, add a small amount of flour for structure, raise the oven 15 to 25°F for cakes and cookies or lower it 25°F for yeast bread, and start checking doneness five minutes early.
Make those adjustments one at a time and write down the result. That habit is what separates a baker whose mountain cakes are merely acceptable from one whose cookies come out properly chewy and whose loaves rise without collapsing. Once you have a dozen bakes logged at your own altitude, you will not need the table again.