Learning how to make stock from kitchen scraps is mostly a matter of collecting the right vegetable trimmings, covering them with water, and simmering gently for 45 minutes to two hours. Vegetable stock (also called vegetable broth or scrap broth) costs nothing, needs one pot and one sieve, and leaves you with roughly 4 cups of finished liquid from 4 cups of scraps.
The whole process is quiet work. Most of it is waiting, which is exactly why the freezer bag habit works so well for people who do this regularly. Fill a bag over a few weeks, dump it into cold water when it is full, and walk away.
I keep a gallon-size bag in the freezer at all times now. It is the one kitchen habit that has stuck longer than any other zero-waste idea I have tried, mostly because it asks nothing of me until the bag is full.
Table of Contents
- What You Need
- Scrap-to-water ratios that actually work
- Scrap to save
- Scrap to leave out
- What to do with an unbalanced bag
- Storing scraps before you have a full bag
- Step-by-Step
- Step 1: Collect and Rinse Suitable Scraps
- Step 2: Fill the Pot and Add Water
- Step 3: Bring the Stock to a Simmer
- Step 4: Simmer for 45 Minutes to 2 Hours
- Step 5: Strain the Finished Stock
- Step 6: Cool It Safely
- Step 7: Store, Freeze, or Use
- Common Mistakes
- Frequently Asked Questions
- What should you not put in veggie stock?
- Can I freeze veggie scraps for stock?
- How long does homemade vegetable stock last?
- How much water do I add to a bag of scraps?
- Why does my vegetable stock taste weak or bitter?
- What do I do with the solids after straining?
What You Need
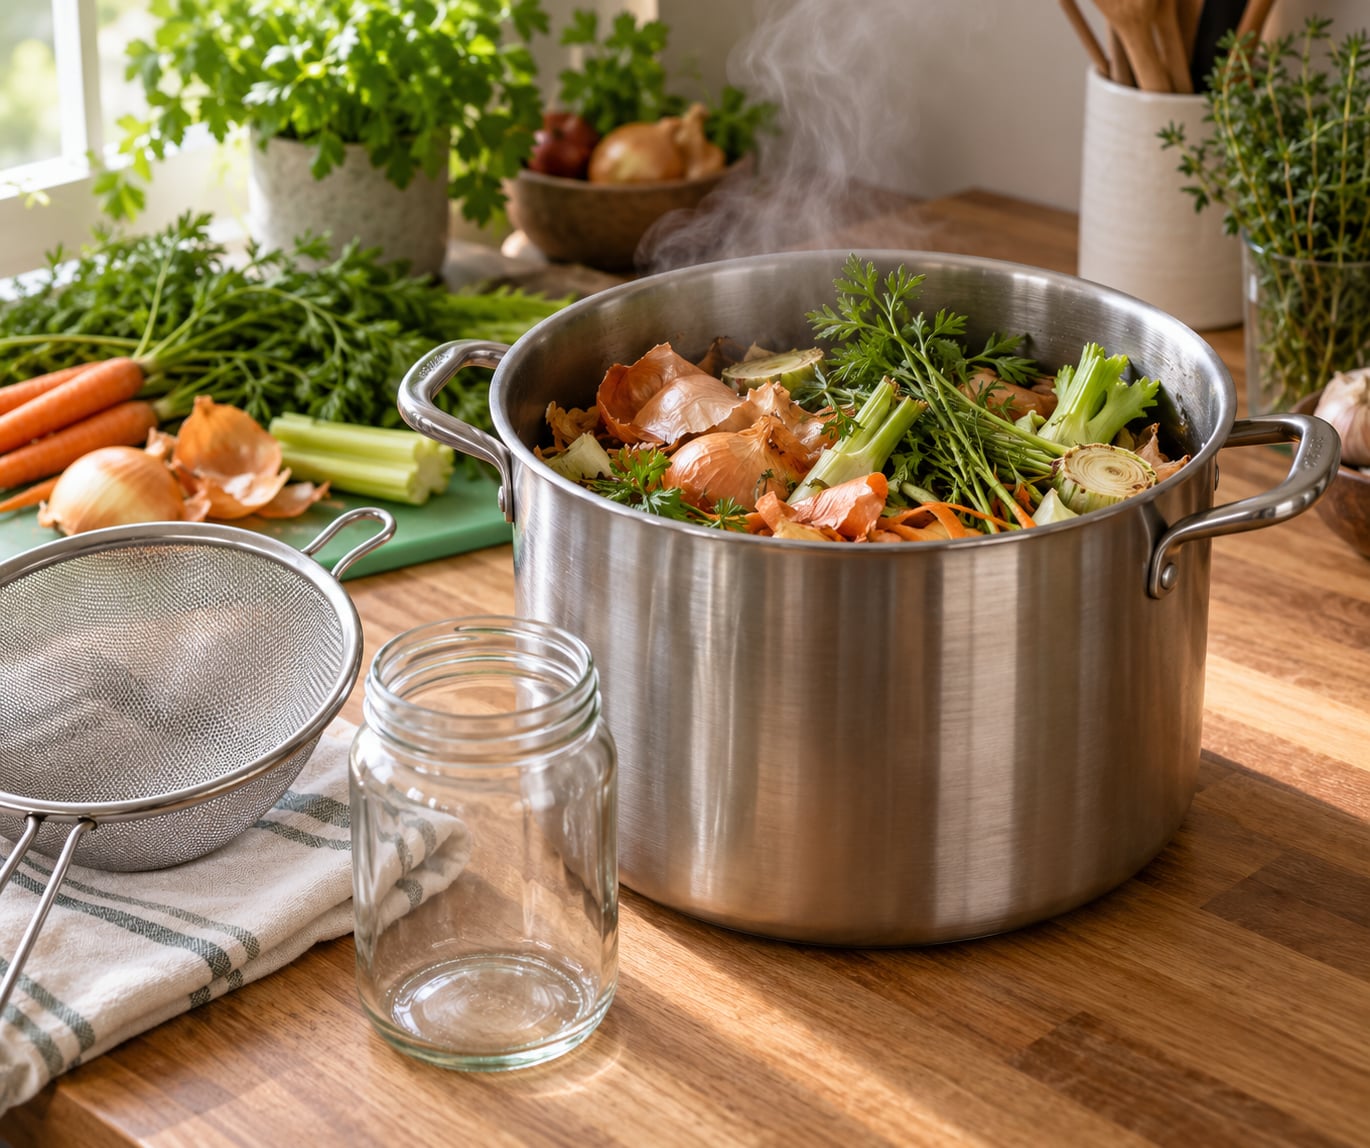
You need very little equipment: a stockpot with a lid, a fine-mesh sieve or a clean kitchen towel draped over a colander, and somewhere to store the result. A dedicated freezer bag for collecting scraps is the one tool that actually matters, and a wide-mouth jar or an ice cube tray for portioning makes the finished stock far easier to use.
As a rough guide on sizing, 4 cups of loose scraps plus 8 cups of water needs an 8-quart pot. Scraps swell as they cook, and an undersized pot is the single most common reason people end up scraping the stovetop. Use a pot with at least a quart of headroom above the water line.
Scrap-to-water ratios that actually work
Most instructions say “add enough water to cover,” which is exactly how you end up with something that tastes like warm water. Equal parts by volume is the rule most experienced scrap-stock makers land on, and the table below shows how that scales.
| Batch | Cups of scraps | Water | Simmer time | Approx. yield |
|---|---|---|---|---|
| Small | 4 | 8 cups | 45-60 min | 3-4 cups |
| Standard | 8 | 8-10 cups | 1-2 hours | 6-8 cups |
| Slow cooker | 8-10 | Cover by 2 inches | 6-8 hours on low | 6-8 cups |
| Pressure cooker | 8-10 | 8 cups | 30 min at high pressure | 6-7 cups |
Scrap to save
Onion skins, ends and root ends are the backbone of a good bag. Add carrot peels and tops, celery ends and leaves, leek greens and the firm upper part of the stalk, scallion roots and ends, garlic skins, and mushroom stems, which are usually thrown away and taste genuinely good.
Corn cobs, bell pepper tops and cores, lettuce outer leaves, pea pod ends, and the tops of radishes, turnips and beets all work. Herb stems from parsley, cilantro, dill and thyme are worth saving, as are small bits of broccoli, cauliflower and kale. Most people treat cruciferous vegetables as a hard no, and a small amount is genuinely fine. It is the quantity that causes problems, not the vegetable.
On r/noscrapleftbehind, people keep coming back to the same base: carrot, celery and onion. Celery in particular gets treated as non-negotiable, and you will taste the difference if you leave it out. A small spoonful of tomato paste, a strip of kombu, a few peppercorns, a bay leaf, or a thumb of ginger will push a plain bag of scraps into something with real savoury weight.
Scrap to leave out
Skip anything mouldy, slimy, or already turning. Scraps get handled like any other raw ingredient, and a soft potato peel does not magically become safe because it is going into hot water for an hour. Give vegetable ends a quick rinse and use them fresh.
Large amounts of cruciferous vegetables, meaning broccoli, cauliflower, cabbage, Brussels sprouts and kale stems, produce a sulphurous note that most people describe as a sulphury or sulfurous aftertaste. A few bits are fine. Half the bag is not. White potato peels turn a batch gummy and can give it a starchy, slightly bitter edge, so leave them out of a light stock.
Beet peels, red chard stems, red onion skins and any deep purple or red vegetable will tint the liquid and muddy the colour. That is not a safety problem, it is a colour problem, and it matters if you plan to make a pale sauce. For a dark, richly coloured stock, go for it deliberately.
Beet, parsnip, turnip and asparagus trimmings are also worth keeping out of large amounts, since they push the stock toward sweetness. And skip large quantities of avocado, because it goes rancid and greasy in a hot fat-free liquid.
What to do with an unbalanced bag
This is the question that comes up most often from people with a freezer full of nothing but carrot peels. A bag of one vegetable still makes stock; it just will not taste like much. If you searched how to make stock from kitchen scraps and ended up with an unbalanced bag, the fix is dilution, not avoidance: add two or three cups of plain water and whatever mild onion, celery or herb stems you have, then simmer for the shorter end of the range. More water also means less intensity, so season the finished stock at the point of use rather than during cooking.
Storing scraps before you have a full bag
Raw scraps last 3-4 days in the fridge in a sealed bag or container, and roughly 3 months frozen for best flavour, with some cooks pushing to 6 months. A frozen bag is not inedible after that, but the vegetables go soft and limp, and the finished stock loses a little brightness. If your bag has been sitting since last Christmas, it is still safe to use, just expect a flatter result.
Frozen scraps go straight into the pot. Do not thaw them first, because thawing turns everything to mush and there is no reason to add a step.
How long each thing keeps:
| Item | Fridge | Freezer | Throw it out if |
|---|---|---|---|
| Raw scraps in a bag | 3-4 days | About 3 months (up to 6 months is safe) | Off smell, slime, visible mould |
| Finished stock, covered | 3-4 days | 4-6 months | Cloudy and thick, surface film, sour smell |
| Stock cubes | Use within a week of thawing | 4-6 months | Frost-burned or off smell |
| Mason jar, wide mouth | 3-4 days | 4-6 months, leave an inch of headspace | Any cloudiness once thawed |
Step-by-Step
Here is the method most people converge on. Timings assume a standard 8-cup-water batch on a stovetop; adjust by ratio rather than by clock when you scale up. The reason how to make stock from kitchen scraps confuses beginners is that the recipe is not really a recipe — it is a ratio you hold steady while everything else flexes around it.
Step 1: Collect and Rinse Suitable Scraps
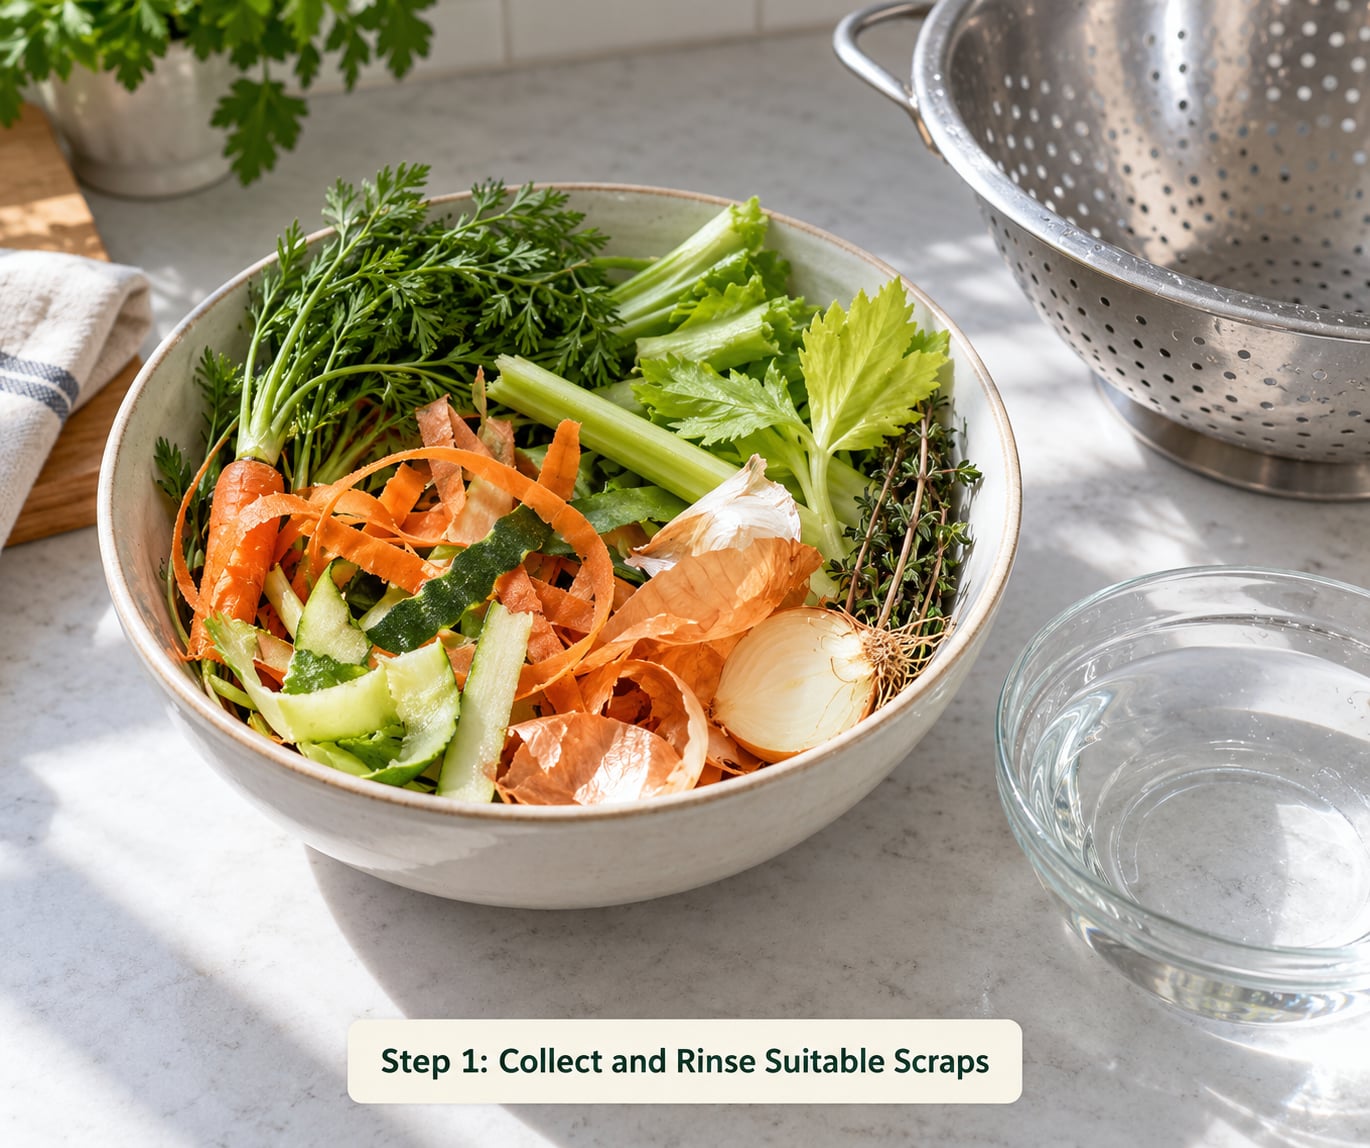
Empty the freezer bag into a colander and rinse everything under cold water. This is not about sterilising anything, it is just washing off freezer burn and loose bits. Pick out anything slimy or questionable, then move on.
Step 2: Fill the Pot and Add Water
Put the scraps in the stockpot and add cold water, using roughly equal parts water and scraps by volume. Cold water is deliberate: it heats slowly, which pulls flavour out gradually instead of shocking the vegetables. If you have a small batch, cover the scraps by about an inch and you are done. For a big batch, keep the same ratio and give the pot room to swell.
Add your aromatics now: a bay leaf or two, a teaspoon of peppercorns, herb stems, or a spoonful of tomato paste stirred into the water.
Step 3: Bring the Stock to a Simmer
Bring the pot to a boil over medium heat, then drop the heat until you see a bubble every second or two and a lazy wisp of steam. Skim the grey foam that rises in the first few minutes with a spoon or a small strainer. That scum is protein and fine particles, and removing it is most of what keeps your stock clear.
Step 4: Simmer for 45 Minutes to 2 Hours
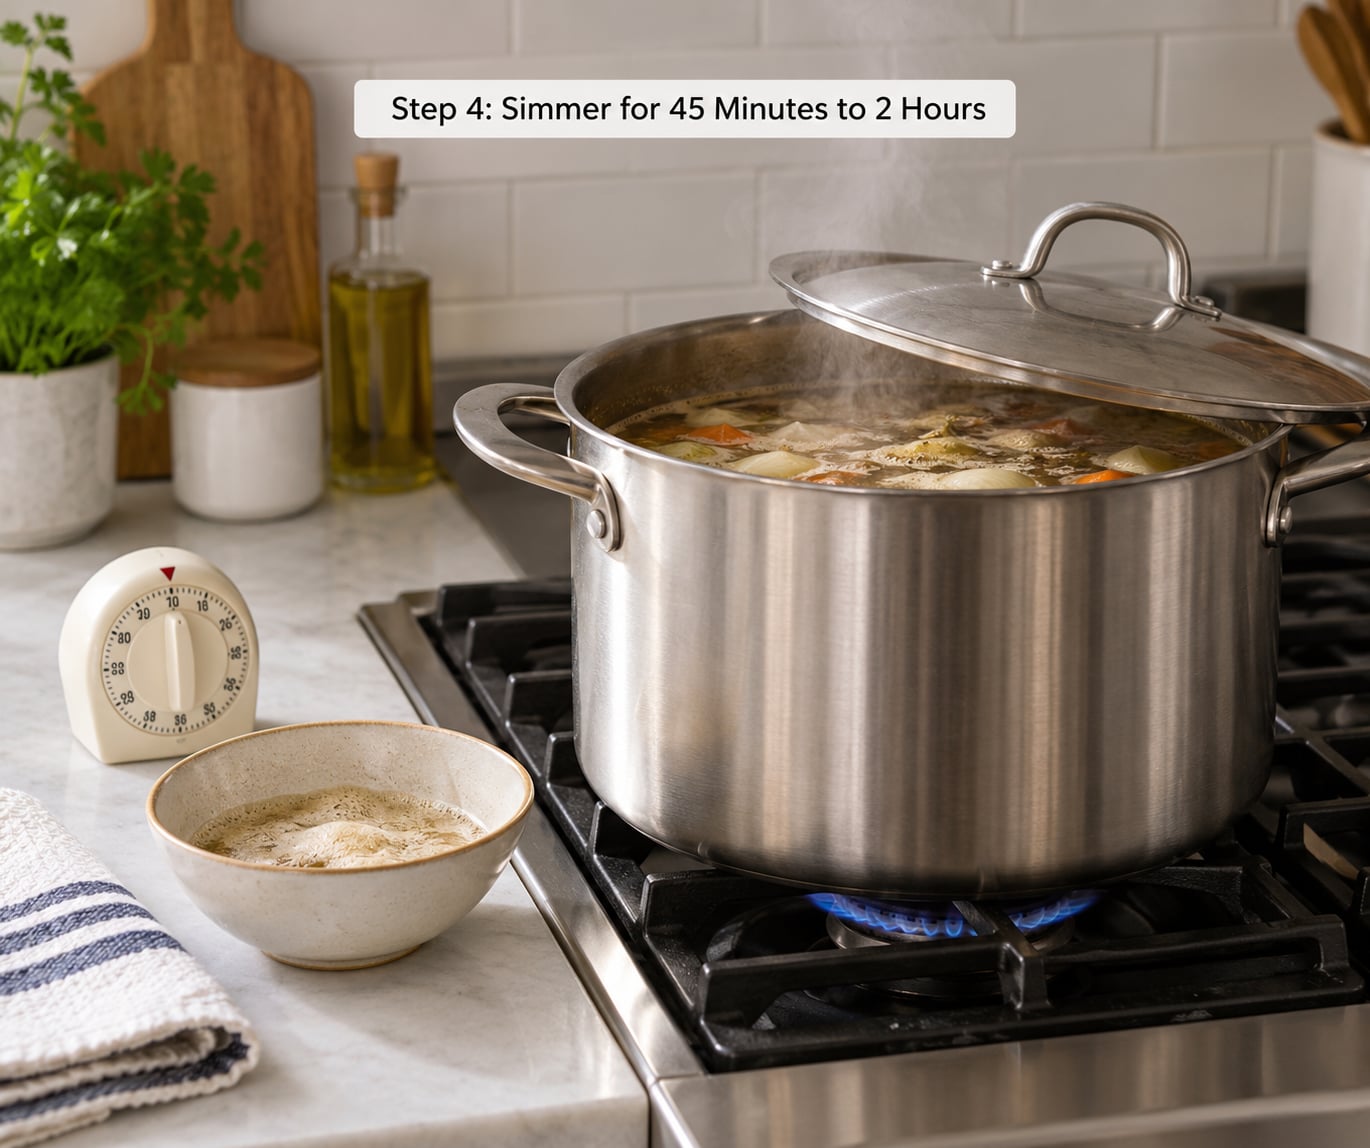
Leave the lid slightly ajar so nothing boils over, and keep the heat low. Your stock is done when it smells rounded and savoury rather than grassy, and when the scraps have collapsed and darkened. Bones and a big batch take the long end of the range. Vegetables alone are usually done inside an hour, and simmering them far longer is the most common reason stock turns bitter.
A slow cooker on low does the same job in 6-8 hours while you are elsewhere, and a pressure cooker does it in about 30 minutes on high. Neither gives you noticeably more flavour, they just change how much time you spend standing in the kitchen.
Step 5: Strain the Finished Stock
Take the pot off the heat and pour through a fine-mesh sieve, or drape a clean kitchen towel over a colander and let the liquid drip through. Do not press hard on the solids, you will push sediment and cloudiness into a stock that was otherwise clear. A light press on a soft vegetable peel is fine.
Taste before you store it. If it is bland, a squeeze of lemon or a spoon of tomato paste sharpens it at the table, which is much easier than trying to fix it in the pot.
Step 6: Cool It Safely
A big pot of hot liquid can sit at room temperature for hours while the middle stays in the food safety danger zone, so cool it fast. Divide the stock into shallow containers, set them in an ice bath and stir, or drop ice cubes straight into the pot. Getting it from steaming to cool within about an hour is the goal, and shallow containers are the easiest way to do that.
Do not leave a large covered pot of stock on the counter overnight. If you are not going to cool it promptly, freeze it in portions while it is still hot, which is a completely reasonable plan on scrap-stock day.
Step 7: Store, Freeze, or Use
Cover and refrigerate for up to 3-4 days, or freeze in the containers you will actually reach for. Ice cube trays or silicone freezer cubes give you one-toss portions for weeknight cooking, and a wide-mouth mason jar works if you leave an inch of headspace for the liquid to expand as it freezes. Tall narrow jars are the ones that crack.
Use the stock within that window for soups, risotto, rice, sauces, gravy, or poaching eggs. A cup of scrap stock in place of water makes plain rice taste like it was cooked by someone who cared. Save the strained solids for compost, not the bin.
Common Mistakes
The biggest mistake is using too much water. It is the top cause of stock that tastes like nothing, along with too few solids and simmering far too long. If your finished stock is weak, the fix is to concentrate it: reduce it uncovered on the stove for 10-15 minutes until the flavour sharpens, then cool and store it.
The second mistake is a hard boil. Rolling boil churns the liquid, drives off the light aromatics, and pulls fine particles into suspension, so you get a cloudy, slightly bitter result. Keep it at a bubble every second or two and use a lid that is not fully closed.
Third, skipping the skim. Those first minutes of grey foam are what separate a clear stock from a cloudy one, and it takes 60 seconds of attention to deal with.
Fourth, cooking too long. Vegetable scraps run out of flavour well before they run out of heat. Once the liquid smells flat or the vegetables are mush, stop.
Fifth, overcrowding the pot. Scraps swell, and a pot filled to the brim will boil over on the stovetop.
Sixth, cooling too slowly. Hours of lukewarm stock in a deep pot is the one mistake on this list that can actually make someone ill, so use shallow containers or an ice bath.
Finally, salting too early. Season at the end, because a single unsalted batch ends up in soups, risottos and sauces where you control the salt anyway.
A few notes that help: a strip of kombu added at the start and lifted out before straining gives real umami depth. A spoonful of dashi-style seasoning turns a plain bag into something that reads as a proper base. And for batch cooking, double or triple the recipe freely, since the ratio is what matters and not the batch size.
Frequently Asked Questions
What should you not put in veggie stock?
Leave out large amounts of broccoli, cauliflower, cabbage, Brussels sprouts and kale stems, which give a sulphurous note, along with white potato peels, beet and parsnip trimmings, and anything mouldy or slimy. Red onion skins, red chard stems and beets will tint the liquid and muddy the colour if you want a pale stock. A few small bits of cruciferous vegetable are fine; quantity is what causes the problem.
Can I freeze veggie scraps for stock?
Yes, and it is the standard way to do this. Collect scraps in a dedicated freezer bag and they keep about 3 months for best flavour, with 6 months still safe in most cases. Skip anything that was already going bad before it went in. Frozen scraps go straight into the pot without thawing, since thawing turns everything to mush for no benefit.
How long does homemade vegetable stock last?
Homemade vegetable stock keeps 3-4 days in the fridge in a covered container and 4-6 months in the freezer. Thaw it in the fridge rather than on the counter. Discard it if it turns cloudy and thick rather than simply cloudy, develops a film on the surface, or smells sour or off. Store-bought broth usually lasts longer, which is a common source of confusion between the two.
How much water do I add to a bag of scraps?
Roughly equal parts water and scraps by volume, so 4 cups of scraps gets 8 cups of water and yields about 3-4 cups of stock. Covering by about an inch works for small batches. Scraps swell as they cook, so give yourself at least a quart of headroom in the pot. Too much water is the most common reason scrap stock tastes weak.
Why does my vegetable stock taste weak or bitter?
Weak stock means too much water, too few solids, or simmering far too long. Bitter stock usually means either over-simmering or too much cruciferous vegetable such as cabbage, broccoli or Brussels sprouts, which turn sulphurous when cooked in bulk. Reduce an under-flavoured batch uncovered for 10-15 minutes to concentrate it, and salt only at the point of use.
What do I do with the solids after straining?
Compost them rather than putting them in the bin. Cooked vegetable scraps are full of the nitrogen that compost needs, and they break down quickly. If you do not have a compost setup, a freezer bag in the freezer works as a holding spot until you can drop it off. Avoid putting cooked scraps down the drain, where fat and starch can build up.
How to make stock from kitchen scraps comes down to three habits: keep a freezer bag going, hold to roughly equal parts water and scraps by volume, and simmer gently for under an hour instead of boiling hard. Strain it, cool it in shallow containers, and freeze a few cups in cubes. Once the bag habit is running, you will wonder why you ever threw the peels away.